
Page History
...
Step 2: Click Run ( 1, 2 ) action to open the Execution page.
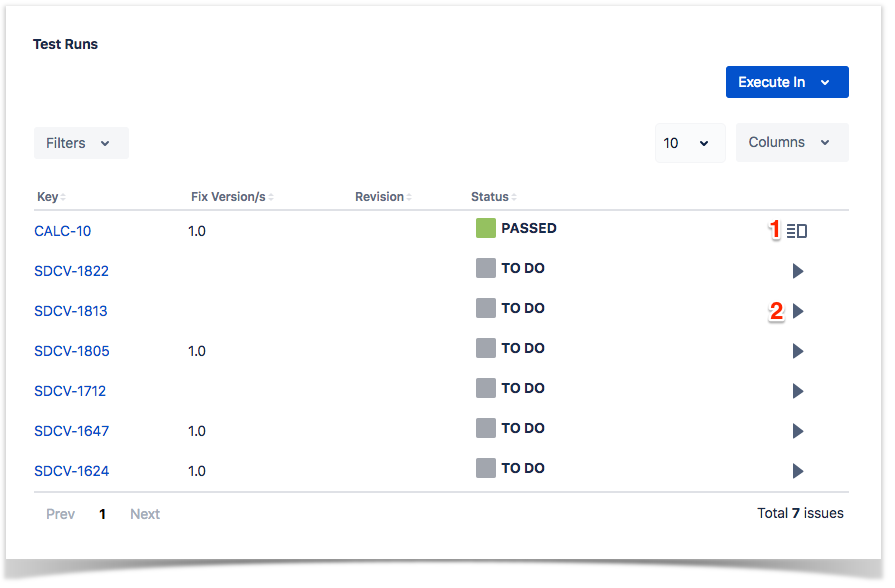
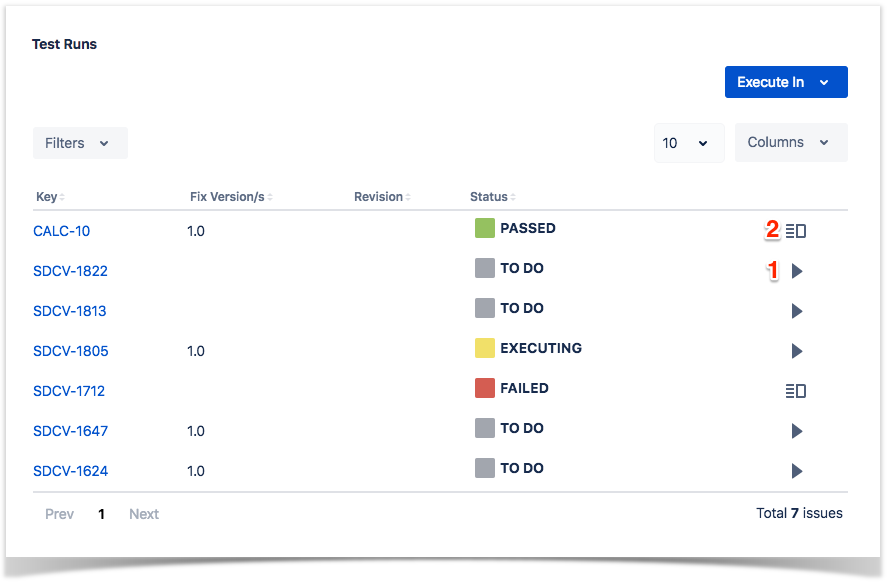
The icon in 1 is only displayed when the test run is in a final status.
...
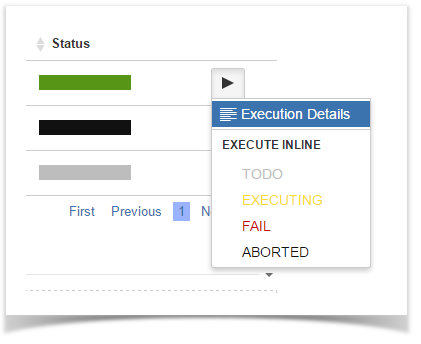
Step 2: Click on the Status located in the status column of the Test Runs table and select one of the available statuses.
| Info | ||
|---|---|---|
| ||
This action may trigger some email notification(s) depending on your Xray settings. For more info on email notifications and how to set-up them, please have a look at Test Run Email Notifications. |

View Test Execution Details
...
Step 3: Click Execution Details action to open the Execution page and view the details.
Ad hoc Test Execution
...
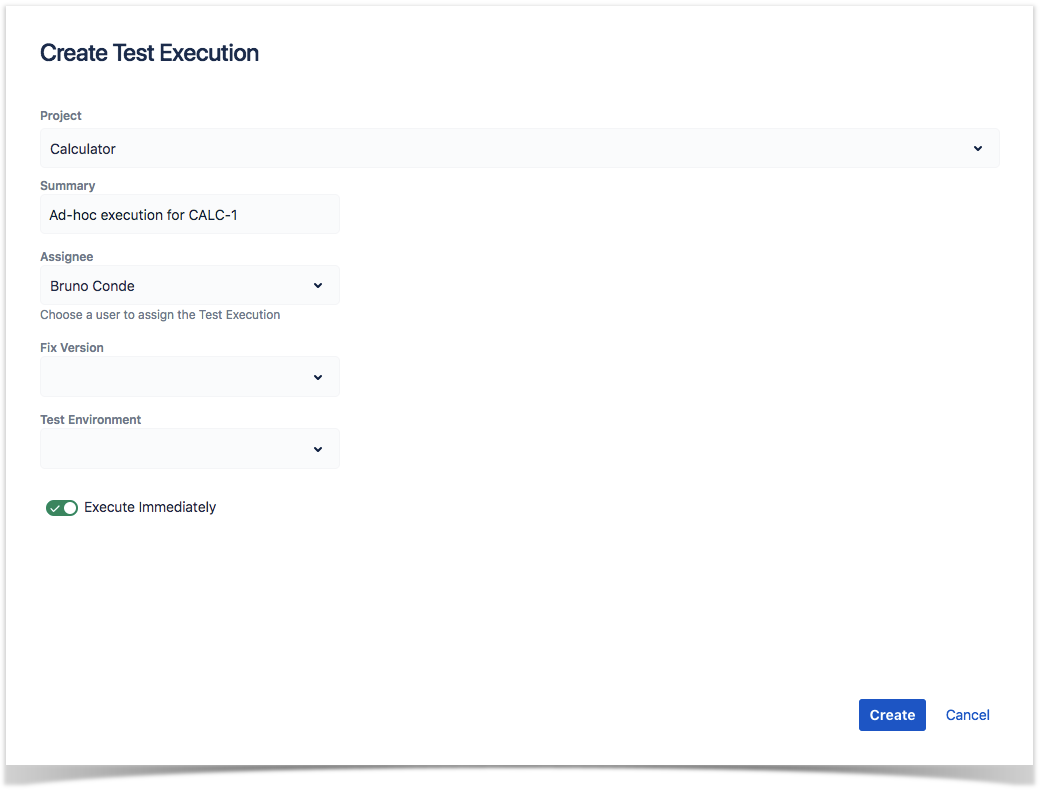
Step 2: Click the Execute In button in Test Runs section and select New Test Execution....


Step 3: The dialog comes with pre-populated fields so if you don't want to change anything, just click Create.
Note: If there are custom required fields, an error message will be displayed asking the user to click to open the normal create issue create dialog will be displayed screen with the pre-populated fields. If the revision field is not configured in the create issue screen of the Test Execution for the selected Project, the field will not appear in the dialog.

If the Redirect To Execute Test Page option is selected, you will be redirected to the Execute Test page after the test execution is created.
...
Xray provides the ability to configure columns for the Test Runs table. This configuration is specific to each user and can be restored to the default configuration defined in the Global PreferencesDefault Column Layouts page in Xray's administrationProject Settings.
Some columns may be be fixed and thus you won't be able to remove them from the table.
...
Restoring Columns to Default Configuration
...