
Page History
...
Step 3: Type a Summary for the Precondition and complete all appropriate fields — at least, the required ones which are marked with an asterisk.

Step 4: On the Pre-Condition Details tab, select the Pre-Condition Type and complete all appropriate fields.

Optional:
- Click on the Tests tab to associate the current issue with Tests.
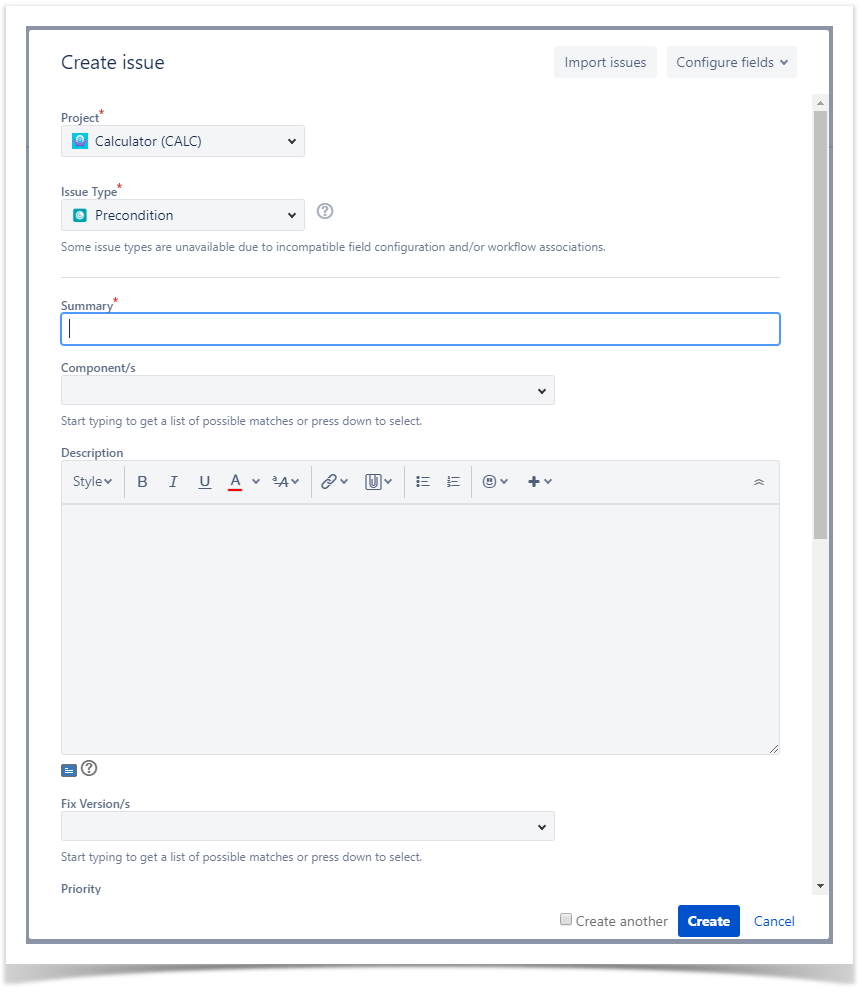
Step Step 5: When you are satisfied with the content of your Pre-ConditionPrecondition, click the Create button. If you selected the Create another check box (above), a new Create Issue dialog appears. This issue is automatically pre-populated with your previous Pre-Condition Precondition details, while leaving the Summary field blank.
Edit
Using the Edit Issue dialog box
To Edit an existing Pre-Condition issue using the edit page:
Step 1: Click the Edit button (at the top-left of the 'view issue' page) to open the Edit Issue dialog / page. Step 2: Modify your Pre-Condition details in the appropriate fields of the
Edit
...
Step 3: Modify your Pre-Condition's Details under the identically named tab on the Edit Issue page.

Optional:
- Click on the Tests tab to edit Test associations.
...
Using the Inline Edit for Jira App
...