
Page History
The purpose of a Test Plan is to enable give you to have a better visibility and management over your Tests.
It provides a table that shows of all the Tests added to included in the Test Plan and their respective Test Executions that are also associated with the Test Plan.
If tracking a particular version, the Test Plan will present show the latest status for each Test, independent of the number of testing iterations (i.e.,Test Executions) you make with them.
You can group a bunch of Test Executions and easily give feedback on the current/latest status of the Tests involved in those Test Executions.
From the Test Plan, it's possible to create one or more Test Executions , for all or just a subset of the Tests contained within the Test Plan (e.g., only those Tests that are still failling).
...
The Coverage Analysis can also be done, taking into account just the tests from a given Test Plan and its related Test Executions.
...
To create a new Test Plan Issue,
Step 1: Click the + at on the left of the screen to open the Create Issue dialog box / page or by pressing press the key "C" key on the keyboard.
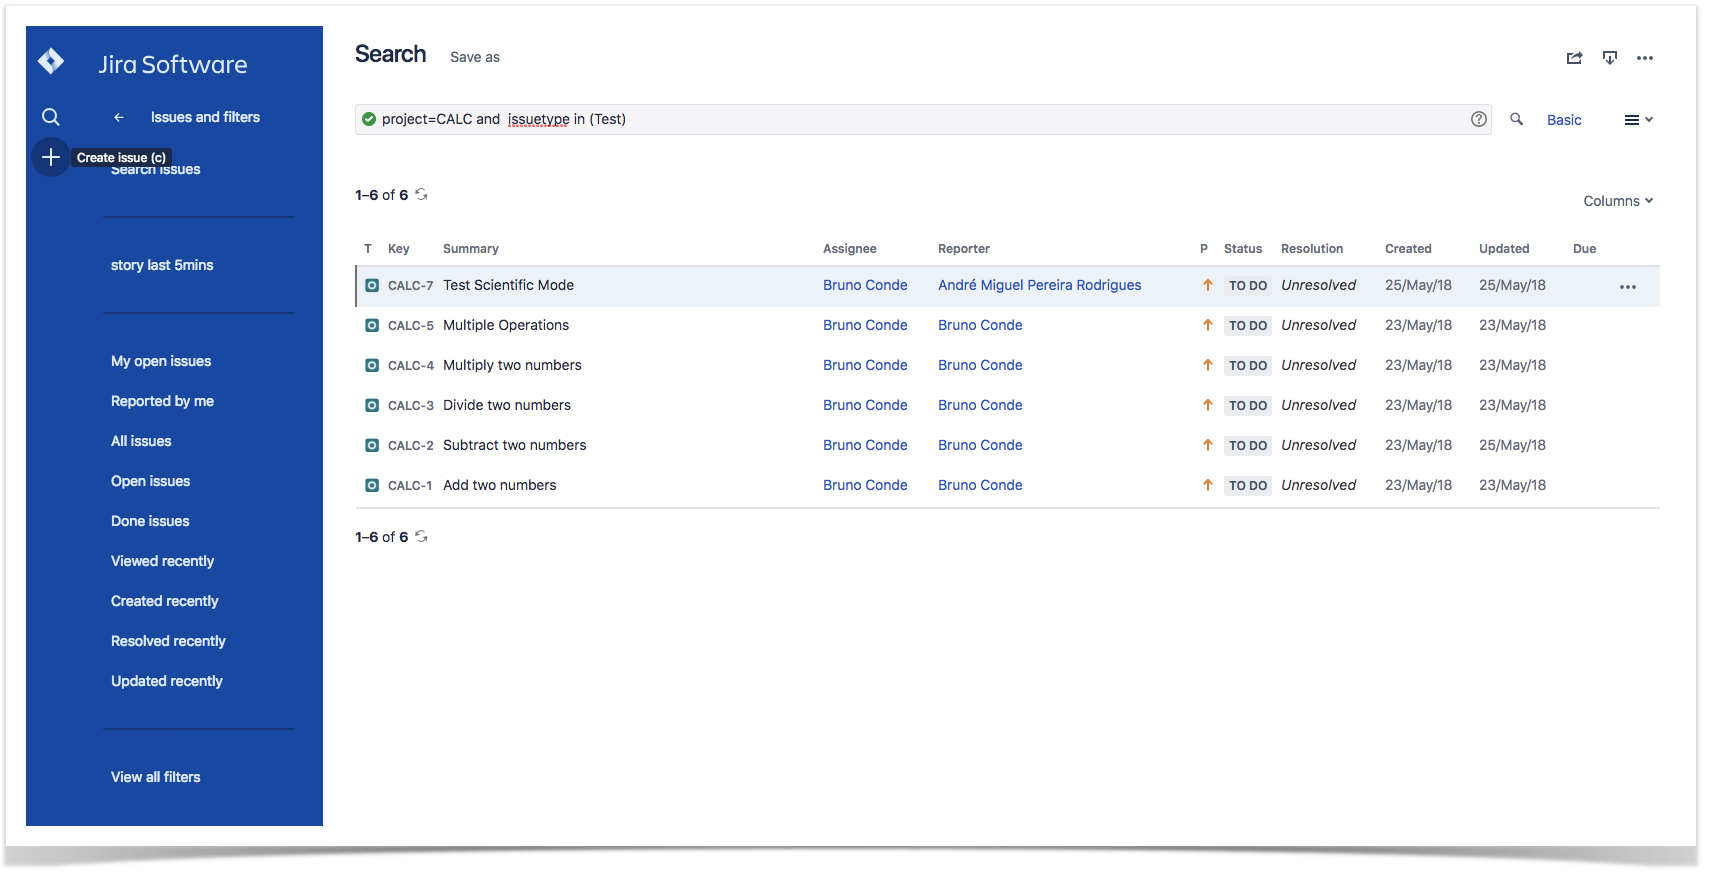
Step 2: Select the Project and on . On the Issue Type select Test , select Test Plan.
Step 3: Type a Summary for the test plan and fill out all appropriate fields — (mandatory fields are marked with an asterisk). If you're working with versions, then you should also fill out the Fix Version to indicate that you're tracking the results of the Tests for that version. This will be used to automatically fill out the Fix Version of the planned Test Executions (i.e., the ones linked to/created from this Test Plan).
...
Optional: To create a series of similar Test Plans – within the same Project – select the check Create another checkbox at the bottom of the dialog.
Step 5: When you are satisfied with the content of your Test Plan, click the Create button.
Step 5a: If you selected the checked Create another checkbox, a new Create Issue dialog appears. This issue is automatically pre-populated with your previous Test Plan details, while leaving with the Summary field blank.
Add Tests to a Test Plan
...
| Section | ||||
|---|---|---|---|---|
|
...
Test Executions can also be associated with a Test Plan by editing the field Associated Test Plans in the Test Plans section in Test Execution issue view page. Note that with this method, only the Test Execution shall will be associated with the Test Plan; the Tests will not be associated. To inline edit the Associated Test Plans field, just hover over the field view area, click it and add or remove the Test Plans you wish want to associate to with the Test Execution.


Test Plan table
The Test Plan Test view section in the issue page provides you with a table where you can see all the Tests that were added to the Test Plan and their Test Executions (if they are associated to the Test Plan).

- Create a planned Test Execution (see next Section), so its results will be reflected on the current Test Plan
- Add Tests and Test Sets
- Test Plan Progress Bar
- Table Filters
- Use a Test Environment to calculate the status for test issues for that environment.
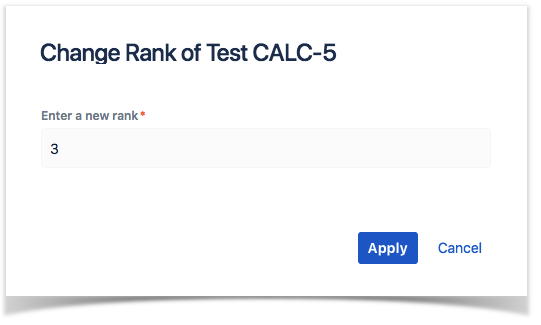
- Opens a dialog that has with a table that displays information about the Test Runs of a particular Test.
...
This dialog's table is similar to the Test Run table as because it allows for inline execution (1) and for operations like assignee Assign and remove Delete (2). This table's columns are configurable. Similarly Similar to the Tests table in the Test Plans issue view page its , it is possible to use a Test Environment to calculate the status for test runs for that environment (3).
...
The most common and straightforward option way to create a Test Execution for all the Tests, or for a subset of those that are currently in some consolidated status, is by using the option available at the top of the Test Plan issue screen.

The Create Test Execution button will open a dropdown with some options that will allow you to select the Tests that will be part of the Test Execution.
...
| Info | ||
|---|---|---|
| ||
In order to create a related Test Execution from the Test Plan, the you (as a user) must be allowed have permission to the edit the current Test Plan since because the results on the Test Execution will affect the consolidated information shown at the Test Plan. The A user will only be able to create Test Executions in certain projects, therefore if . If the user is does not allowed have permission to create Test Executions for a selected project he selects , an error message will be displayed. |
All tests...
Lets This option lets you create a Test Execution with all the tests that are associated with the Test Plan.
Note: If the revision field is not configured in the create issue screen of the Test Execution for the selected Project, the field will not appear in the dialog. If there are some mandatory fields, the standard create issue screen will be shown.

With status...
Choose This option lets you choose the Tests based on their consolidated status. You can choose all Tests using the top left-side option. In the case below a A Test Execution will be created with all the tests that are in the status Failedusing those Tests.

Bulk action
You can select some Tests, using the checkbox next to the Test row, and then schedule a Test Execution for them by clicking on the Create Test Execution.
