
Page History
...
In this tutorial, we will create some tests in Cucumber/Gherkin, using SpecFlow and C# and we'll import the results to Xray to have visibility of the test results.
| Info | ||
|---|---|---|
| ||
There are some possible workflows related with Cucumber. In this tutorial, we assume that the the tests (specification) are initially created in Jira as a Cucumber Tests and exported afterwards using the UI or the REST API; that's what we call the "standard" workflow. If you prefer to manage the .feature and respective Scenarios outside of Jira, like in your own local dev environment/IDE or in Git/SVN, wouldthen you'll need to synchronize the specification to Jira as depicted in our VCS based workflow. More info in Testing with Cucumber. |
...
- Install SpecFlow and the SpecFlow+ Runner 1.7.2 or newer along with the msbuild helper package; If you're using Visual Studio, just go to NuGet's Console (Tools | NuGet Package Manager | Package Manager Console)
- Install-Package SpecRun.SpecFlow
Install-Package SpecRun.SpecRun
Install-Package SpecFlow.Tools.MsBuild.Generation
- Use the
CucumberJson.cshtmlreport template provided in this page
Description
Code Block language xml title packages.config collapse true <?xml version="1.0" encoding="utf-8"?> <packages> <package id="Newtonsoft.Json" version="9.0.1" targetFramework="net452" /> <package id="SpecFlow" version="2.3.2" targetFramework="net452" /> <package id="SpecFlow.Tools.MsBuild.Generation" version="2.3.2" targetFramework="net452" /> <package id="SpecRun.Runner" version="1.7.2" targetFramework="net452" /> <package id="SpecRun.SpecFlow" version="1.7.2" targetFramework="net452" /> <package id="SpecRun.SpecFlow.2-3-0" version="1.7.2" targetFramework="net452" /> <package id="System.ValueTuple" version="4.3.0" targetFramework="net452" /> </packages>
- Use the
CucumberJson.cshtmlreport template provided in this page
Description
In this tutorial, we detail more extensively the standard Cucumber workflow (more info in Testing with Cucumber), where Xray/Jira is used as the master of information, i.e. the place where you edit/manage your Cucumber Scenarios.
If you prefer to manage the .feature and respective Scenarios outside of Jira, like in your own local dev environment/IDE or in Git/SVN, then you'll need to synchronize the specification to Jira as depicted in our VCS based workflow.
Using Xray and Jira to manage the Scenario specification
In this use case, Cucumber Tests are written in Jira using Xray After creating Cucumber Tests of type "Scenario" or "Scenario Outline", in Jira.
You , you can export the specification of the test tests to a Cucumber .feature file via the REST API or the Export to Cucumber UI action from within the Test Execution issue.
The created file will be similar to the following :
...
one.
| Code Block | ||
|---|---|---|
| ||
@CALC-2250 @REQ_CALC-2247 Feature: Sum Operation #In order to avoid silly mistake # #As a math idiot # #I want to be told the sum of two numbers @TEST_CALC-2249 Scenario Outline: Add two positive numbers Given I have entered <input_1> into the calculator And I have also entered <input_2> into the calculator When I press <button> Then the result should be <output> on the screen Examples: | input_1 | input_2 | button | output | | 20 | 30 | add | 50 | | 2 | 5 | add | 7 | | 0 | 40 | add | 40 | | 4 | 50 | add | 54 | | 5 | 50 | add | 55 | @TEST_CALC-2248 Scenario: add two numbers Given I have entered 50 into the calculator And I have also entered 70 into the calculator When I press add Then the result should be 120 on the screen @TEST_CALC-2251 Scenario Outline: add two negative numbers Given I have entered <input_1> into the calculator And I have also entered <input_2> into the calculator When I press <button> Then the result should be <output> on the screen Examples: | input_1 | input_2 | button | output | | -1 | -2 | add | -3 | | 1 | -1 | add | 0 | |
| Code Block | ||||||
|---|---|---|---|---|---|---|
| ||||||
using System;
using TechTalk.SpecFlow;
using Microsoft.VisualStudio.TestTools.UnitTesting;
using UnitTestProject1;

namespace UnitTestProject1
{
    [Binding]
    public class CalculatorSteps
    {
        private int result;
        private Calculator calculator = new Calculator();

        [Given(@"I have entered (.*) into the calculator")]
        public void GivenIHaveEnteredIntoTheCalculator(int number)
        {
            calculator.FirstNumber = number;
        }

        [Given(@"I have also entered (.*) into the calculator")]
        public void GivenIHaveAlsoEnteredIntoTheCalculator(int number)
        {
            calculator.SecondNumber = number;
        }

        [When(@"I press add")]
        public void WhenIPressAdd()
        {
            result = calculator.Add();
        }

        [Then(@"the result should be (.*) on the screen")]
        public void ThenTheResultShouldBeOnTheScreen(int expectedResult)
        {
            Assert.AreEqual(expectedResult, result);
        }
    }
} |
You have to use a proper SpecFlow report template file in order to generate a valid Cucumber JSON report and you have to configure the test profile to use it.
...
| Code Block | ||||||
|---|---|---|---|---|---|---|
| ||||||
<?xml version="1.0" encoding="utf-8"?>
<TestProfile xmlns="http://www.specflow.org/schemas/plus/TestProfile/1.5">
  <Settings projectName="UnitTestProject1" projectId="{5359f4fc-ee65-45b2-bb4e-5c0255b88806}" />
  <Execution stopAfterFailures="3" testThreadCount="1" testSchedulingMode="Sequential" />
  <!-- For collecting by a SpecRun server update and enable the following element. For using the
      collected statistics, set testSchedulingMode="Adaptive" attribute on the <Execution> element.
    <Server serverUrl="http://specrunserver:6365" publishResults="true" />
  -->
  <TestAssemblyPaths>
    <TestAssemblyPath>UnitTestProject1.dll</TestAssemblyPath>
  </TestAssemblyPaths>
  <DeploymentTransformation>
    <Steps>
      <!-- sample config transform to change the connection string-->
      <!--<ConfigFileTransformation configFile="App.config">
        <Transformation>
          <![CDATA[<?xml version="1.0" encoding="utf-8"?>
							<configuration xmlns:xdt="http://schemas.microsoft.com/XML-Document-Transform">
                <connectionStrings>
                  <add name="MyDatabase" connectionString="Data Source=.;Initial Catalog=MyDatabaseForTesting;Integrated Security=True"
                       xdt:Locator="Match(name)" xdt:Transform="SetAttributes(connectionString)" />
                </connectionStrings>
							</configuration>
						]]>
        </Transformation>
      </ConfigFileTransformation>-->
    </Steps>
  </DeploymentTransformation>


  <Report>
    <Template name="CucumberJson.cshtml" outputName="data.json"/>
  </Report>

</TestProfile>
|
The tests Tests can be run from within the IDE (e.g. Visual Studio) or by the command line; in the later case, make sure to specify the profile name and all the paths properly.
...
| Info | ||
|---|---|---|
| ||
If the .feature was created by hand directly on your IDE, or managed elsewhere outside of Jira, and it didn't contain the Test Execution's key, then a brand new Test Execution would be created. |
...
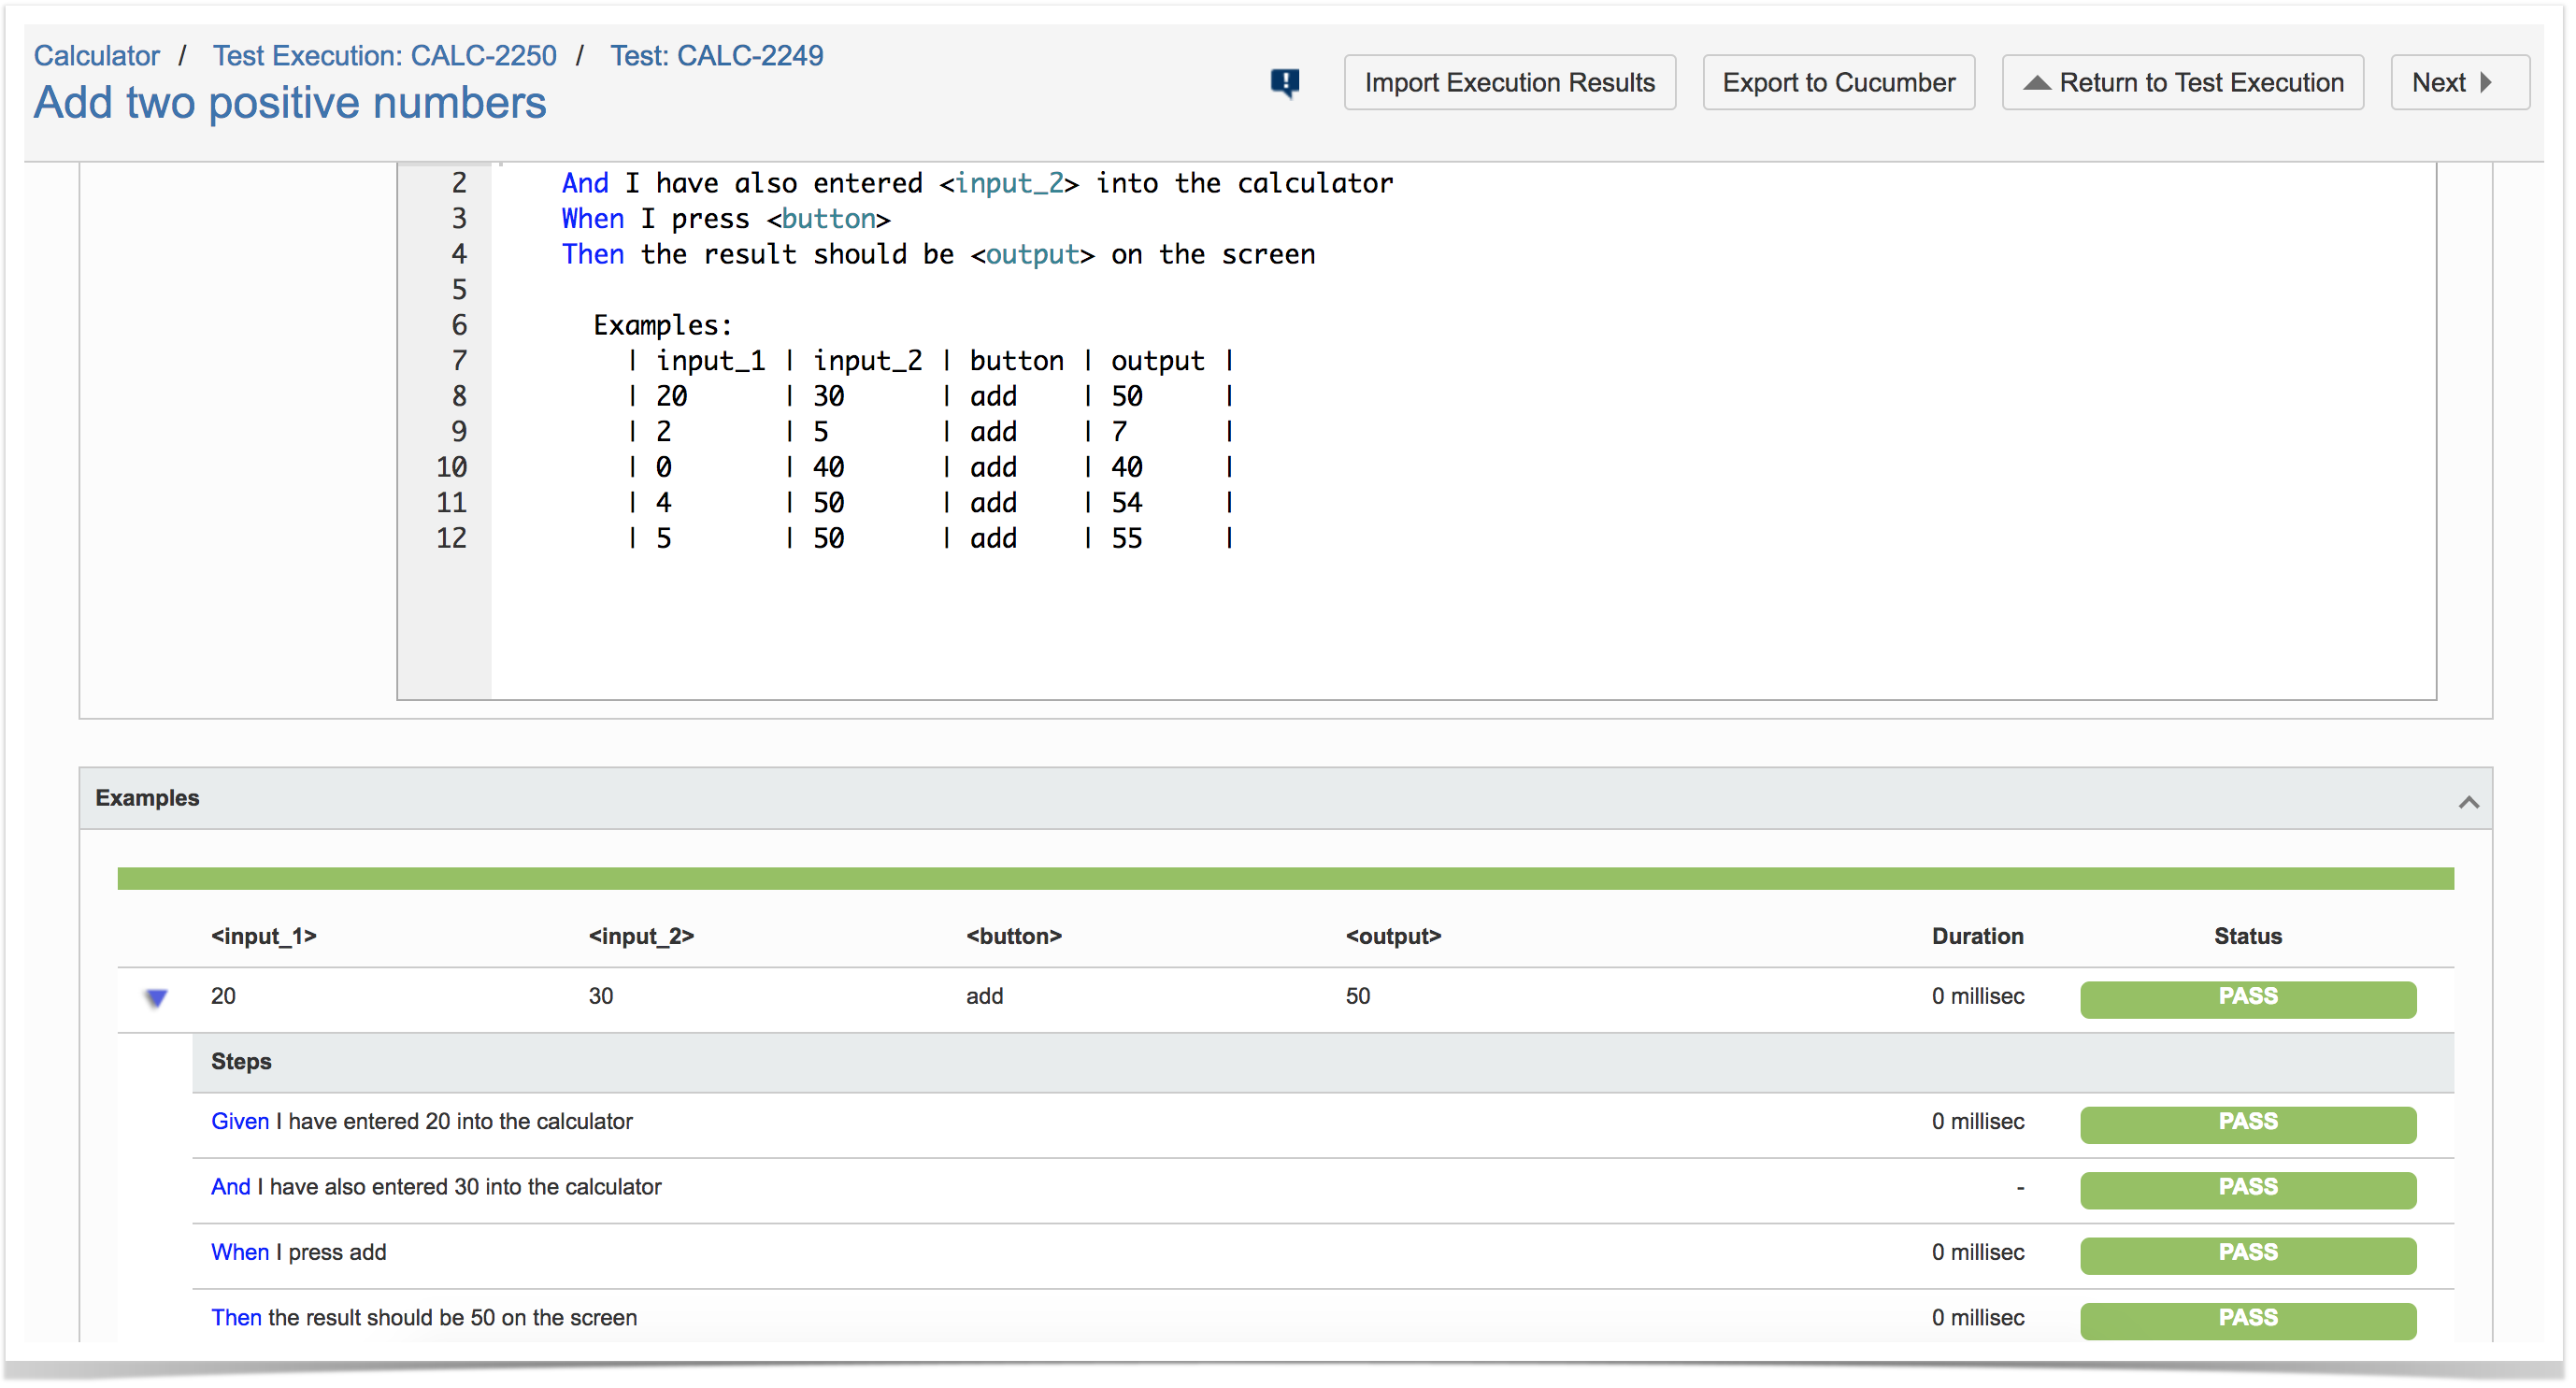
The execution screen details will not only provide information on the overall test run result, but also of each of the examples provided in the Scenario Outline and on the respective steps.
Managing the Scenario specification in your IDE, in Git or in other VCS
In this case you are using your IDE as means to write/edit the Scenarios and eventually persist them in the VCS (e.g. Git, SVN, other) so they can be run during Continuous Integration.
| Info | ||
|---|---|---|
| ||
Please see for an overview on how to use Cucumber Tests with Xray. |
...