Step 1: Click the Create Issue at the top of the screen to open the Create Issue dialog / page.
Step 2: Select the Project and on Issue Type,select Test Set.
Step 3: Type a Summary for the Test Set and complete all appropriate fields — at least, the required ones marked by an asterisk.
Step 4: When you are satisfied with the content of your Test Set, click the Create button.
Warning
Please note that due to a Atlassian limitation on the issue creation you will not be able to define any Test specificity ( steps , or any cucumber details in case of a cucumber test) on the moment of creation. You will need tocreatethe "Test Set" issue and thenedit in order to add the Test Set information.
UI Step
Clone
To clone an existing Test Set issue:
Step 1: Open the Test Set you wish to clone.
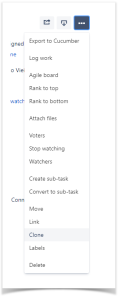
Step 2:Select More > Clone. The Clone Issue screen will appear.
Image RemovedImage Added
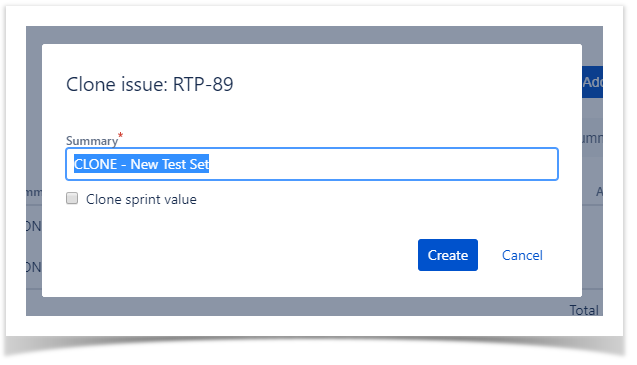
Step 3: Edit the clone Test Set's Summary if you wish.
Image RemovedImage Added
Step 4: Click Create.
Info
When cloning a Test Set issue, all the Test issue associations will also be cloned. Also:
If the test set contains links to other issue(s), you can select whether or not to include the links in the new clone test set.
If the test set contains sub-tasks, you can select whether or not to create the sub-tasks in the new clone test set.
And after the issue is created, its page will be opened.
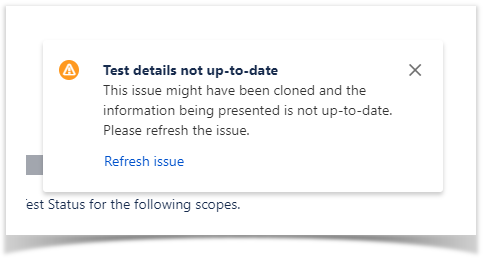
On some occasions the cloned issue page may open before the Xray information is actually cloned and as a result the new Test will appear empty.
When this happens the following information will be shown:
Image Added
By clicking "Refresh issue", the issue page will be reloaded and the cloned information will be visible
If the test set contains attachments, you can select whether or not to include the attachments in the new clone test set