
Page History
...
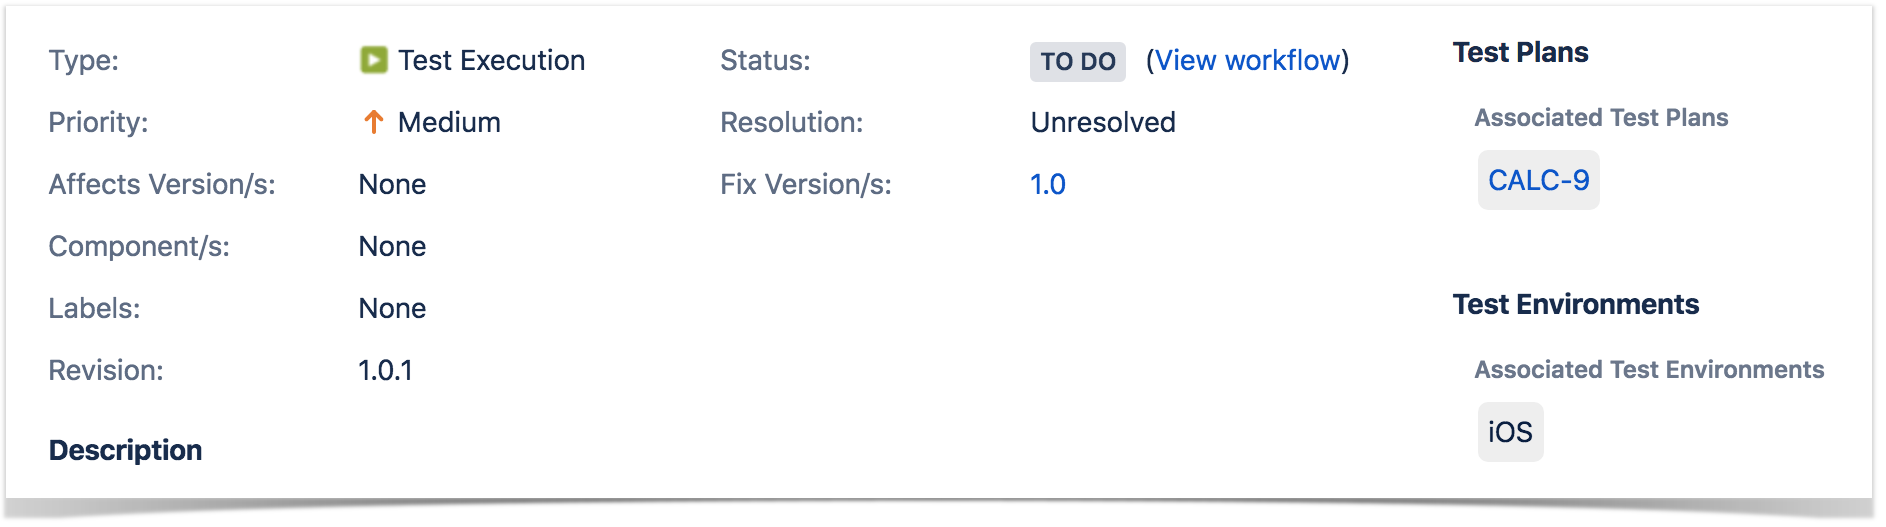
These custom fields are located in the native Jira sections: the Revision can be found in the Details section of the Test Execution issue while the Begin and End dates are located in the Dates sectionright column (issue details).
| Section |
|---|
| Column | ||
|---|---|---|
| ||
|


Sections
Xray contributes an additional section to the Test Execution view issue screen.
...
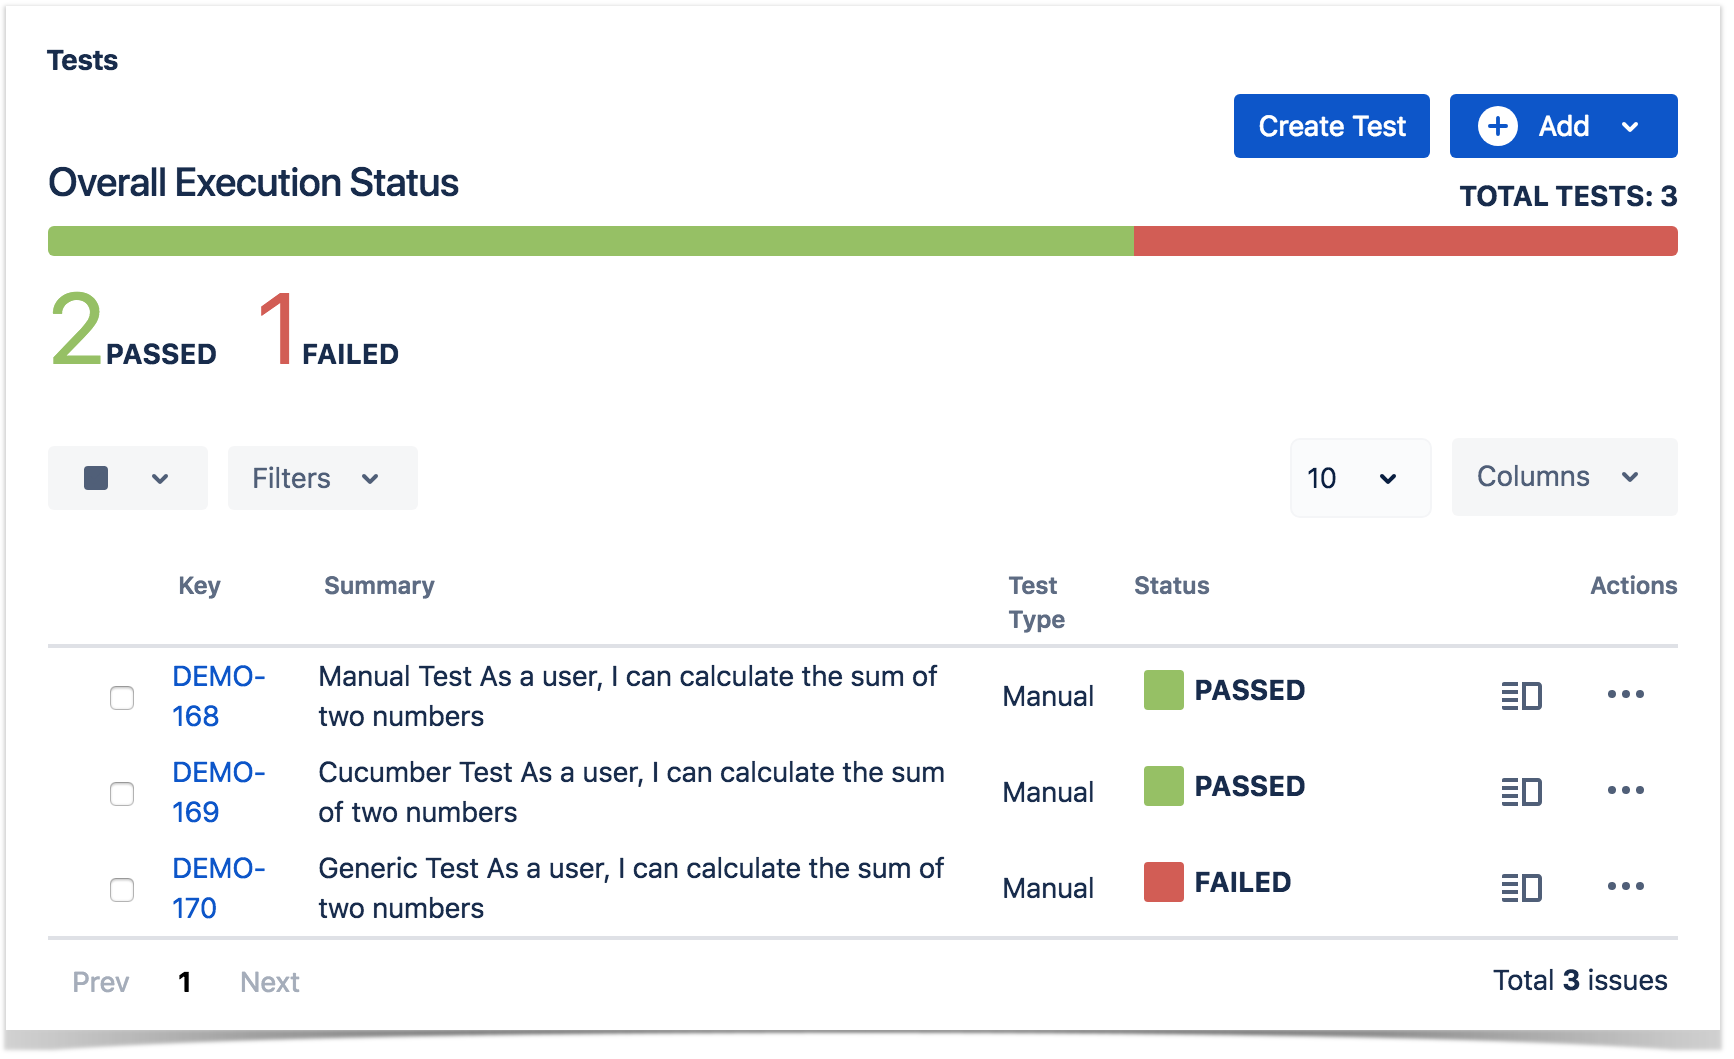
It is possible to filter tests by status in Test Execution Progress Bar as shown in the image below:

Test Run Filters
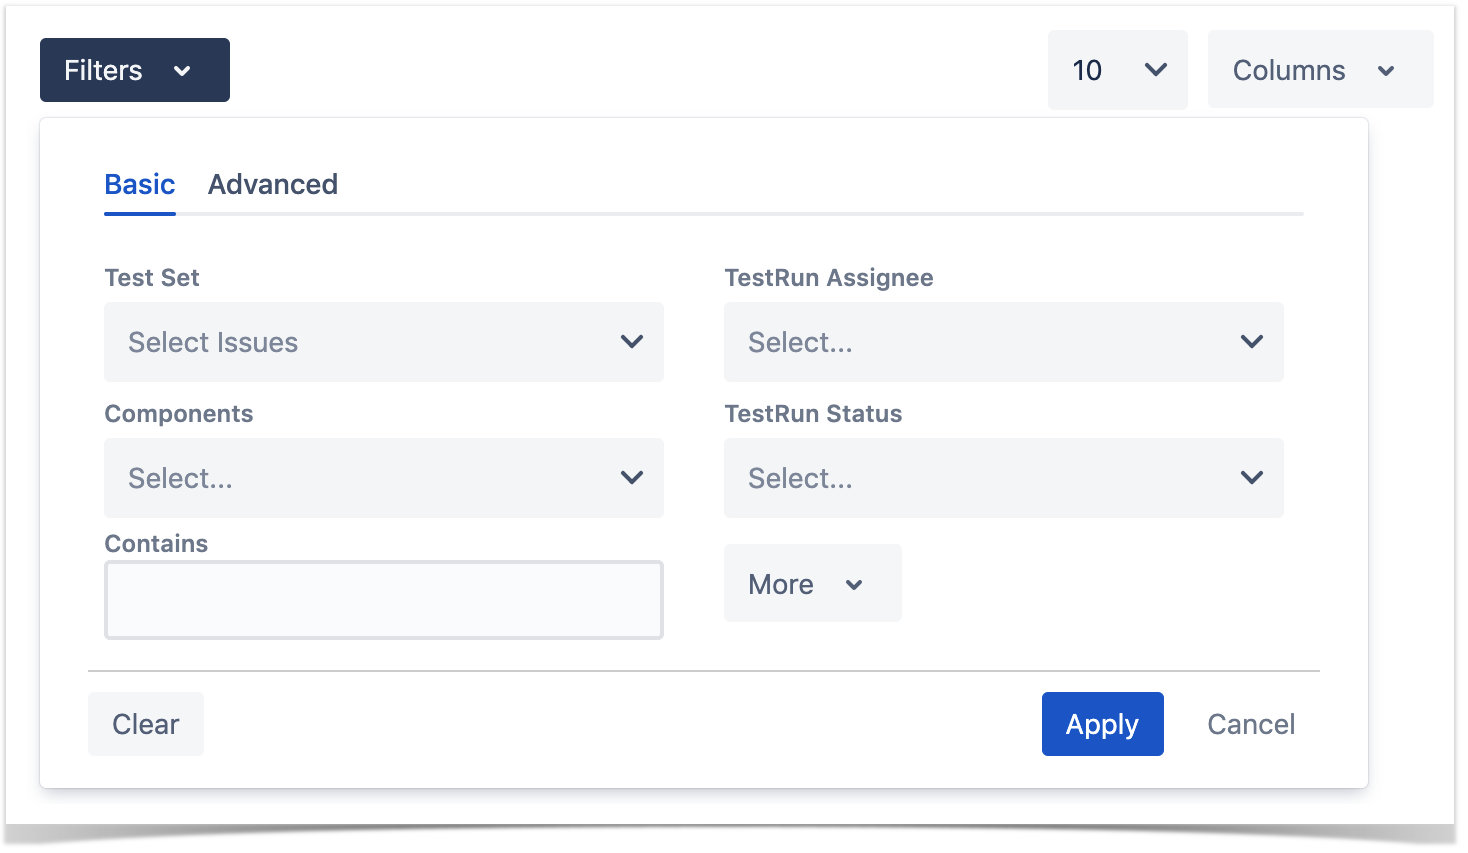
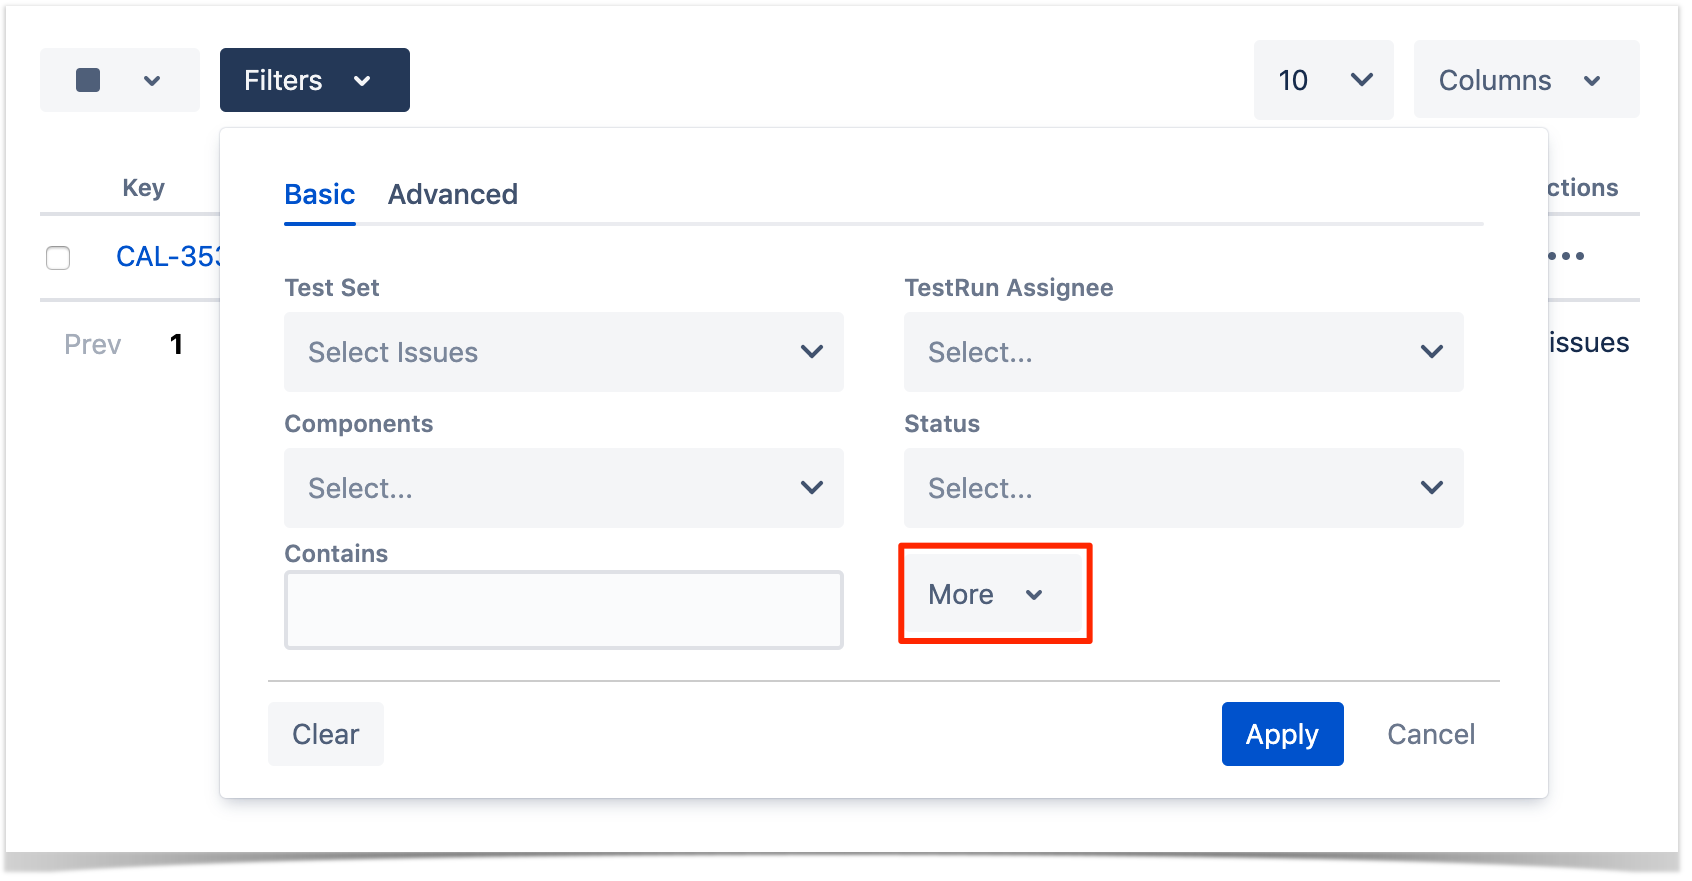
A filter section is present above the Test Runs table to allow you to filter Test Runs by Assignee, Status, Test Set, Components or open text. It is also possible to add other fields to the filter by clicking on the More button and selecting the wanted fields.

Test Runs Table
...
When Xray is installed, the default columns are: Key Rank, Key, Summary, Test Type, Dataset, and Status and Action, where the Status is fixed and cannot be removed.

Actions
| Table of Contents | ||||
|---|---|---|---|---|
|
...
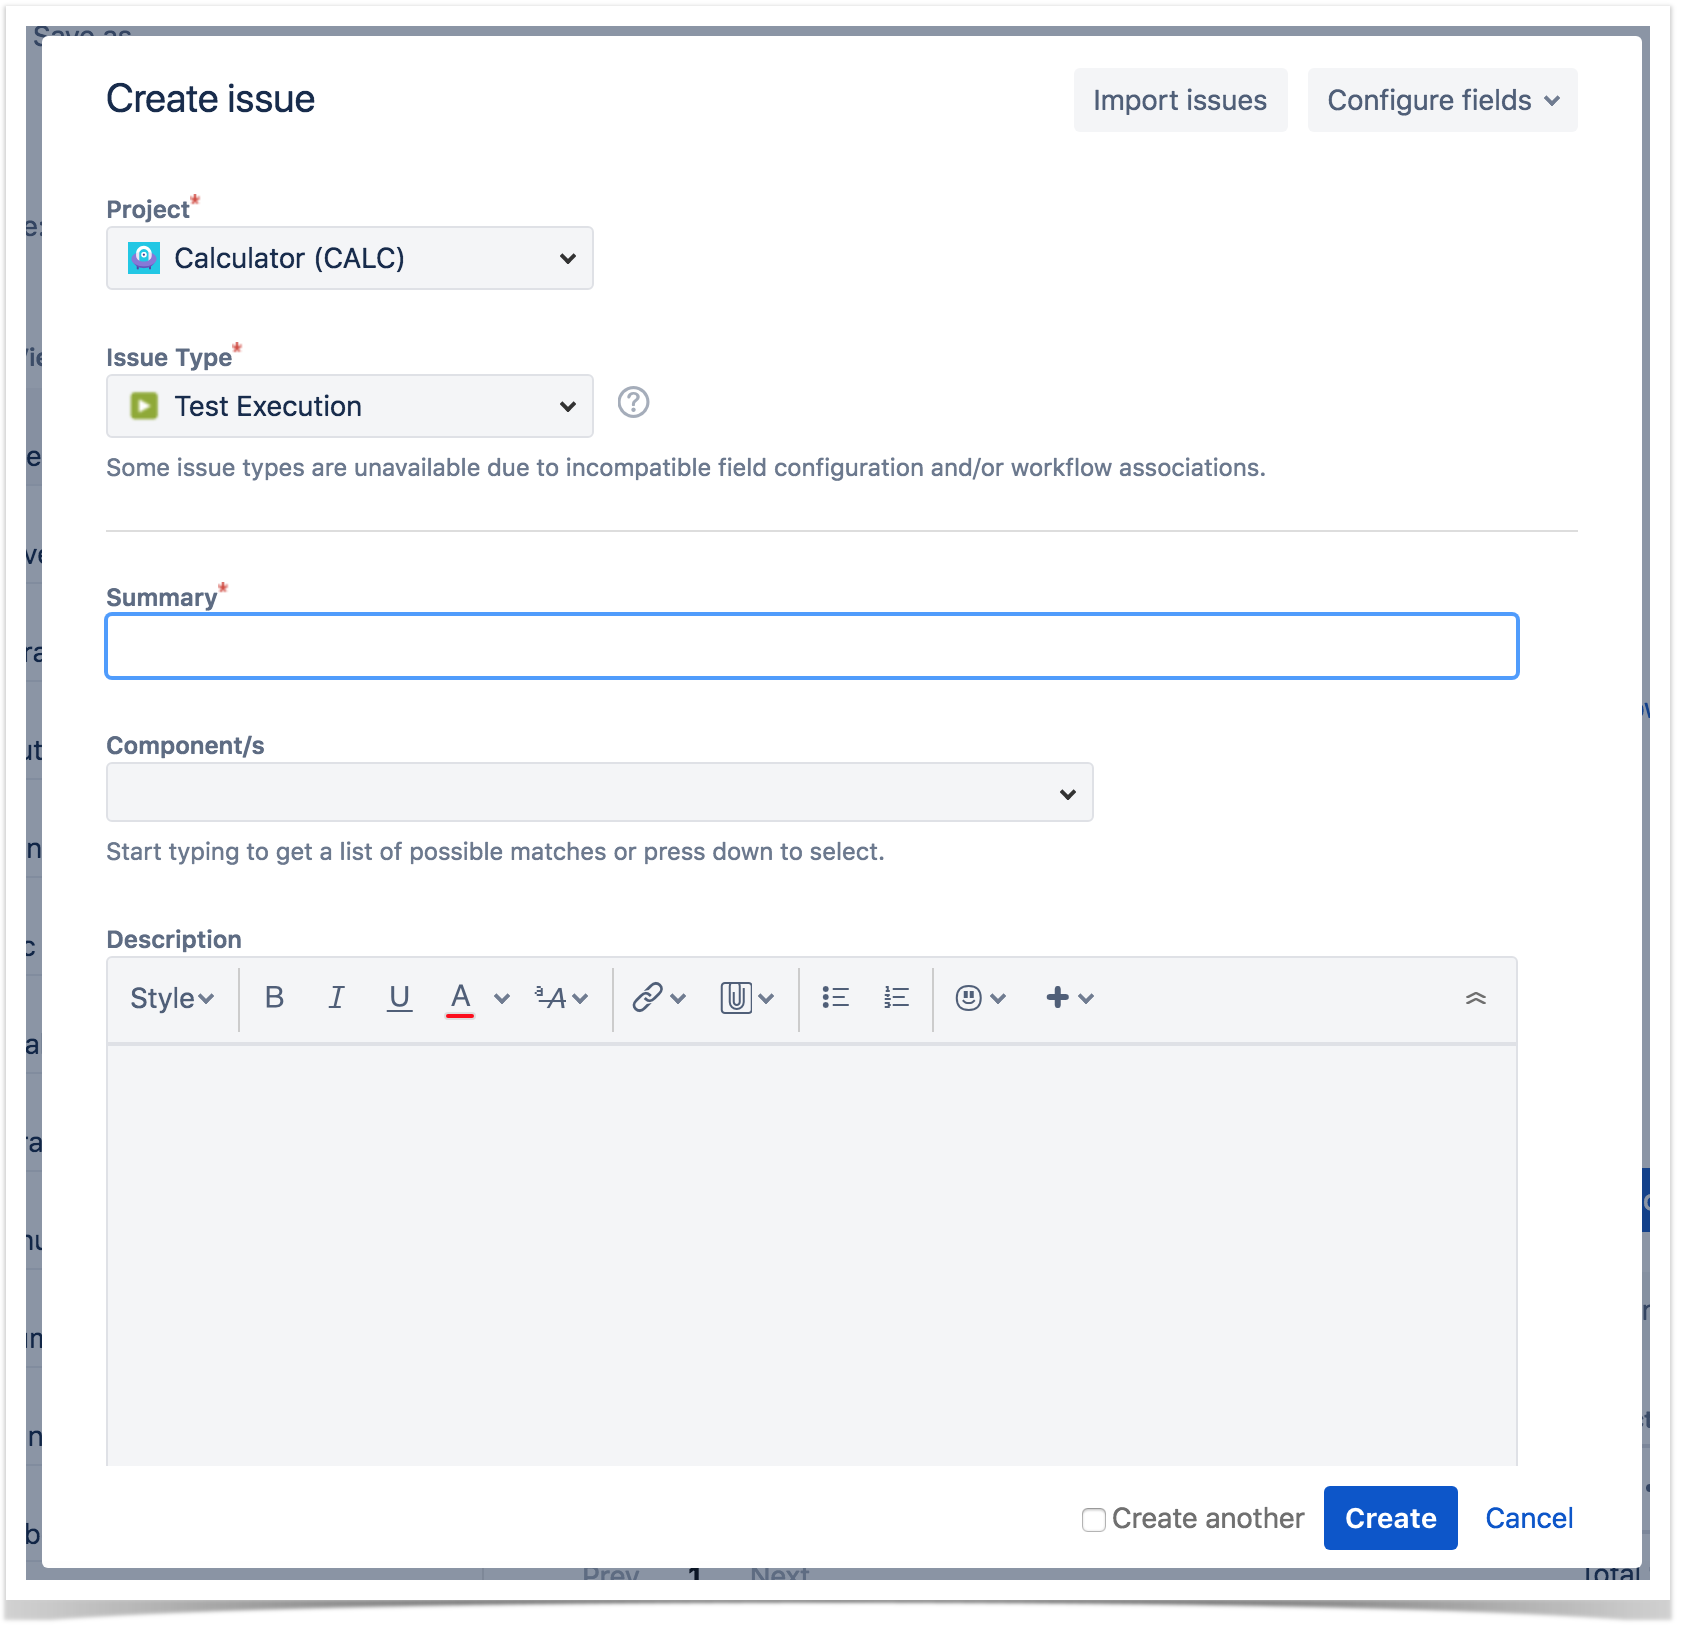
To create a new Test Execution Issue,
Step 1: Click the + at the left Create at the top of the screen to open the Create Issue dialog box / page or by pressing the key "C" on the keyboard.


Step 2: Select Project and on Issue Type, select Test Execution.
...
Step 5a: If you checked Create another, a new Create Issue dialog appears. This issue is automatically pre-populated with your previous test execution details, with the Summary field blank.

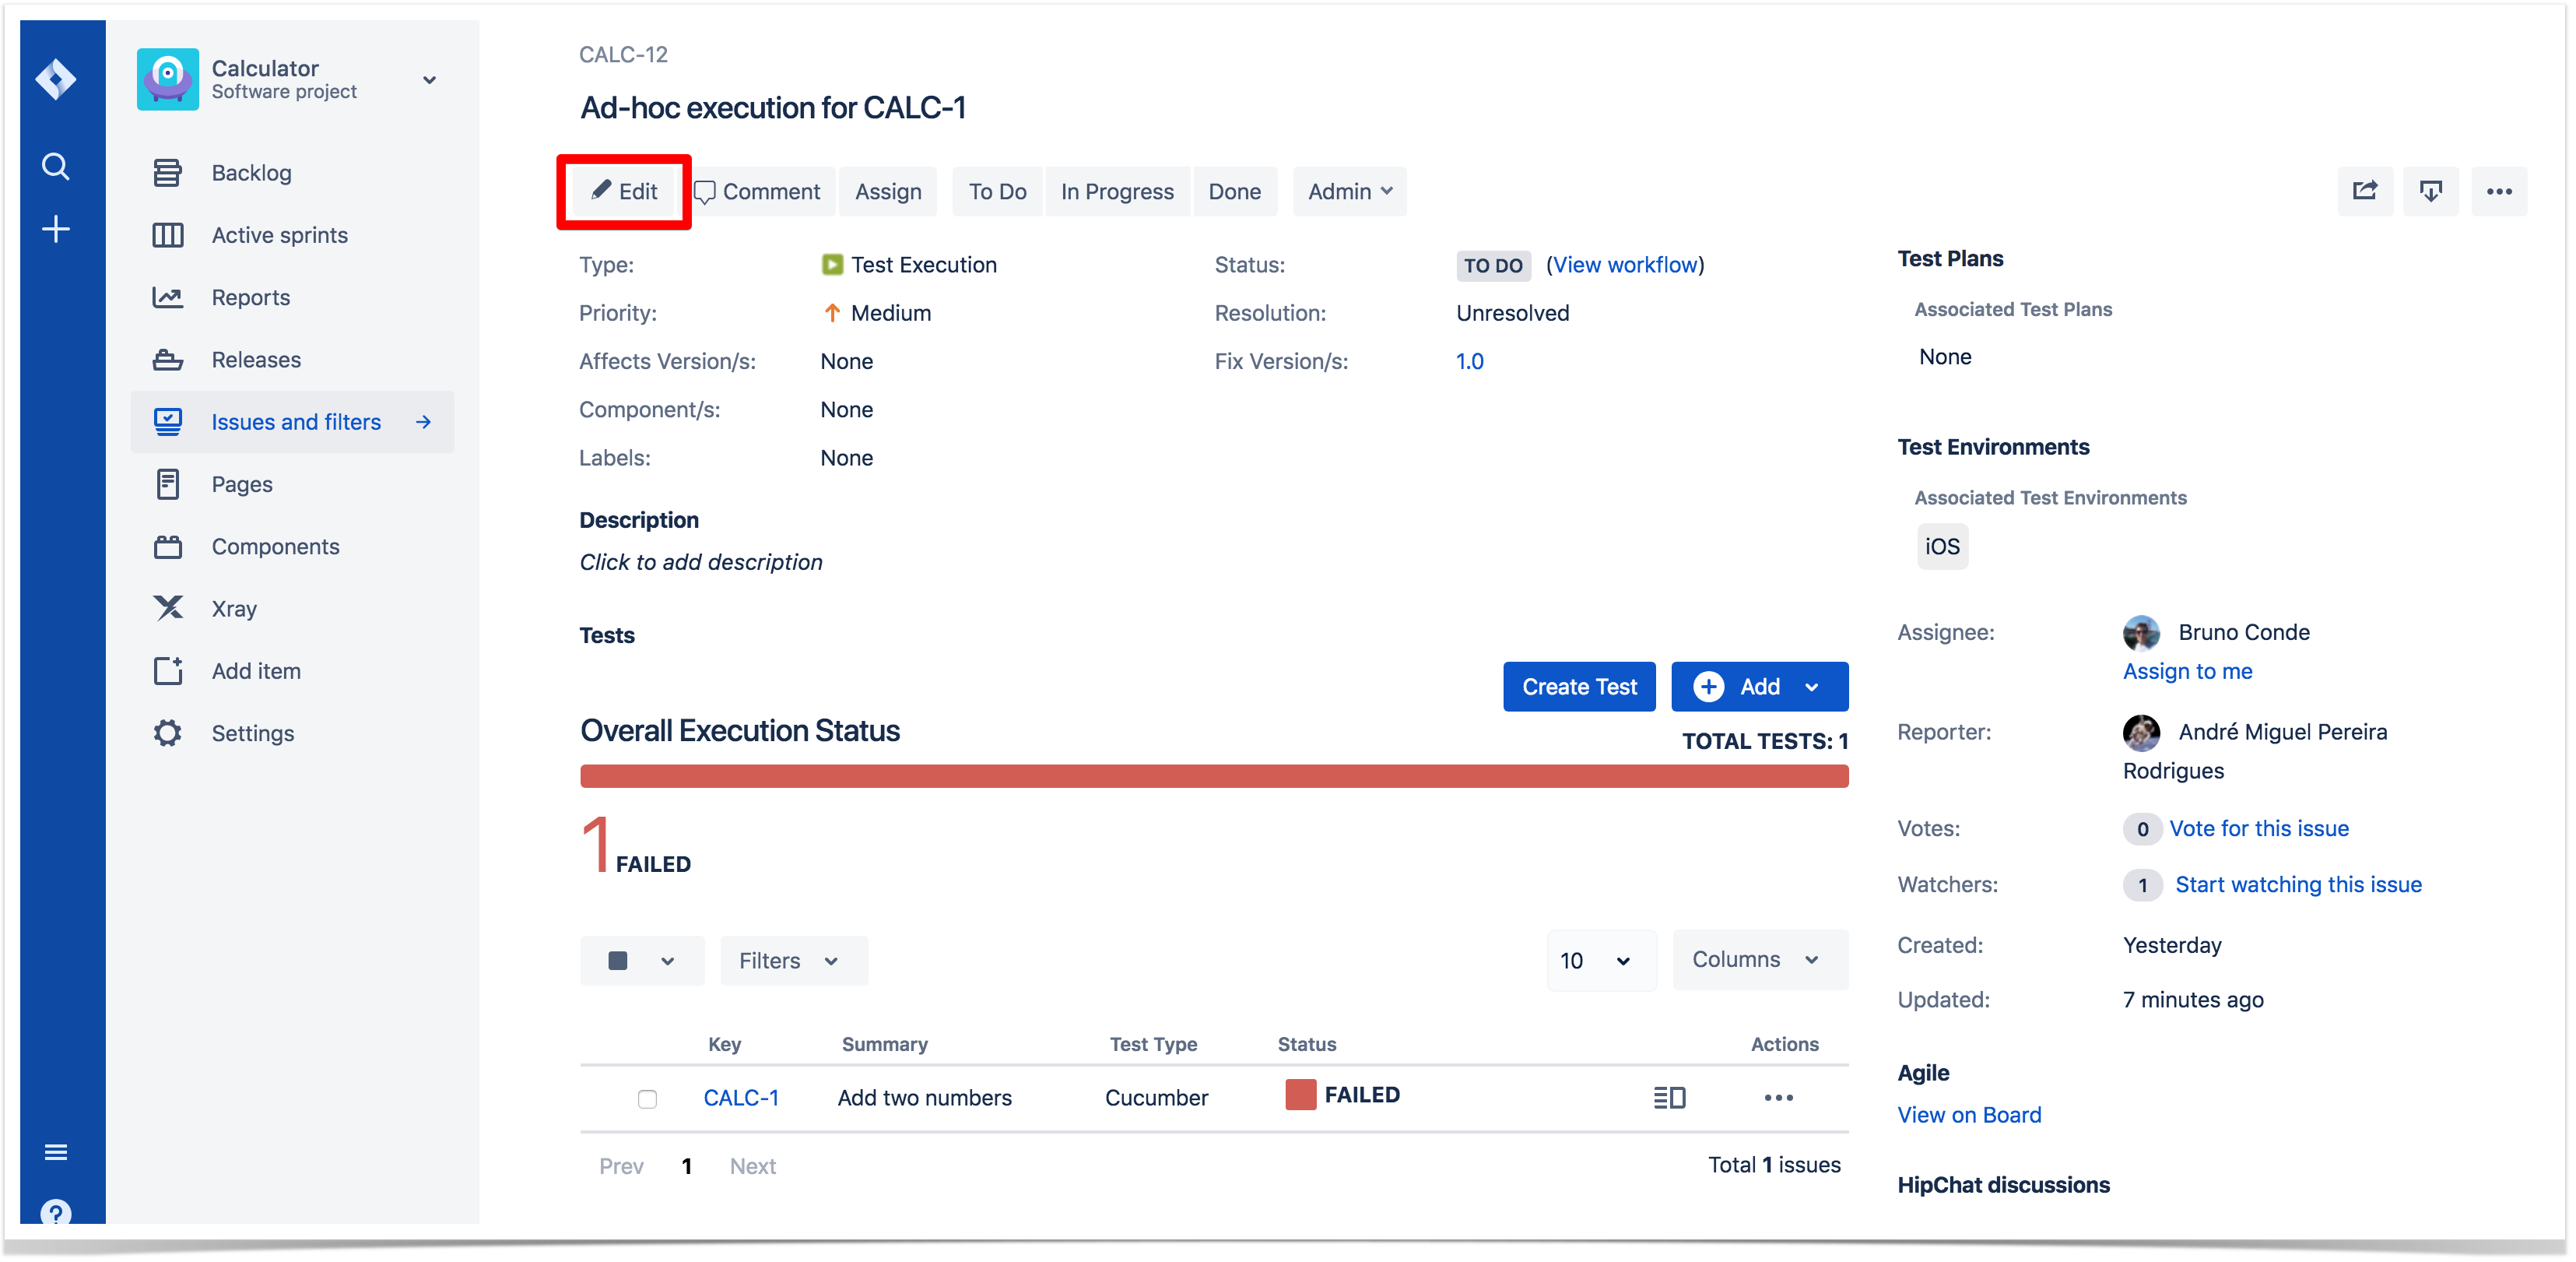
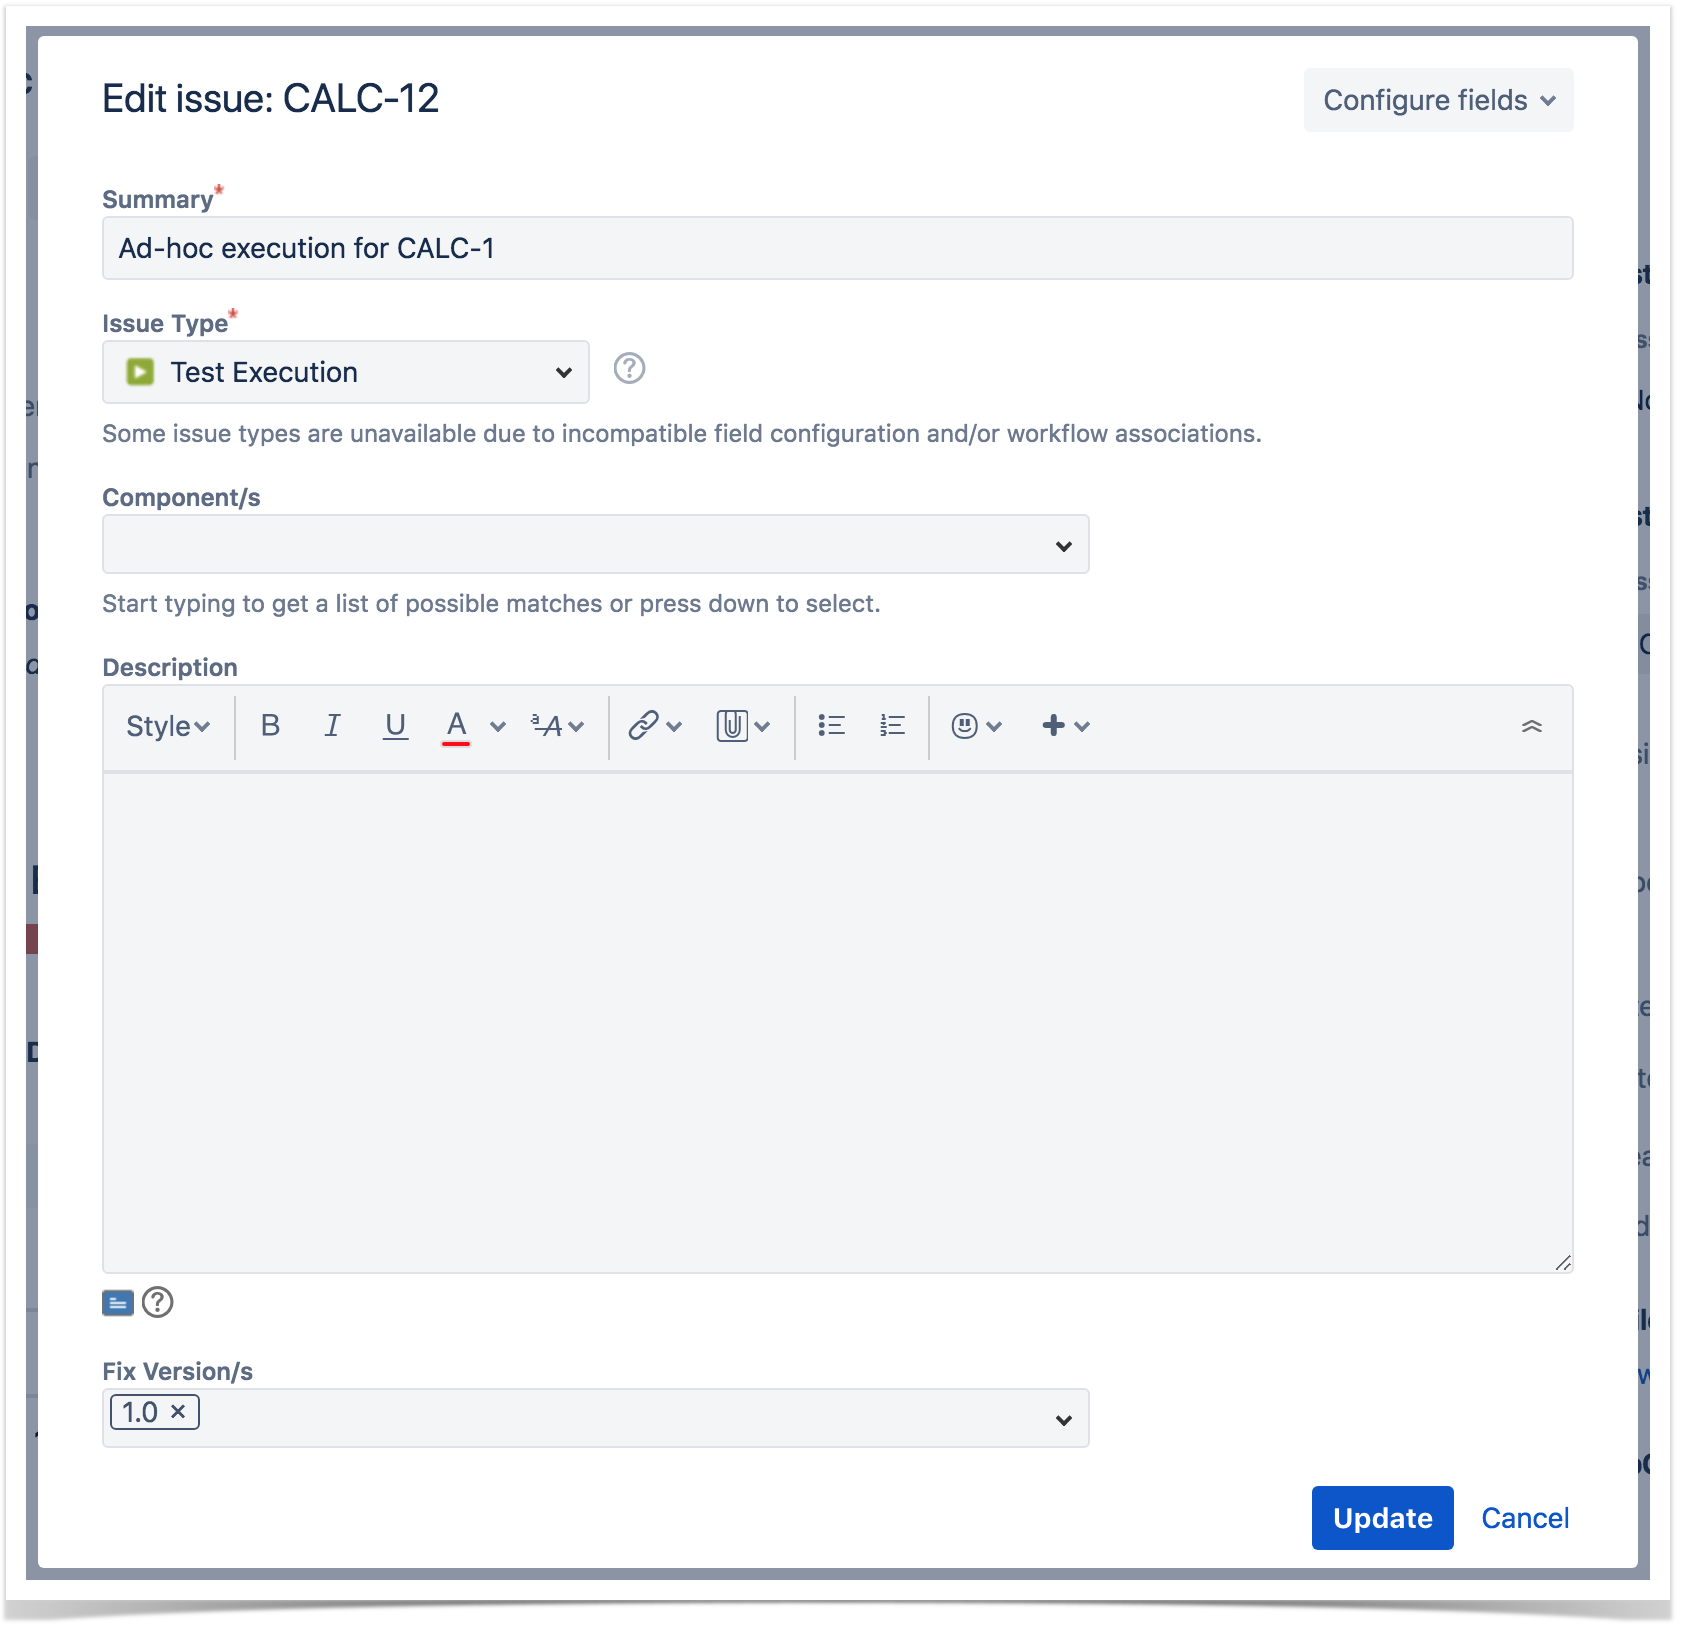
Edit
The Edit Issue dialog box / page is similar to the Create Issue dialog box / page:
Step 1: Locate the Test Execution you want to edit.
Step 2: Click Edit (at the top-left of the 'view issue' page) to open the Edit Issue dialog box / page.
Alternatively, hover Hover over a field and click the pencil icon on it to edit it inline.

Step 3: Modify your Test Execution details in the appropriate fields of the Edit Issue dialog box.
Step 4: Click Update : Click out of the edit field to save your changesit.
Clone
When cloning a Test Execution issue, all the Test issue associations will also be cloned. However, a new Test Run is created for each Test so that the new Test Execution issue has no execution state.
Test Environment associations will be cloned as well.
After this, an additional dialog will be shown.
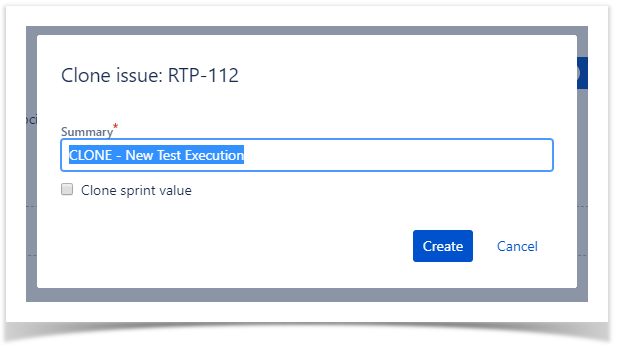
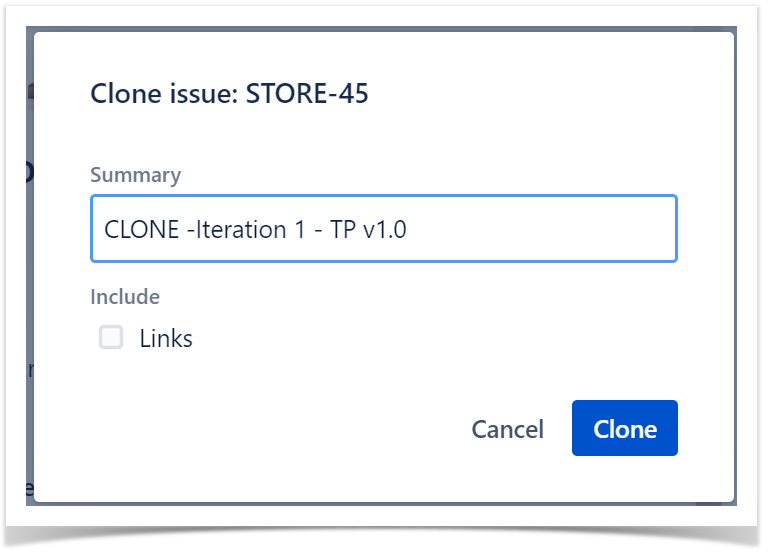
And after the issue is created, its page will be opened.
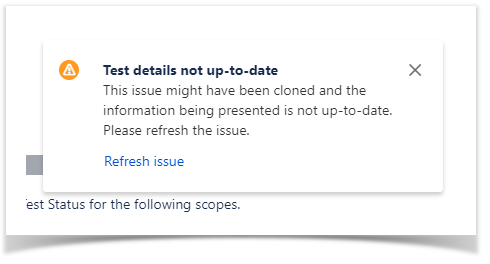
...
When this happens the following information will be shown:
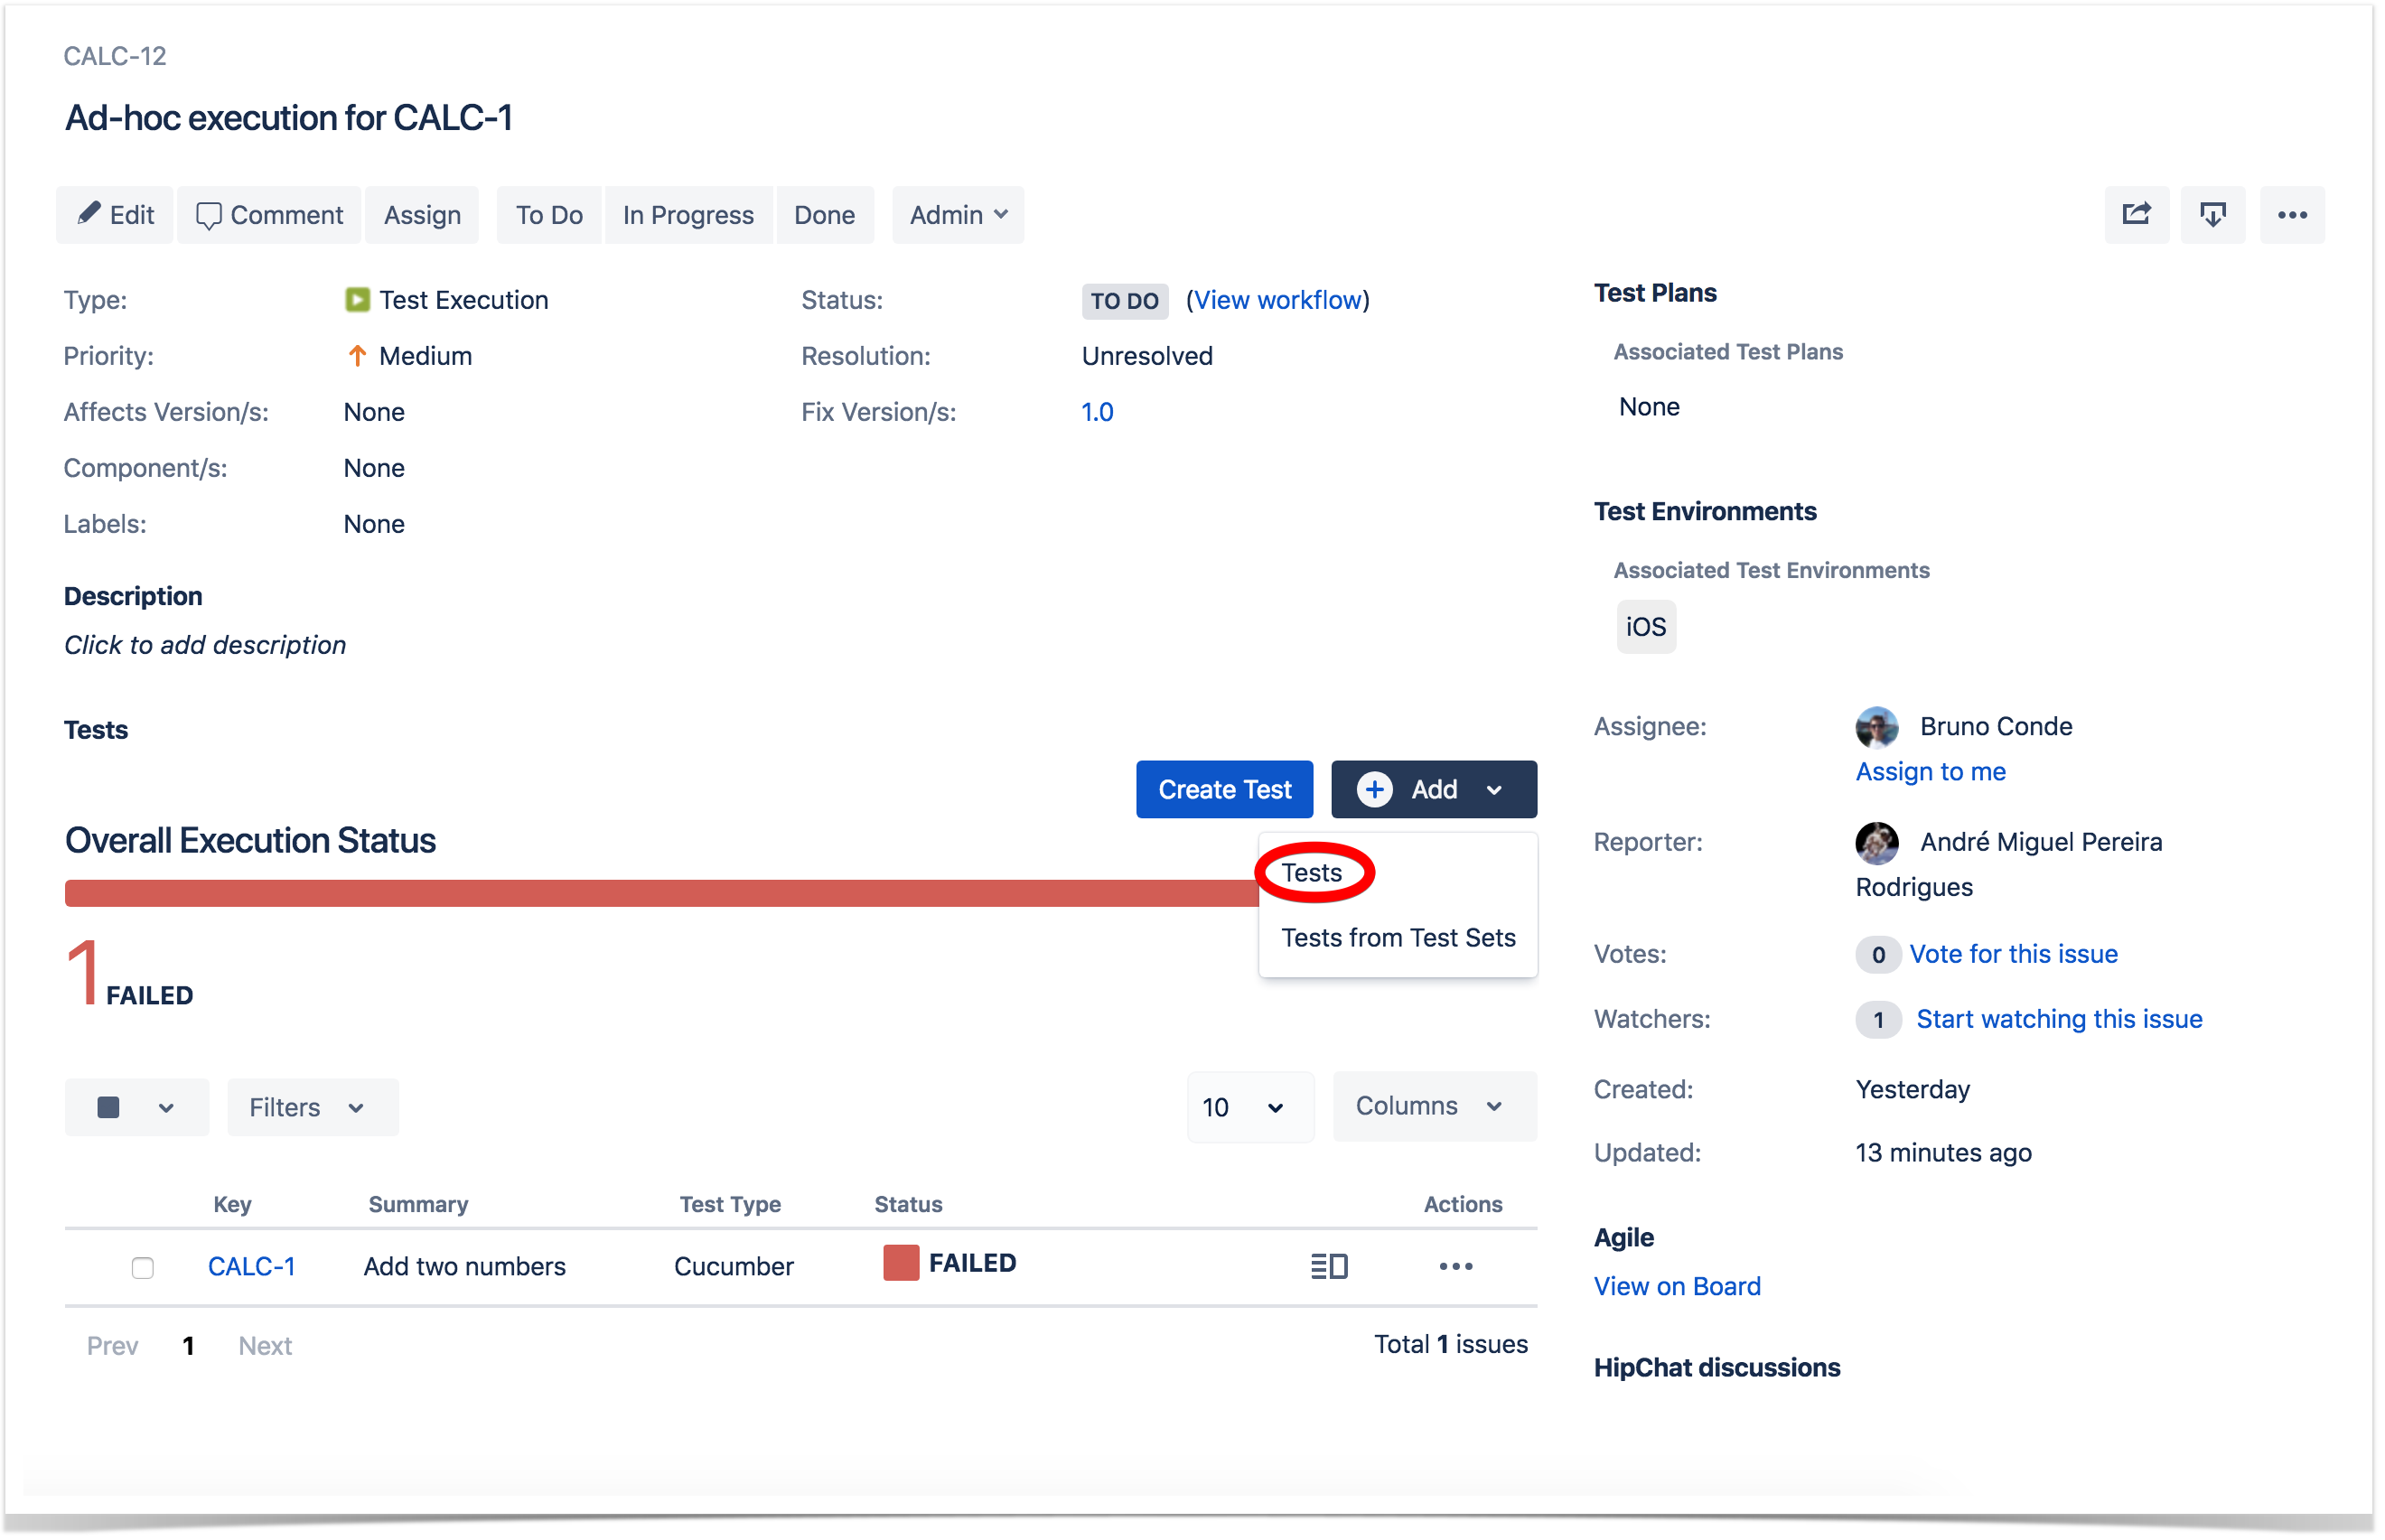
Adding Tests
...
Step 1: Open the Test Execution you wish to associate a Test with.
Step 2: Select Add Tests > Existing Tests (under the Tests tab section on the view page) to open the Add Tests dialog box.

Step 3: Select or search the Test issues to be associated with the Test Execution:
...
- Input the desired Test Issue Key on the Tests field.
- Click on the Down Arrow on the Tests field and select the Test from its History Search list.

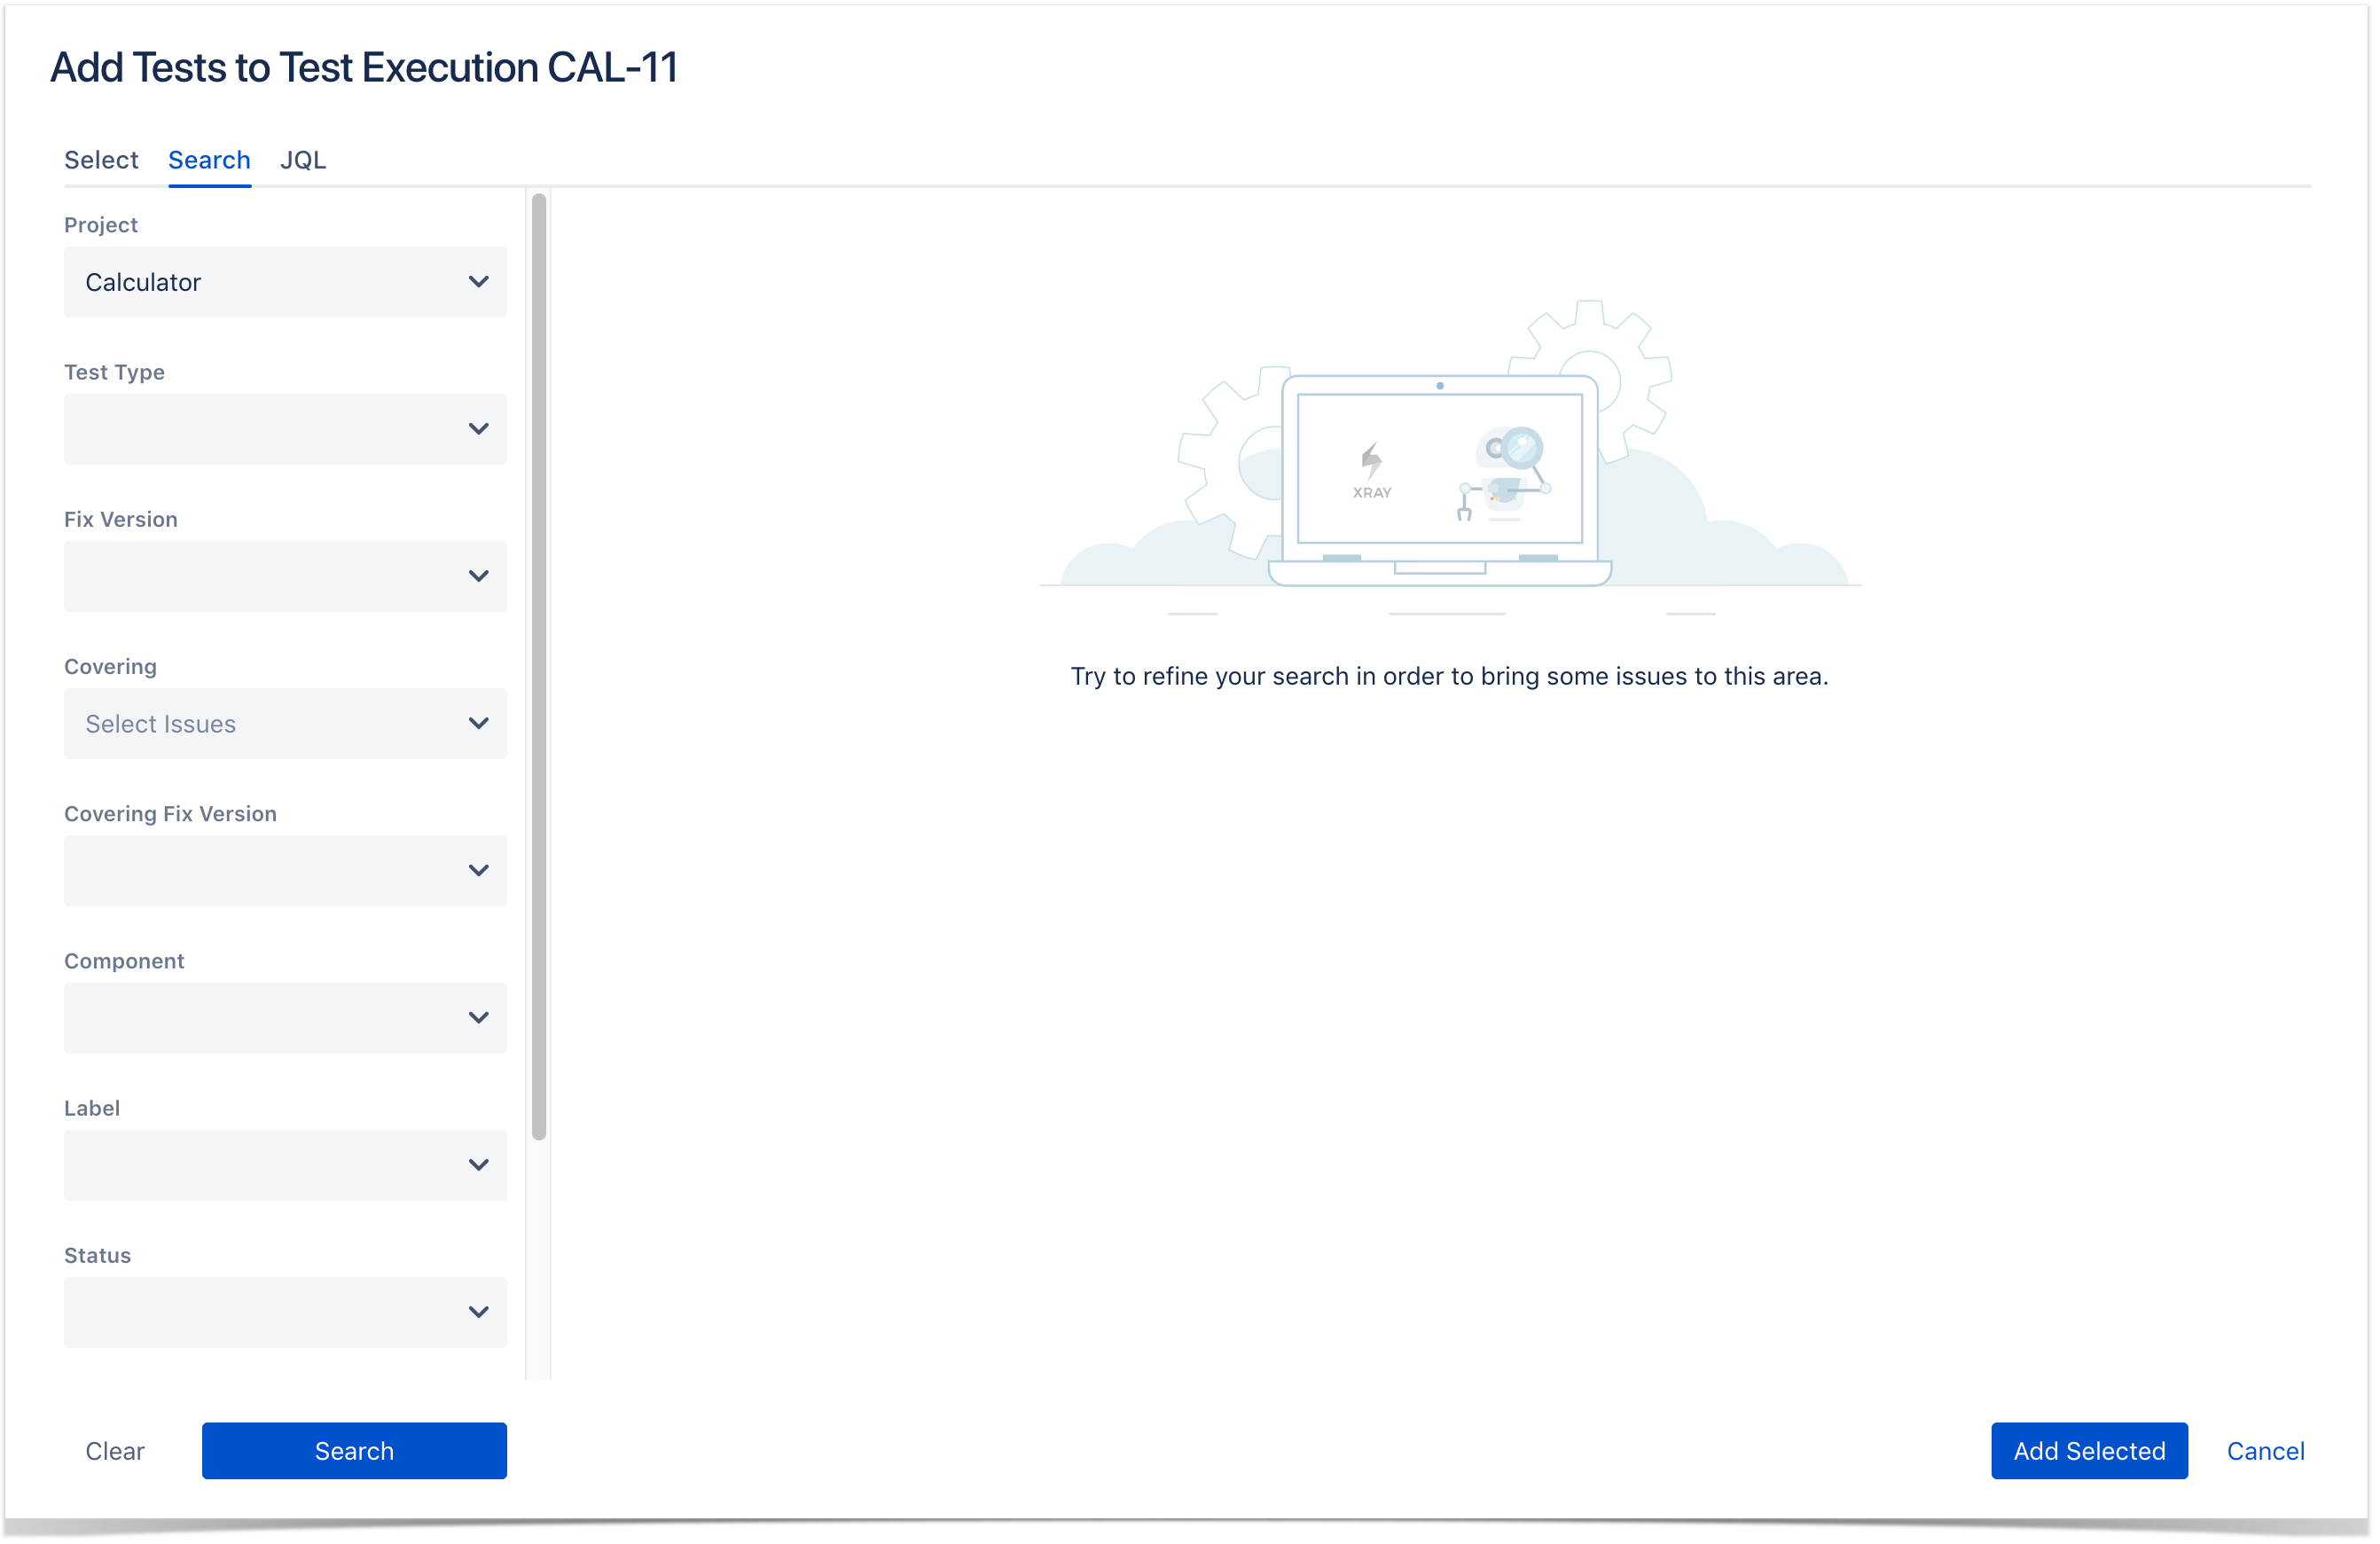
To search for Tests to be associated, you can, under the Search tab:
...
- Click on the Search button after filling the browse fields to get a list of matching entries

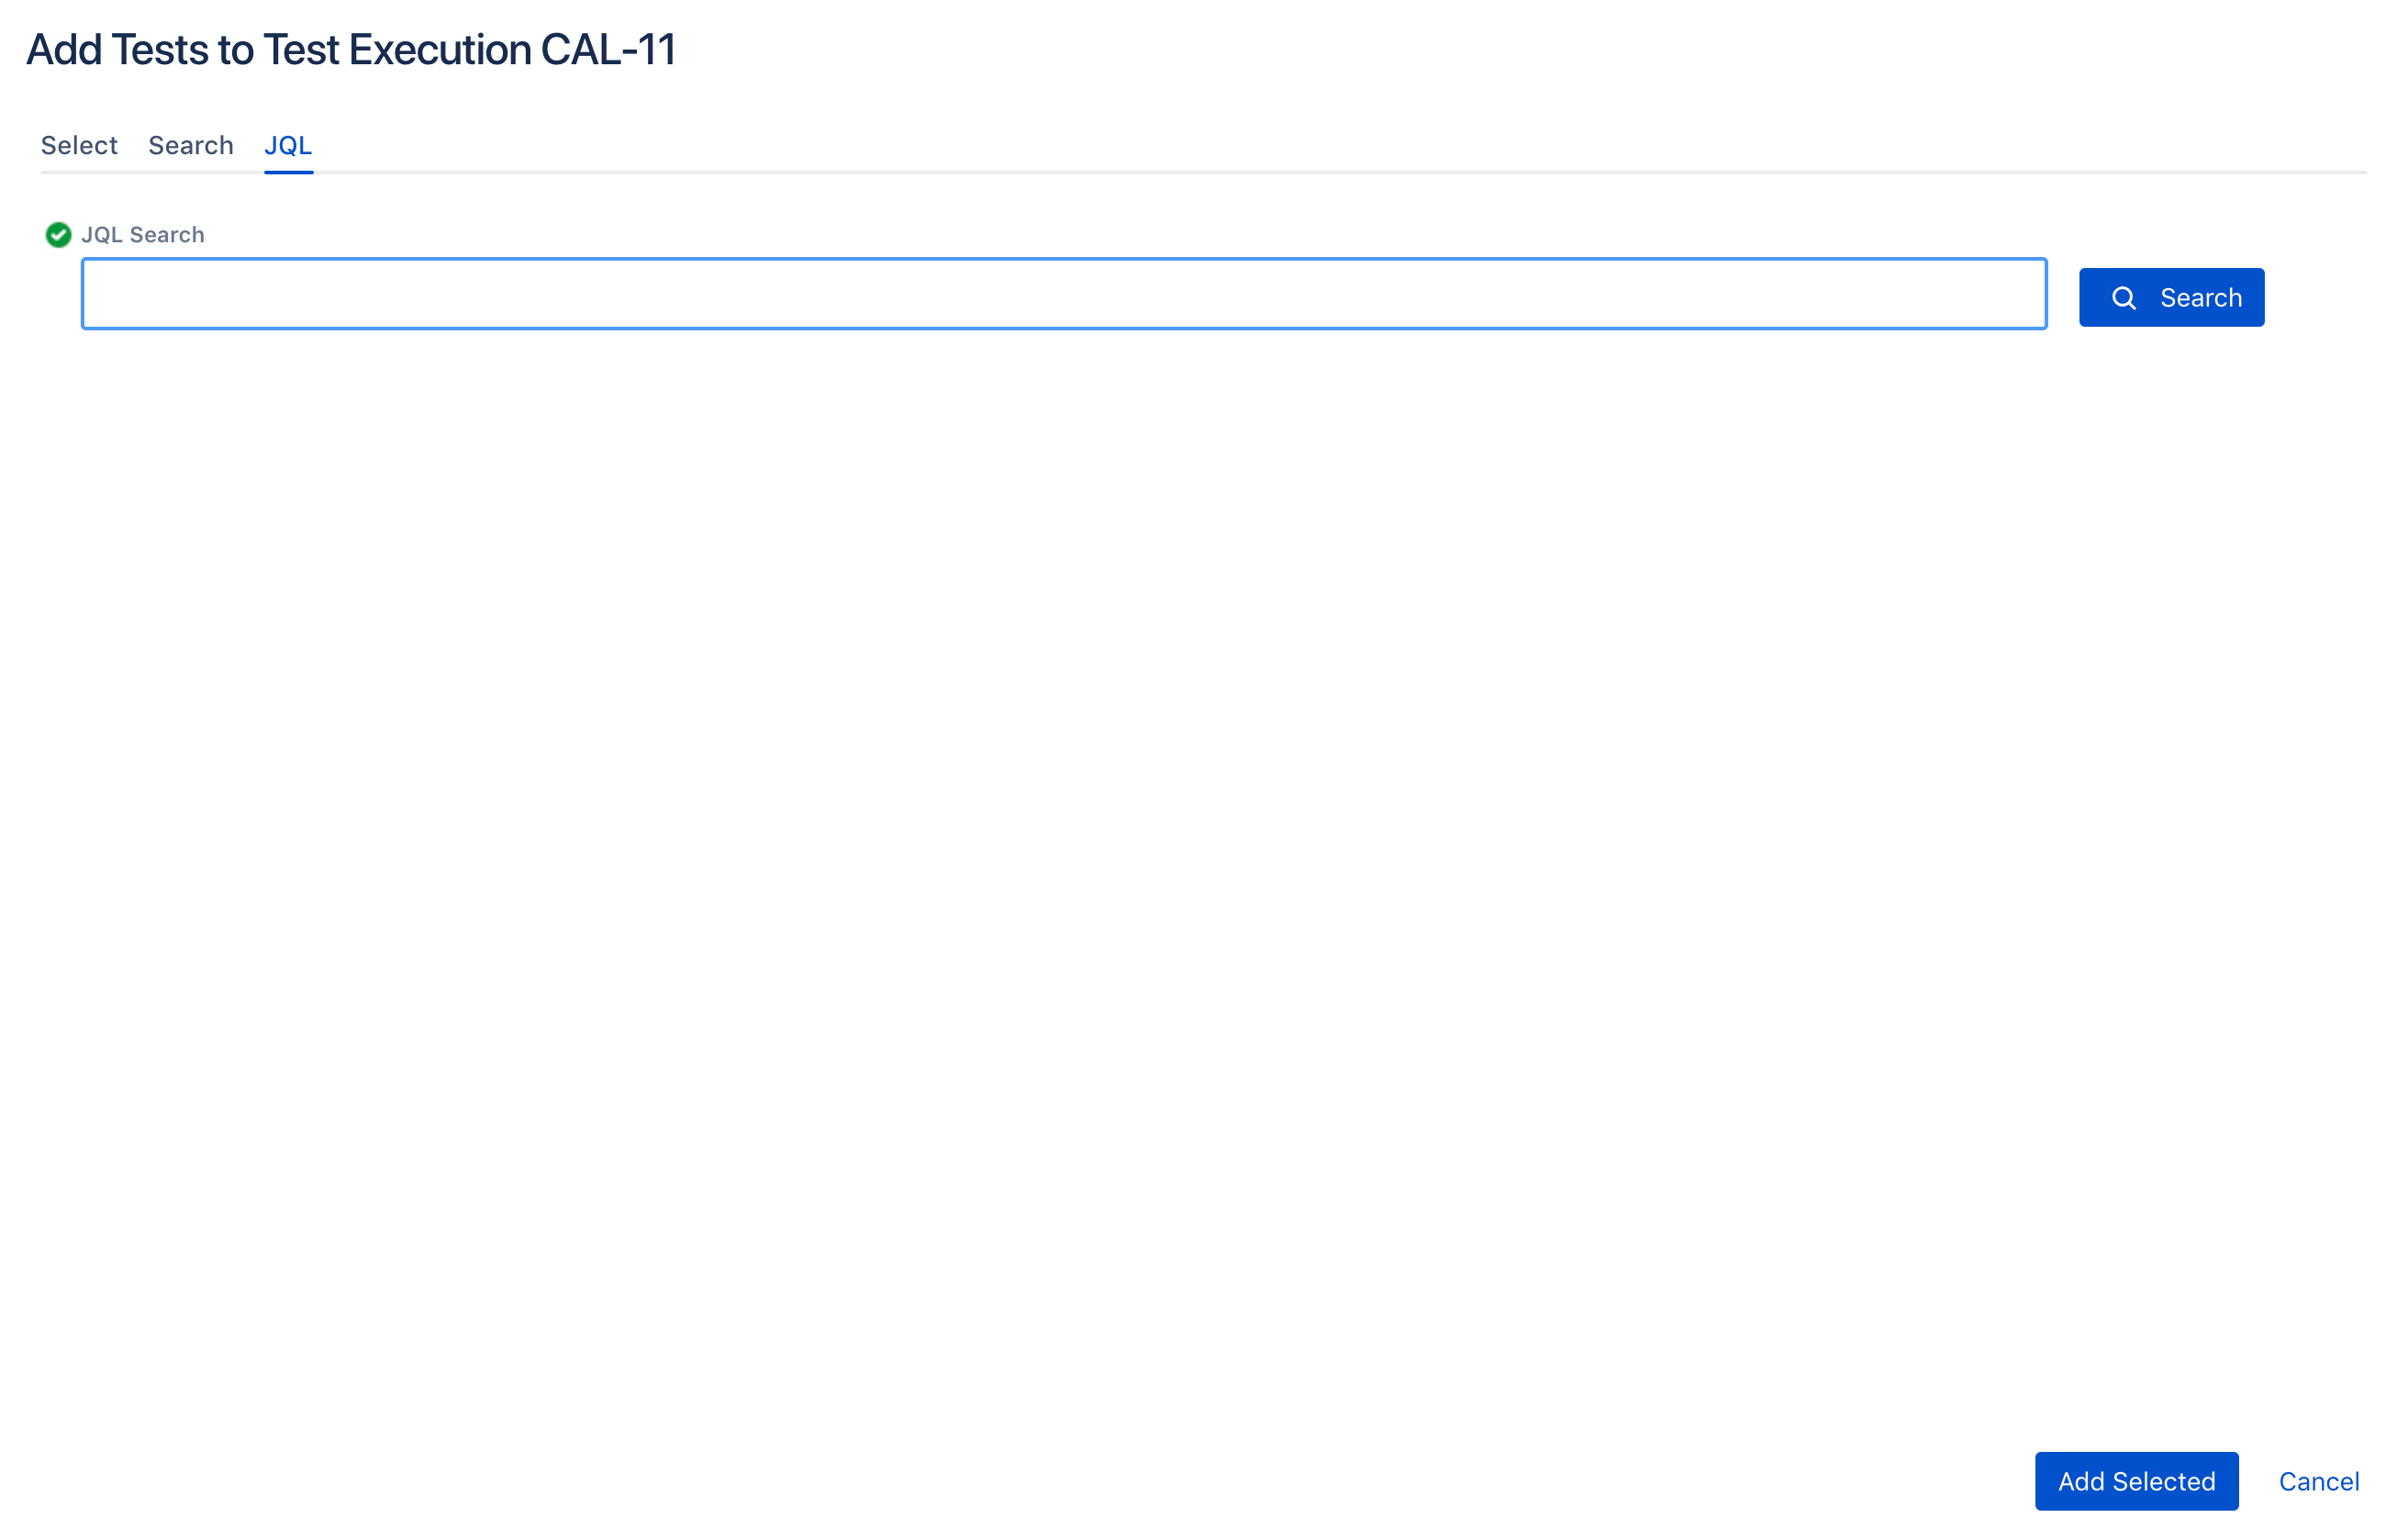
To search for Preconditions to Tests to be associated you can: under the JQL tab:
- Write the desired JQL search
- Click on the Search button perform the JQL search and to get a list of the matching entries (more details about JQL here)


Step 4: Click Add Selected.
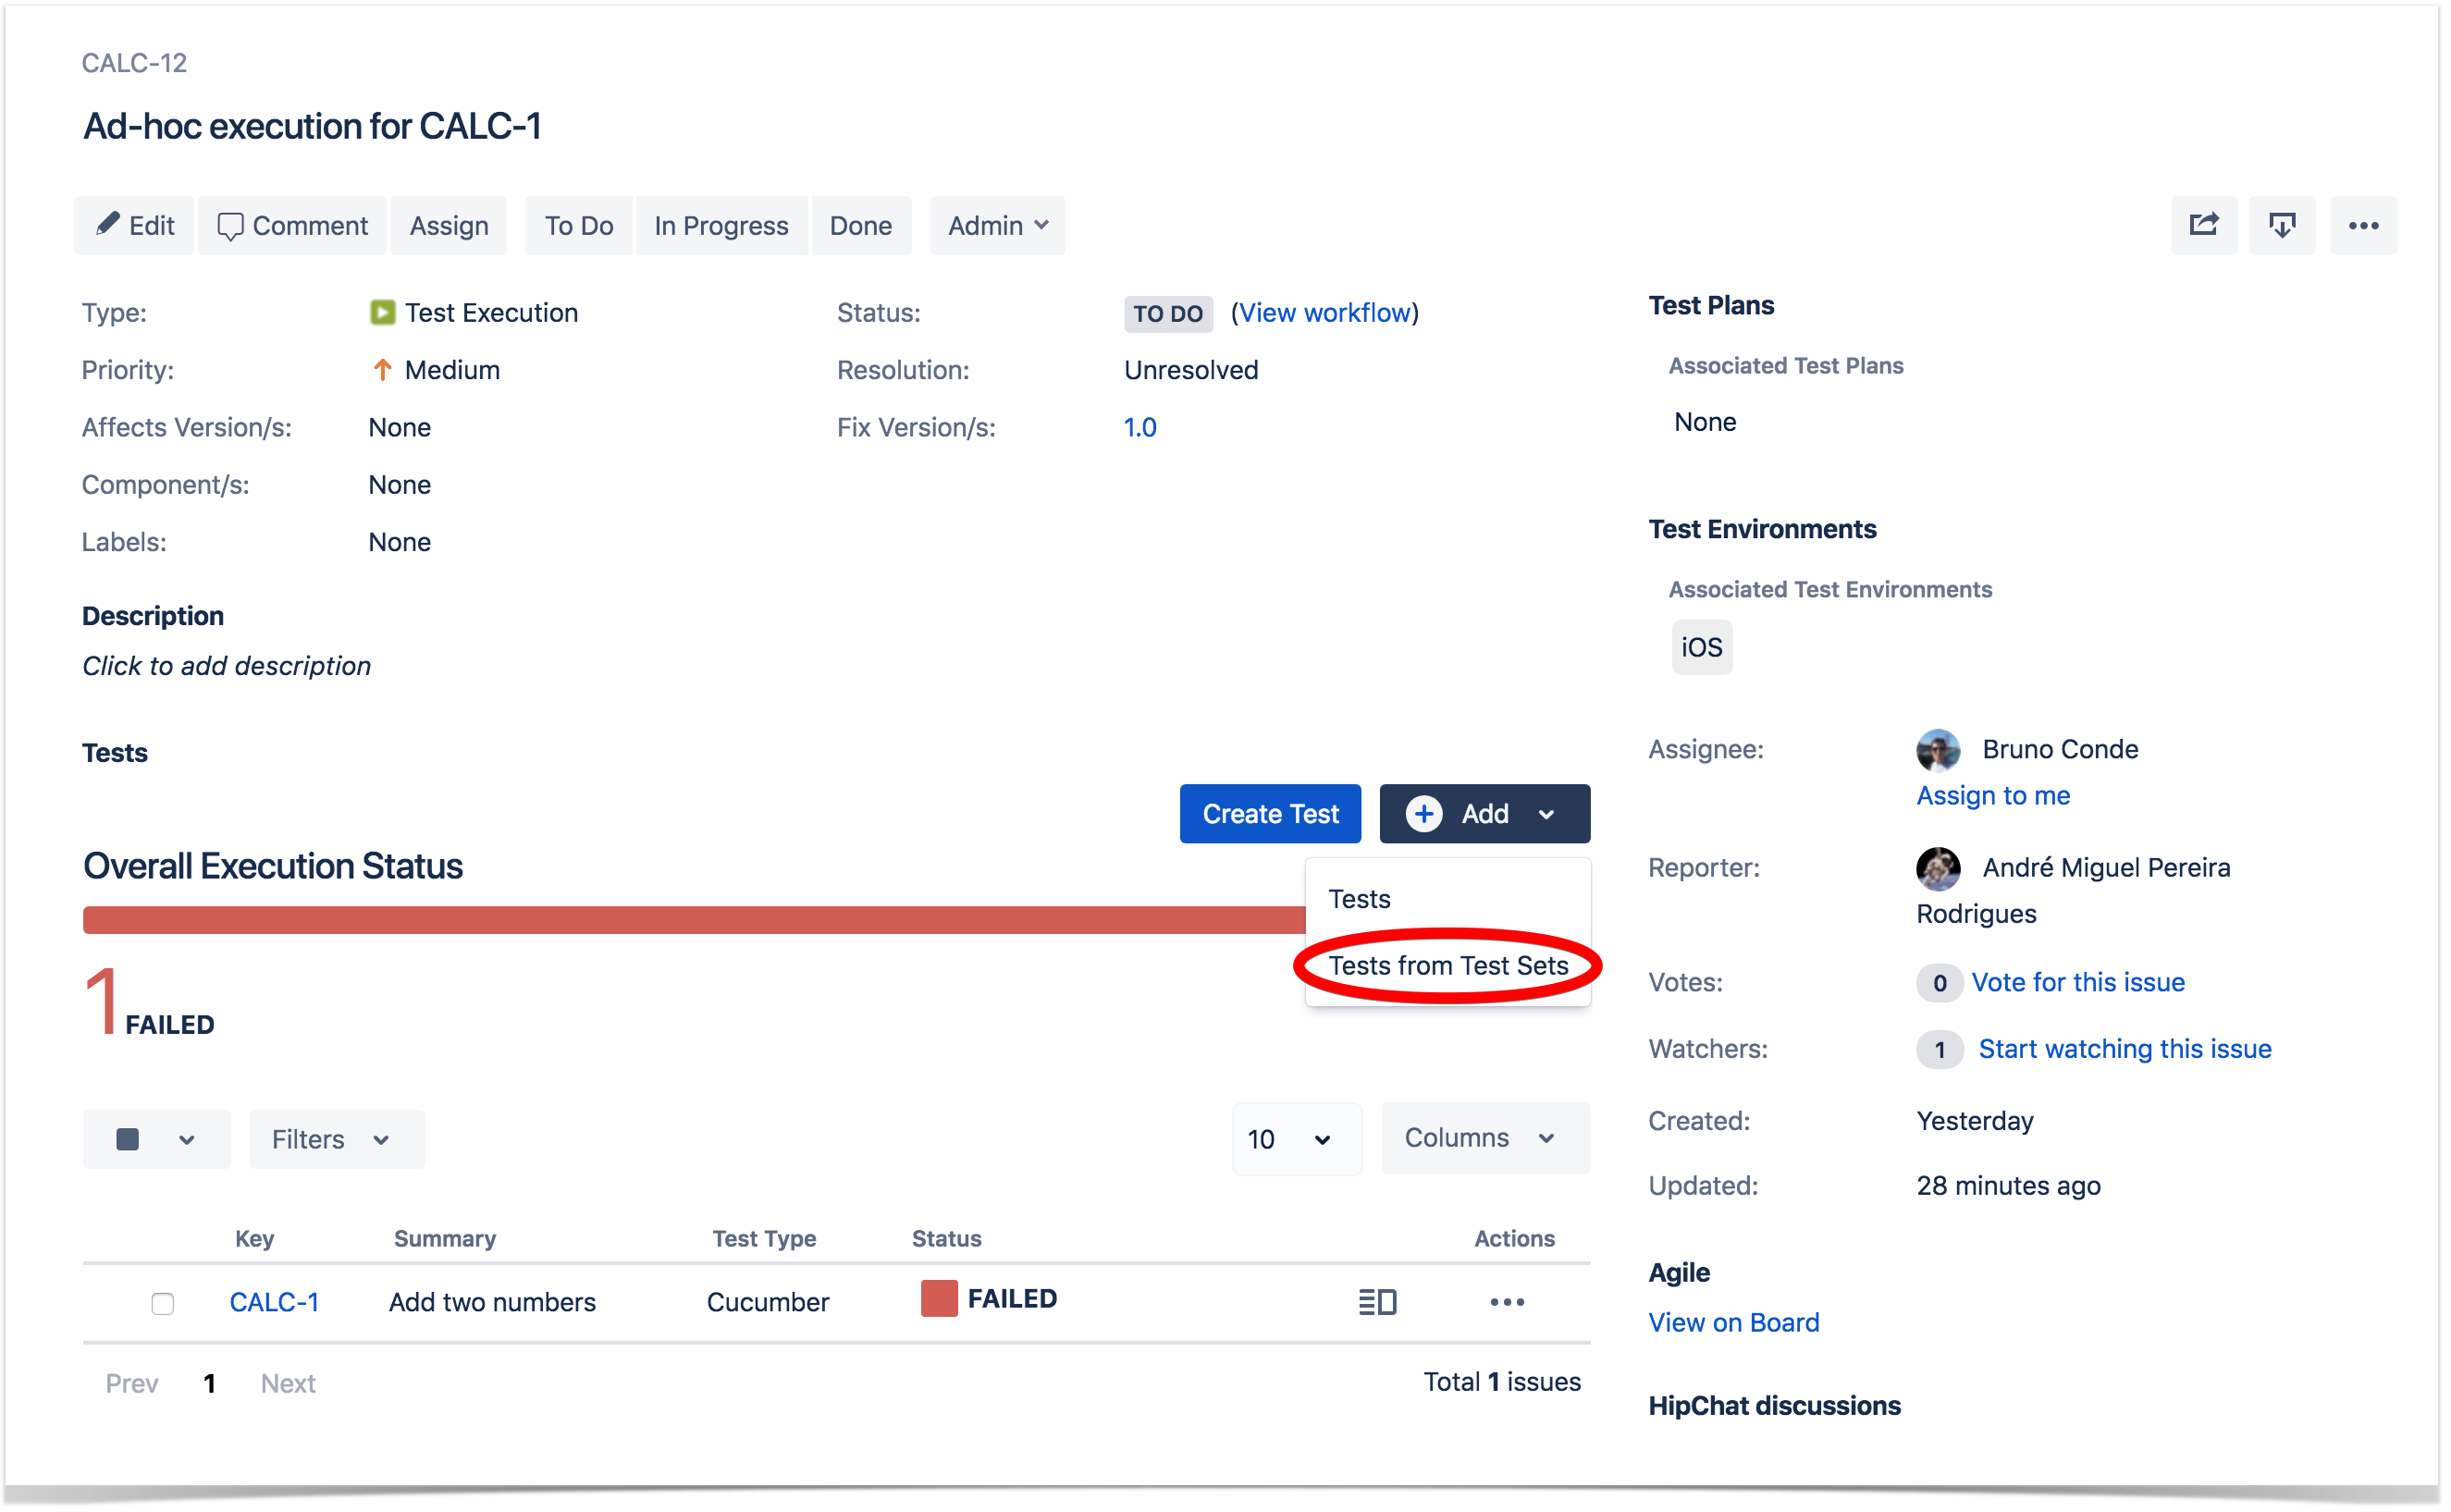
Add Tests from Test Sets
...
Step 1: Open the Test Execution with which you want to associate a Test Set.
Step 2: Select Add > Tests> Tests from Test Sets (under the Tests tab on the view page) to open the Add Test Sets dialog box.

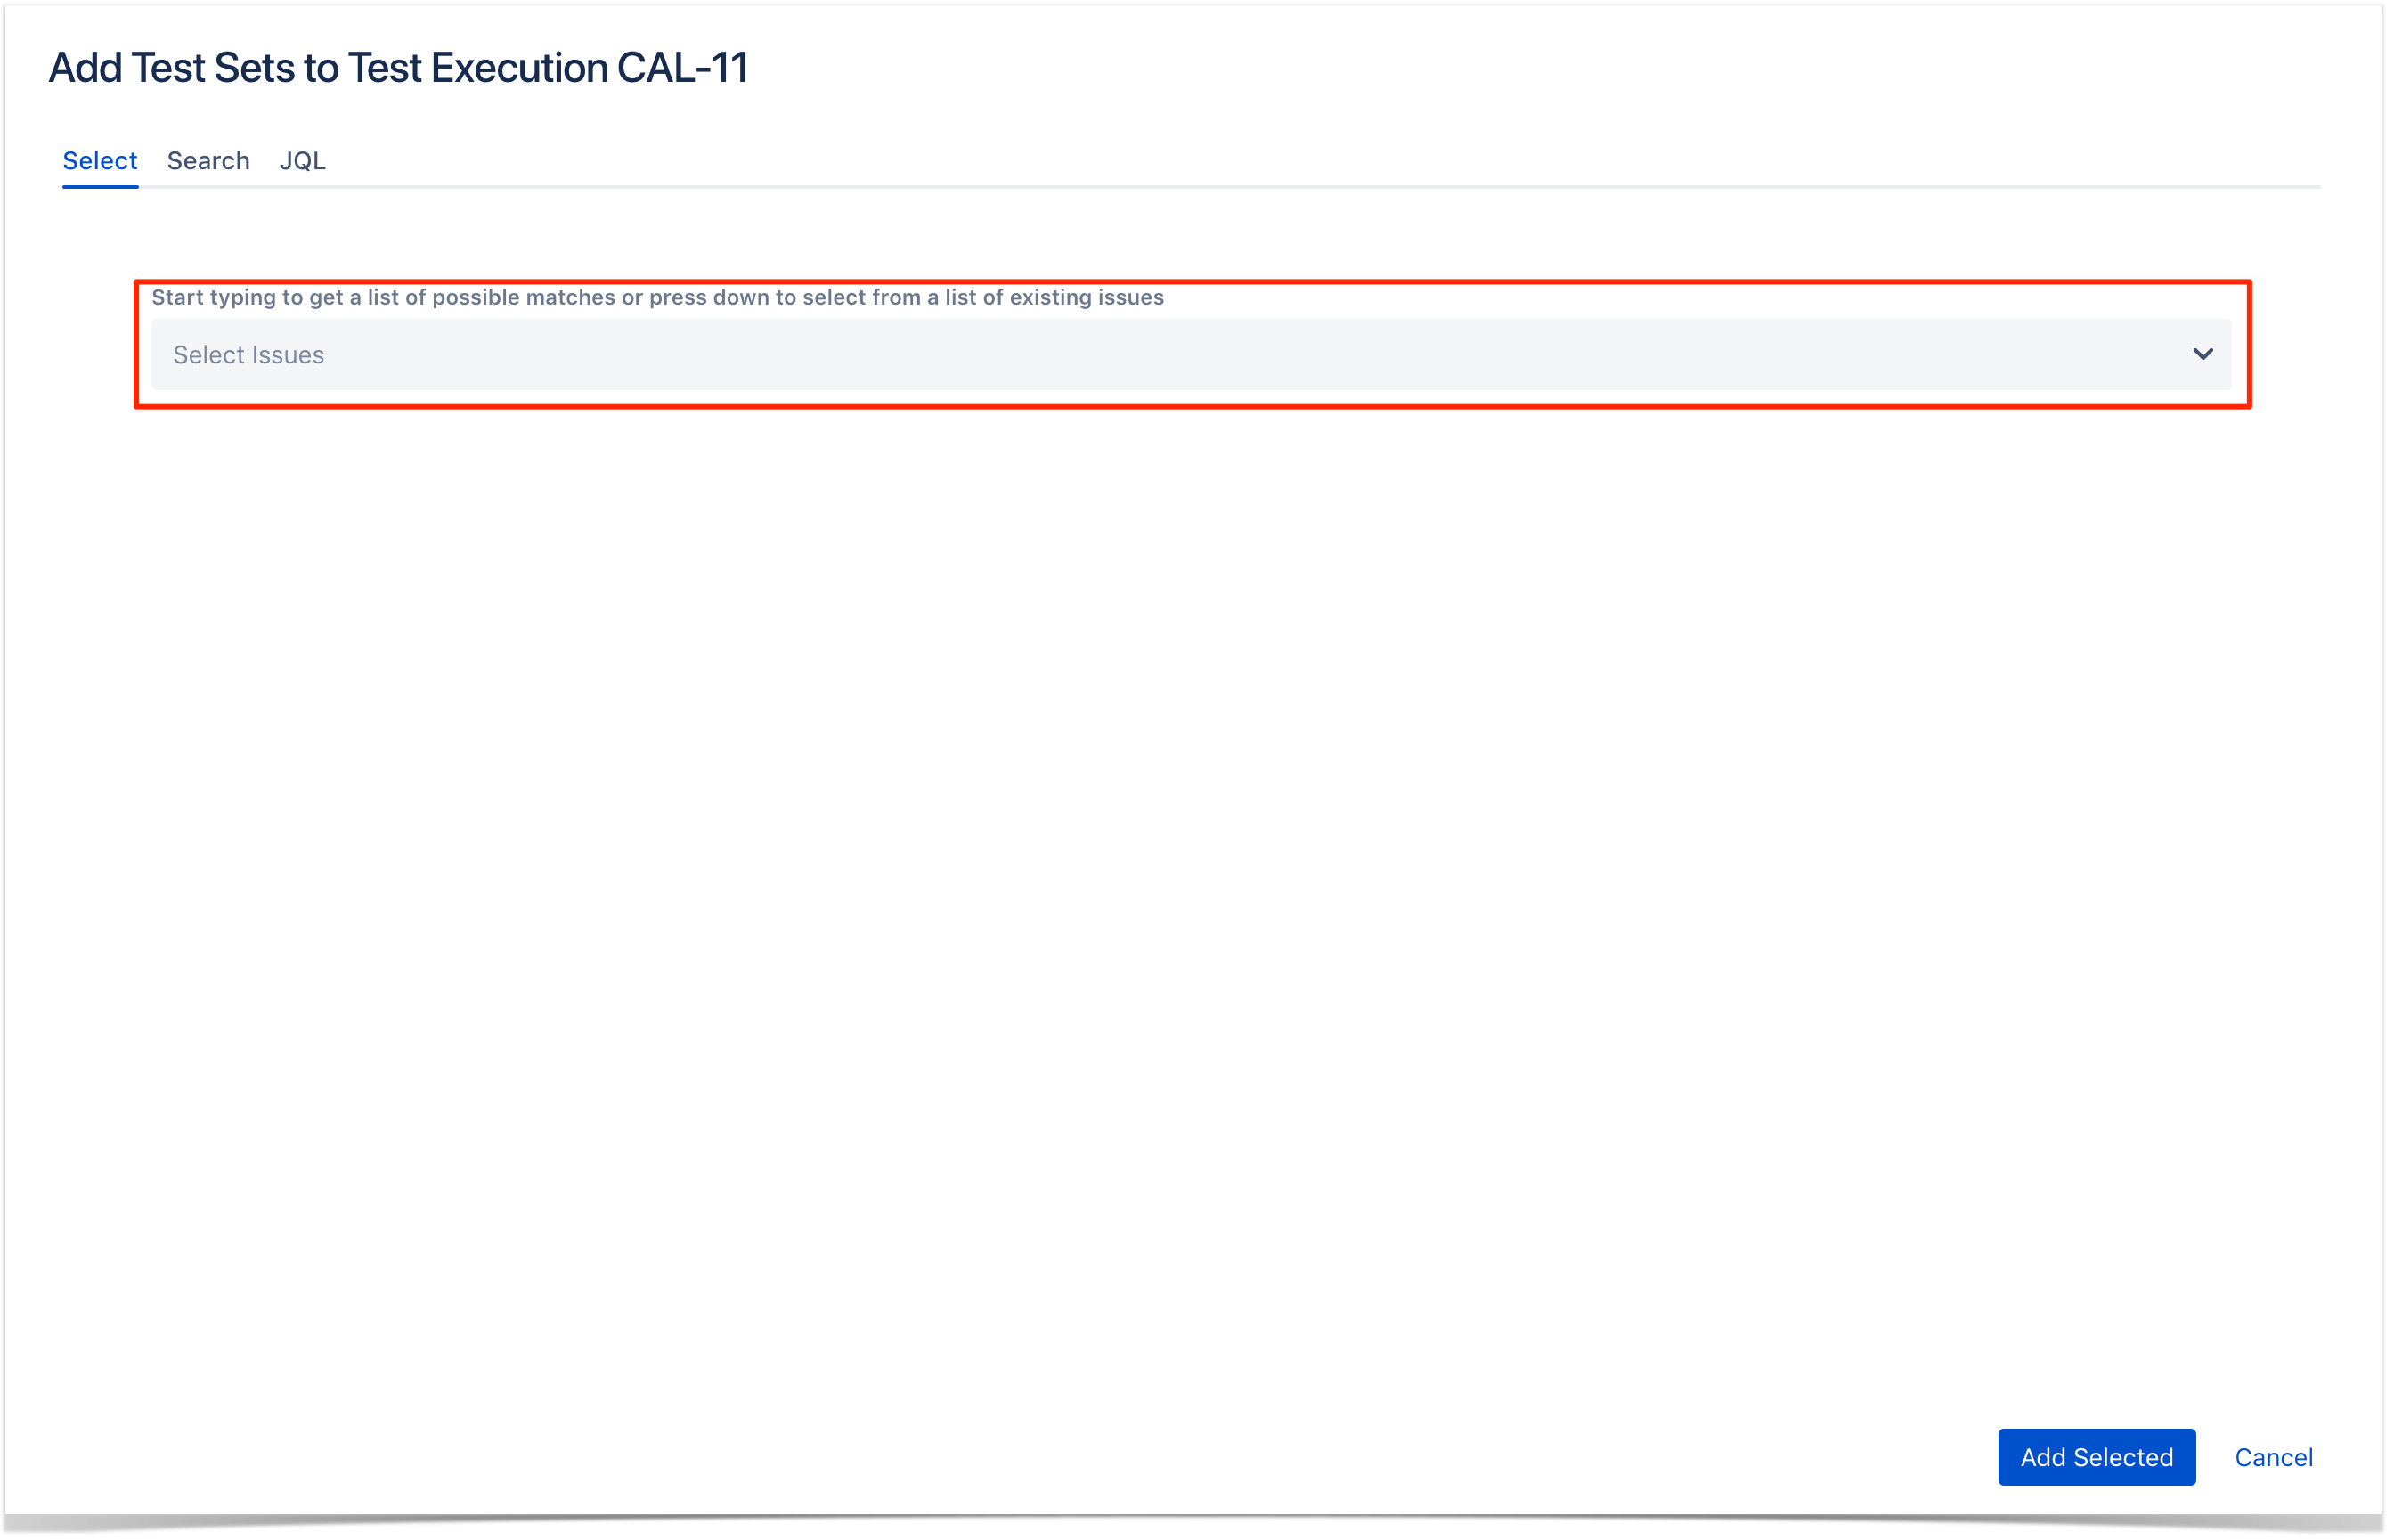
Step 3: Select or search the Test Set issues to be associated with the Test Execution.
...
- Input the desired Test Set Issue Key on the Test Sets field.
- Click on the Down Arrow on the Test Sets field and select the Test Set from its History Search list.
- Click on the Search tab to use the Find Jira issues browser.

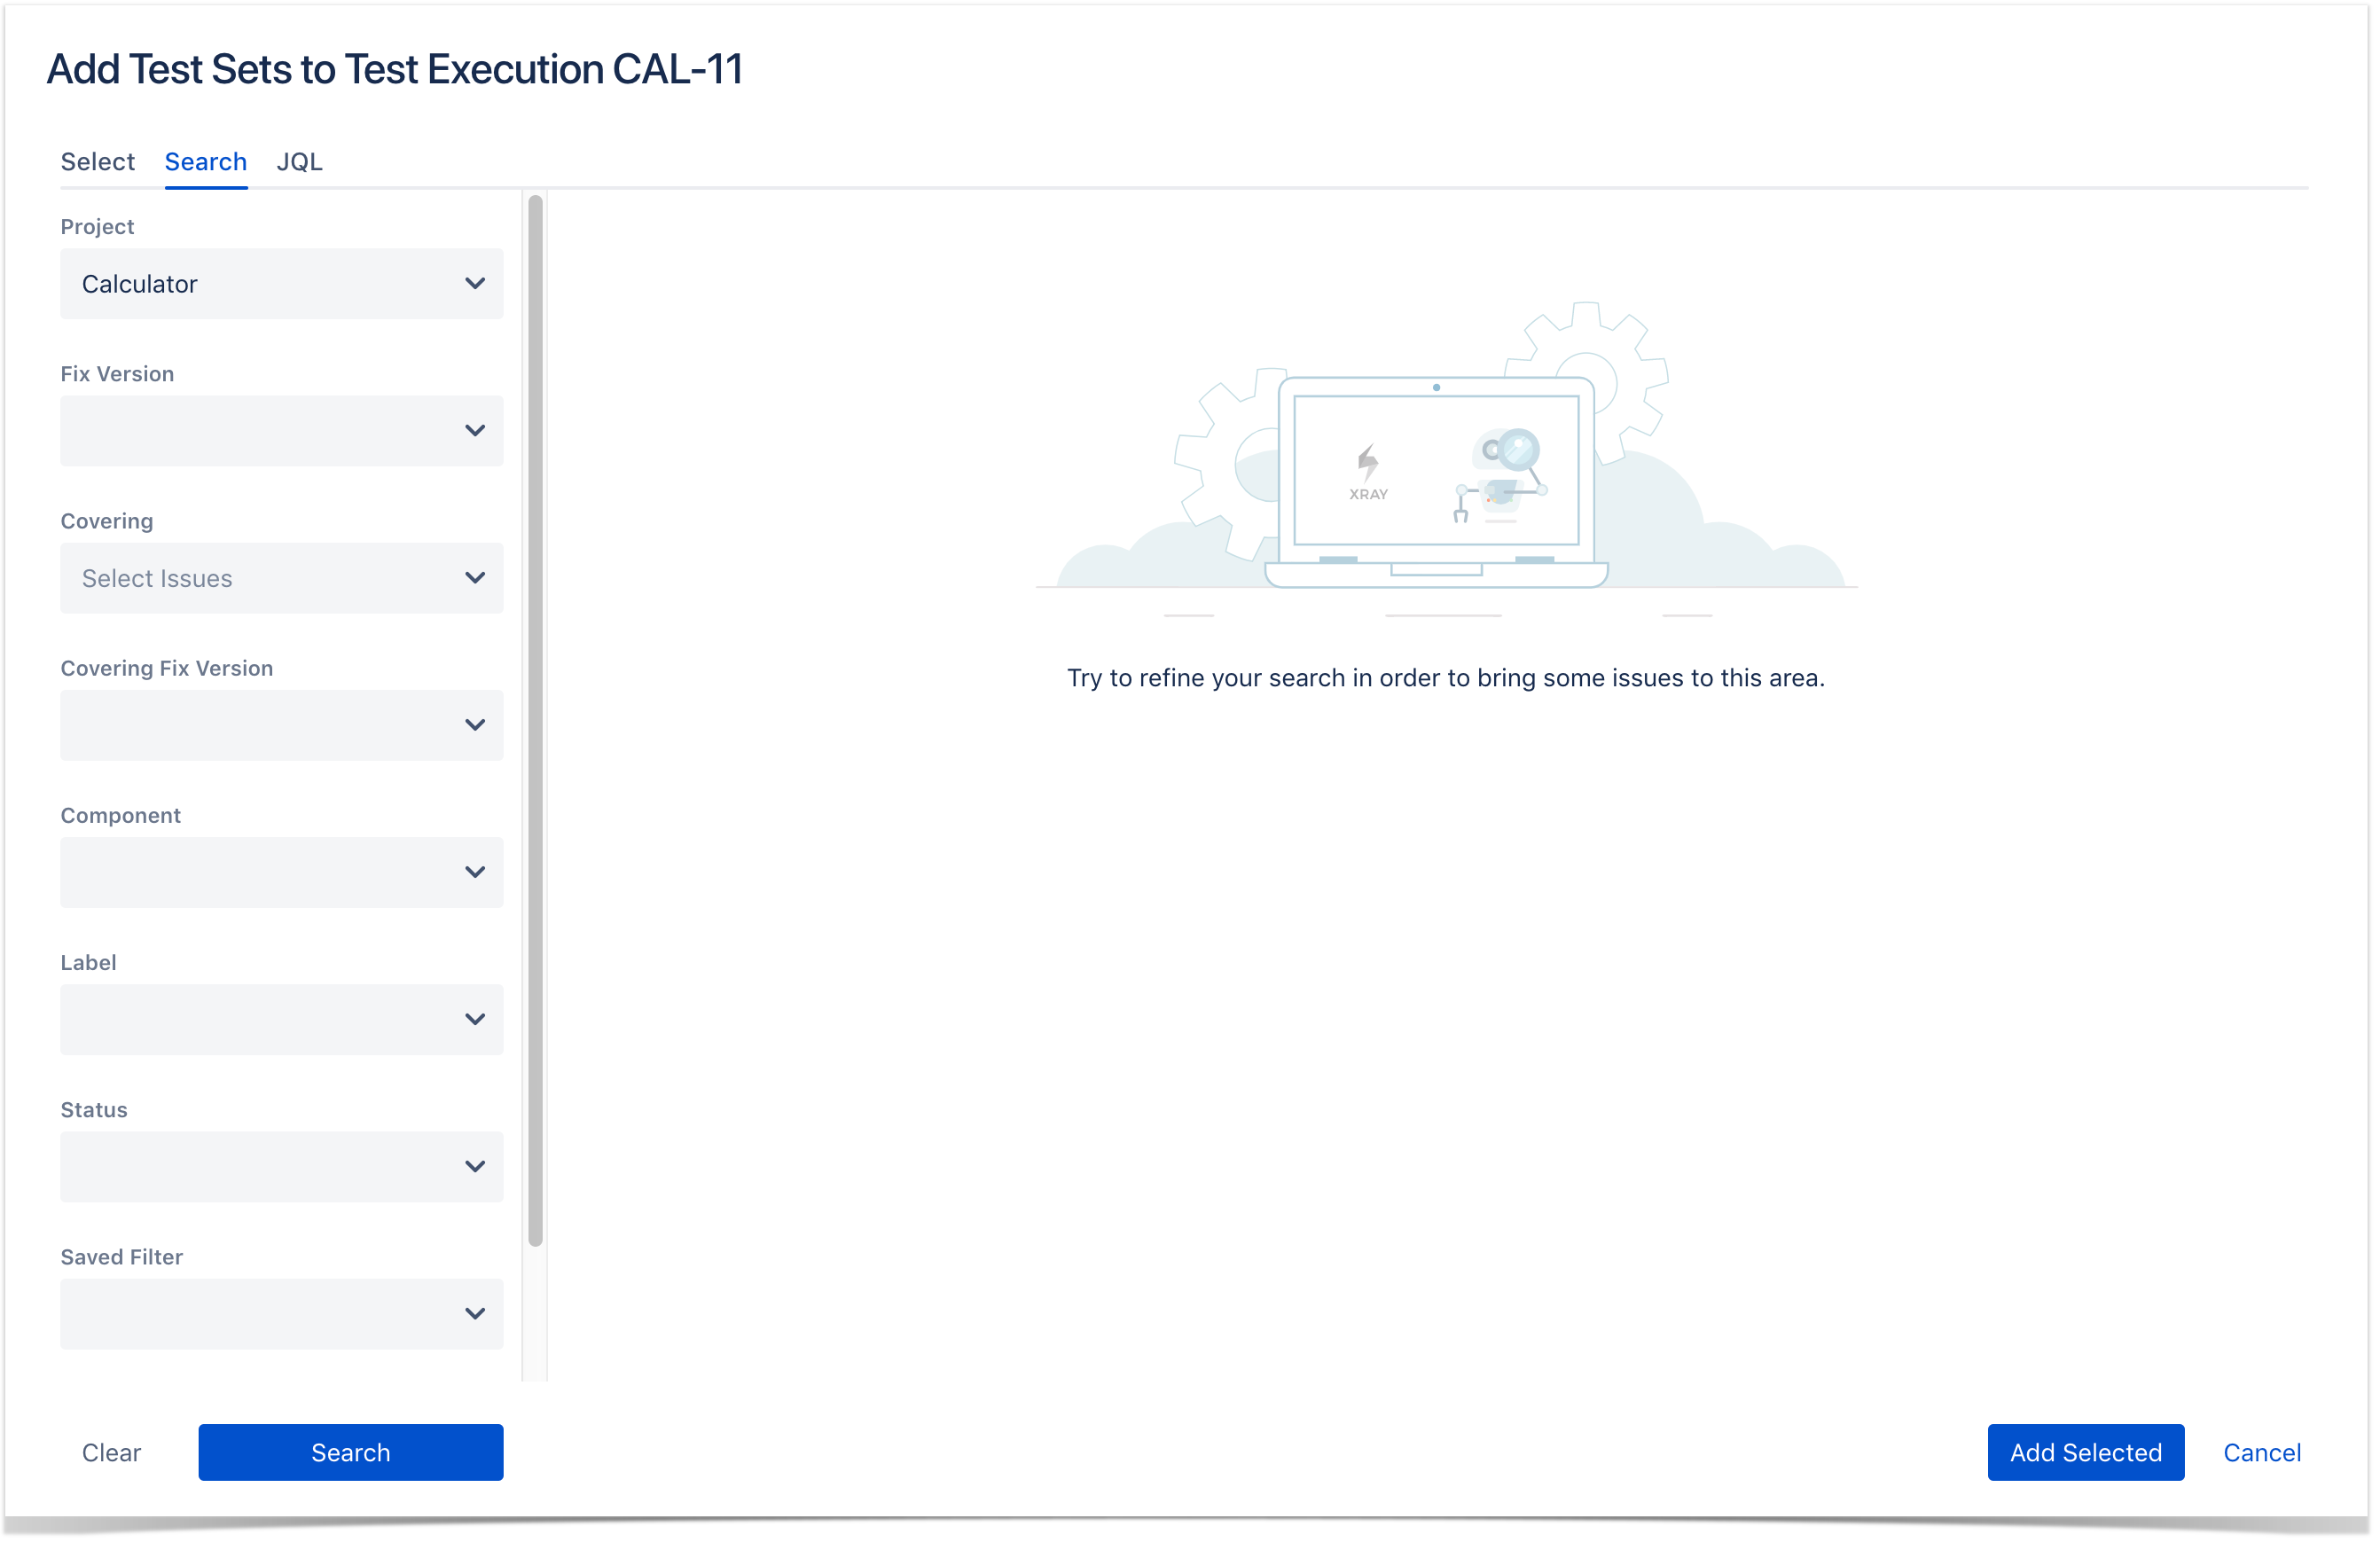
To search for Test Sets to be associated, you can, under the Search tab:
...
- Click on the Search button after filling the browse fields to get a list of matching entries

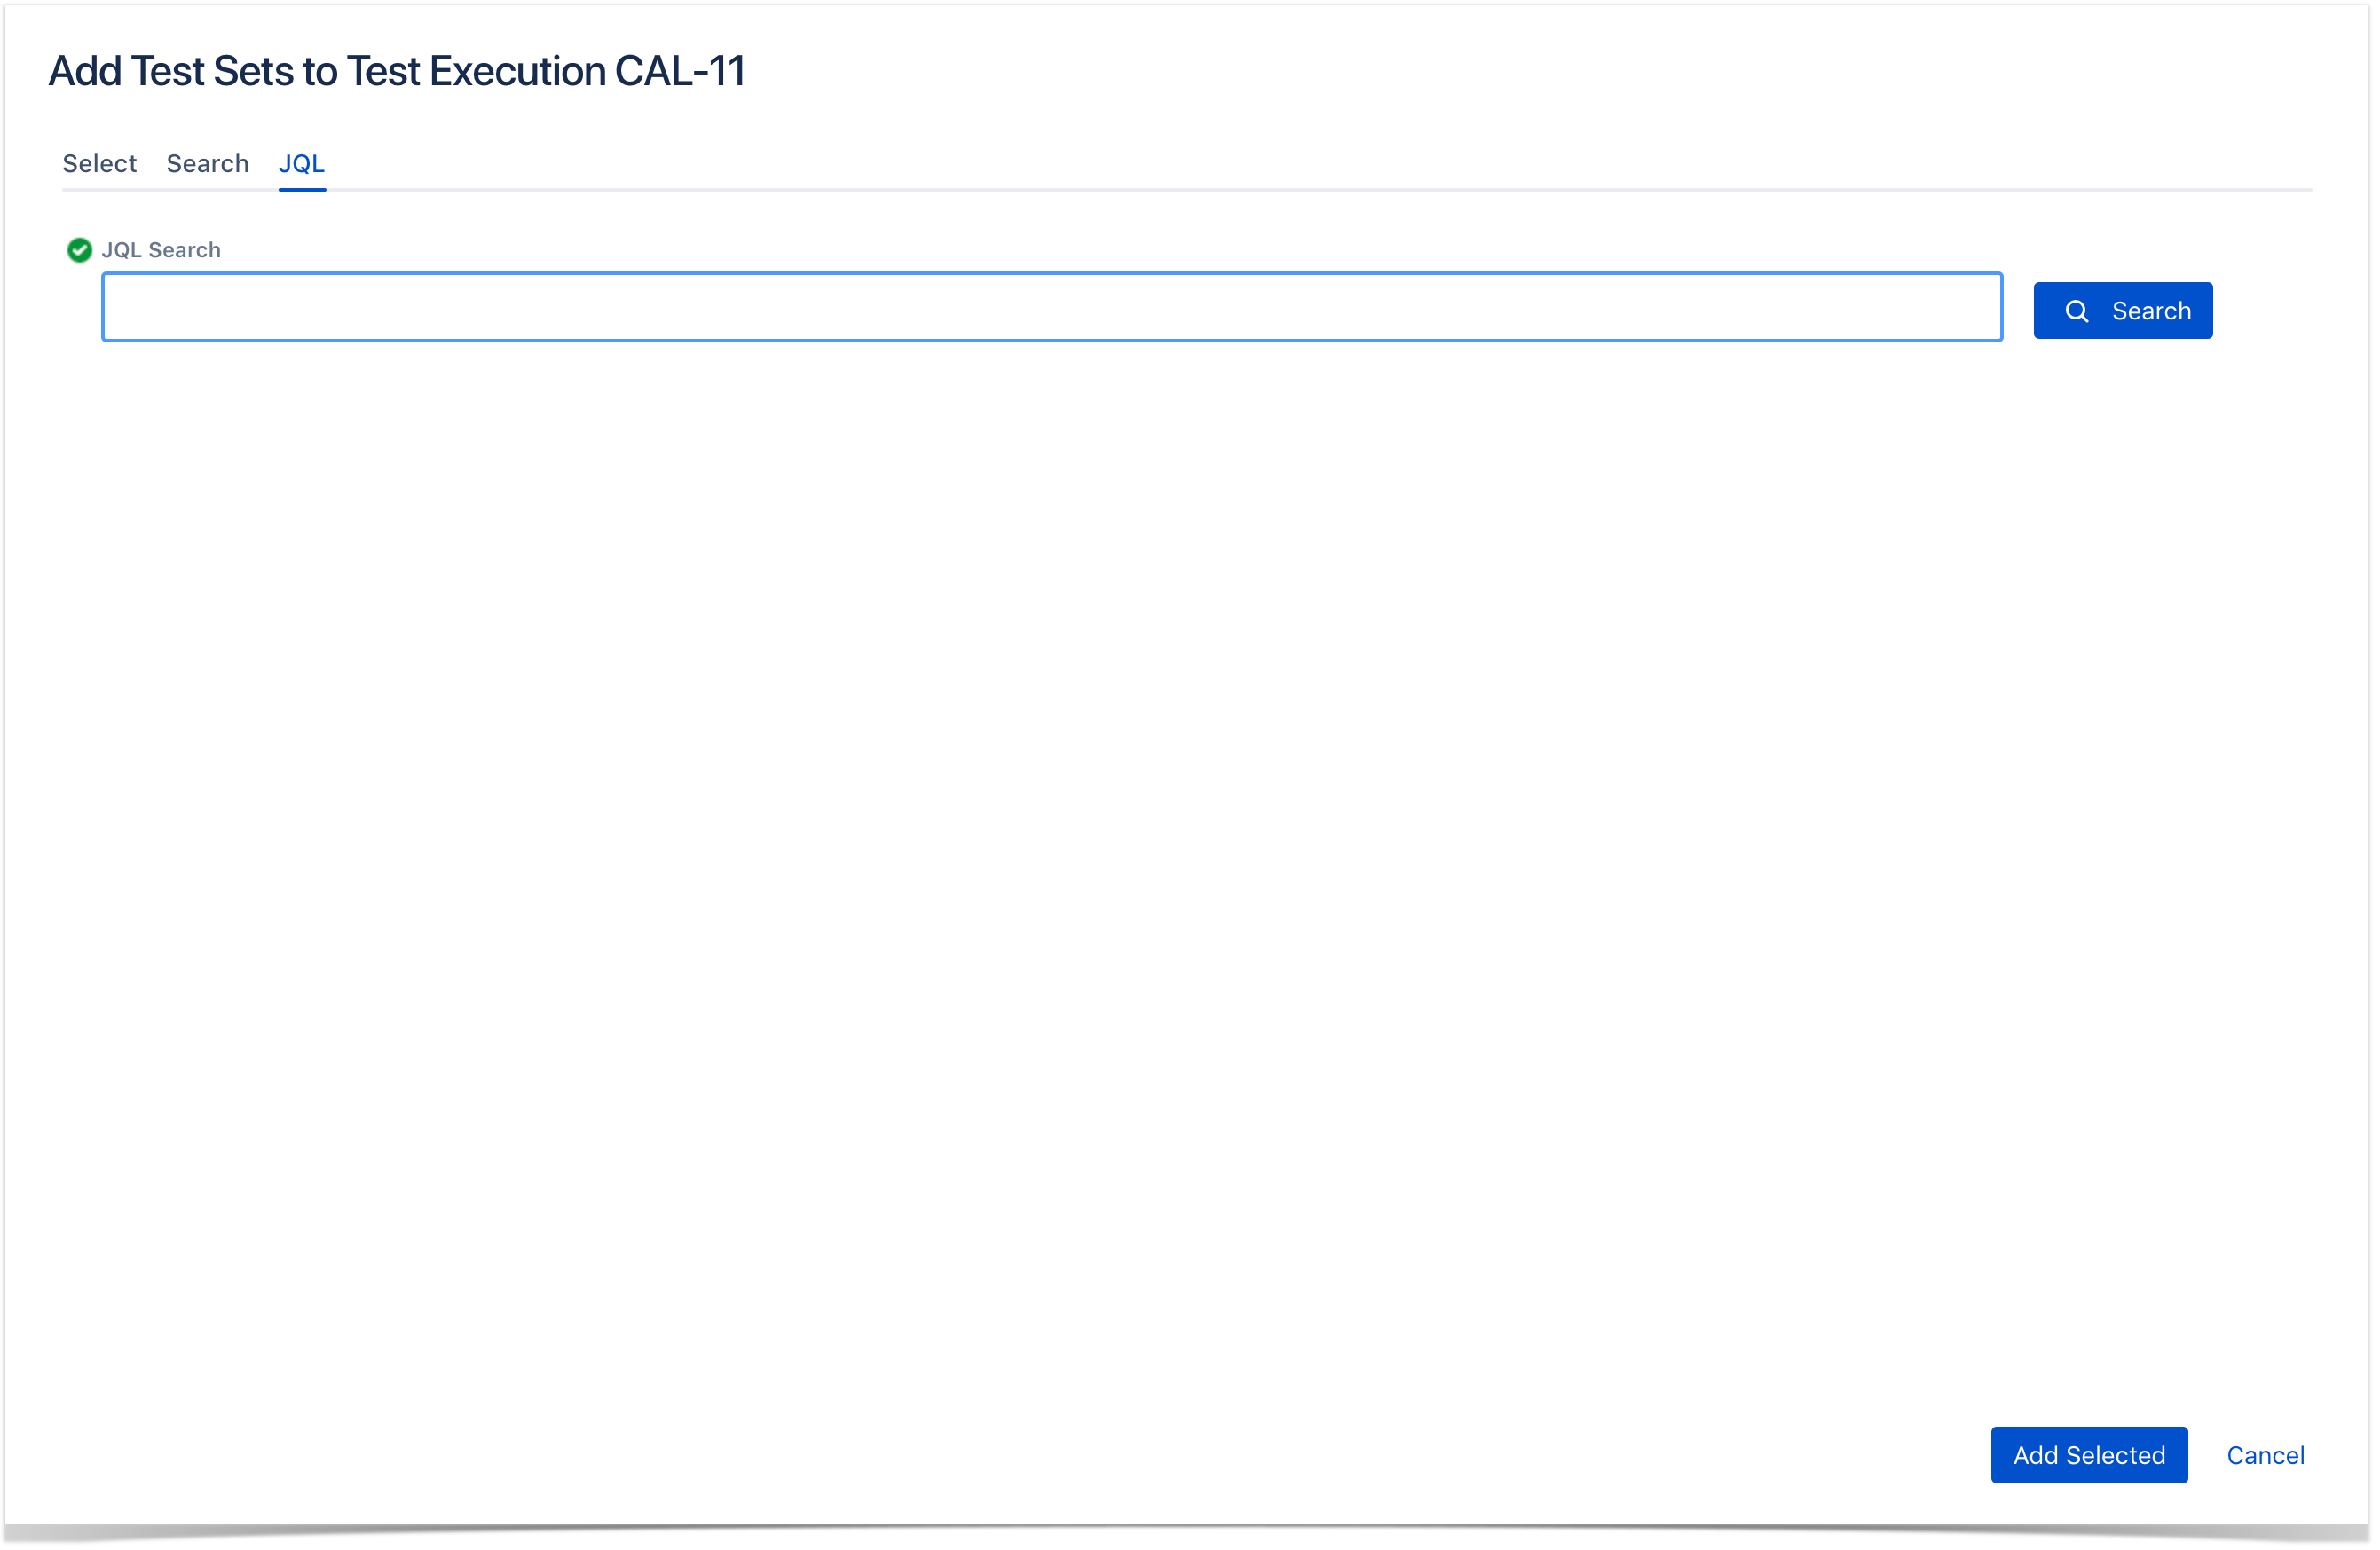
To search for Test Sets to be associated you can: under the JQL tab:
- Write the desired JQL search
- Click on the Search button perform the JQL search and to get a list of the matching entries (more details about JQL here)

Step 4: Click Add Selected.
Associate with a Test Plan
You can associate Test Executions with Test Plans by editing the field Associated Test Plans in the Test Plans section in Test Execution issue view pagedetails. Note that with this method, only the Test Execution will be associated with the Test Plan; the Tests will not be associated. To inline edit the Associated Test Plans field, just hover over the field view area, click it and add or remove the Test Plans.


If the Test Execution is associated with a Test Plan and contains Tests that are not in the Test Plan, a warning message will be displayed telling you how many tests in the Test Execution are not in the Test Plan. A Add Tests button will be shown in case you want to add these tests to the Test Plan.


There will be one warning message for each Test Plan associated with the Test Execution that does not contain all the Tests in the Test Execution.
...
| Section | |||
|---|---|---|---|
|

Assigning Work
| Section | ||||
|---|---|---|---|---|
There are two ways to distribute work between Testers.
|

...
| Section | ||||
|---|---|---|---|---|
|

Execute Test
To execute a Test from a Test Execution:
...
Step 3: Click the Execute button that appears in the last column; it will open the Execution page.
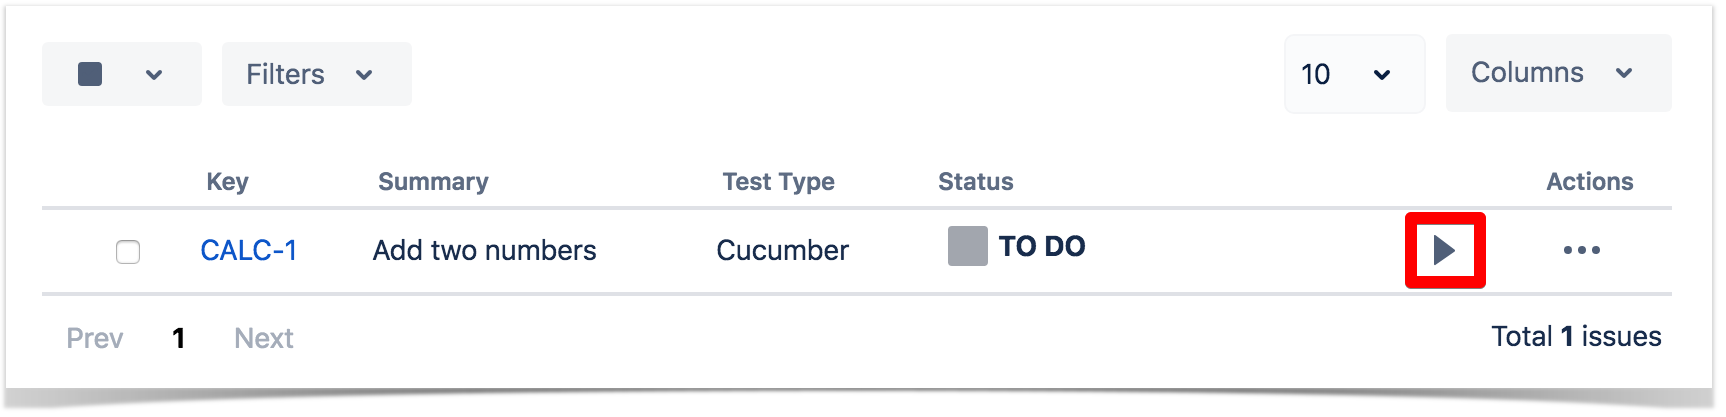

You can see a detailed explanation of the execution screen here.
...
Step 2: Click on the status field located in the Status column of the Test Runs table and select one of the available statuses.

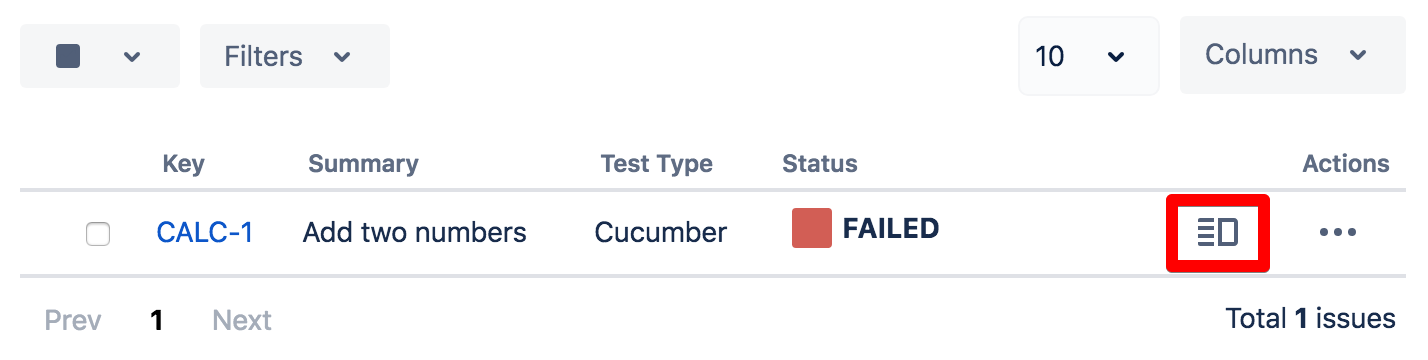
View Test Run Details
You can always view and modify the Test Run details after execution. If you do not have permission to execute the Test Run, you can still view the execution details in read-only mode, provided you have permission to browse the Test Execution issue.
...
Step 3: Click the Execute button that appears in the last column; it will open the Execution page where you can view the details.

Bulk Operations
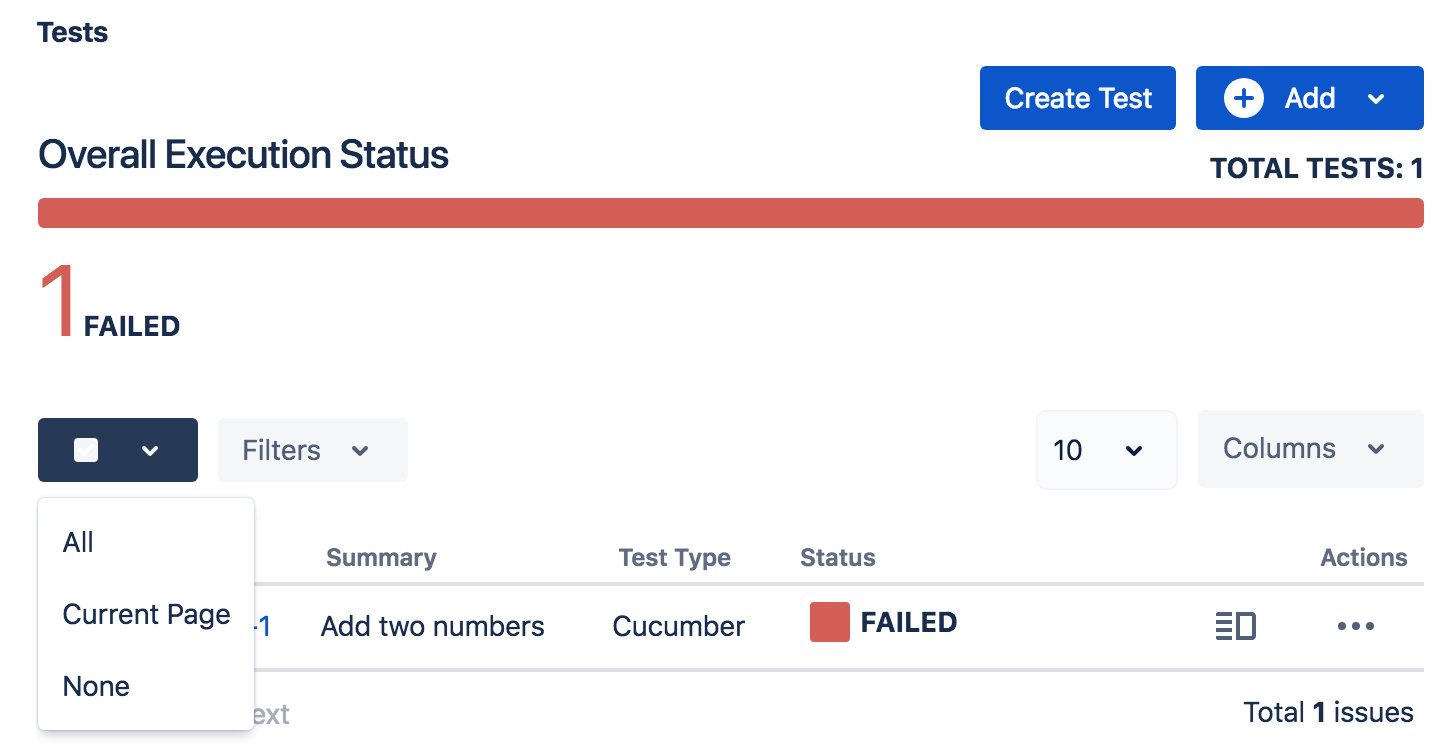
...
Step 2: Select the desired Test Runs. This can be done by using the checkbox that appears on each Test Run row or by using the Bulk dropdown button options to select all Test Runs or the ones on the current page.

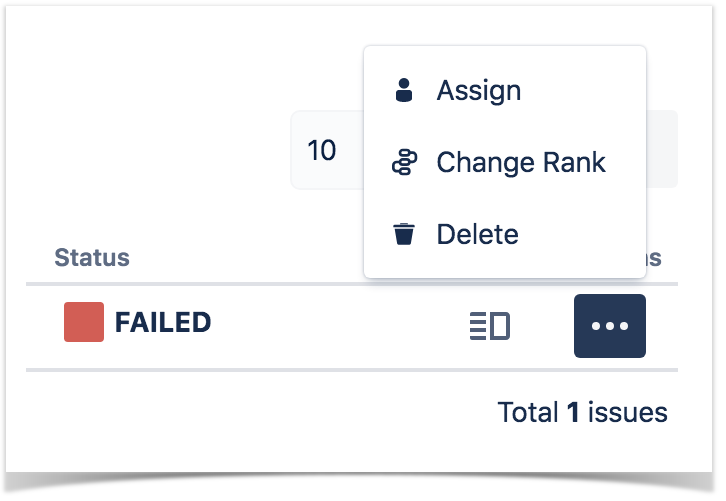
Step 3: Click the bulk actions located on the actions column header and choose one of the available actions.

Note: Bulk Execution of Test Runs is limited to a maximum of 100 Test Runs.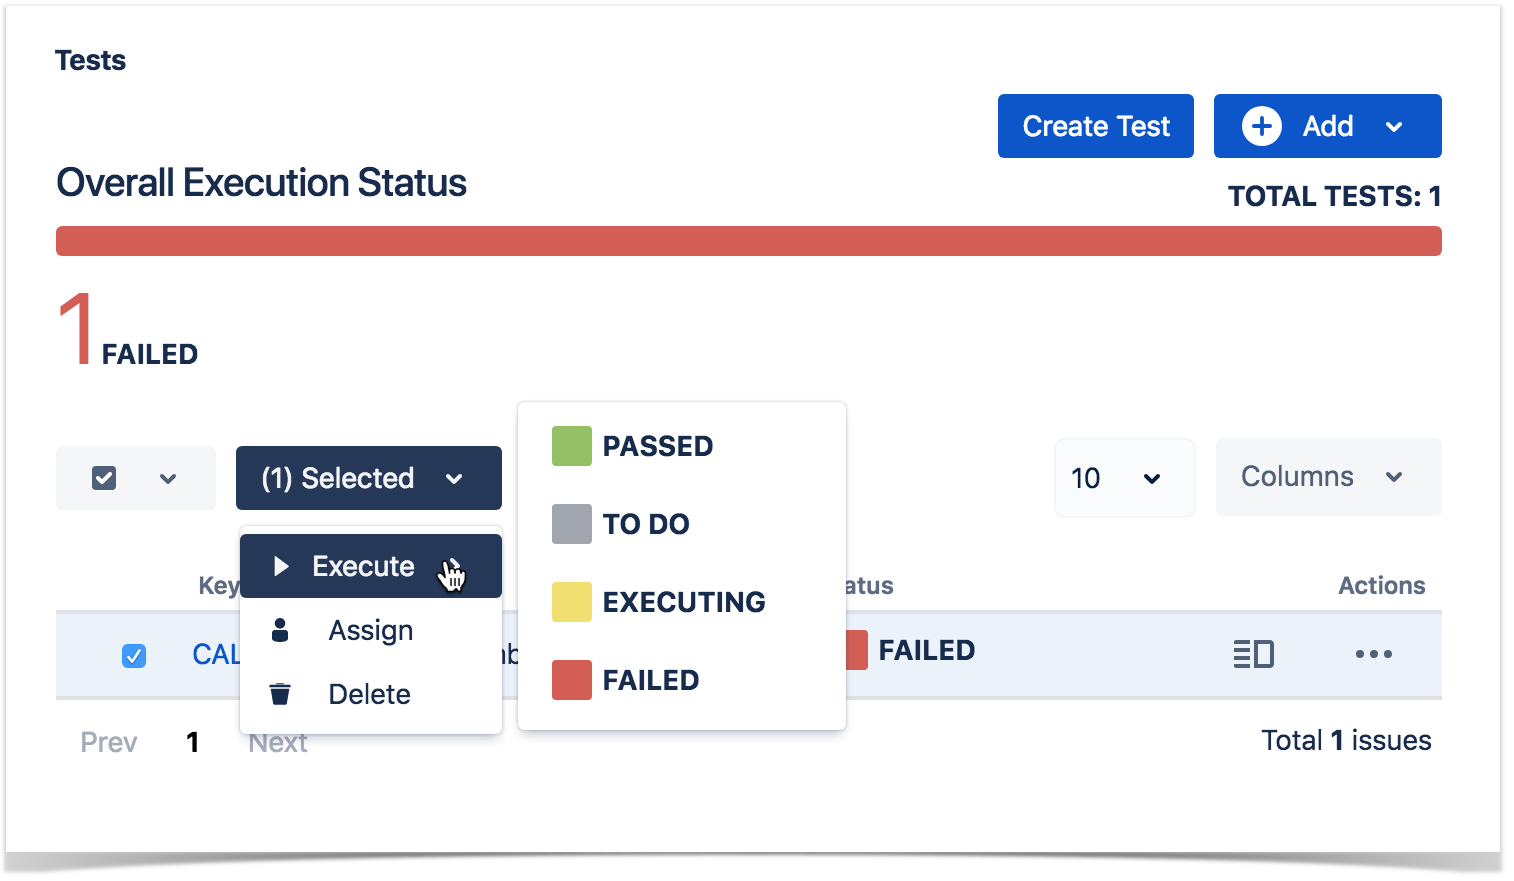
Filter Test Runs
...
- Test Set - show only Test Runs that are associated with a specific Test Set issue.
- Assignee - show only Test Runs that are assigned to a specific user.
- Status - show only Test Runs with a specific status.
- Contains Text - show only Test Runs with Tests containing the entered text. This will query Test issues with the JQL keyword text ~ ...
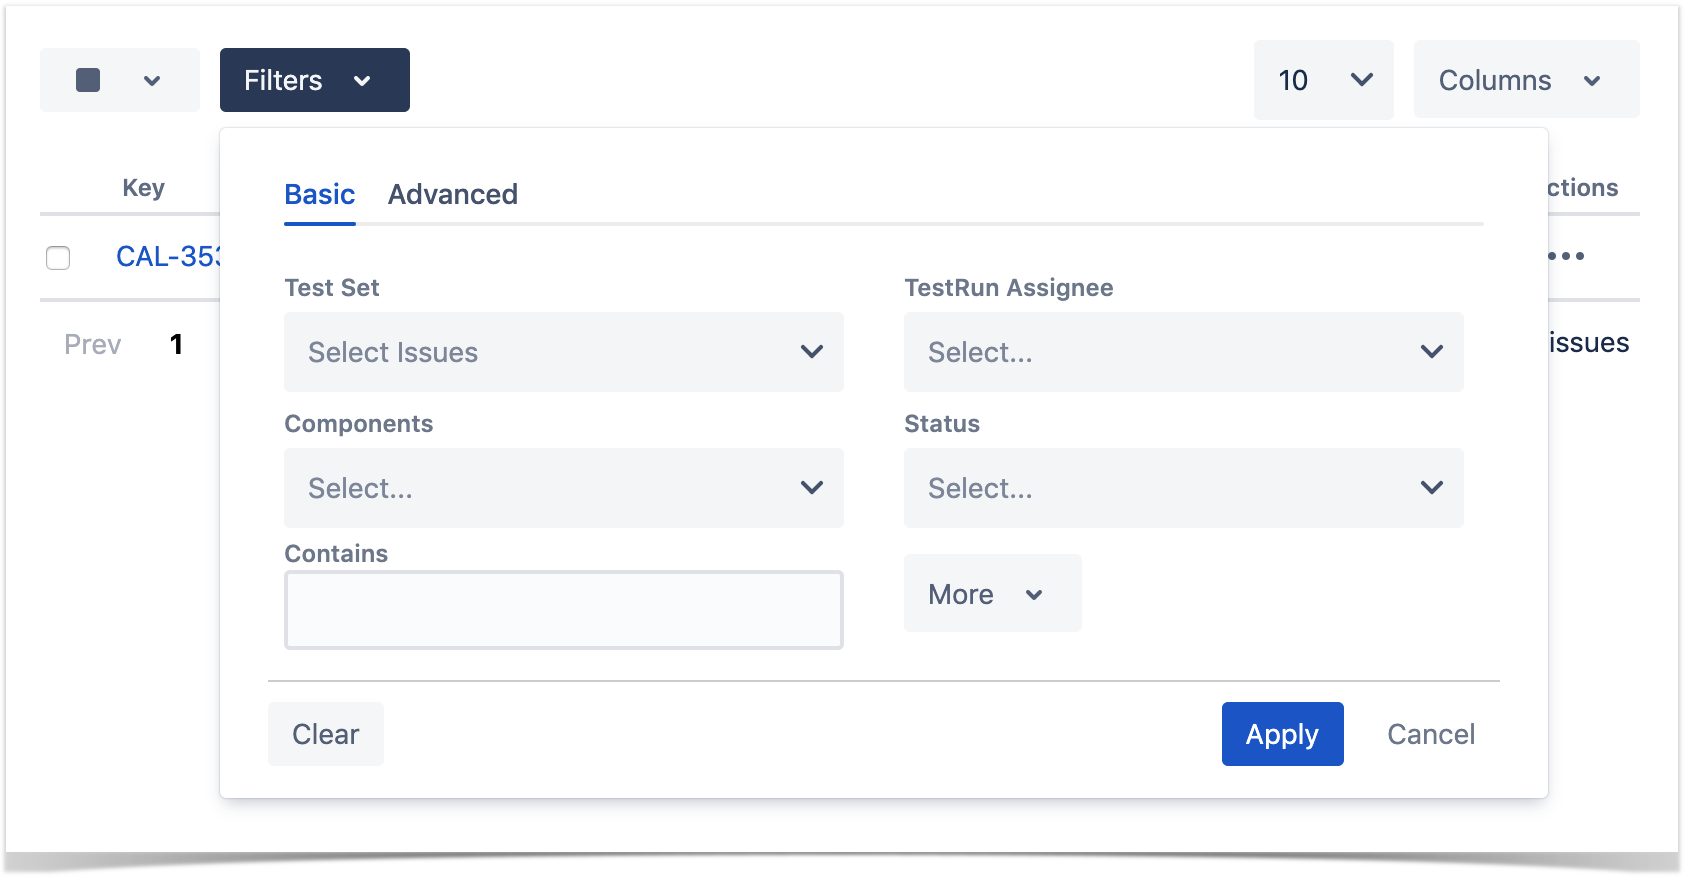

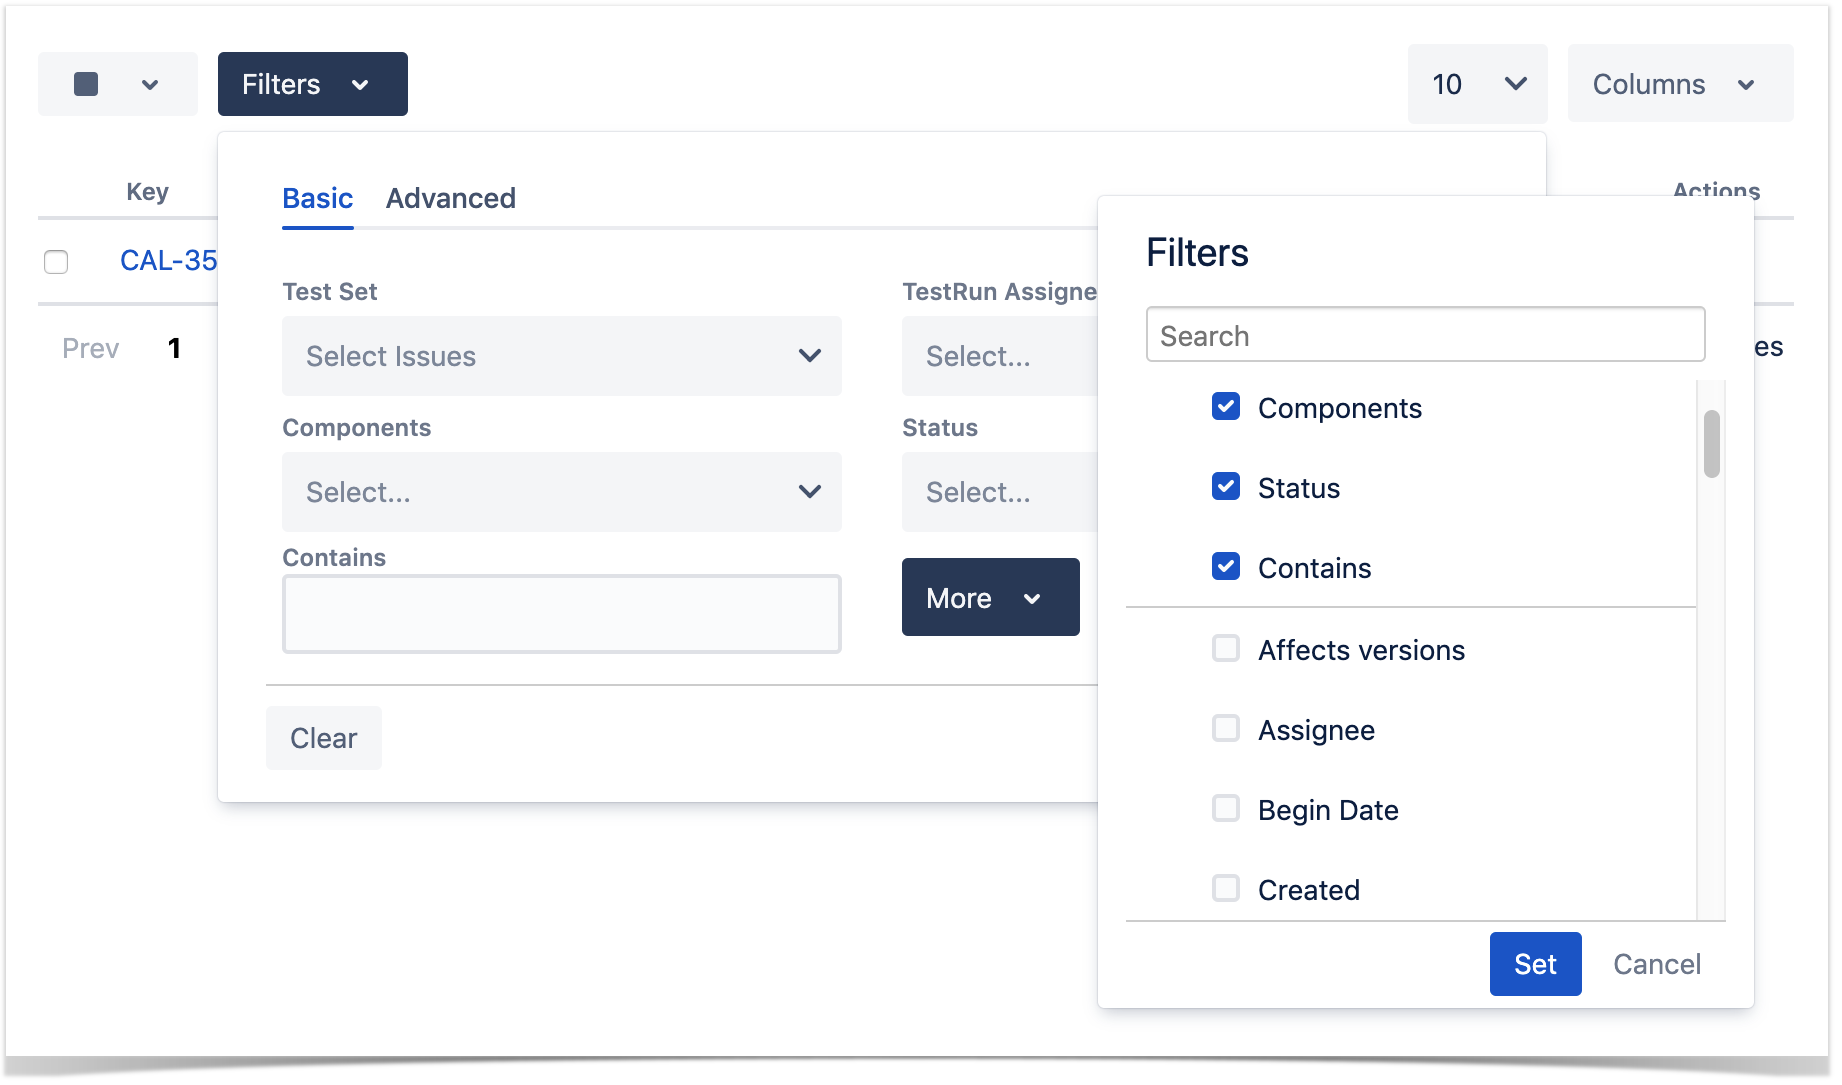
To add more more fields to the filter you can click the More button.


If you want, you can clear the filter in order to see all Test Runs once again. This will also reset the filters that are displayed back to the original.
![]()
Configure Test Run Columns
In the Columns menu, it's possible to choose the columns that will be seen in the table.
Columns of the respective Test issue of each Test Run can be added.
Xray specific fields from the Test are also available, such as:
...
- Test Run Assignee: Assignee of the Test Run
- Test Run Comment: Comment in the Test Run
- Test Run Executed By: User that executed the Test Run
- Test Run Started: Start date of the Test Run
- Test Run Finished: Finish date of the Test Run
- Test Run Steps Progress: Status progress of the Test Run Steps or Iterations
Test Run custom fields can also be added, they are prefixed by "TestRun", so, for example, a Test Run custom field named "User", can be found under the name "TestRun User".
More info in Test Runs.
...
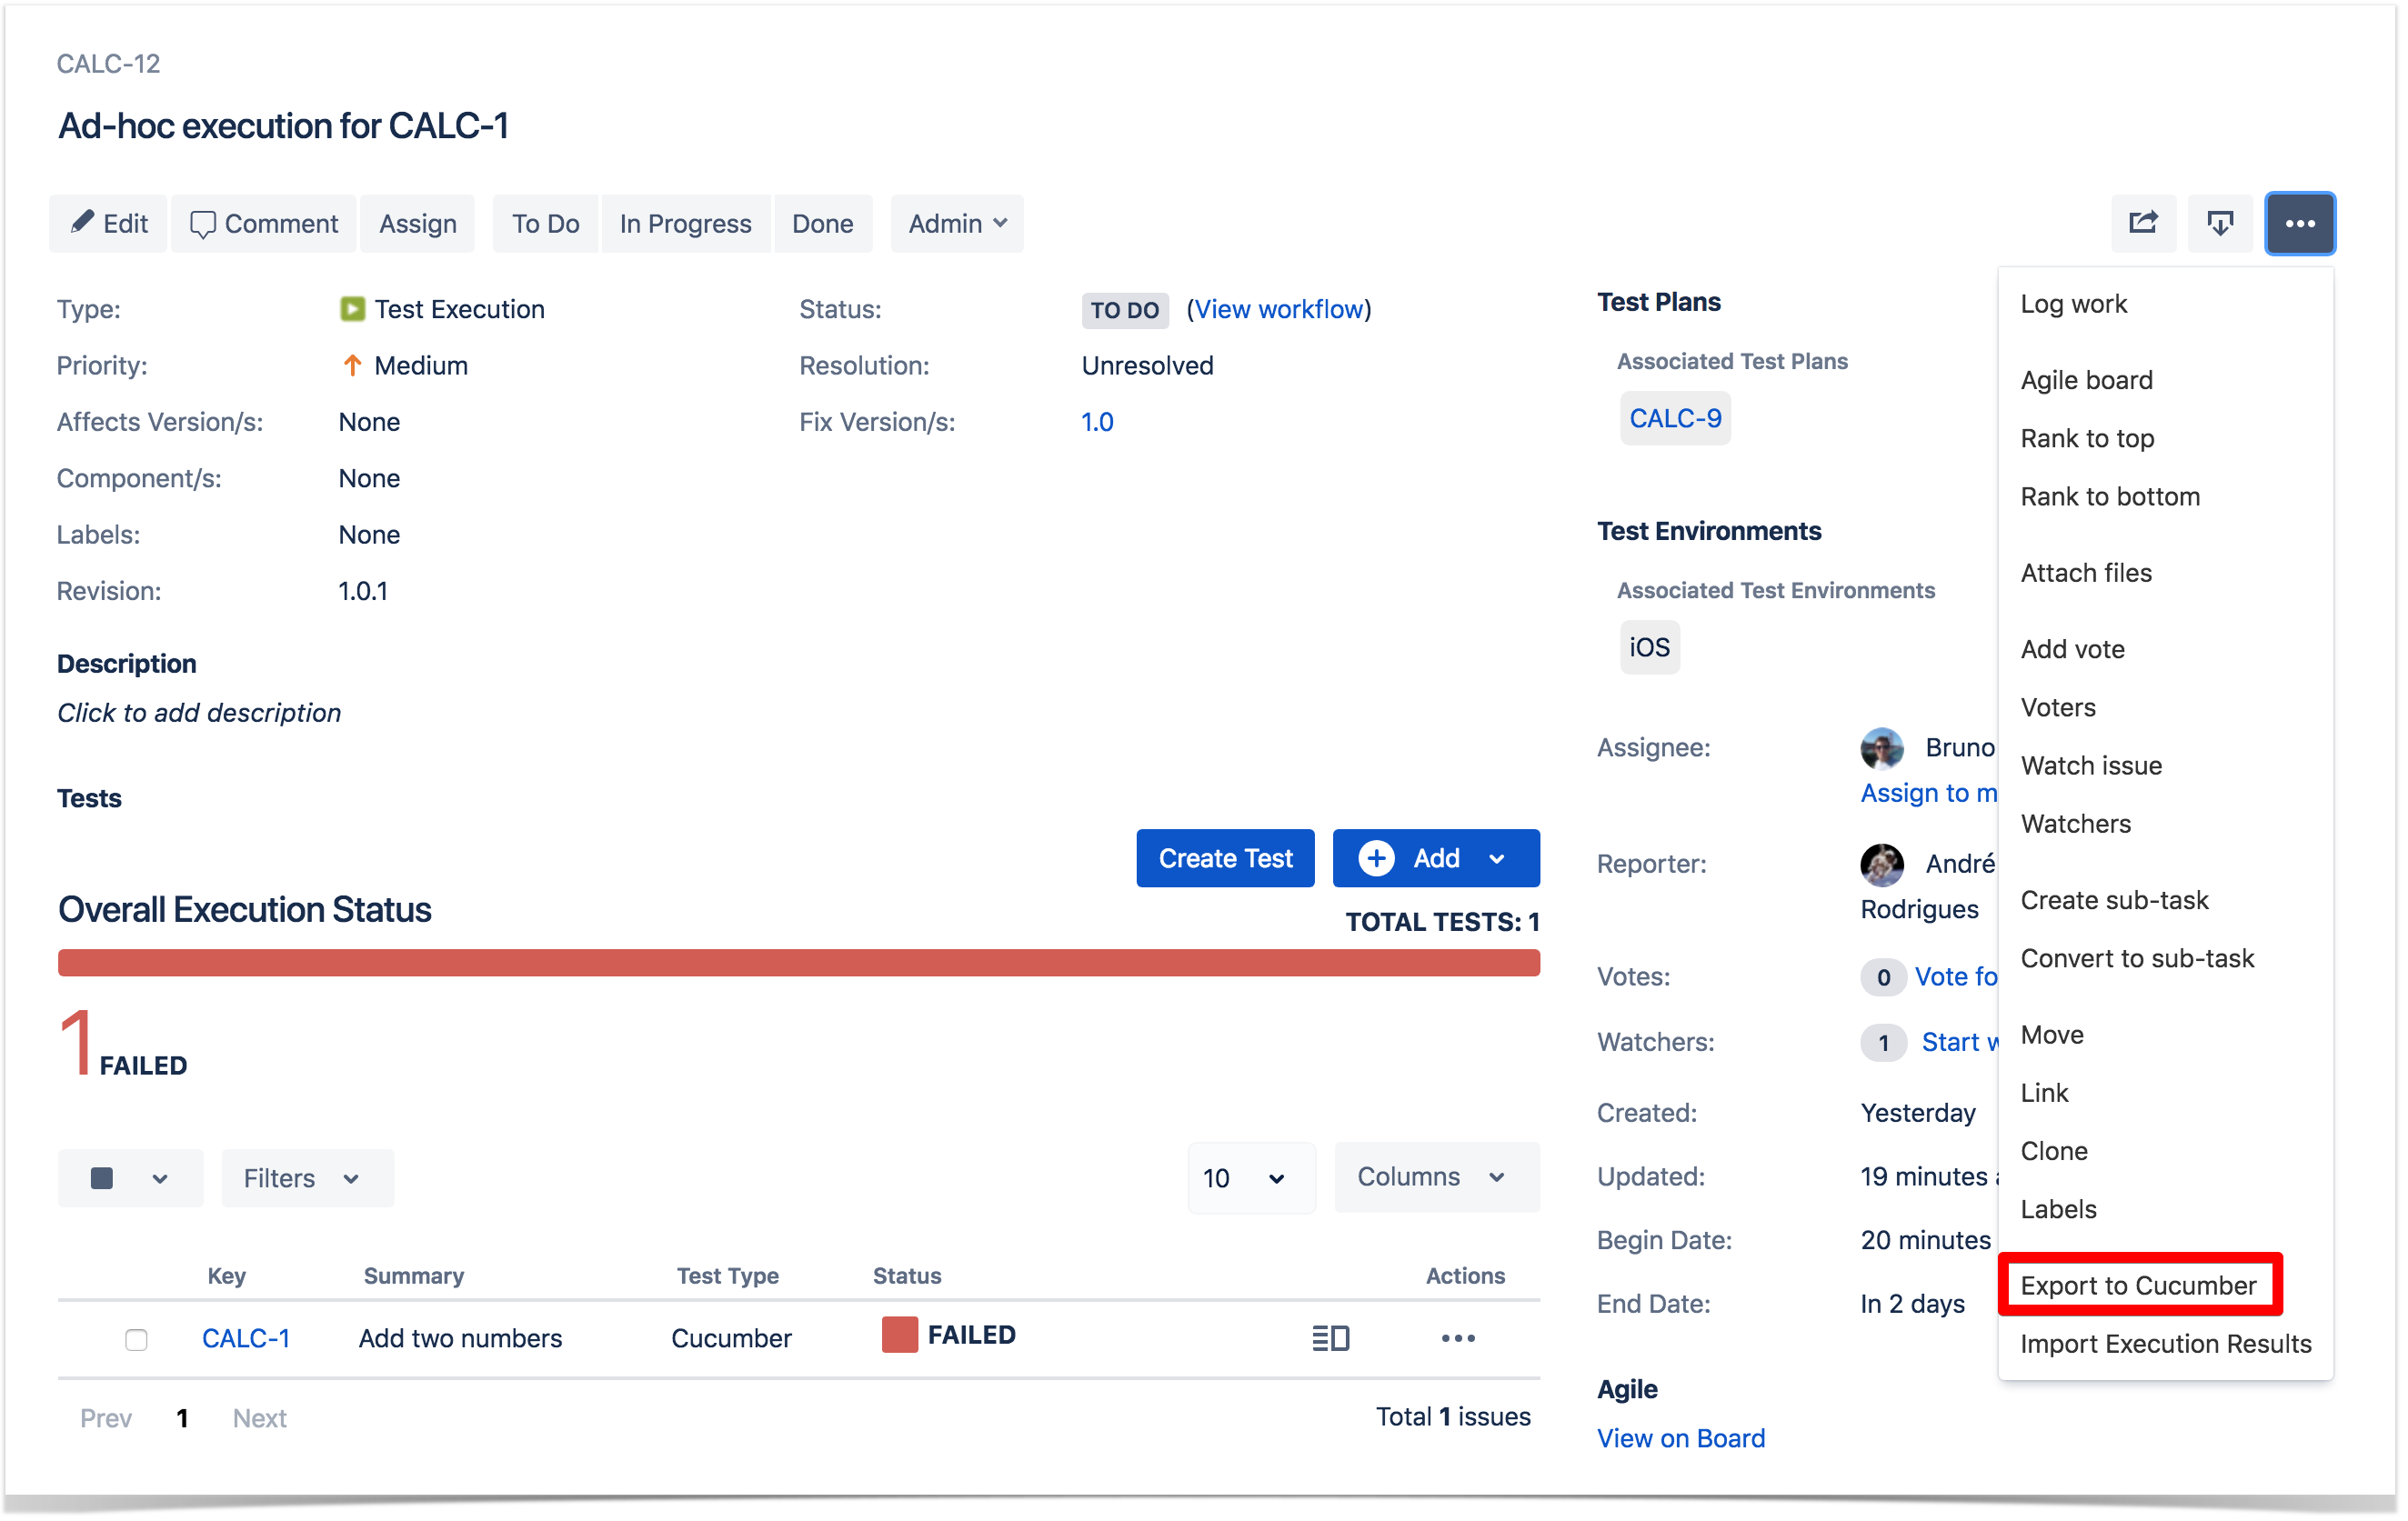
Cucumber Test Executions in Jira can be exported as .feature files ready to be executed in Cucumber. The generated .feature files follow the rules defined in Export Rules and take into account the context of the Jira Test Execution issue.
...
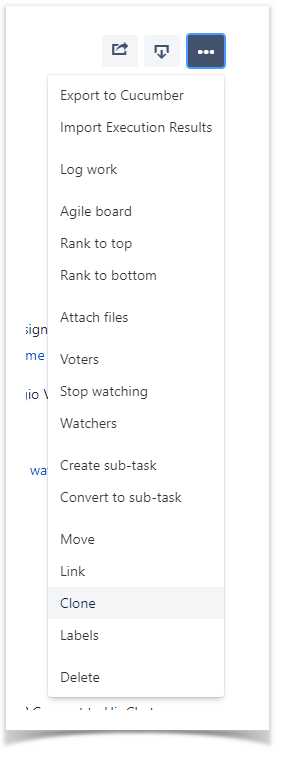
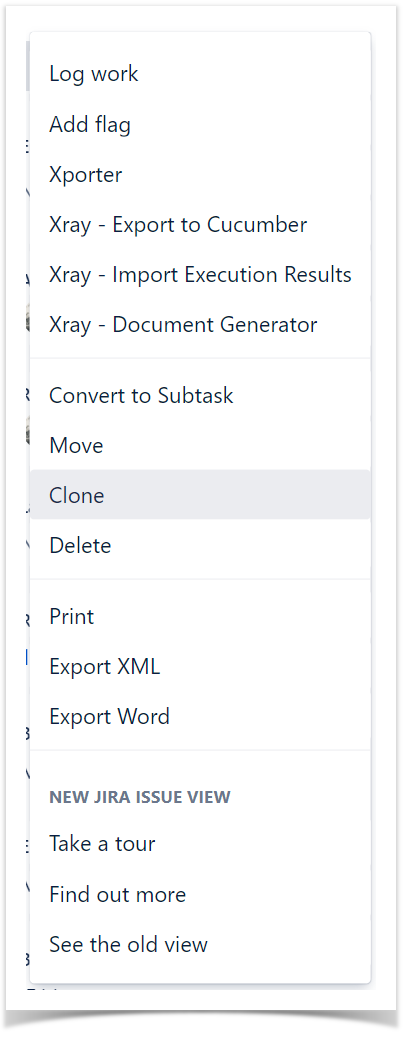
Step 1: Open the Test Execution issue view page.
Step 2: Select ... > Xray - Export to Cucumber. The file will be downloaded from the browser.

Import Automated Test Results
...
Step 1: Open the Test Execution issue view page.
Step 2: Select ... > Xray - Import Execution Results. The Import Execution Results dialog will open.
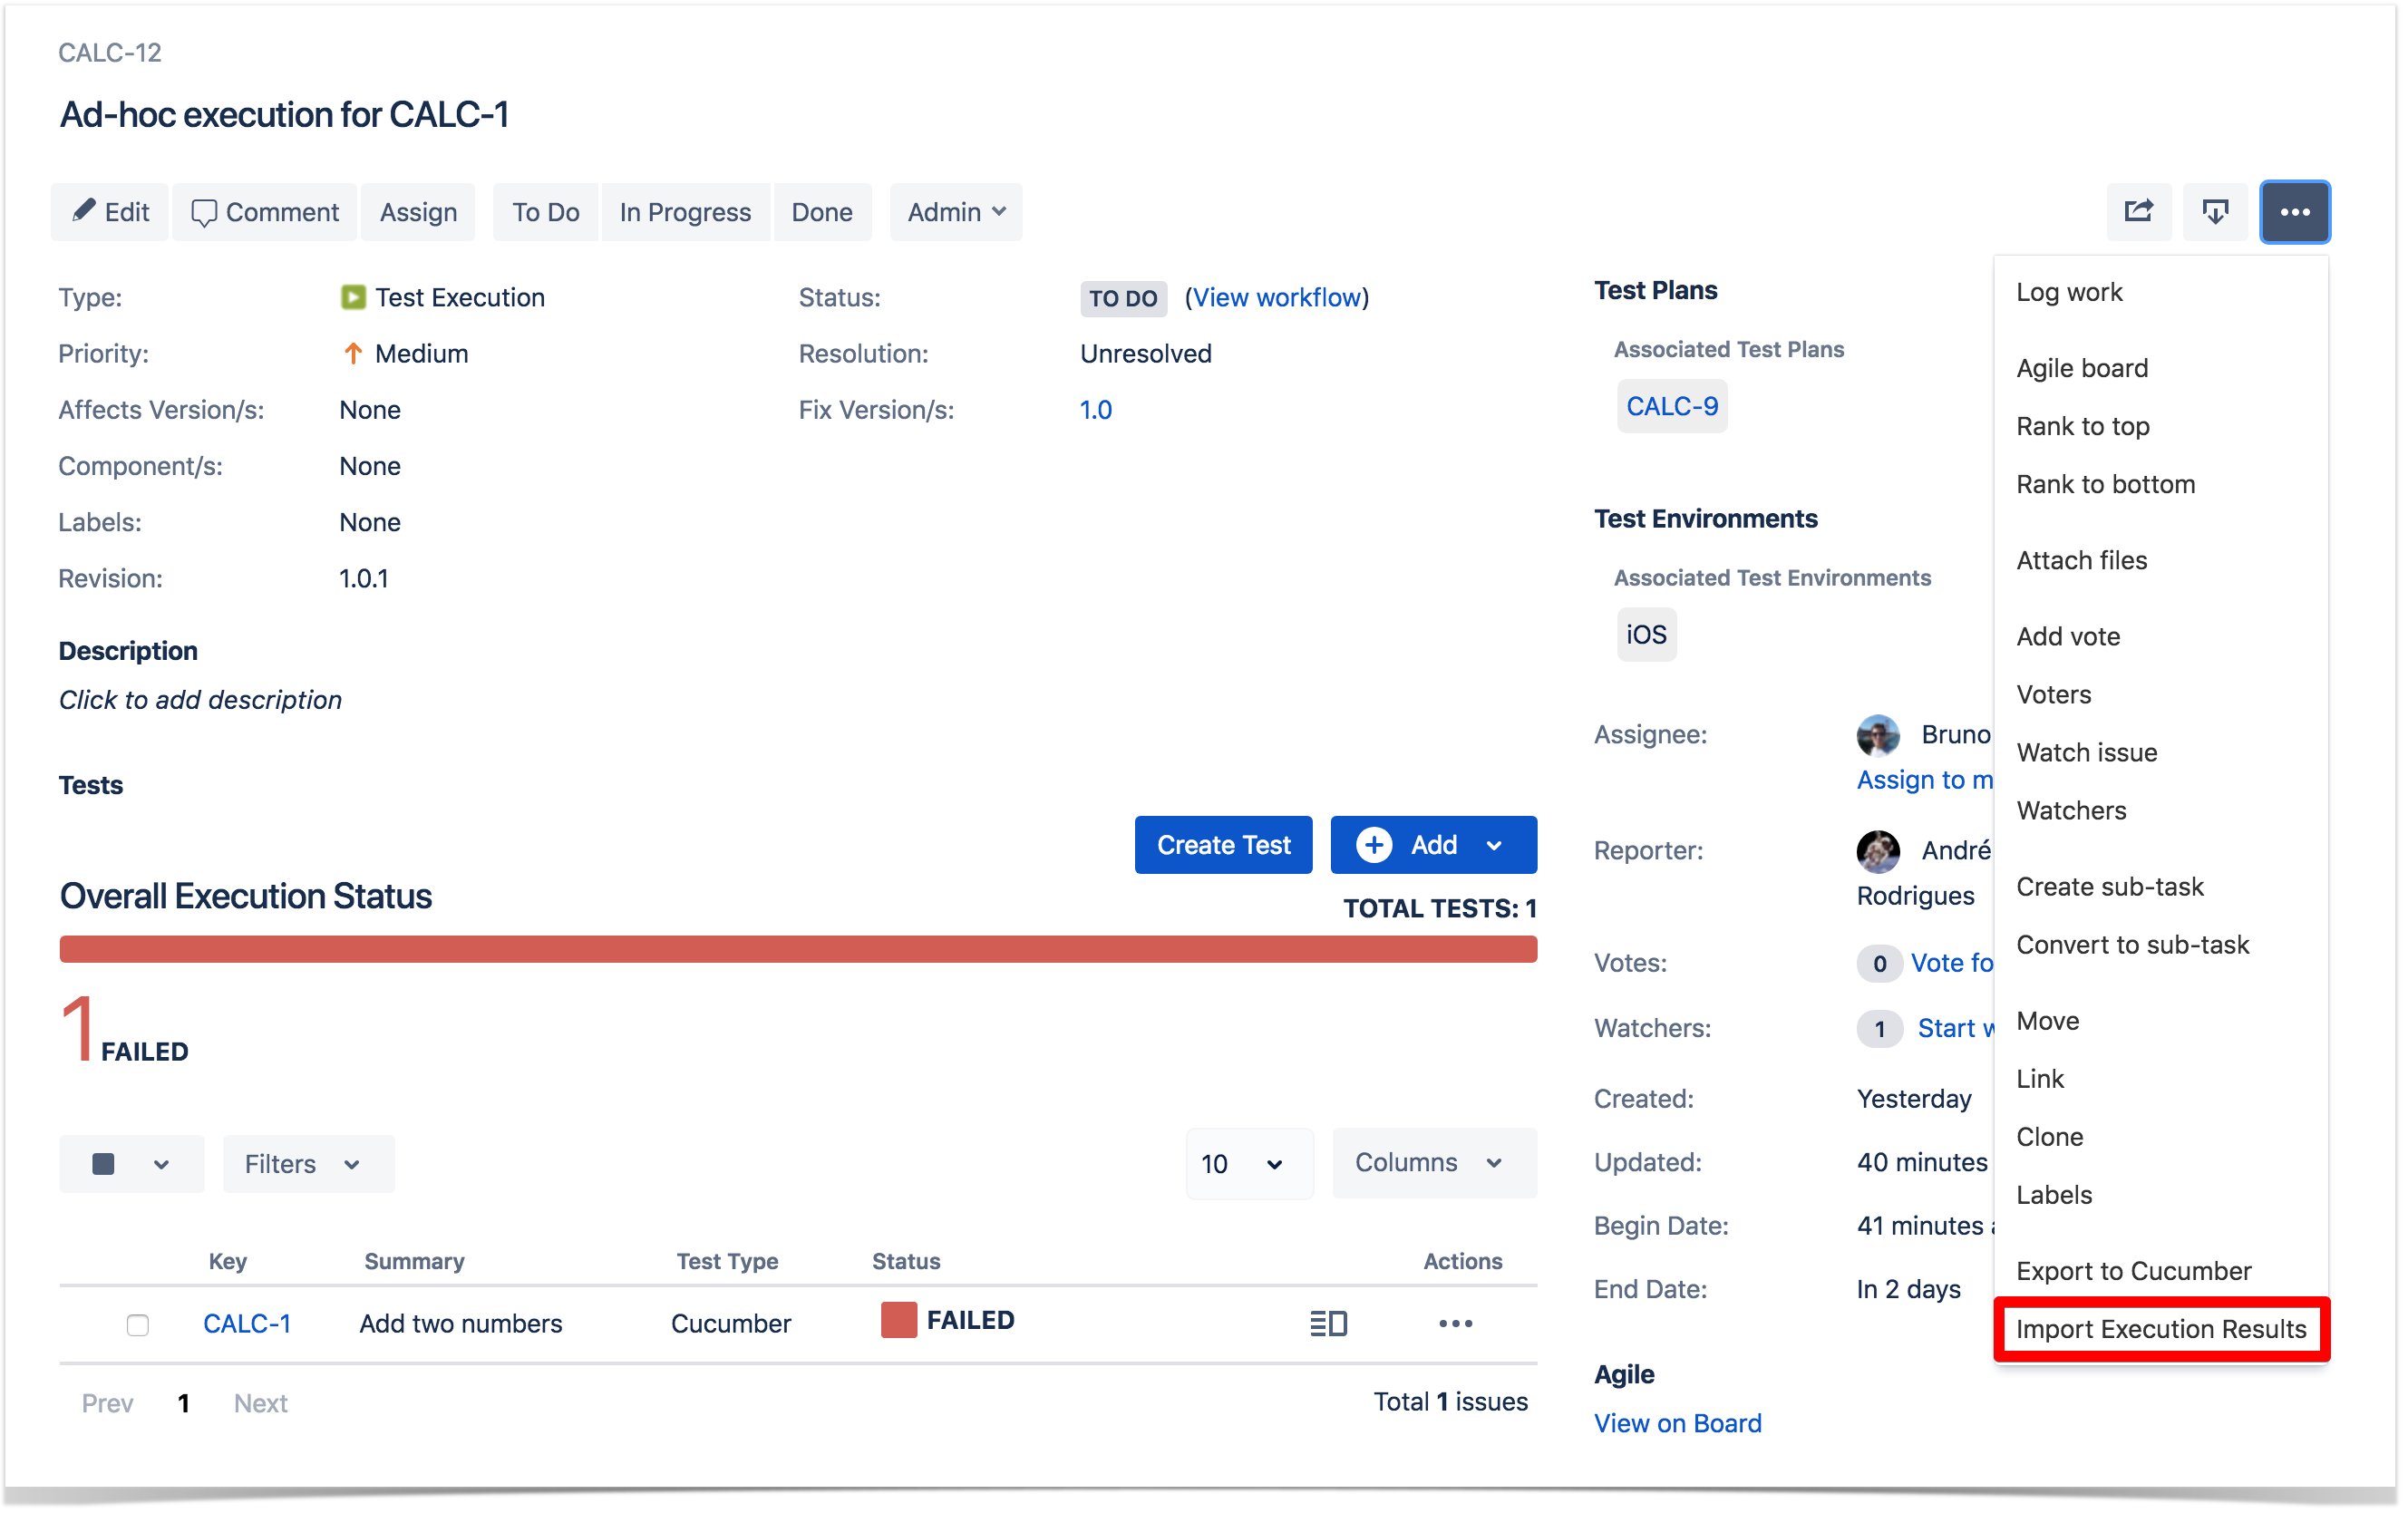

Step 3: Click the Choose file button to navigate to the local disk and select the JSON/XML/ZIP file with the automated execution results for the Test Execution.
Step 4: Click Submit.

Importing from the Execution Details Page
You can also import the Execution Results from the Execution Details page:
Step1: From Test Execution view issue screen, go to the Execution Details page by clicking Execute.
![]()
Step 2: Click Import Execution Results.
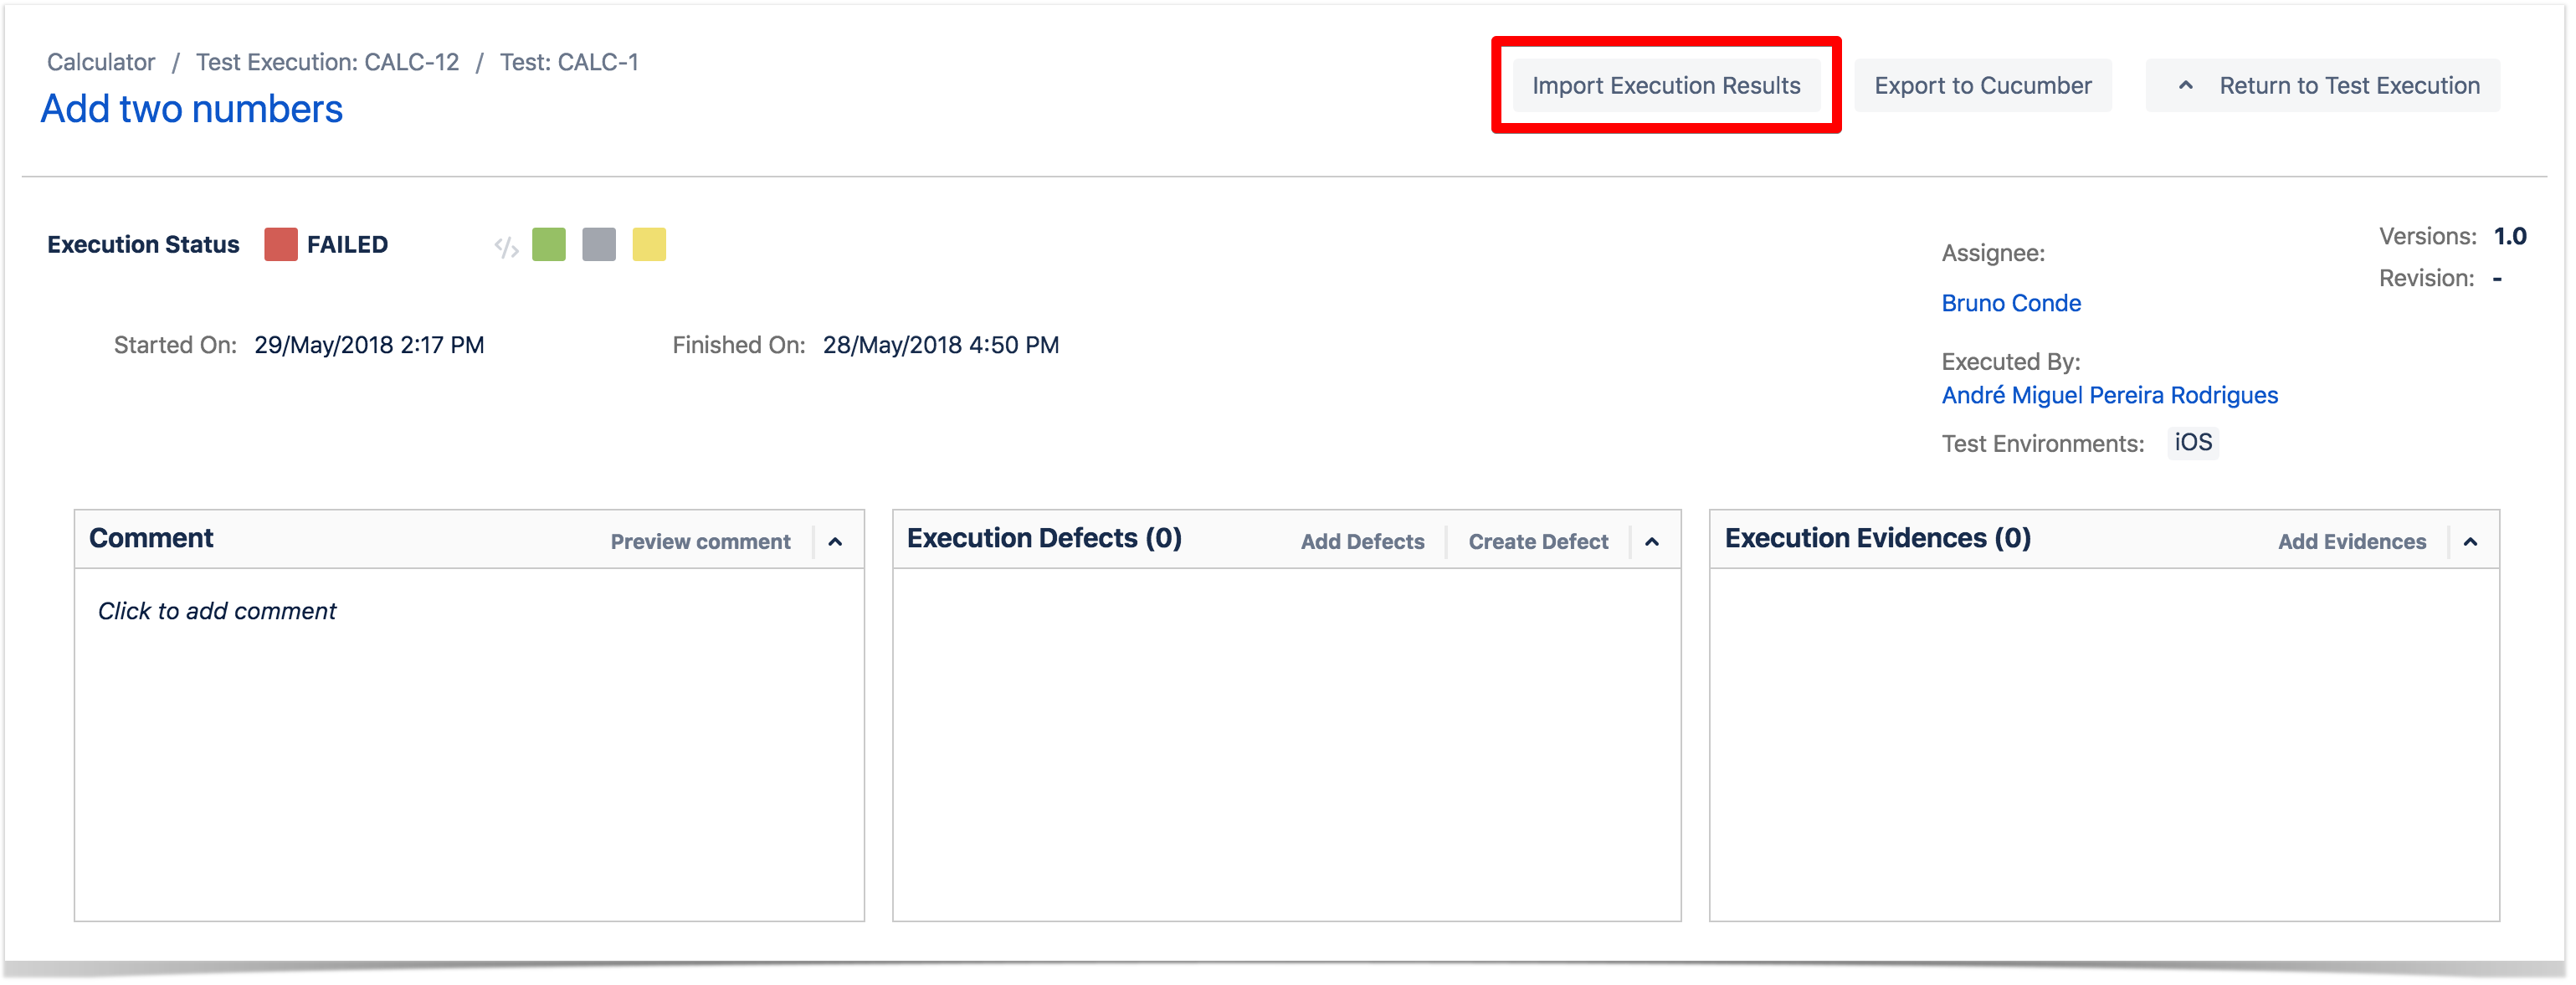

Step 3: Click the Choose file button to navigate the local disk and select the JSON/XML/ZIP file with the automated execution results for the Test Execution.
Step 4: Click ImportSubmit.
Archive Test Runs
Xray provides you with a way to explicitly archive test runs one at a time or in bulk as well as way to check all the archived test runs for a specific test execution. For more information about Test Run Archive check here.
...
Step 3: Click the Archive button on the confirmation dialog.

...

Bulk archive Test Runs
To archive multiple test runs at the same time,
...
Step 3: Click the Archive button on the confirmation dialog.

...

View archived Test Runs
To view the archived test runs of a test execution,
Step 1: Click on the Show Archived... that appears in warning message. After this a dialog will appear that shows all archived test runs for the test execution you are on.
...

There are 2 actions that can be performed on the archived Test Runs:
- Restore - By clicking on the ... at the end of the archived test run row and then Restore.
- Delete - By clicking on the ... at the end of the archived test run row and then Delete.
...
Both of these actions can be performed in bulk by selecting the test runs using the checkbox on the left then
...
Step 2: Click on the bottom that appears at the top of the table and then the desired action.
Step 3: Confirm the action on the dialog that appears.
...


Xray History
Any changes made to the Test Execution data are recorded on the Xray History section. These include:
...