
Page History
...
Step 1: Either double-click on the folder or select the folder and then click the proper edit icon at the bottom of the folders section.

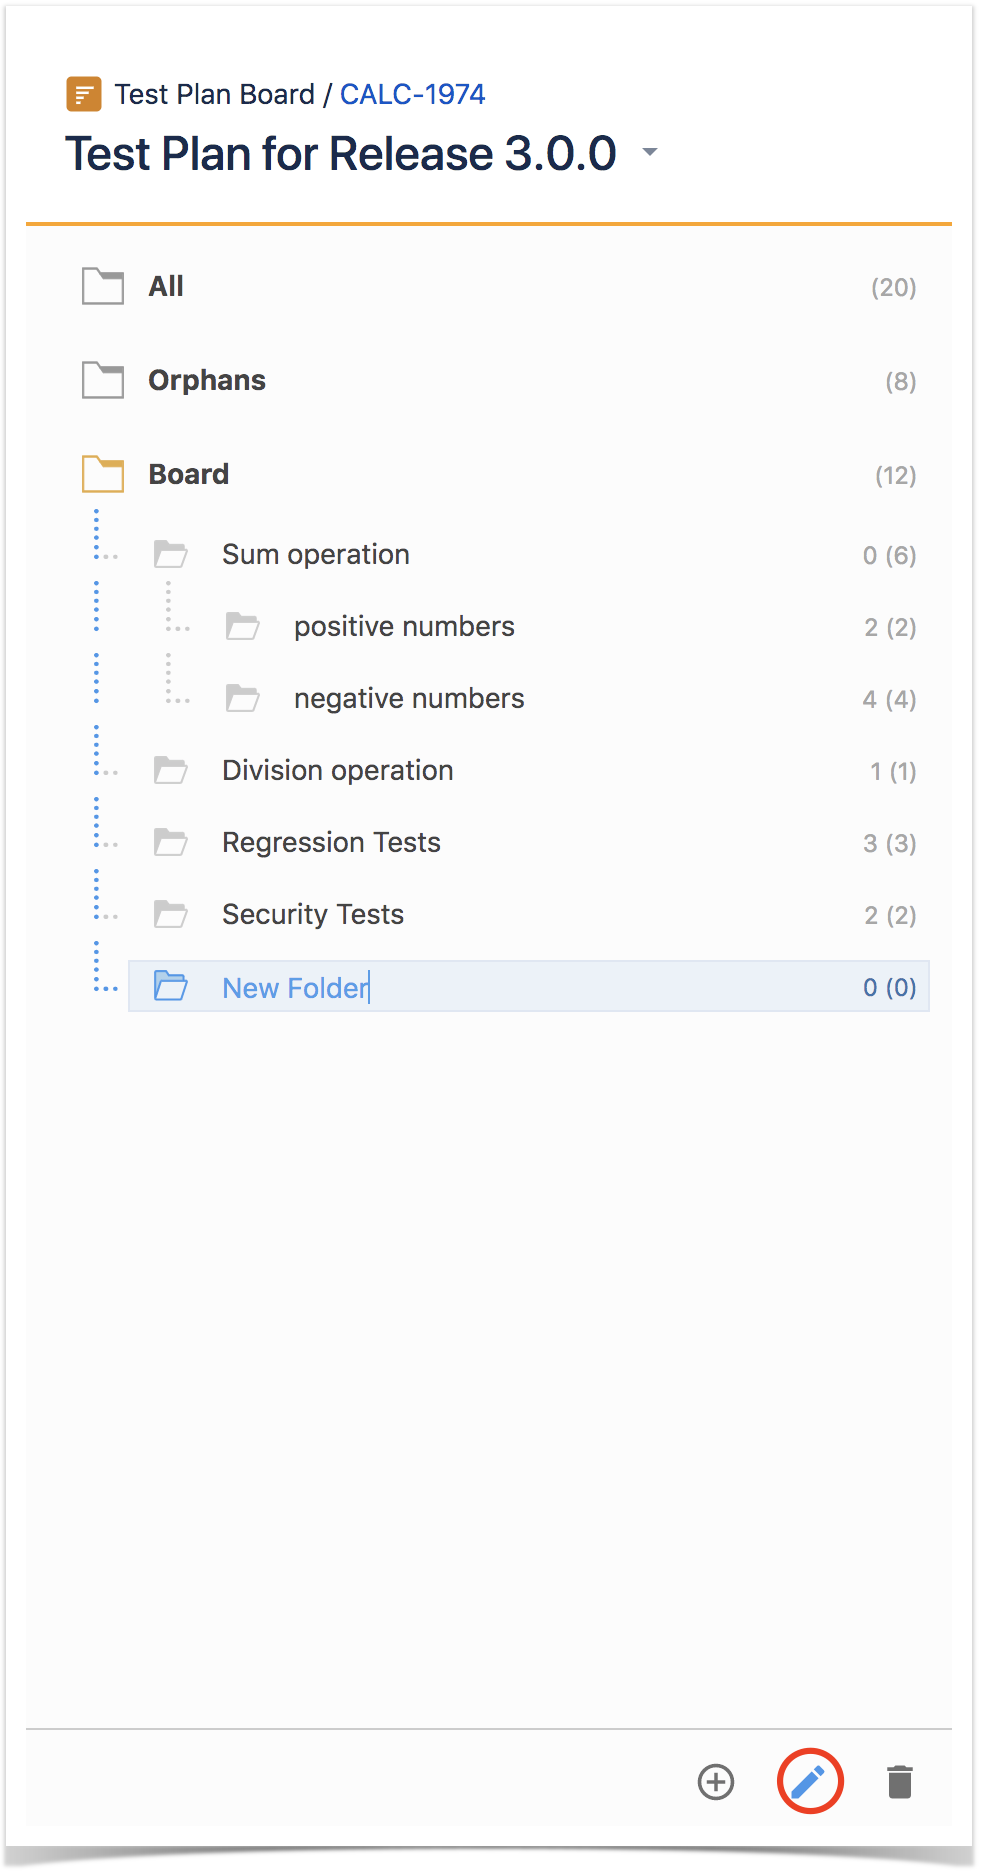
Step 2: Type the new name for the folder.

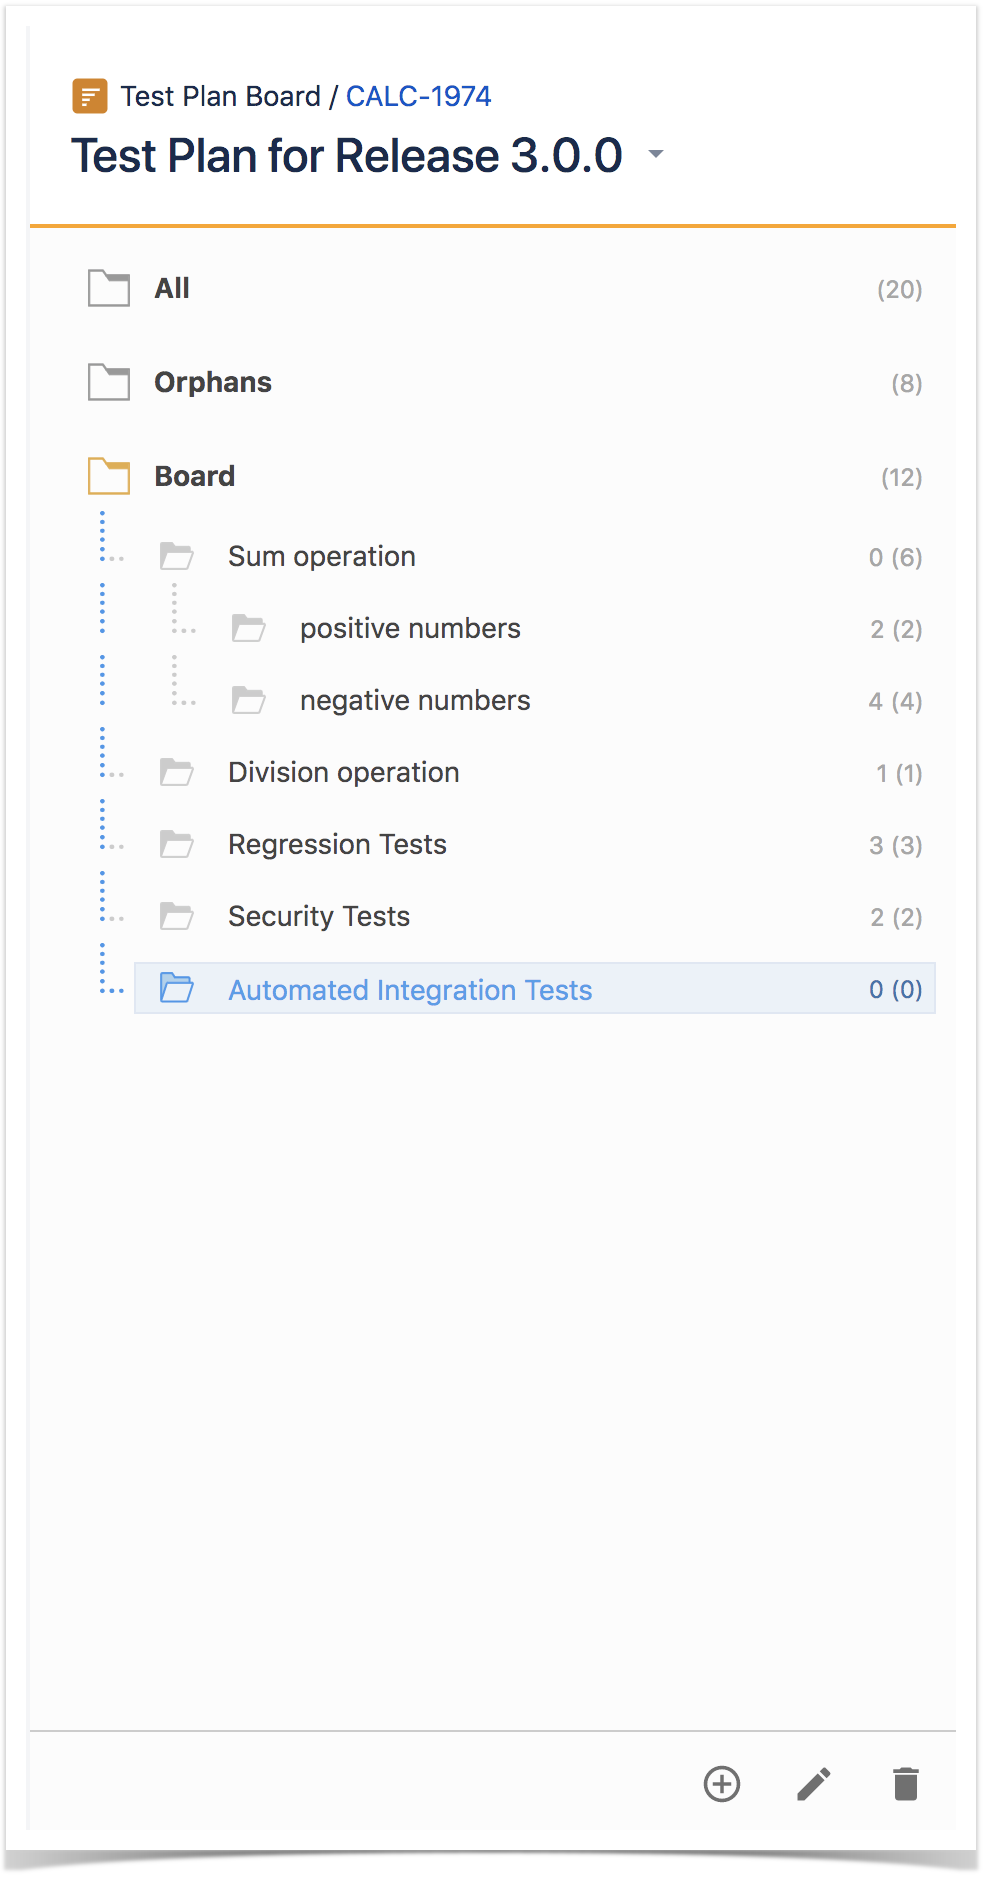
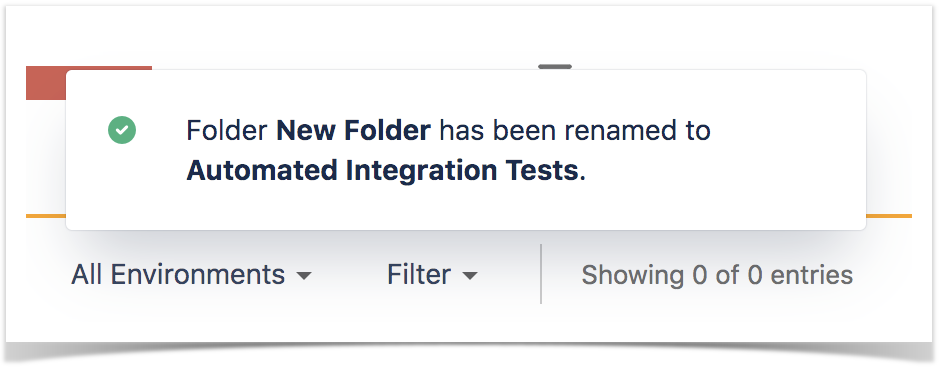
Step 3: Press Enter or click outside of the selected folder

Remove
You can easily remove an existing folder, and its descendant folders.
...
Step 2: Click on the proper remove icon at the bottom of folders section.

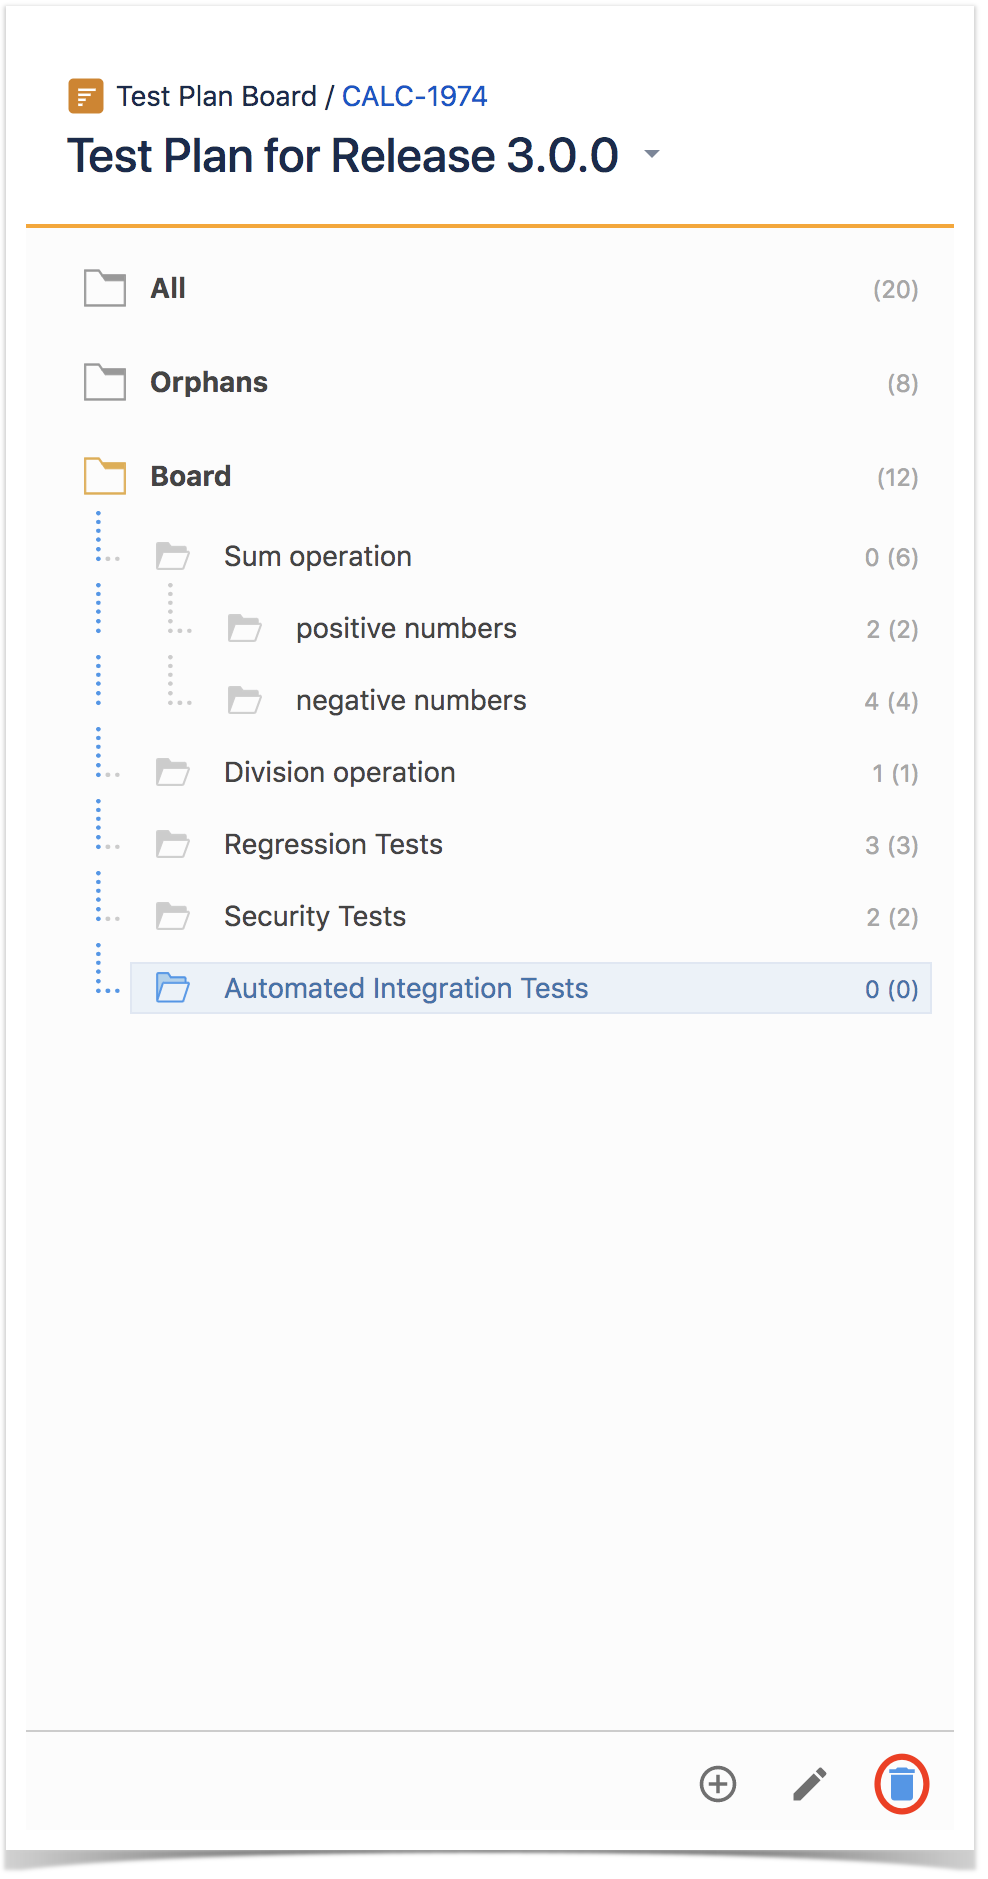
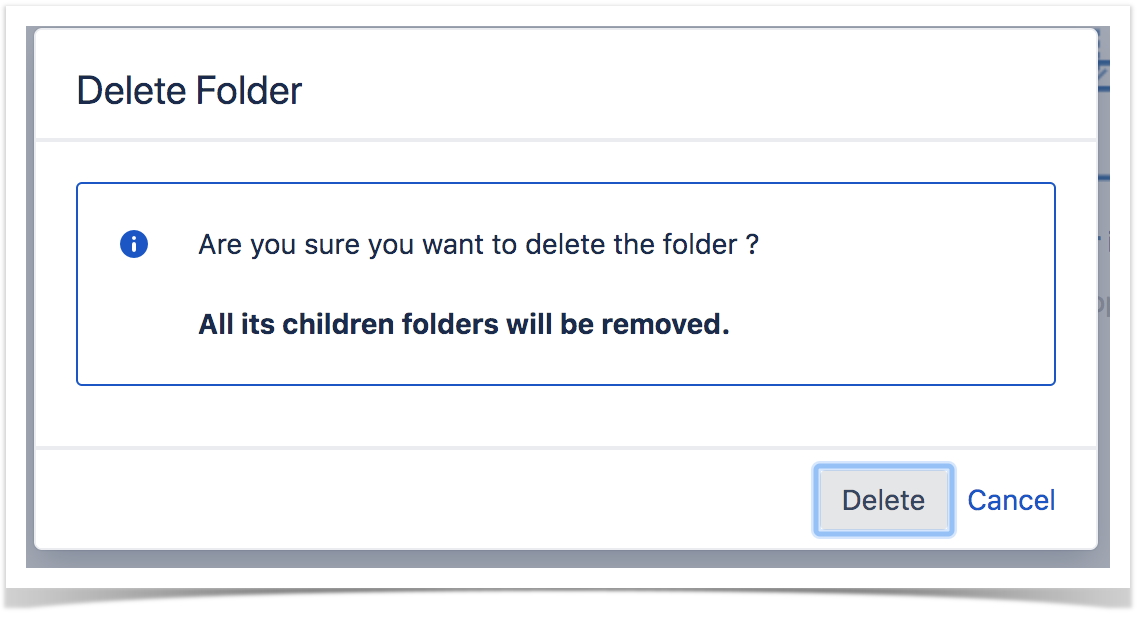
Step 3: Confirm removal of folder.

Expand/Collapse
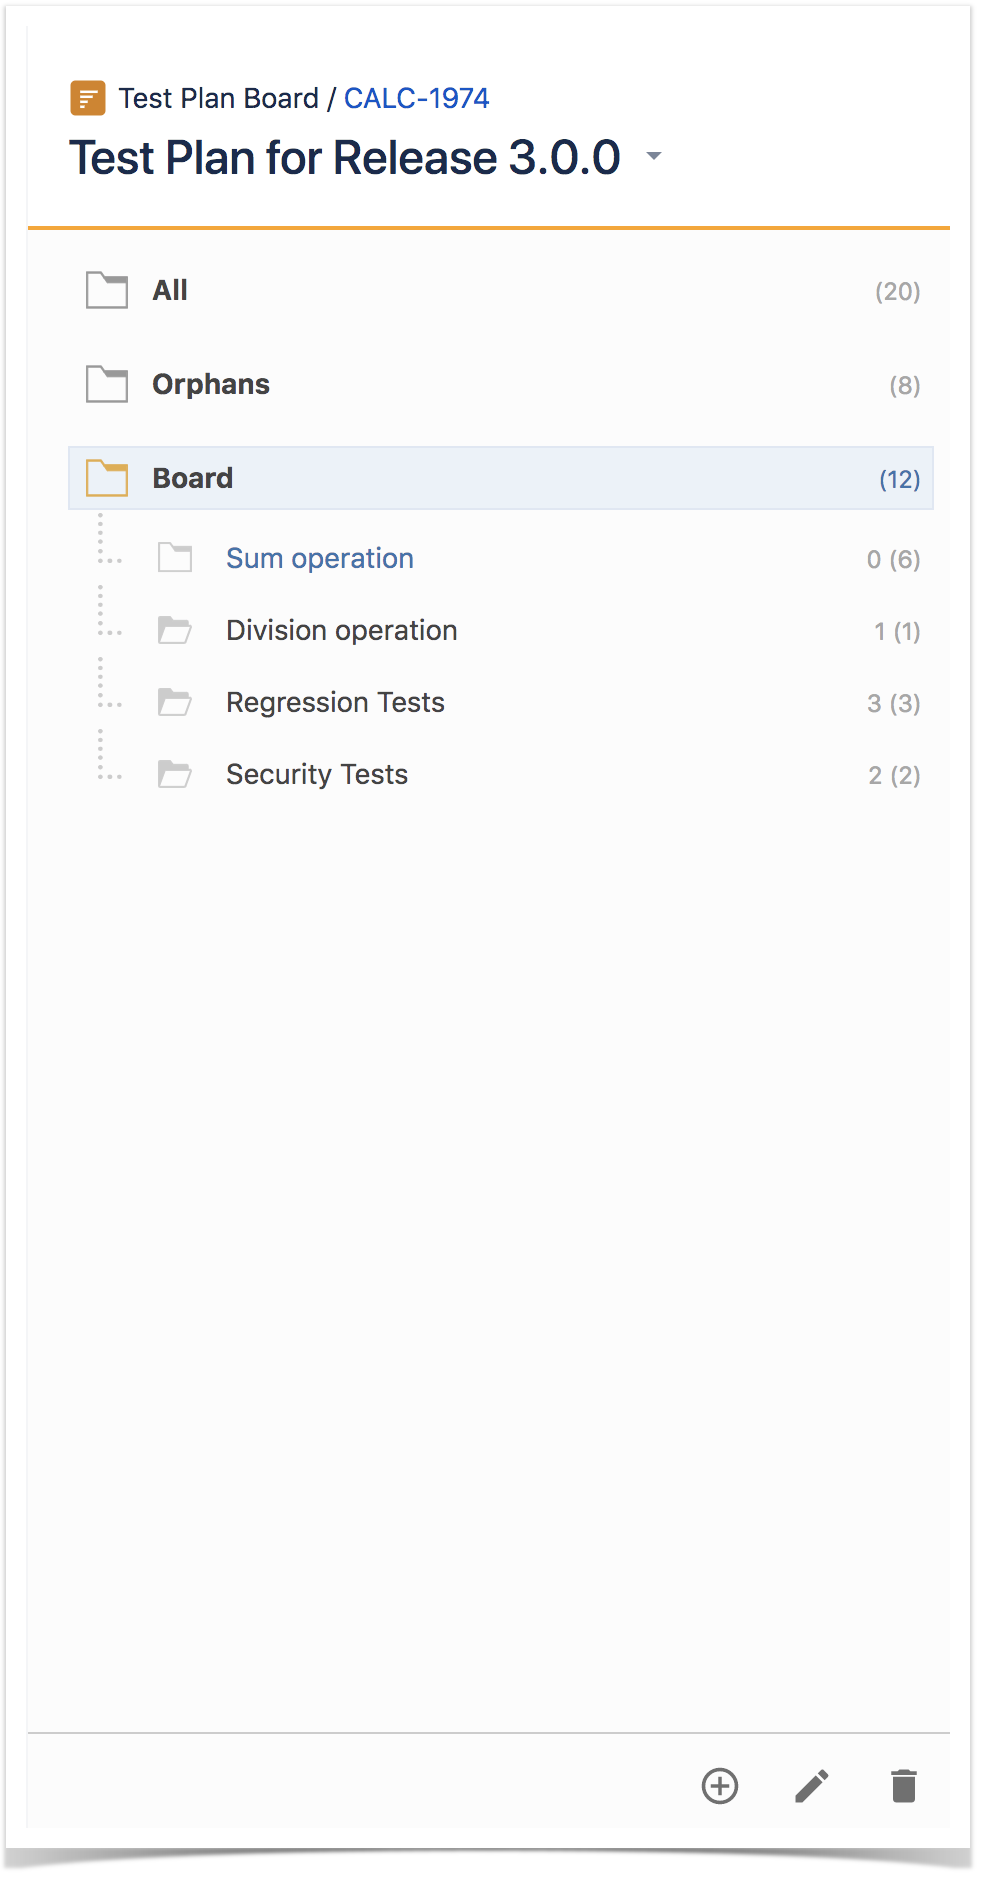
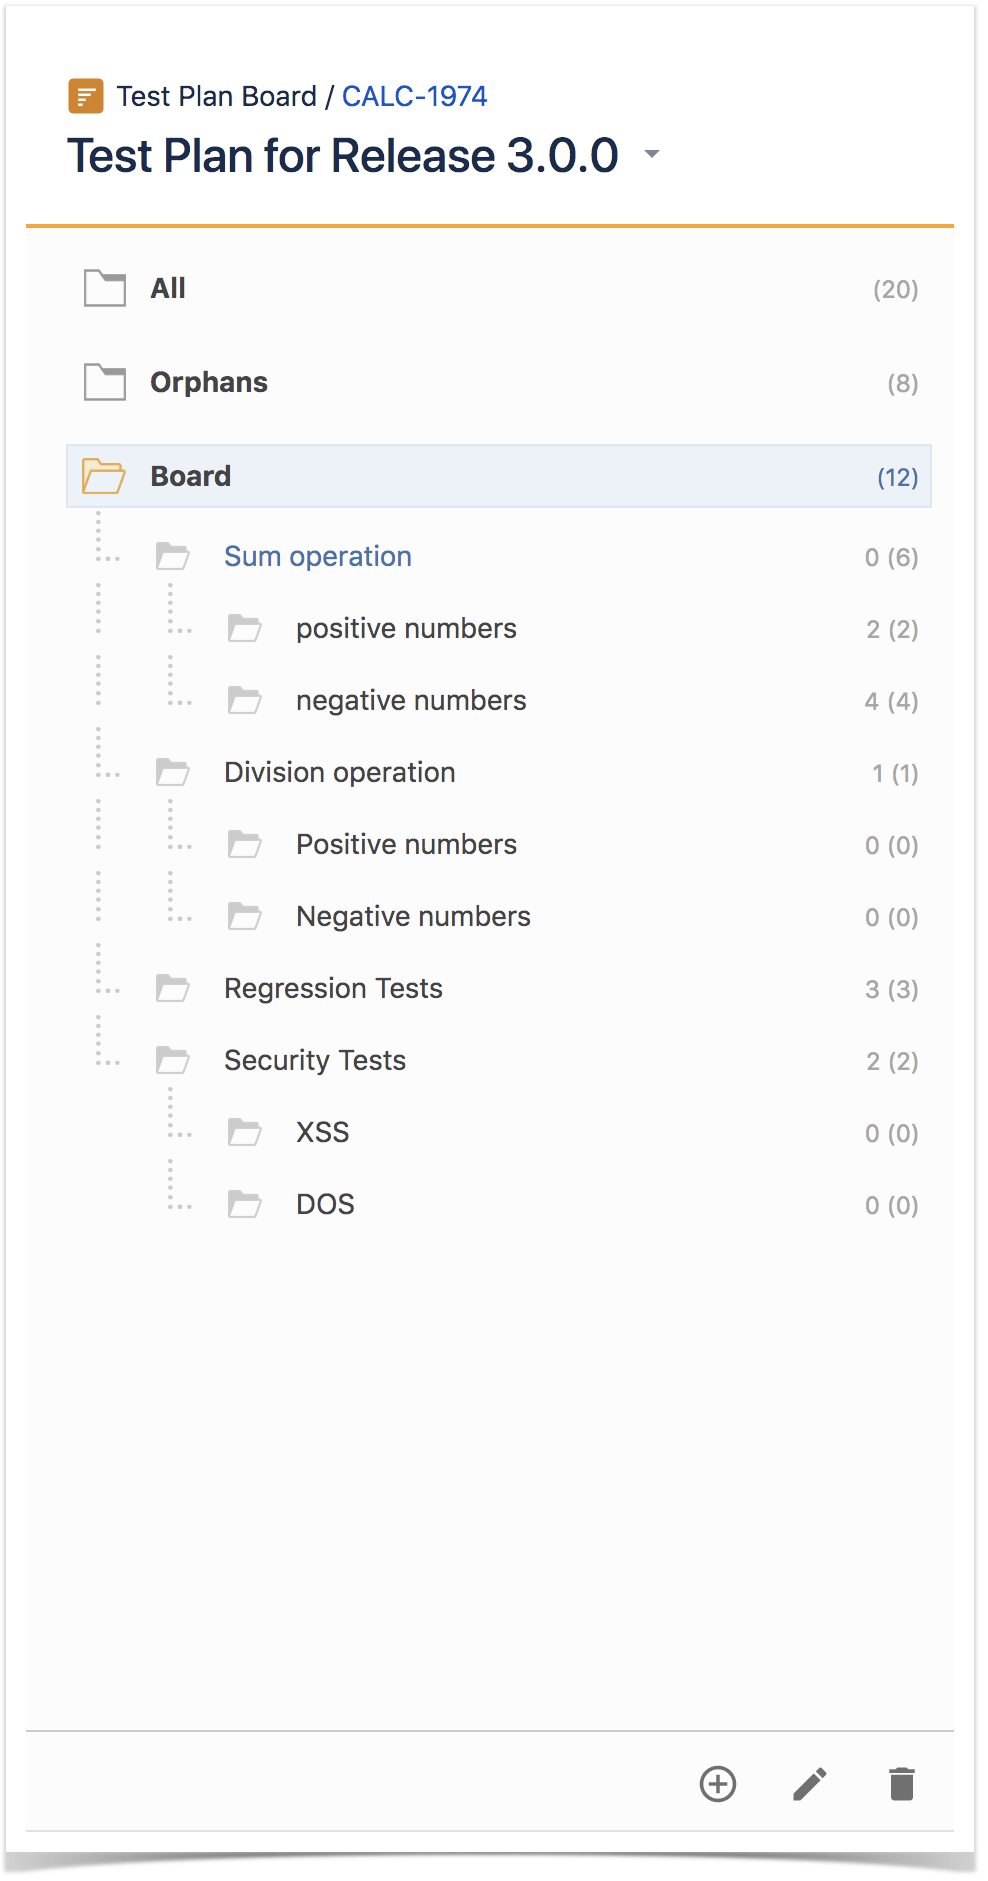
Folders can be expanded or collapsed easily by clicking the folder.


Expand/Collapse All
...
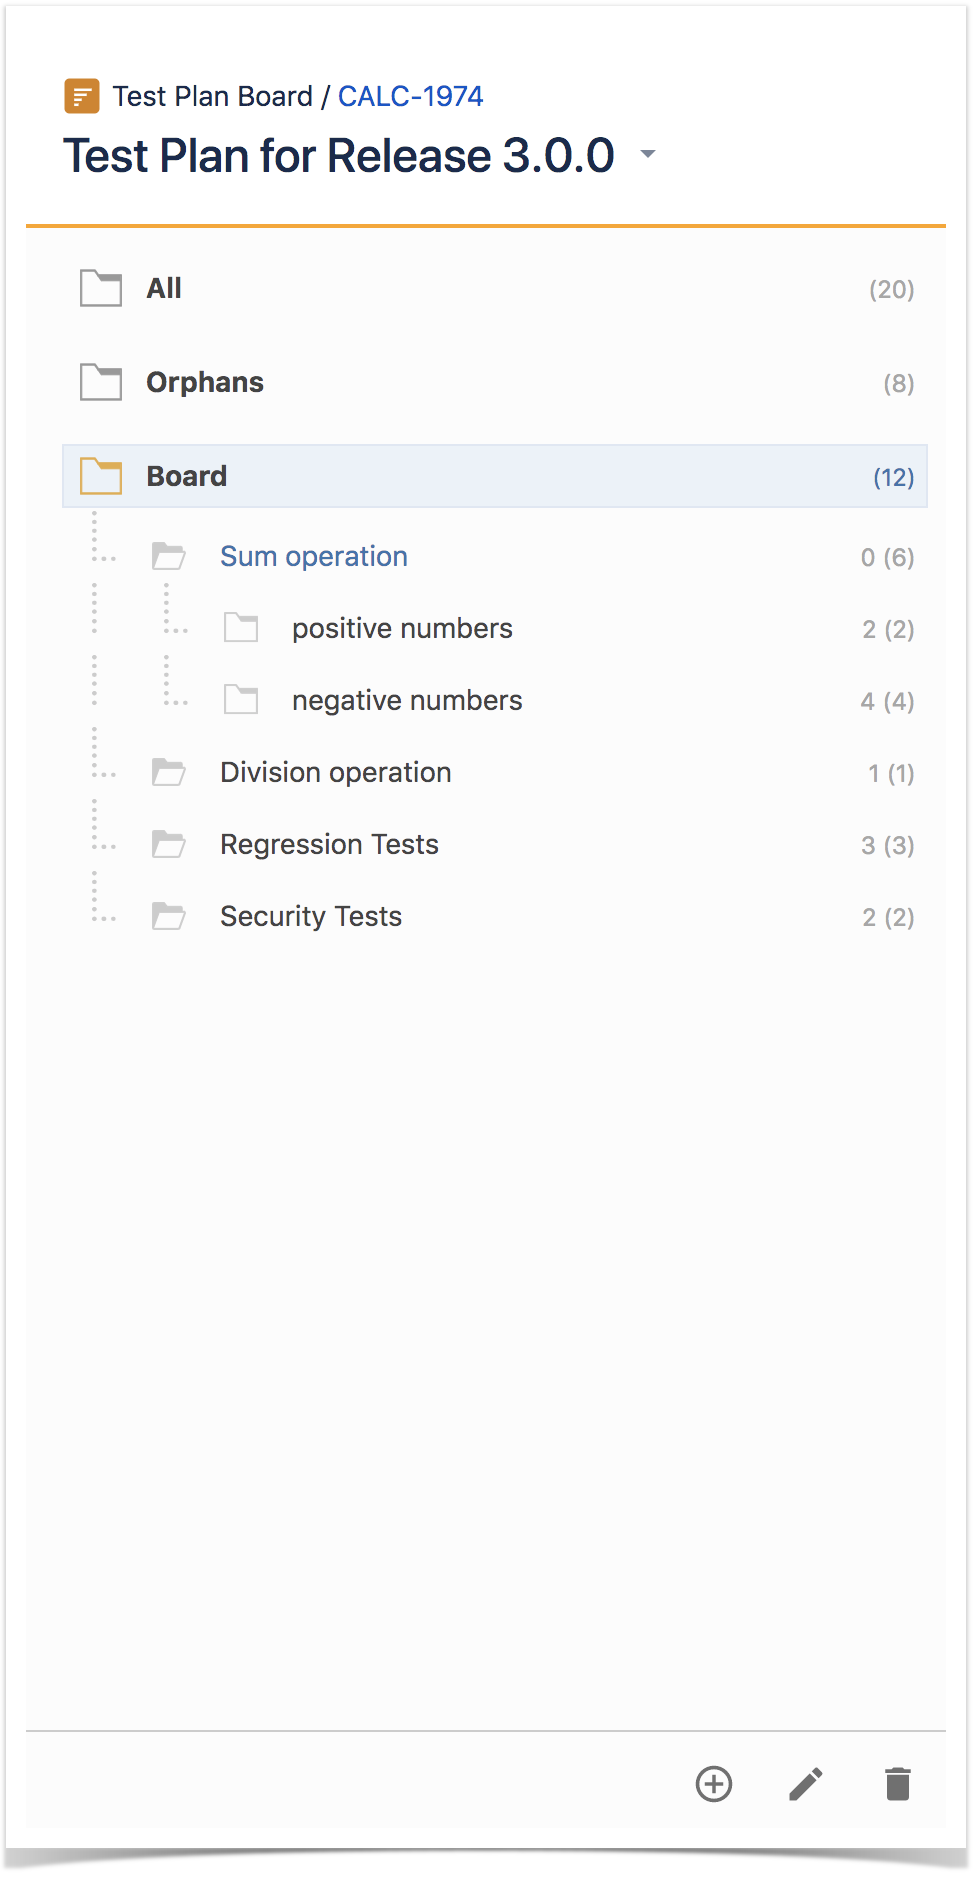
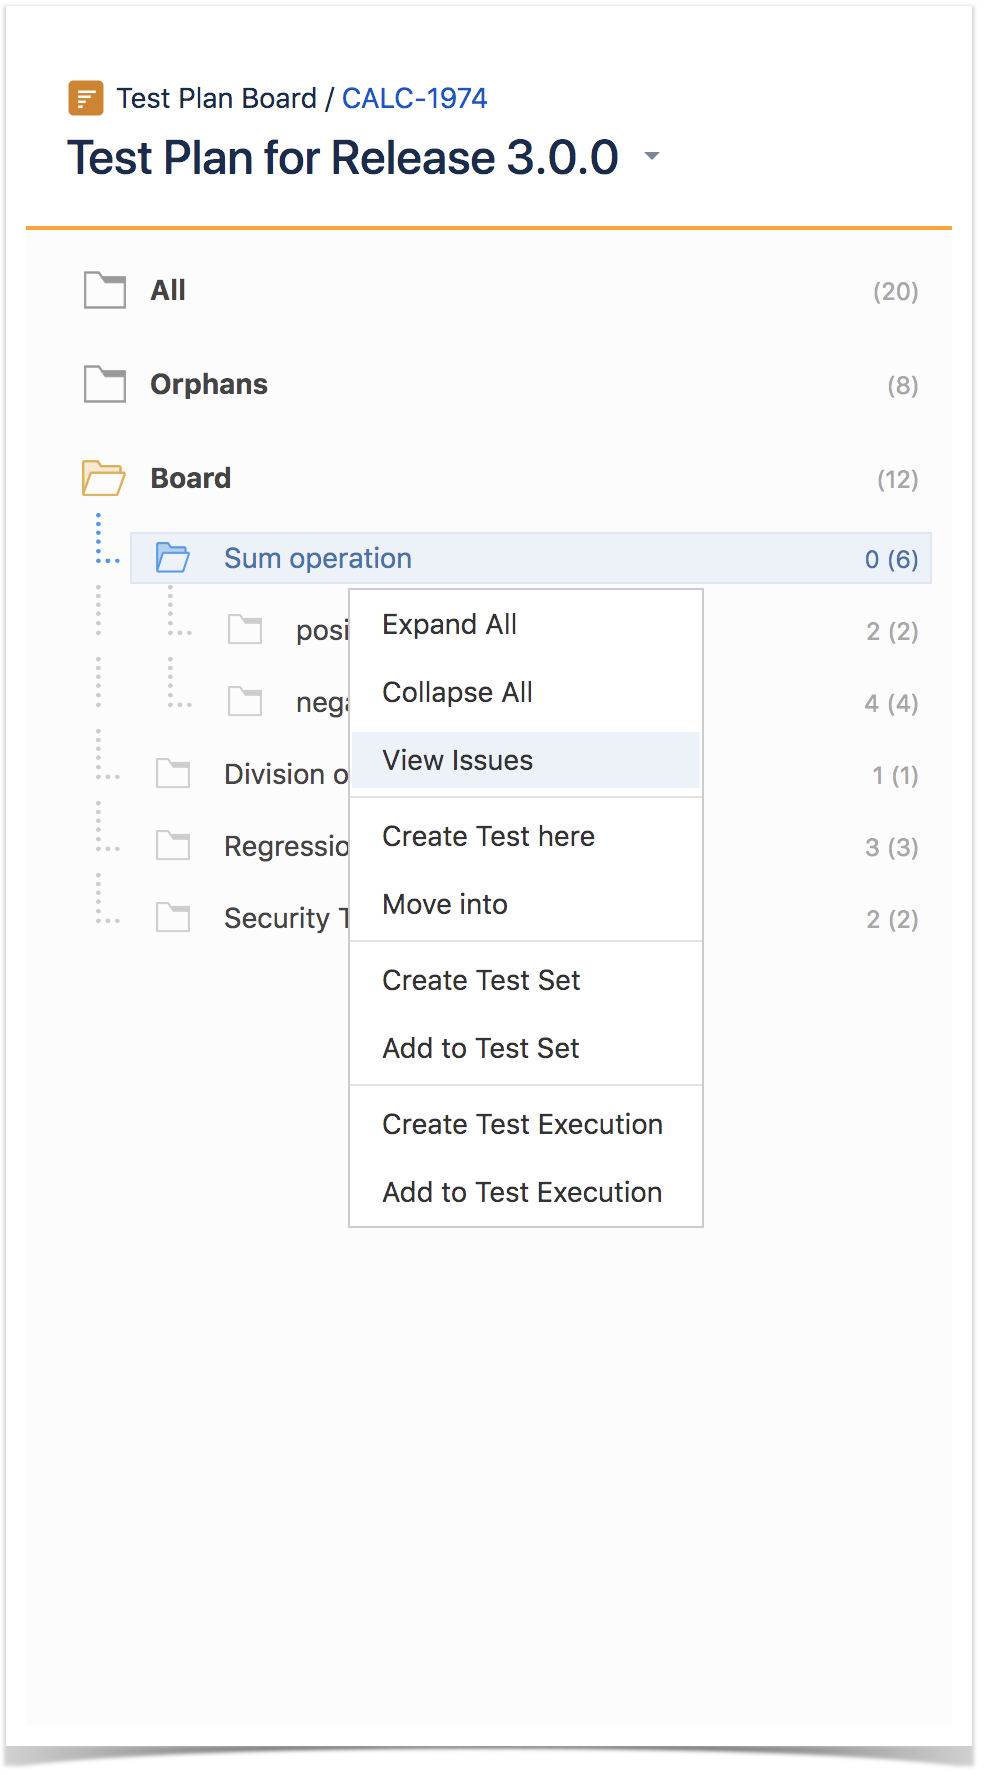
Step 2: Use the context action Expand All or Collapse All.


View Issues
You can view the Test issues, from the selected folder and from its subfolders, in the issue search screen.
...
Step 2: Use the context action View Issues.

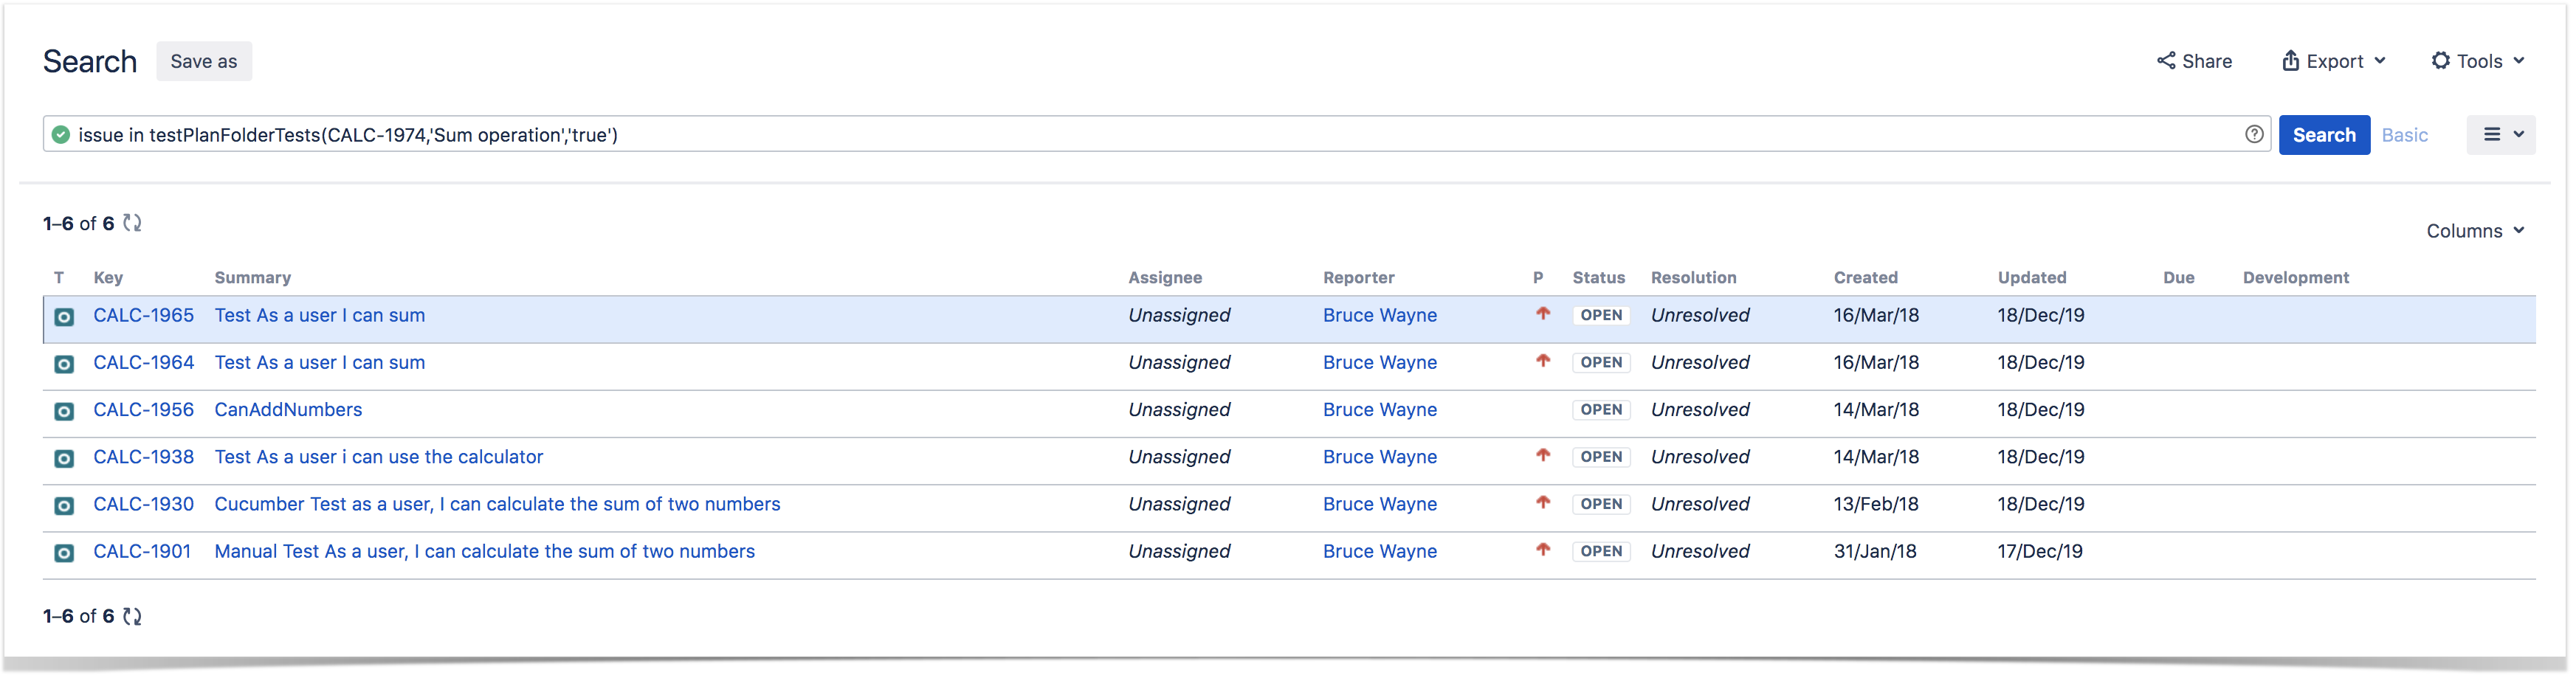
You will be redirected to the search issues page

Moving to another folder
A folder, including its descendants, can be moved to another folder just by dragging-and-dropping to the destination folder.

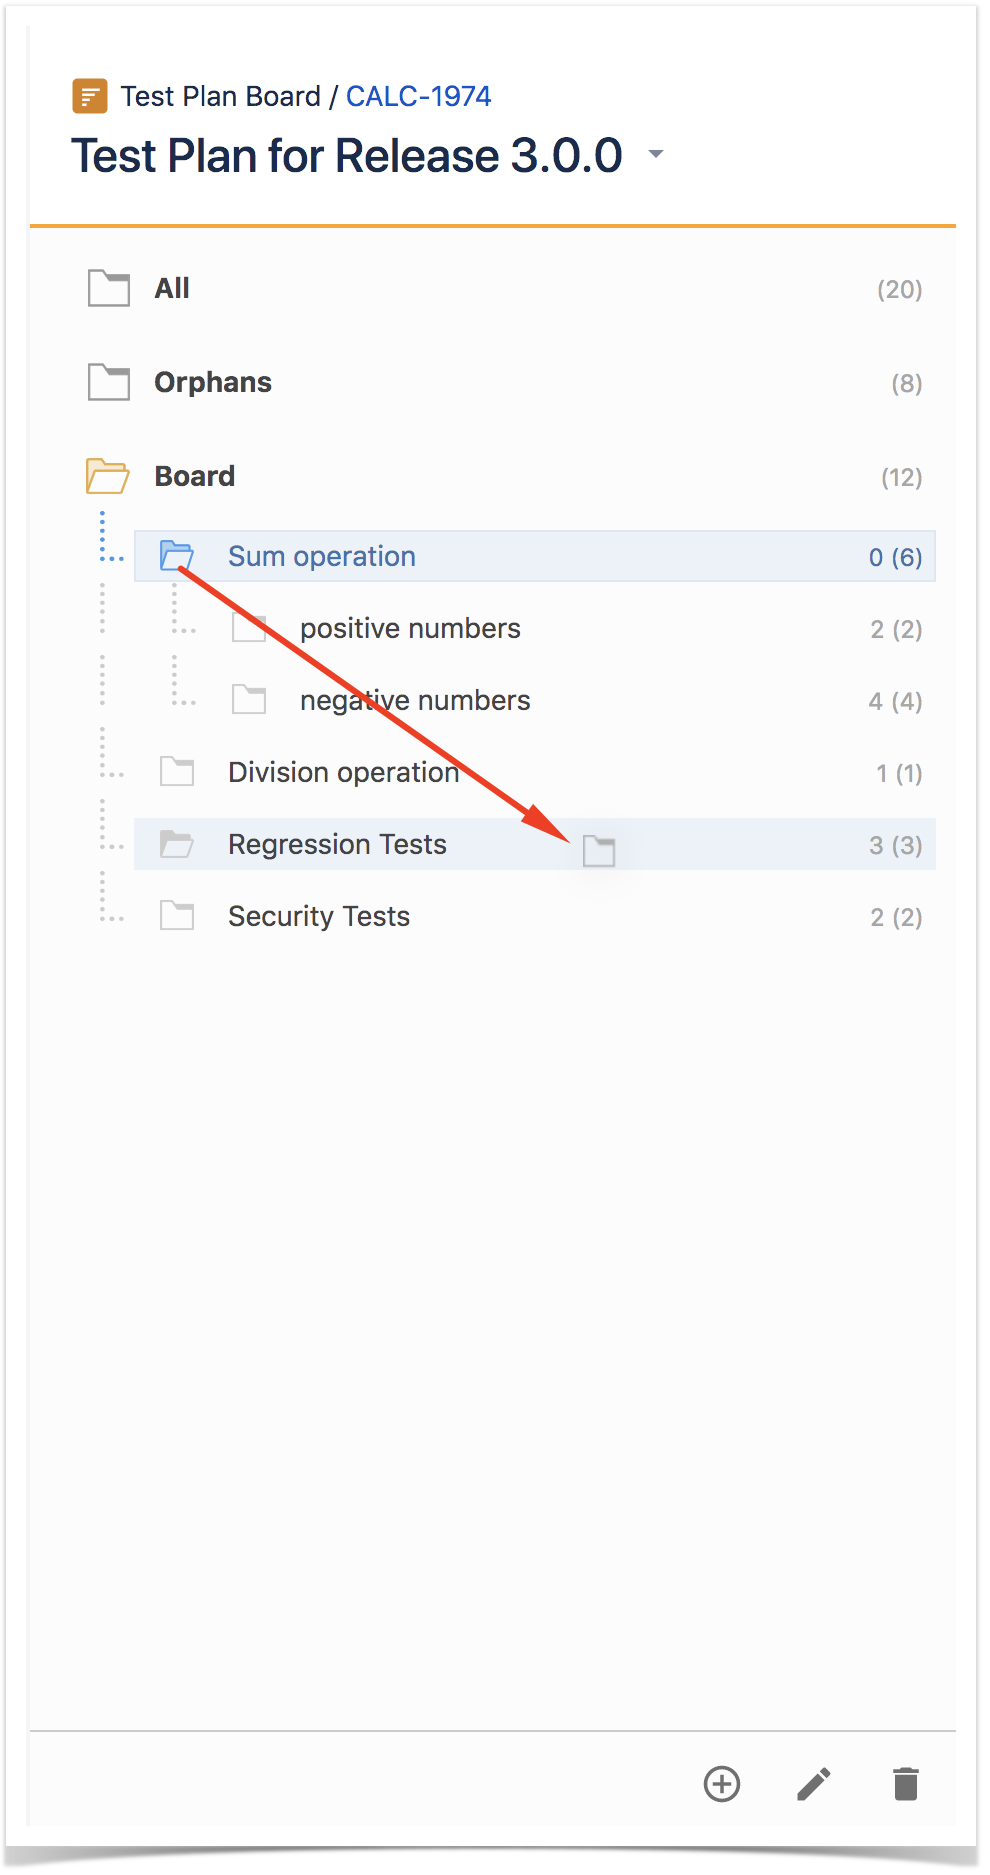

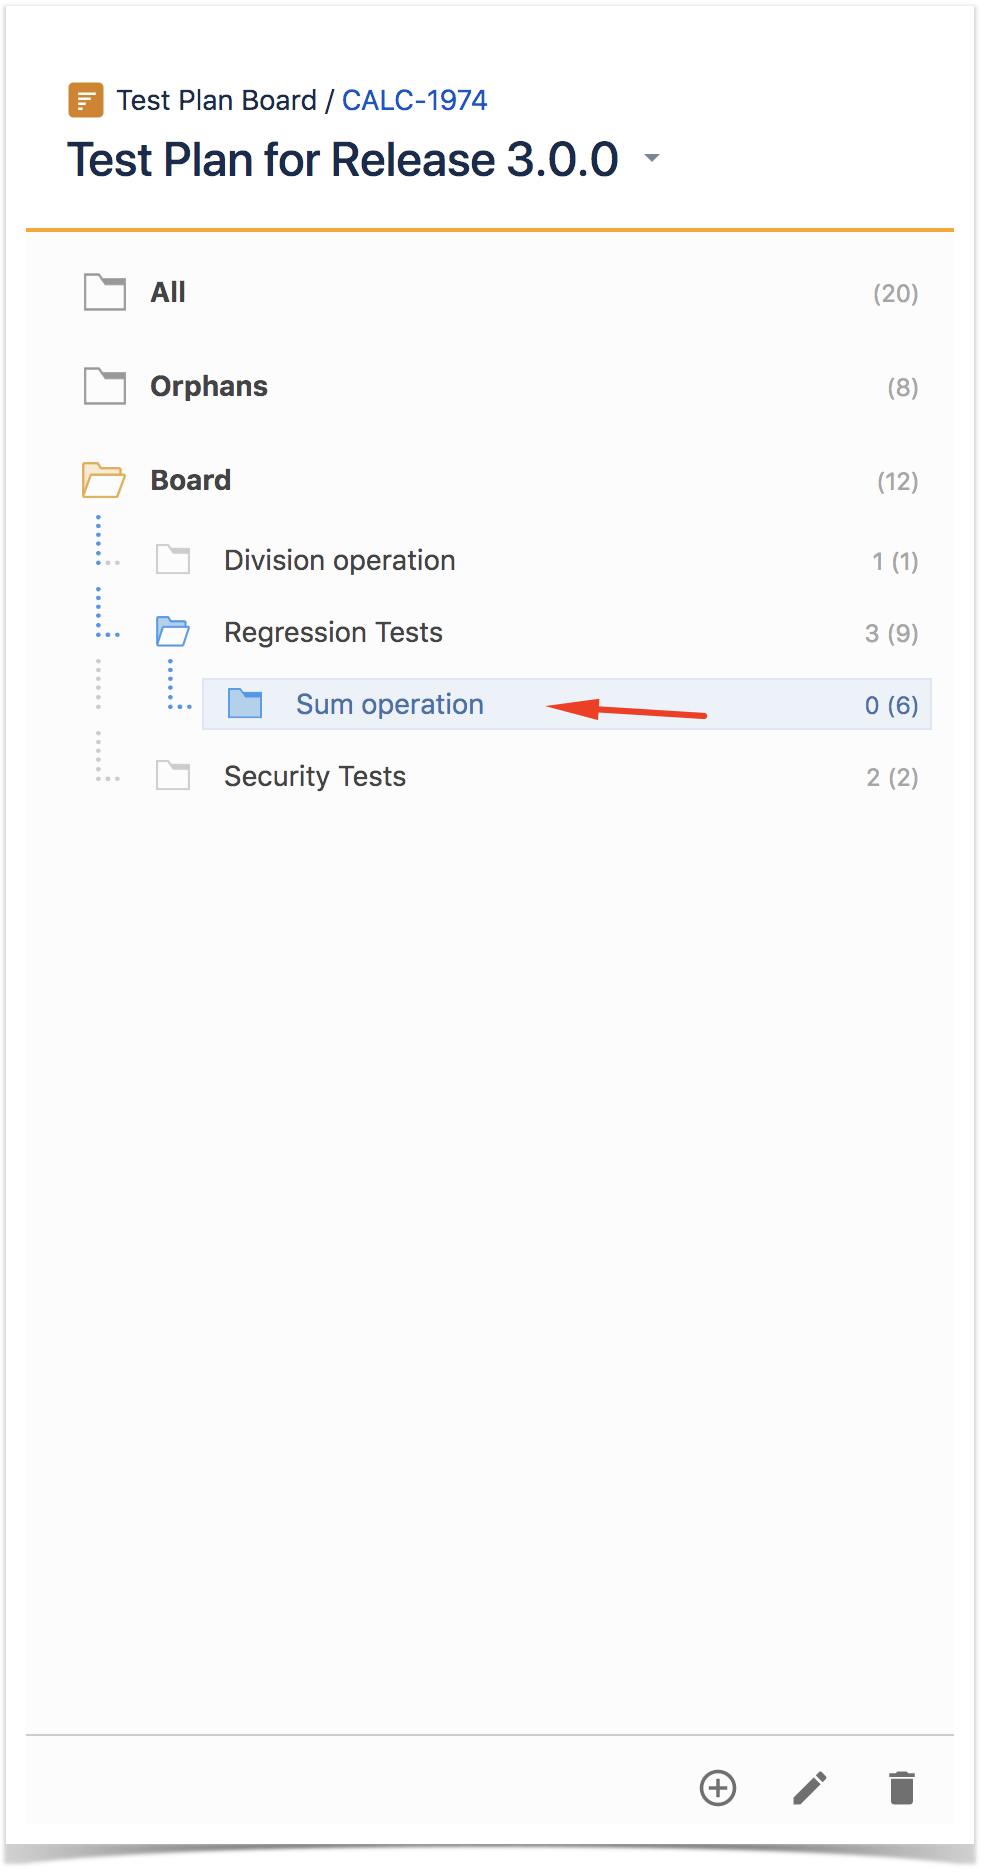
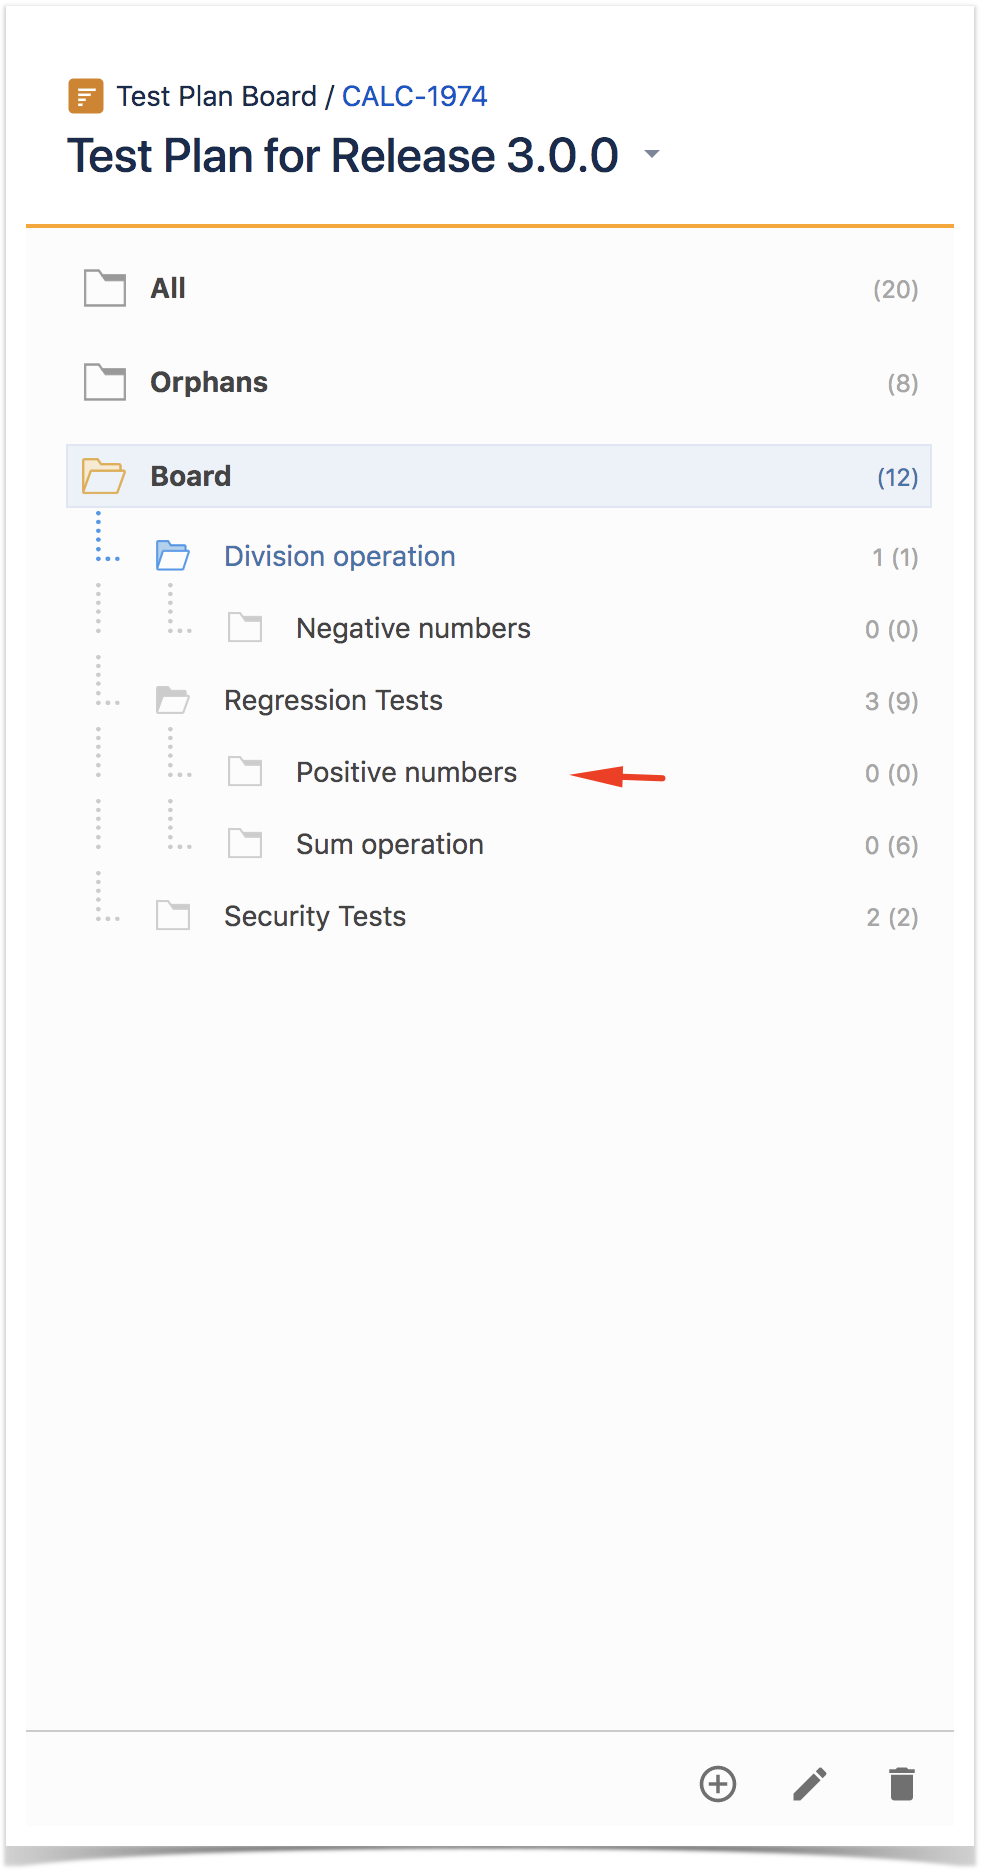
Dragging the folder directly on top of an existing folder will append it to the list of current child folders.
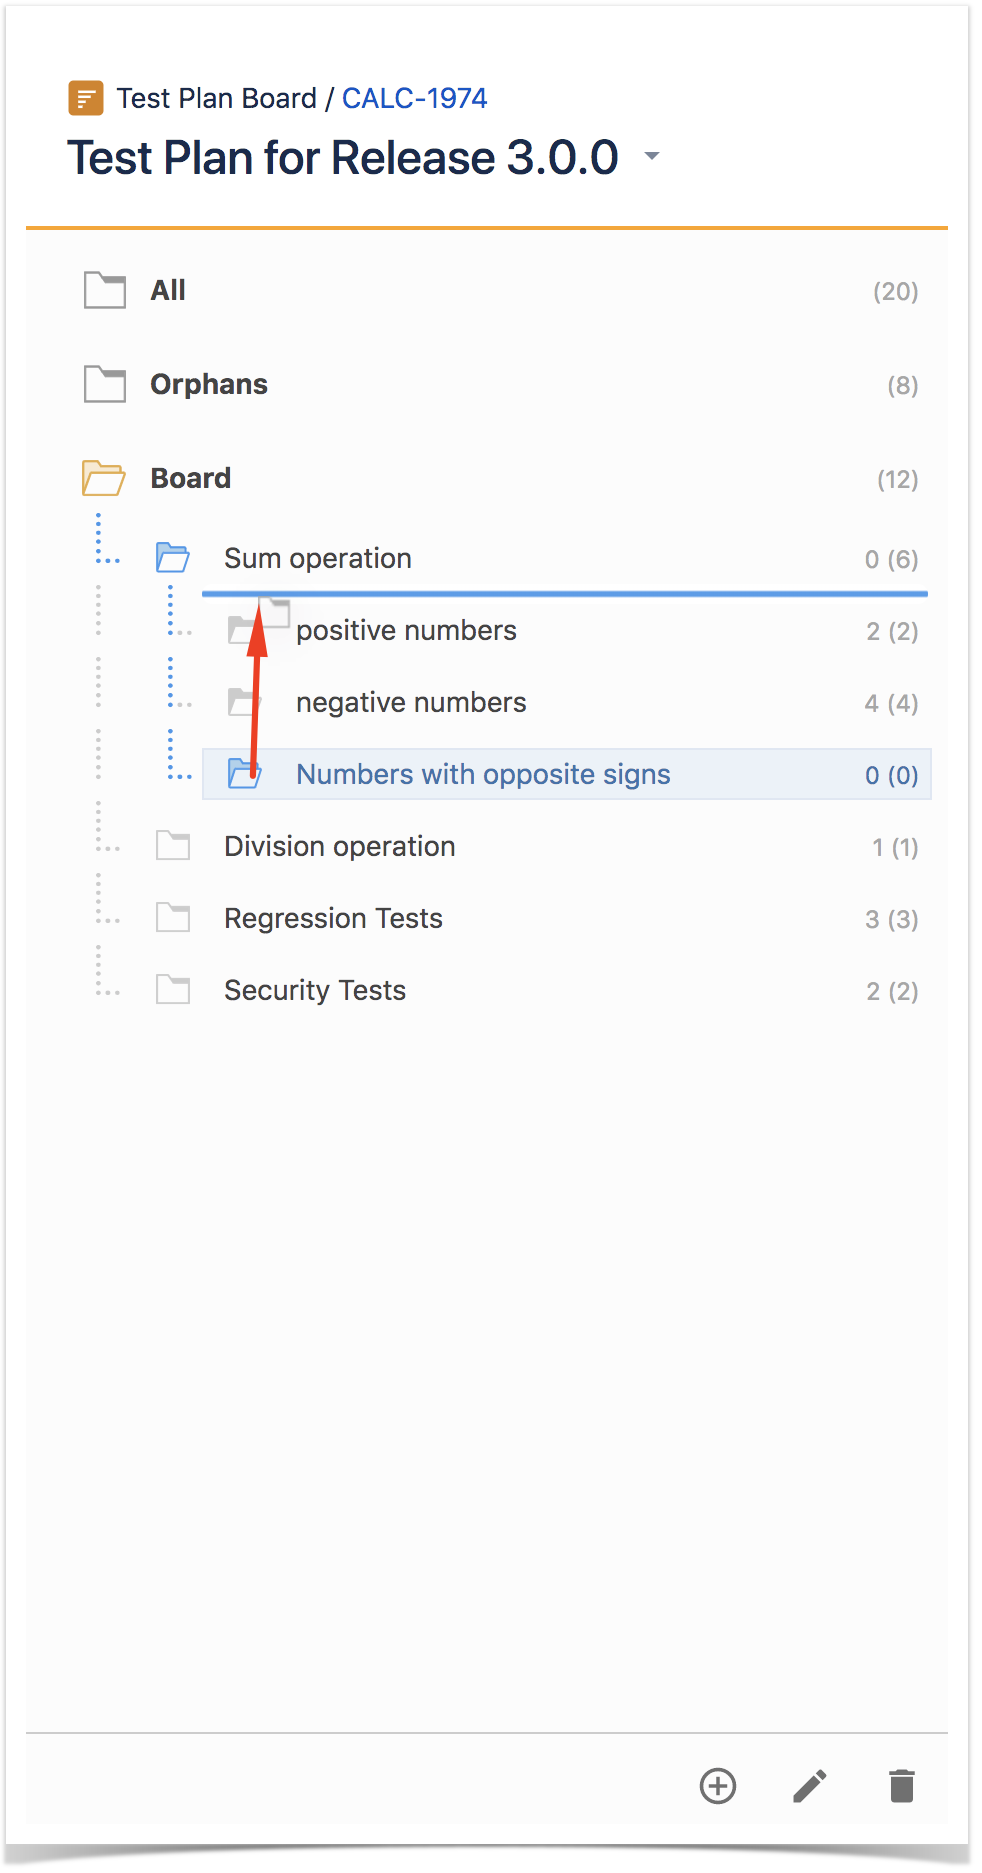
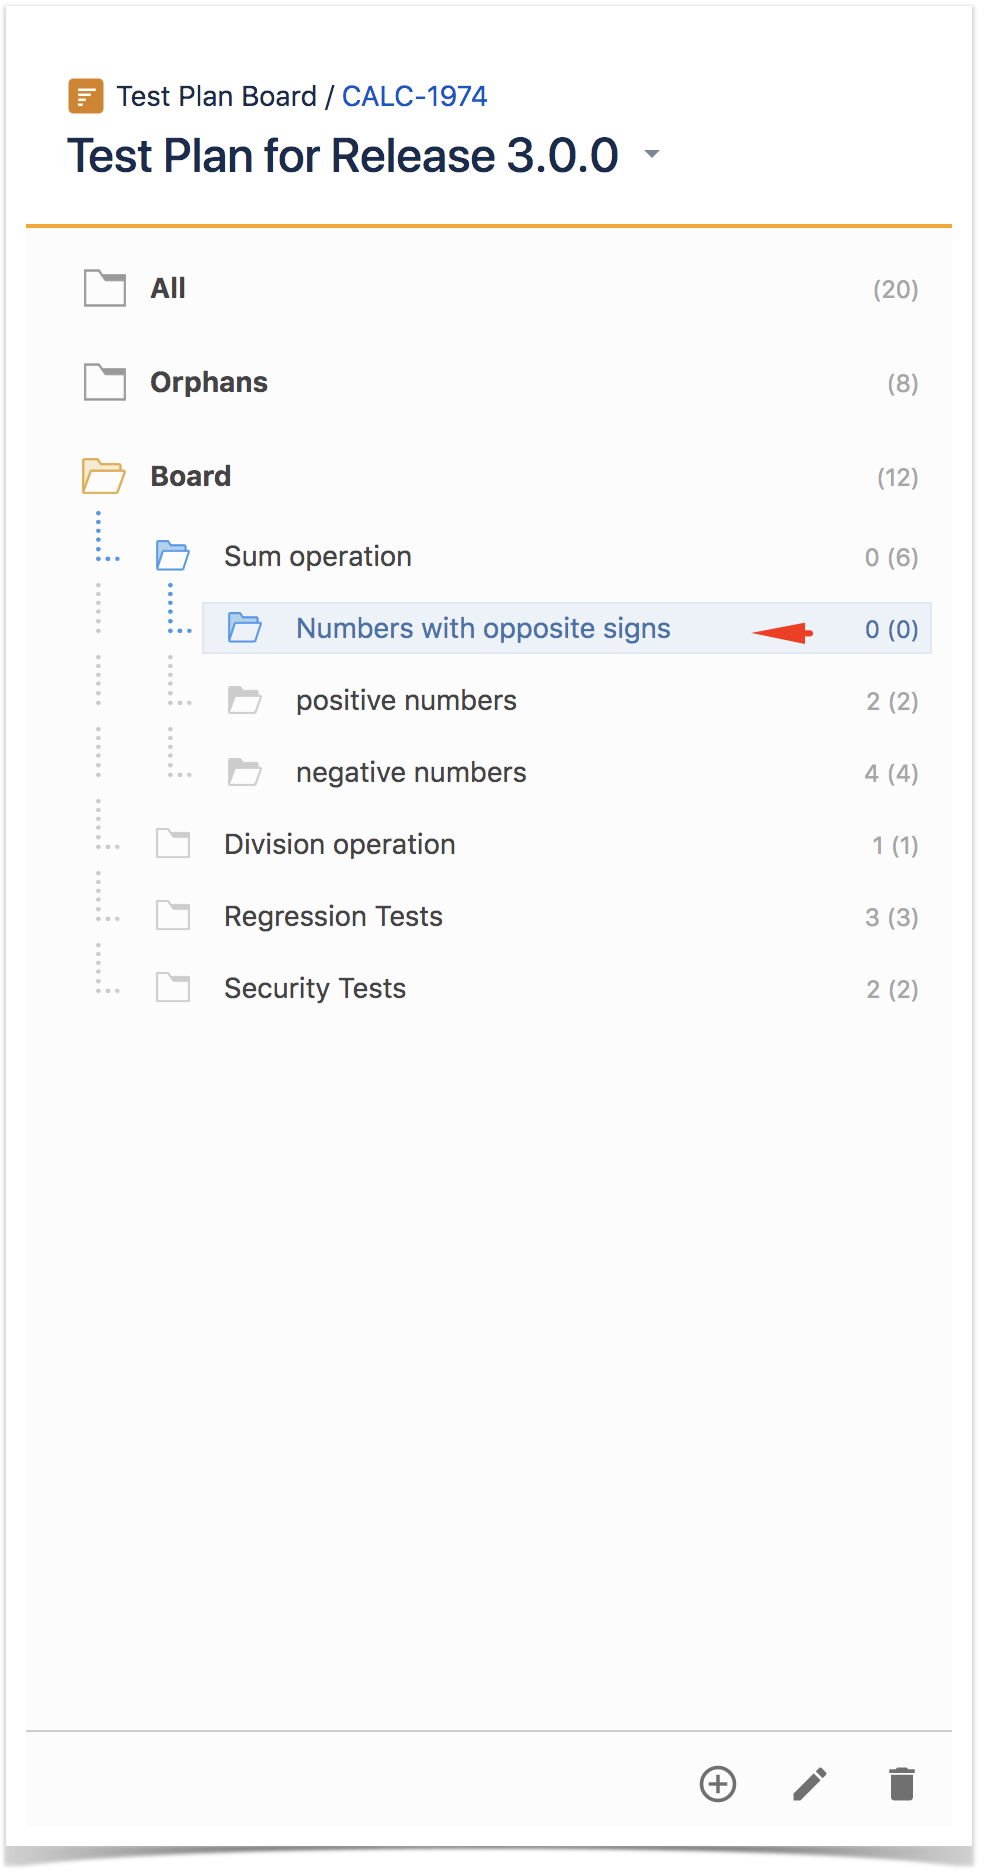
You can also move directly to a given position/rank by choosing the interim space between the existent folders.


Ordering / Ranking
...
Note: If you wish to rank it as the last one (i.e., move it to the last position) within a parent folder, you just need to drag it to the parent folder.


Create Test here
...
Step 2: Use the context action Create Test here.

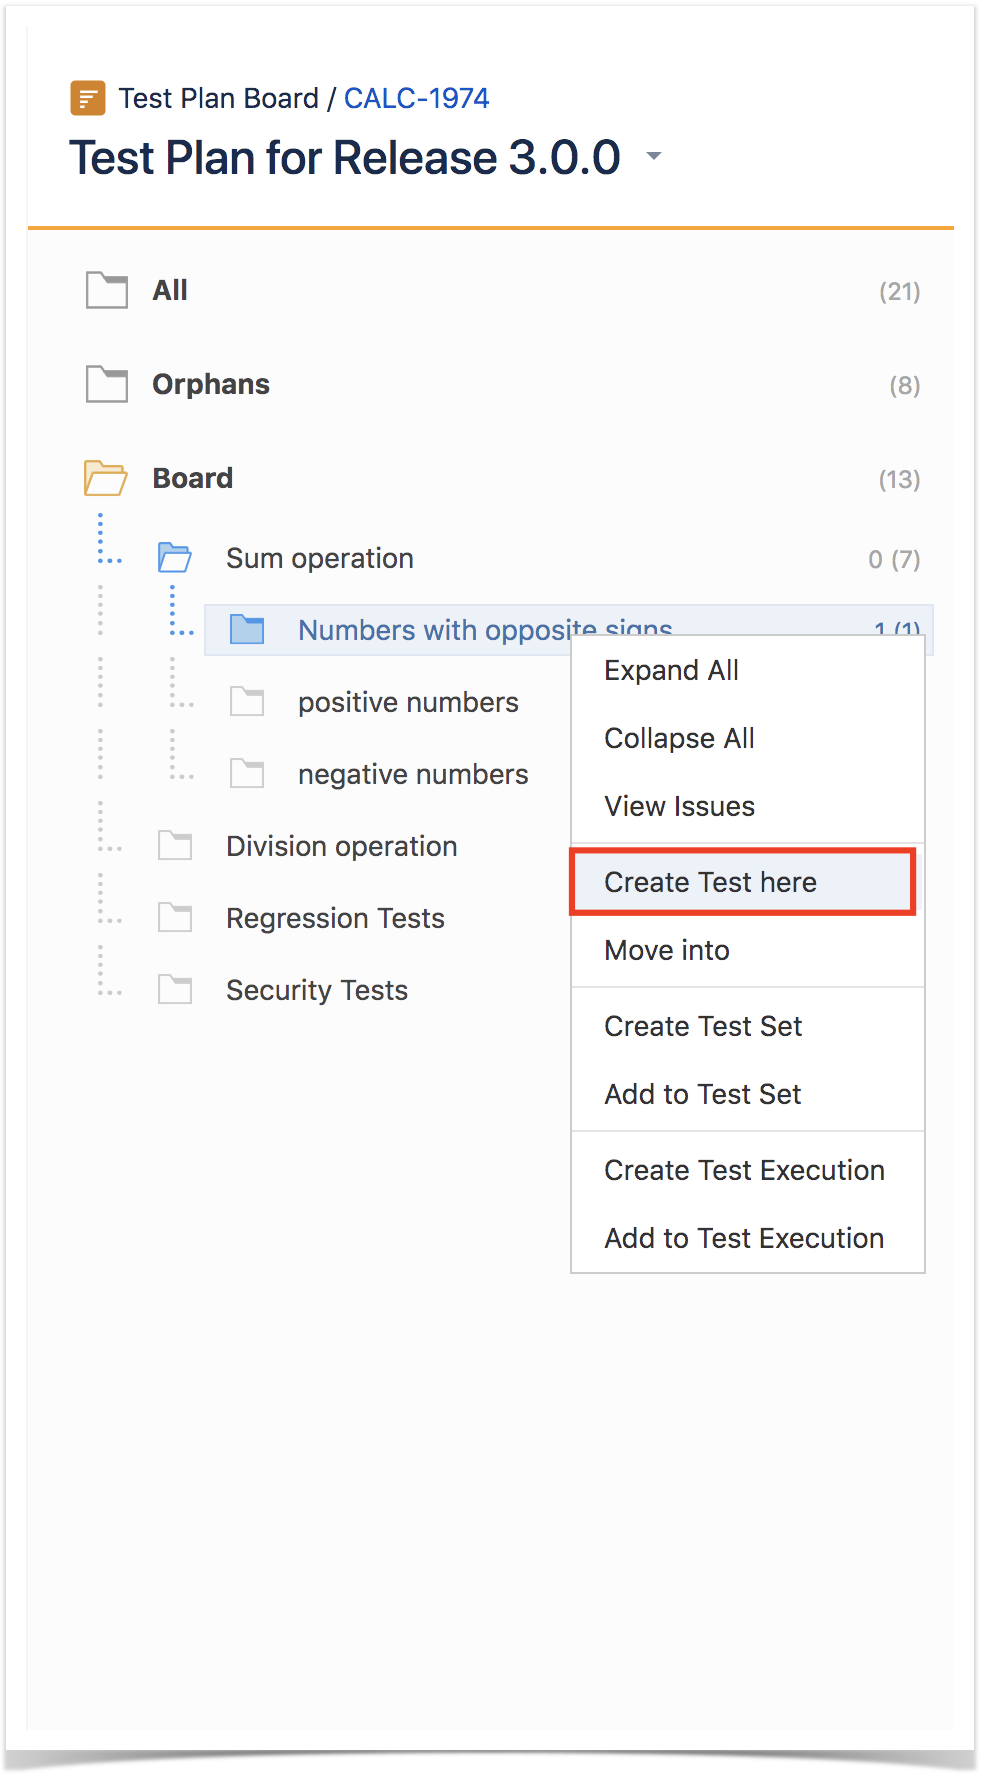
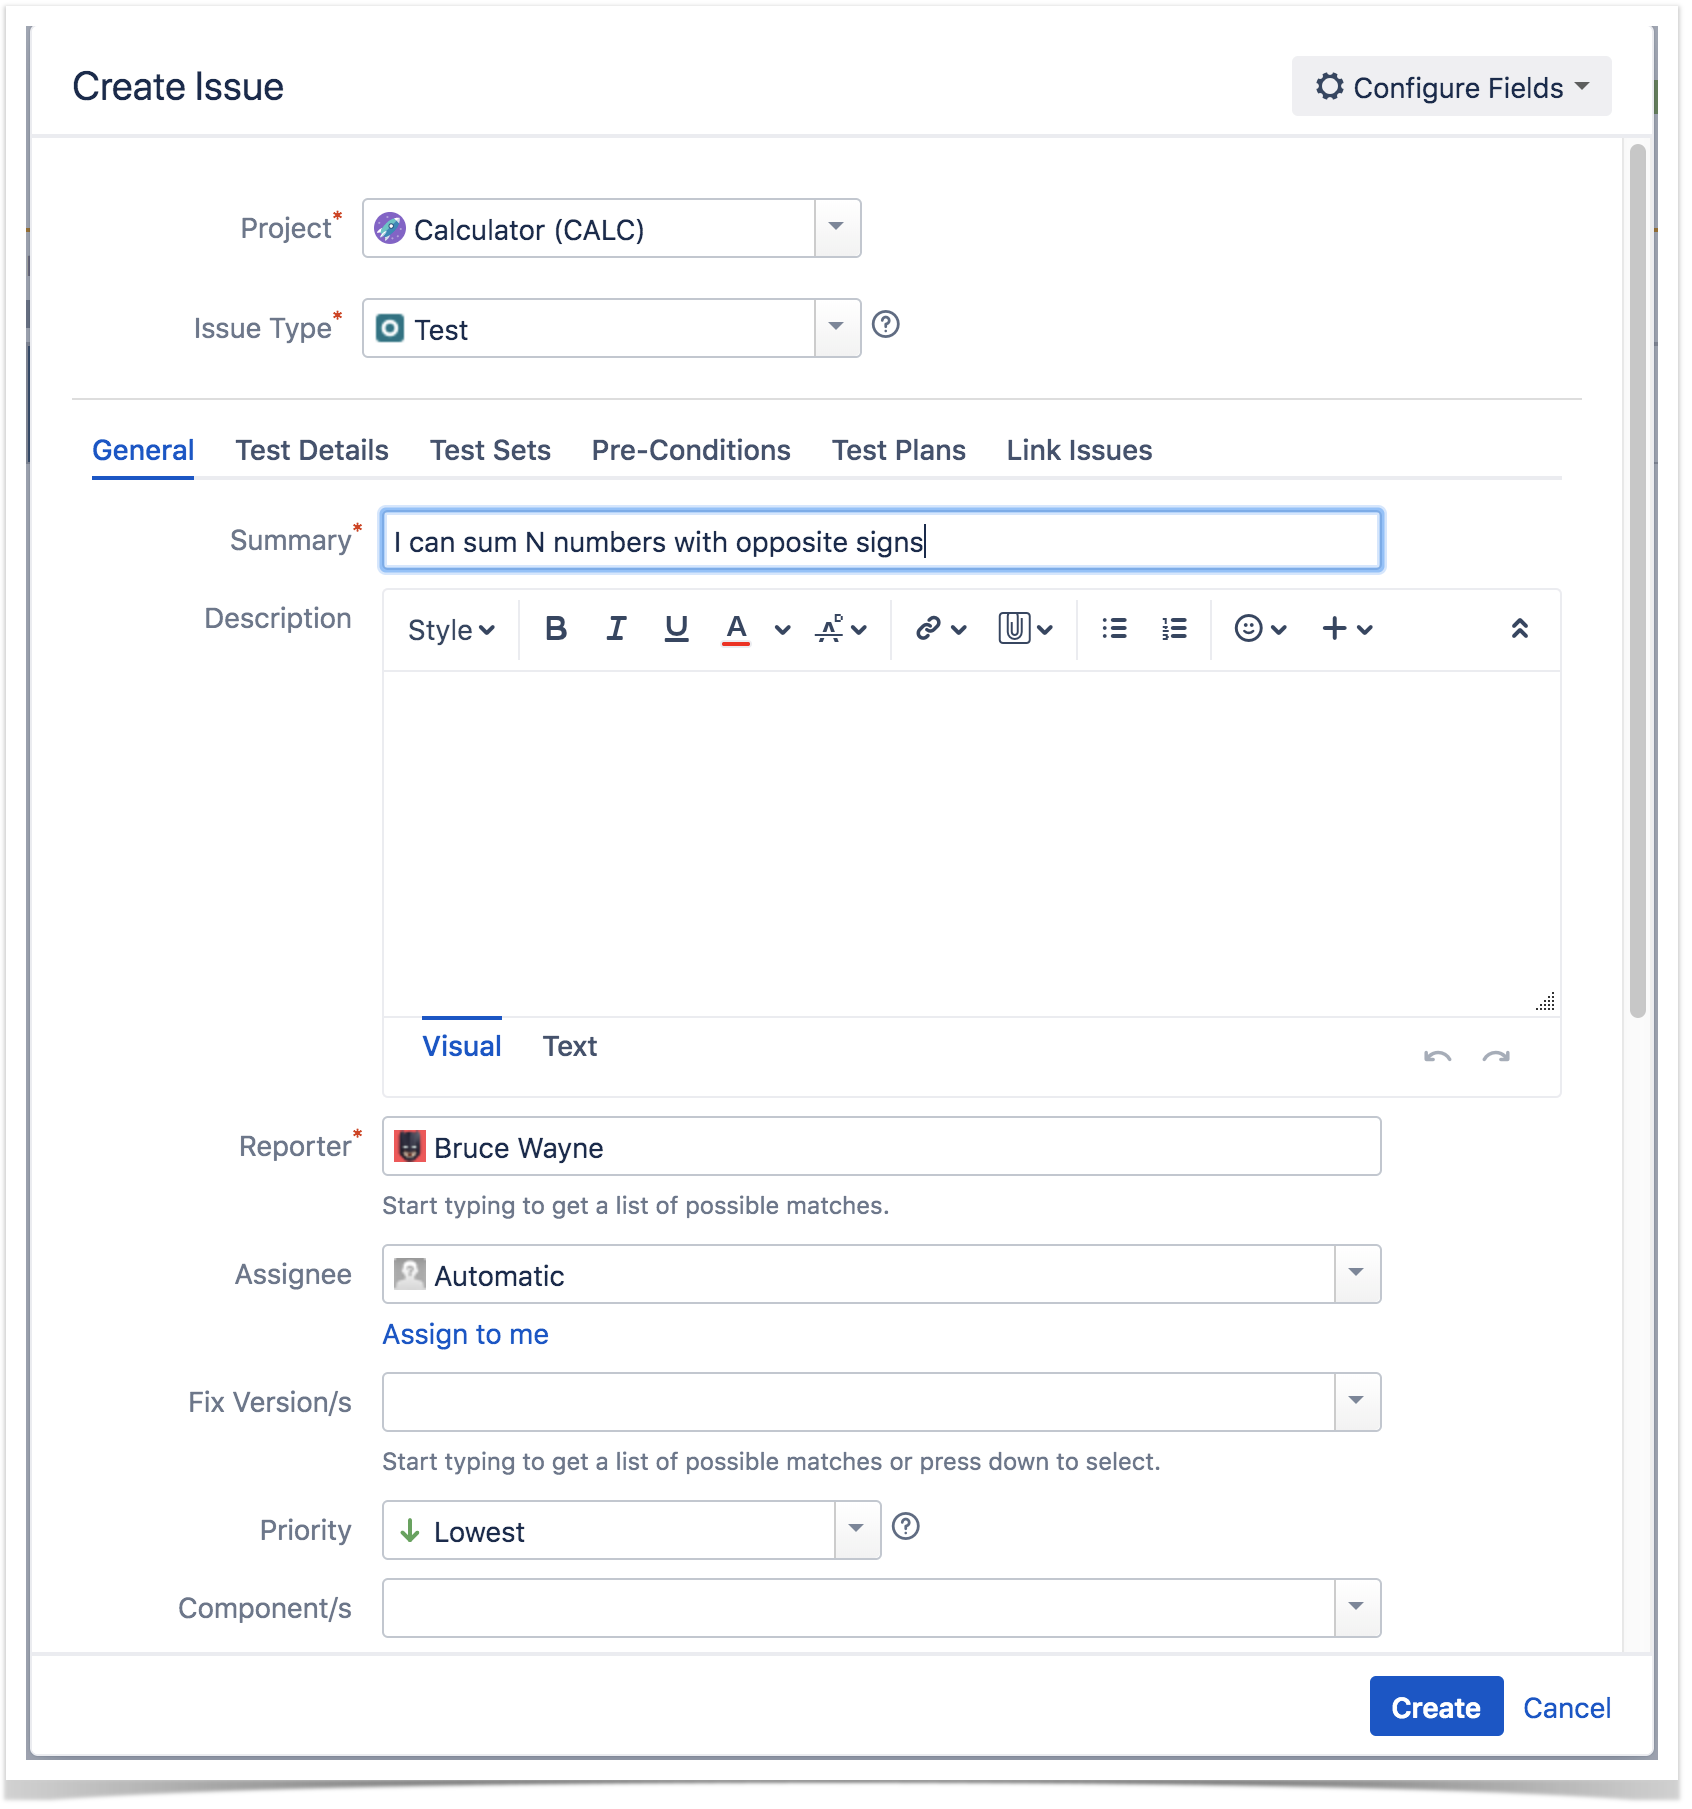
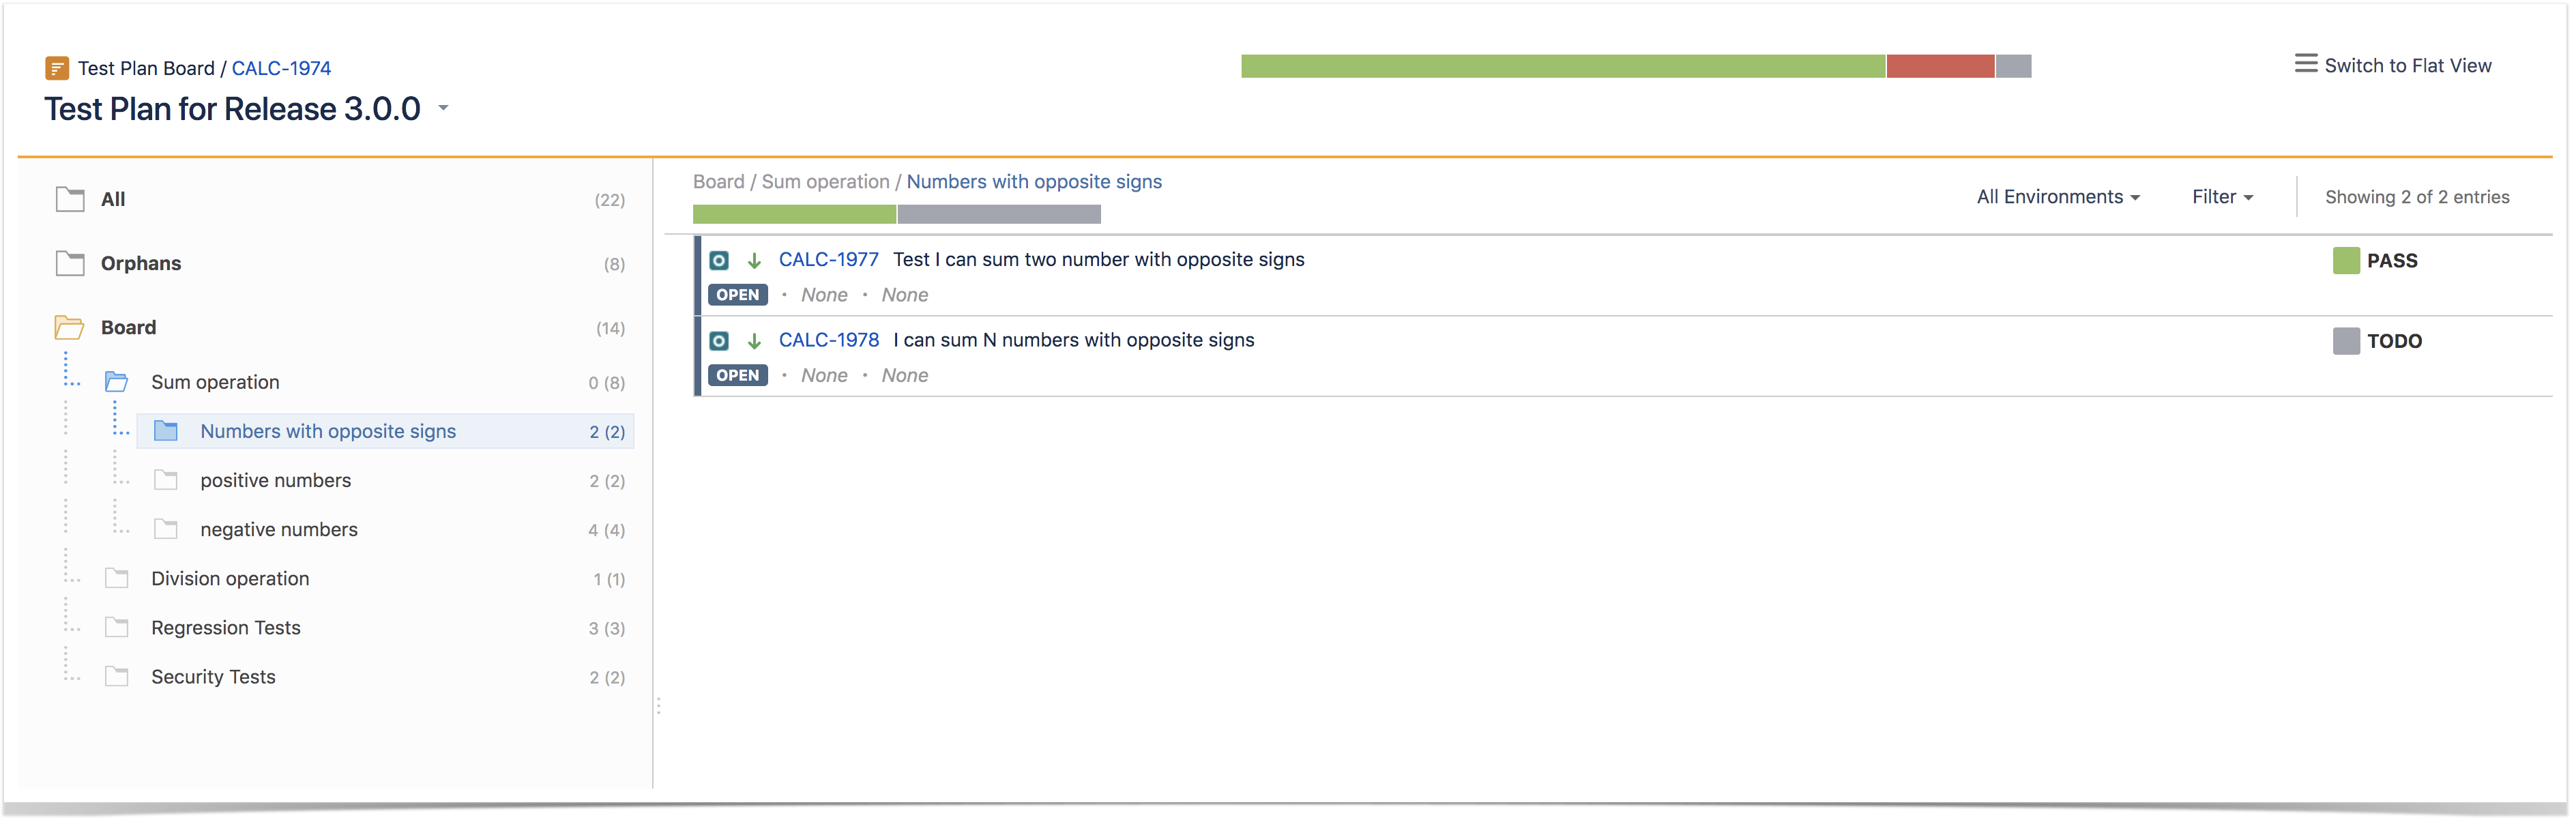
Step 3: Fill out the Test fields and click Create. You have created a brand-new Test and associated it with the selected folder.


Move into
Users can "add" Tests, that are already part of the Test Plan, to an existing folder based on some filters or JQL.
...
In order to "add" Tests to a folder:
Step 1: Click Right click on the folder.
Step 2: Use the context action Add TestsMove into.

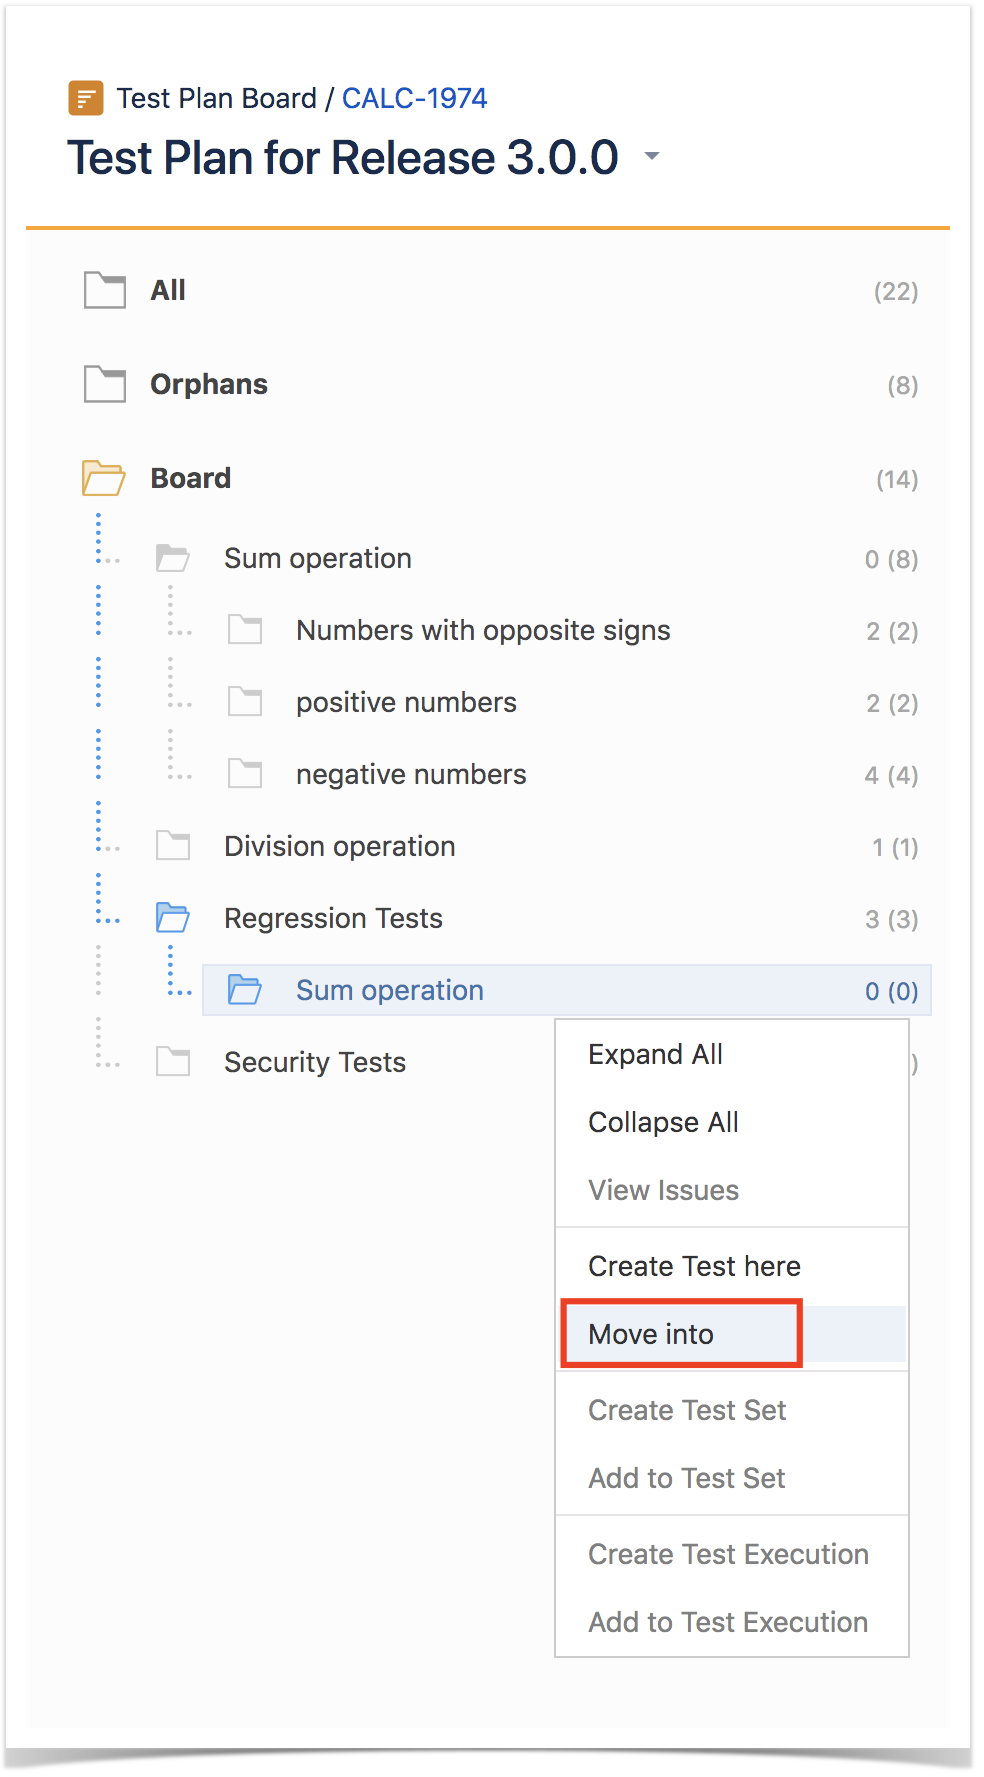
Step 3: Choose the Tests you want using the provided filters, a previously saved filter, or by JQL.

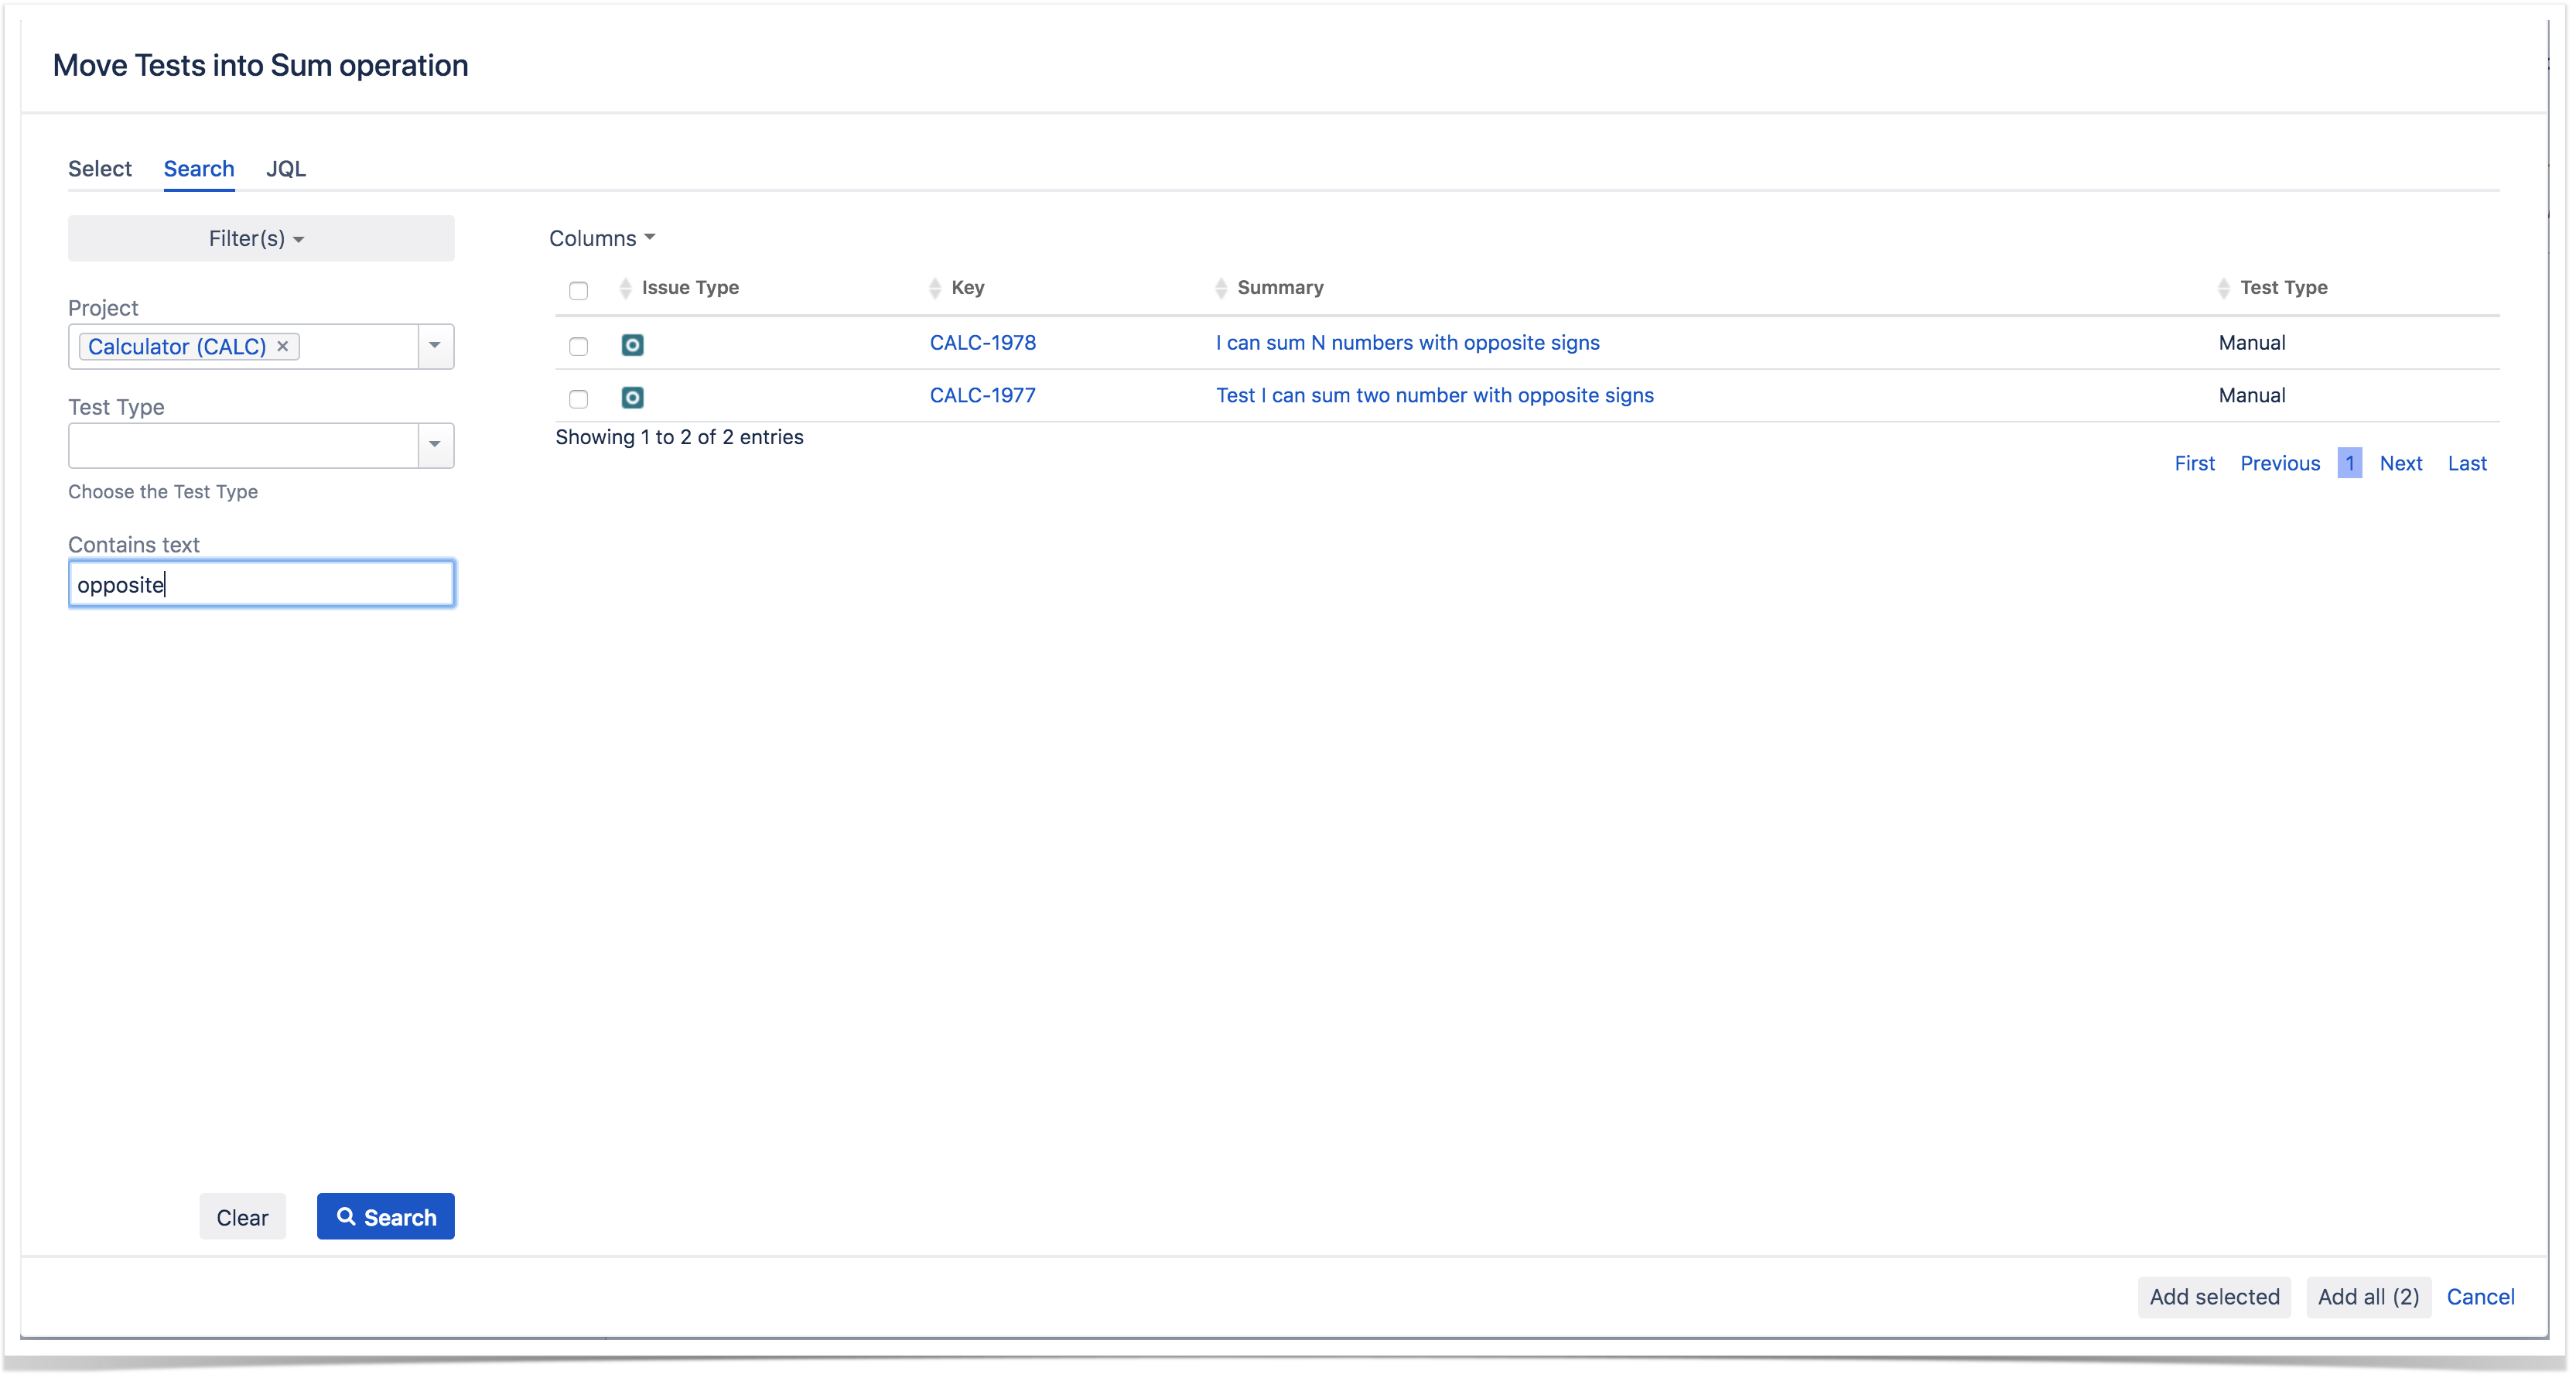
Note: If you try to add non-Test issues or Tests that are not part of the Test Plan (e.g., by using a saved filter), an error message will be displayed.
...
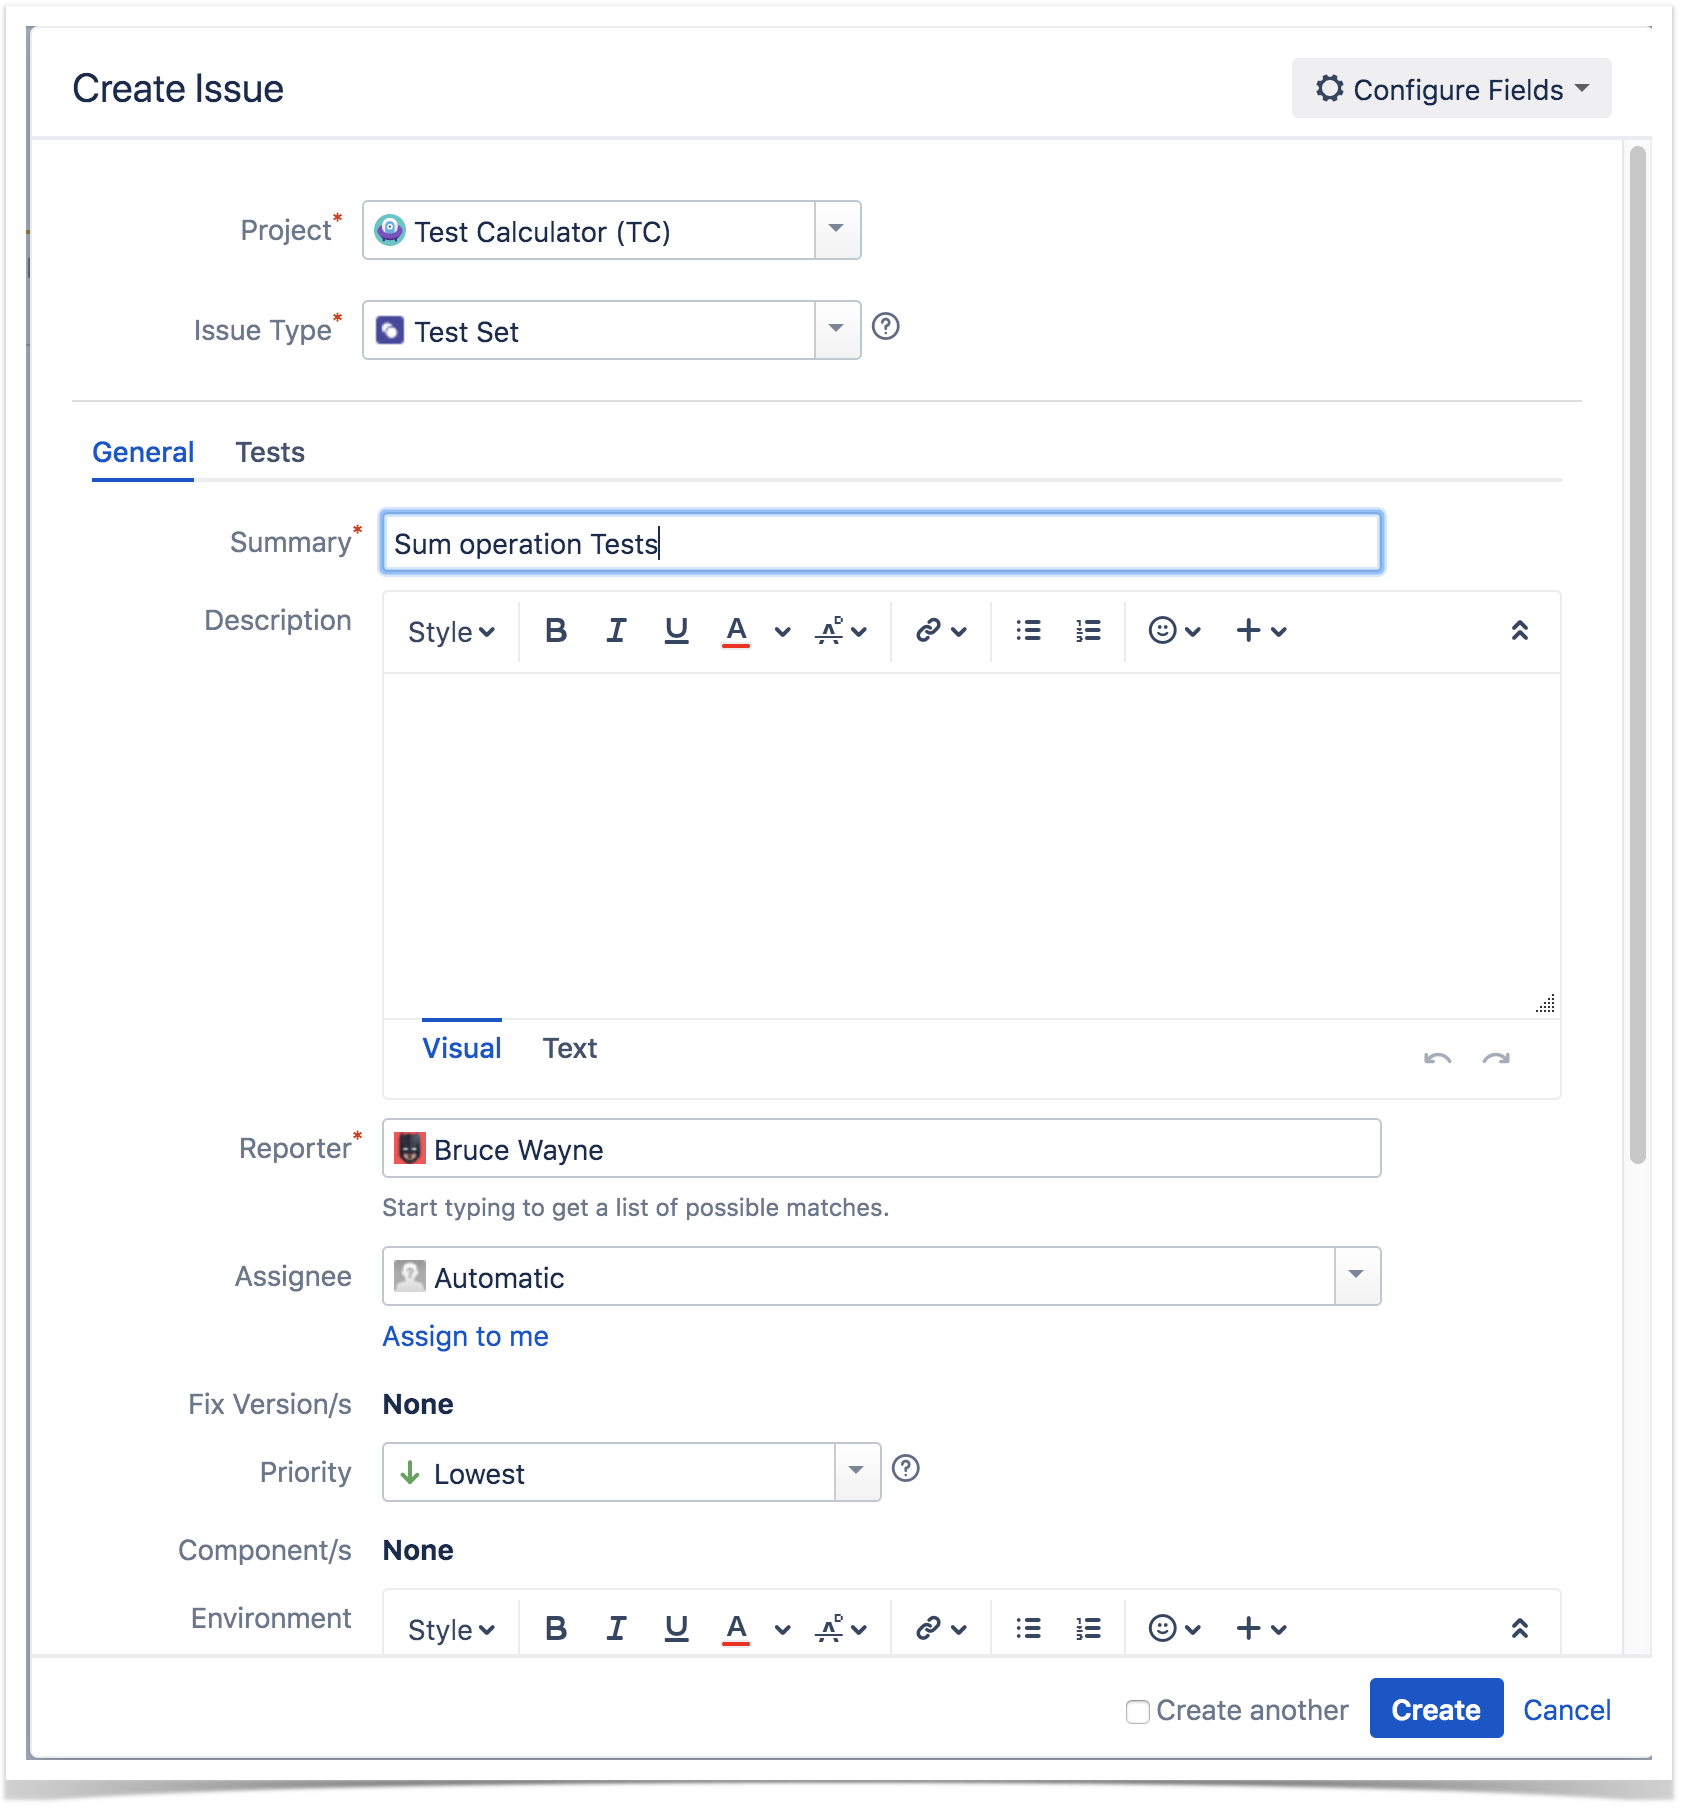
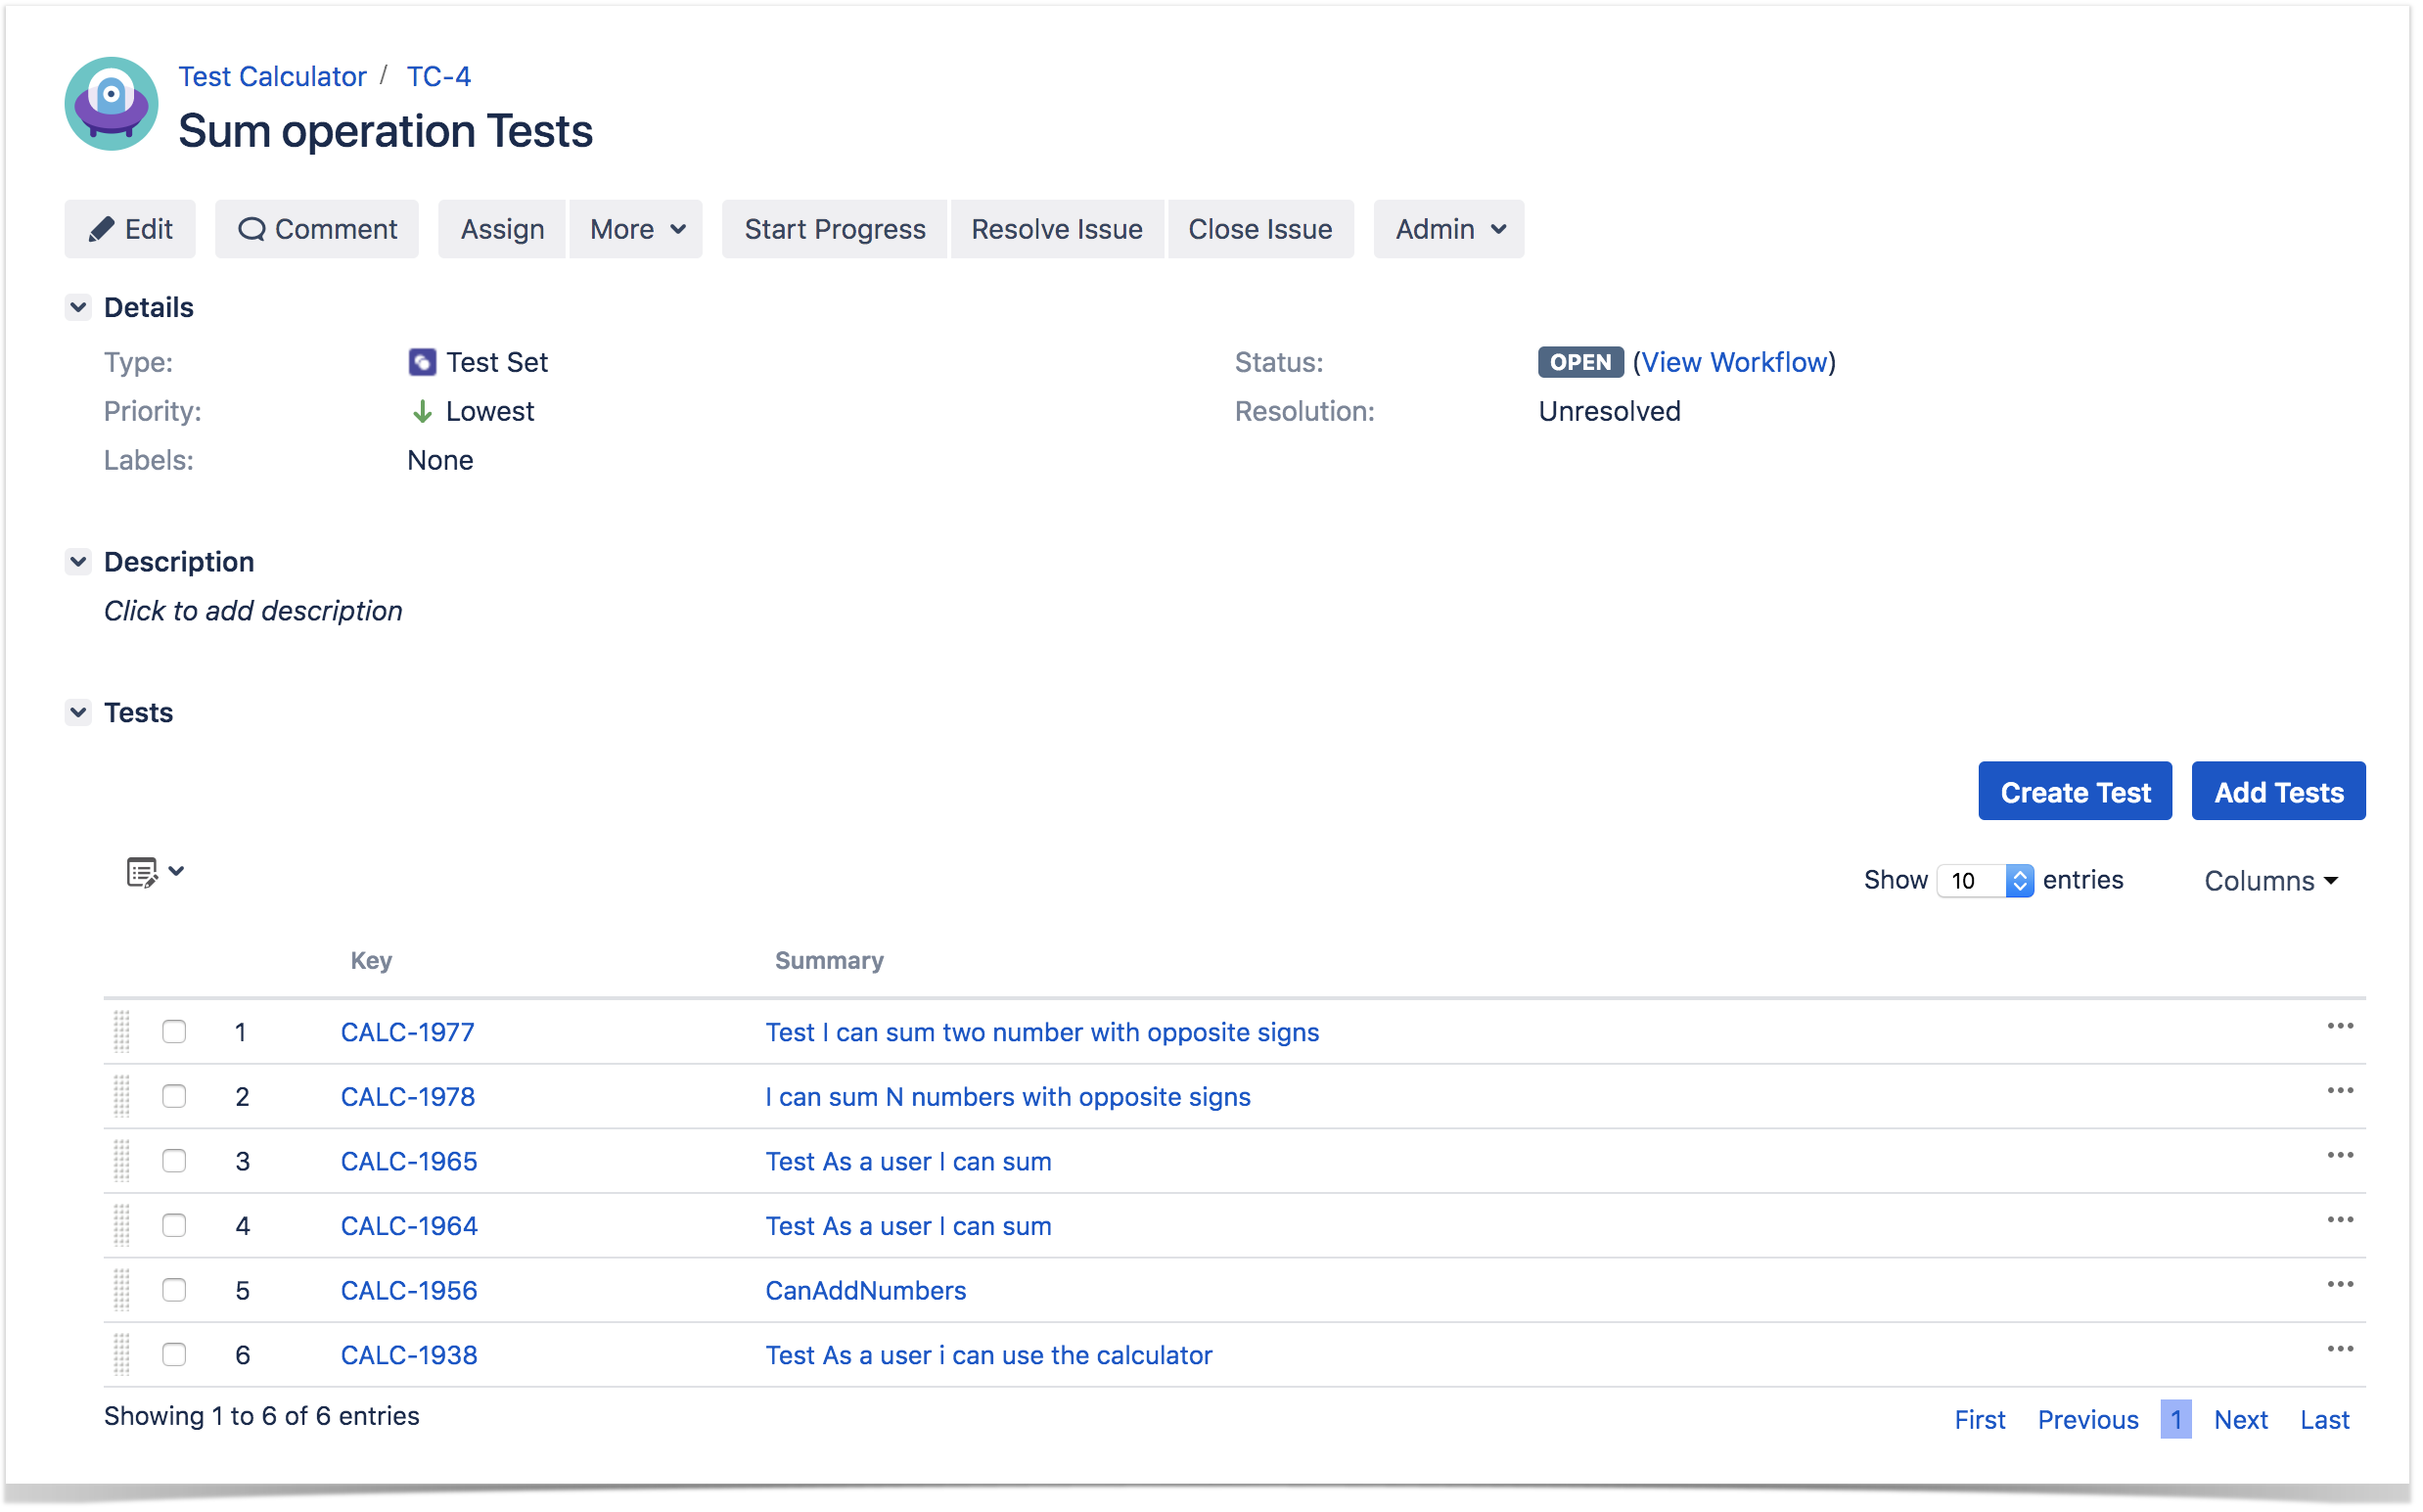
Step 2: Use the context action Create Test Set.
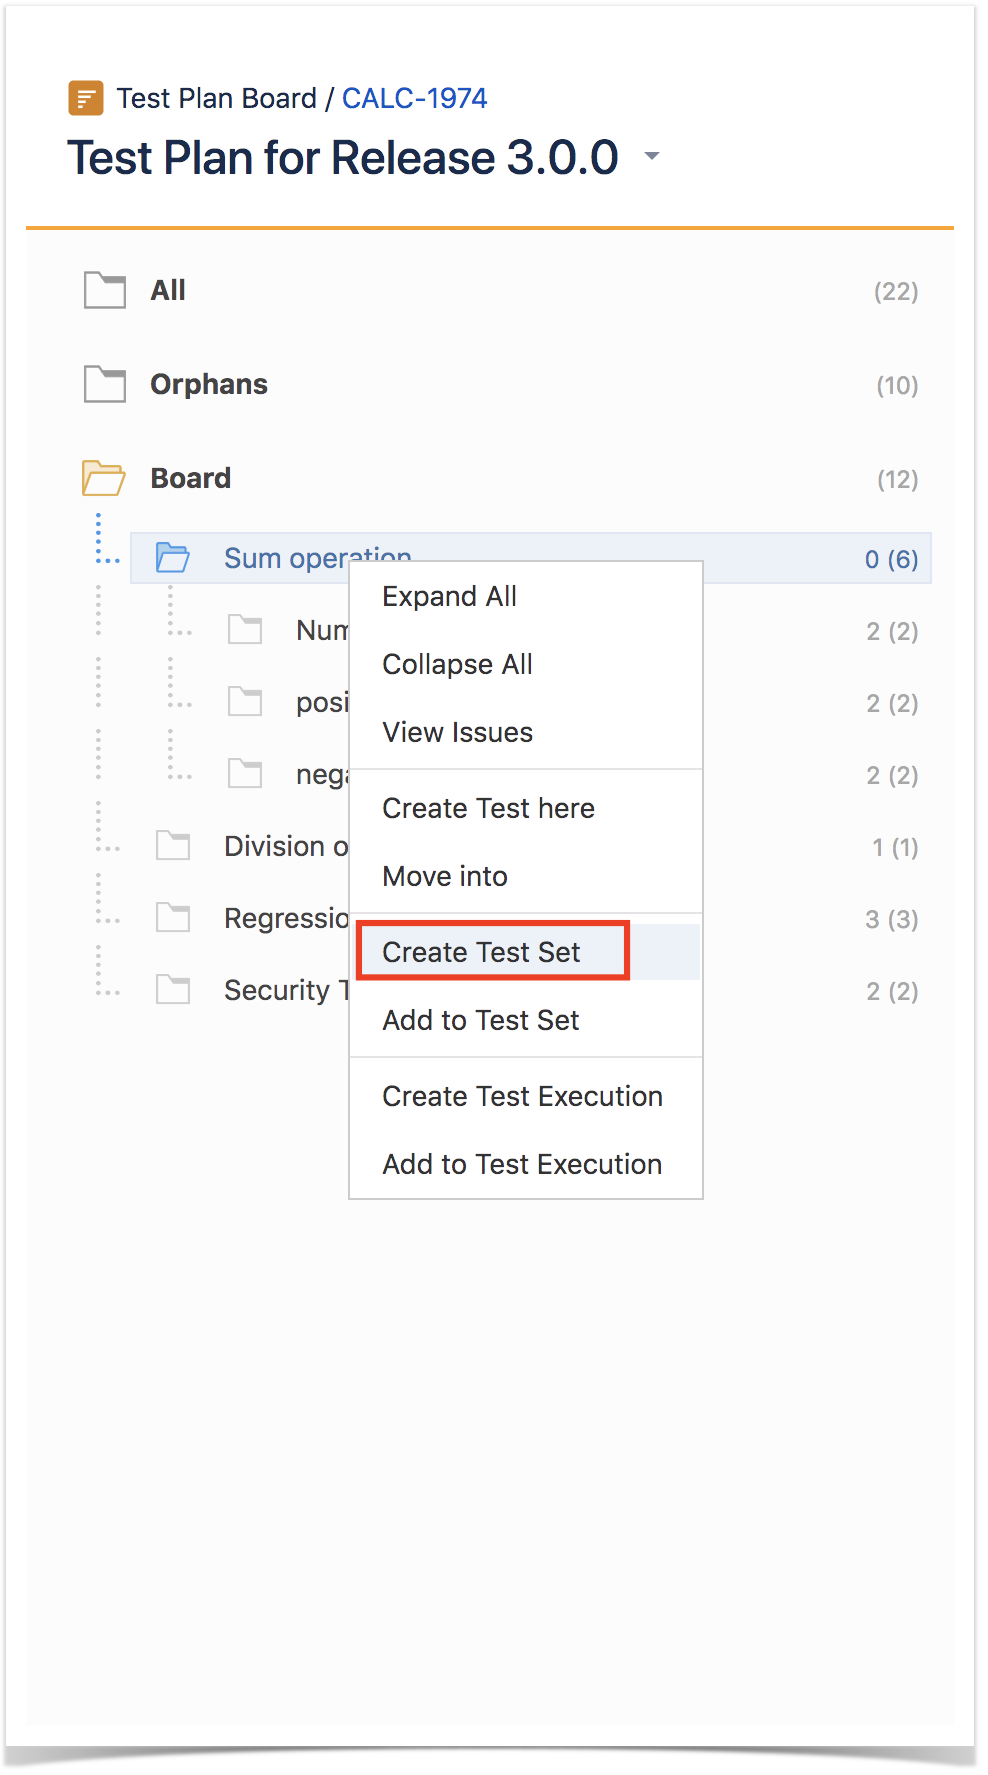

Step 3: Fill out the Test Set fields and click Create. Your brand-new Test Set is created with all the Tests, in the proper order.


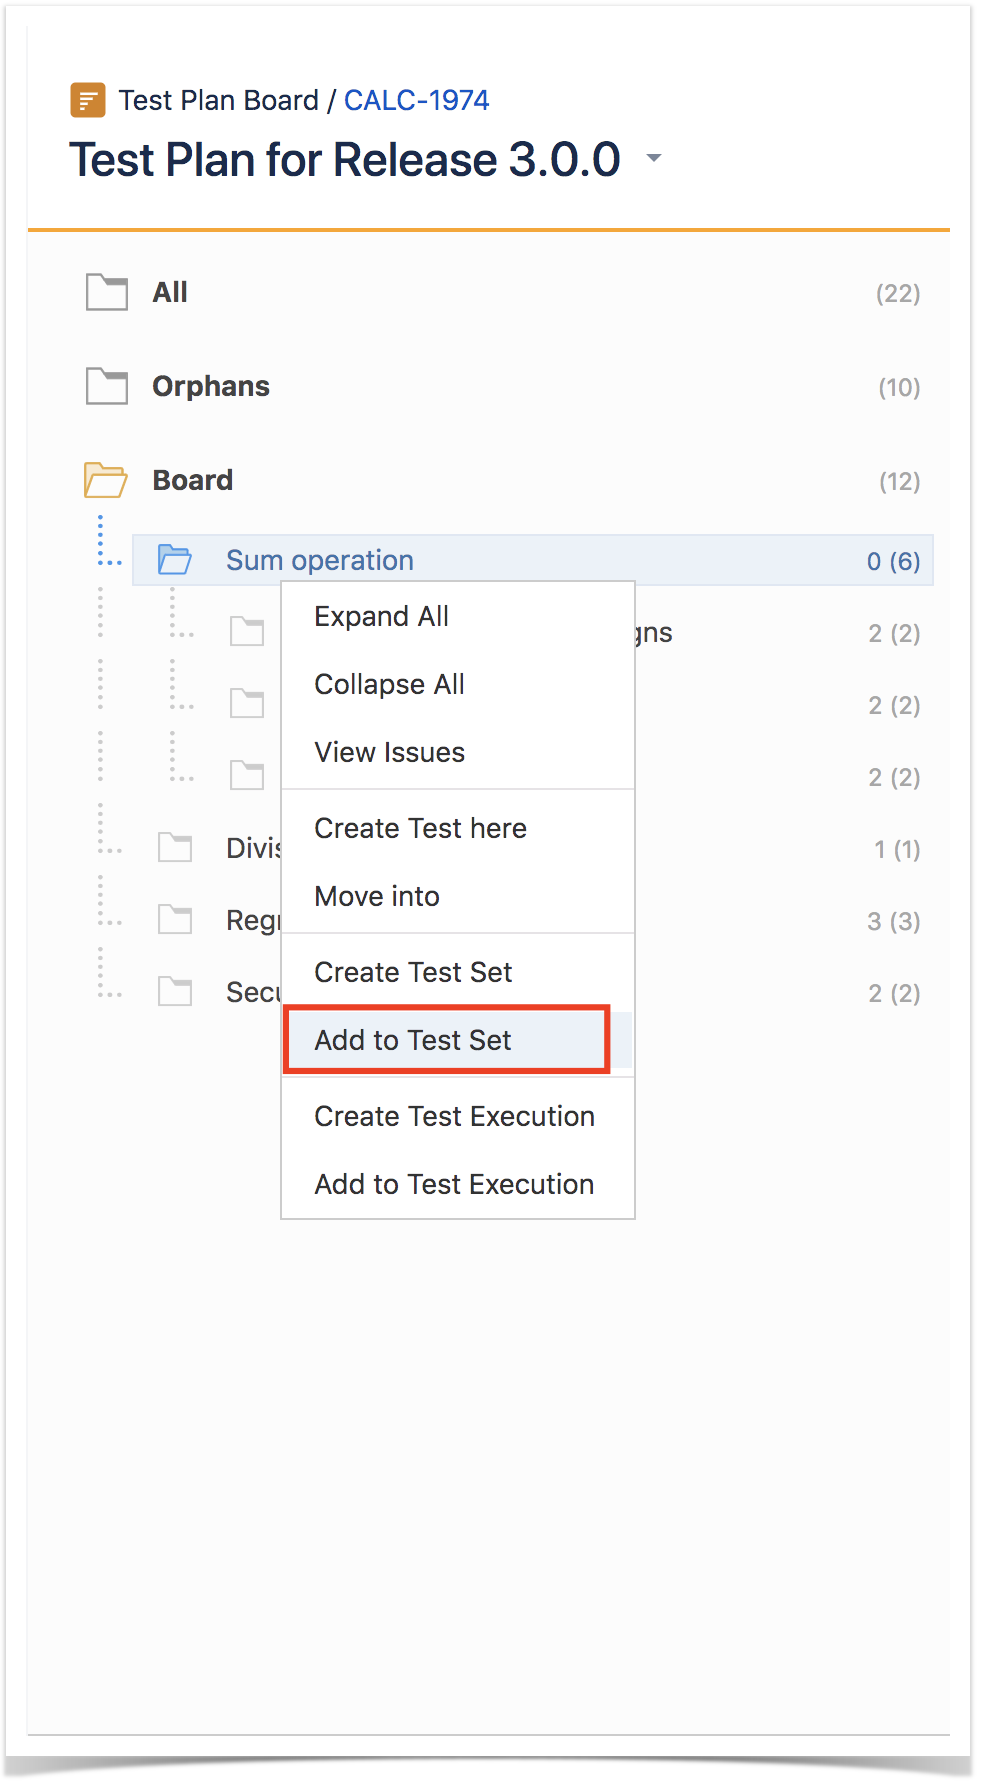
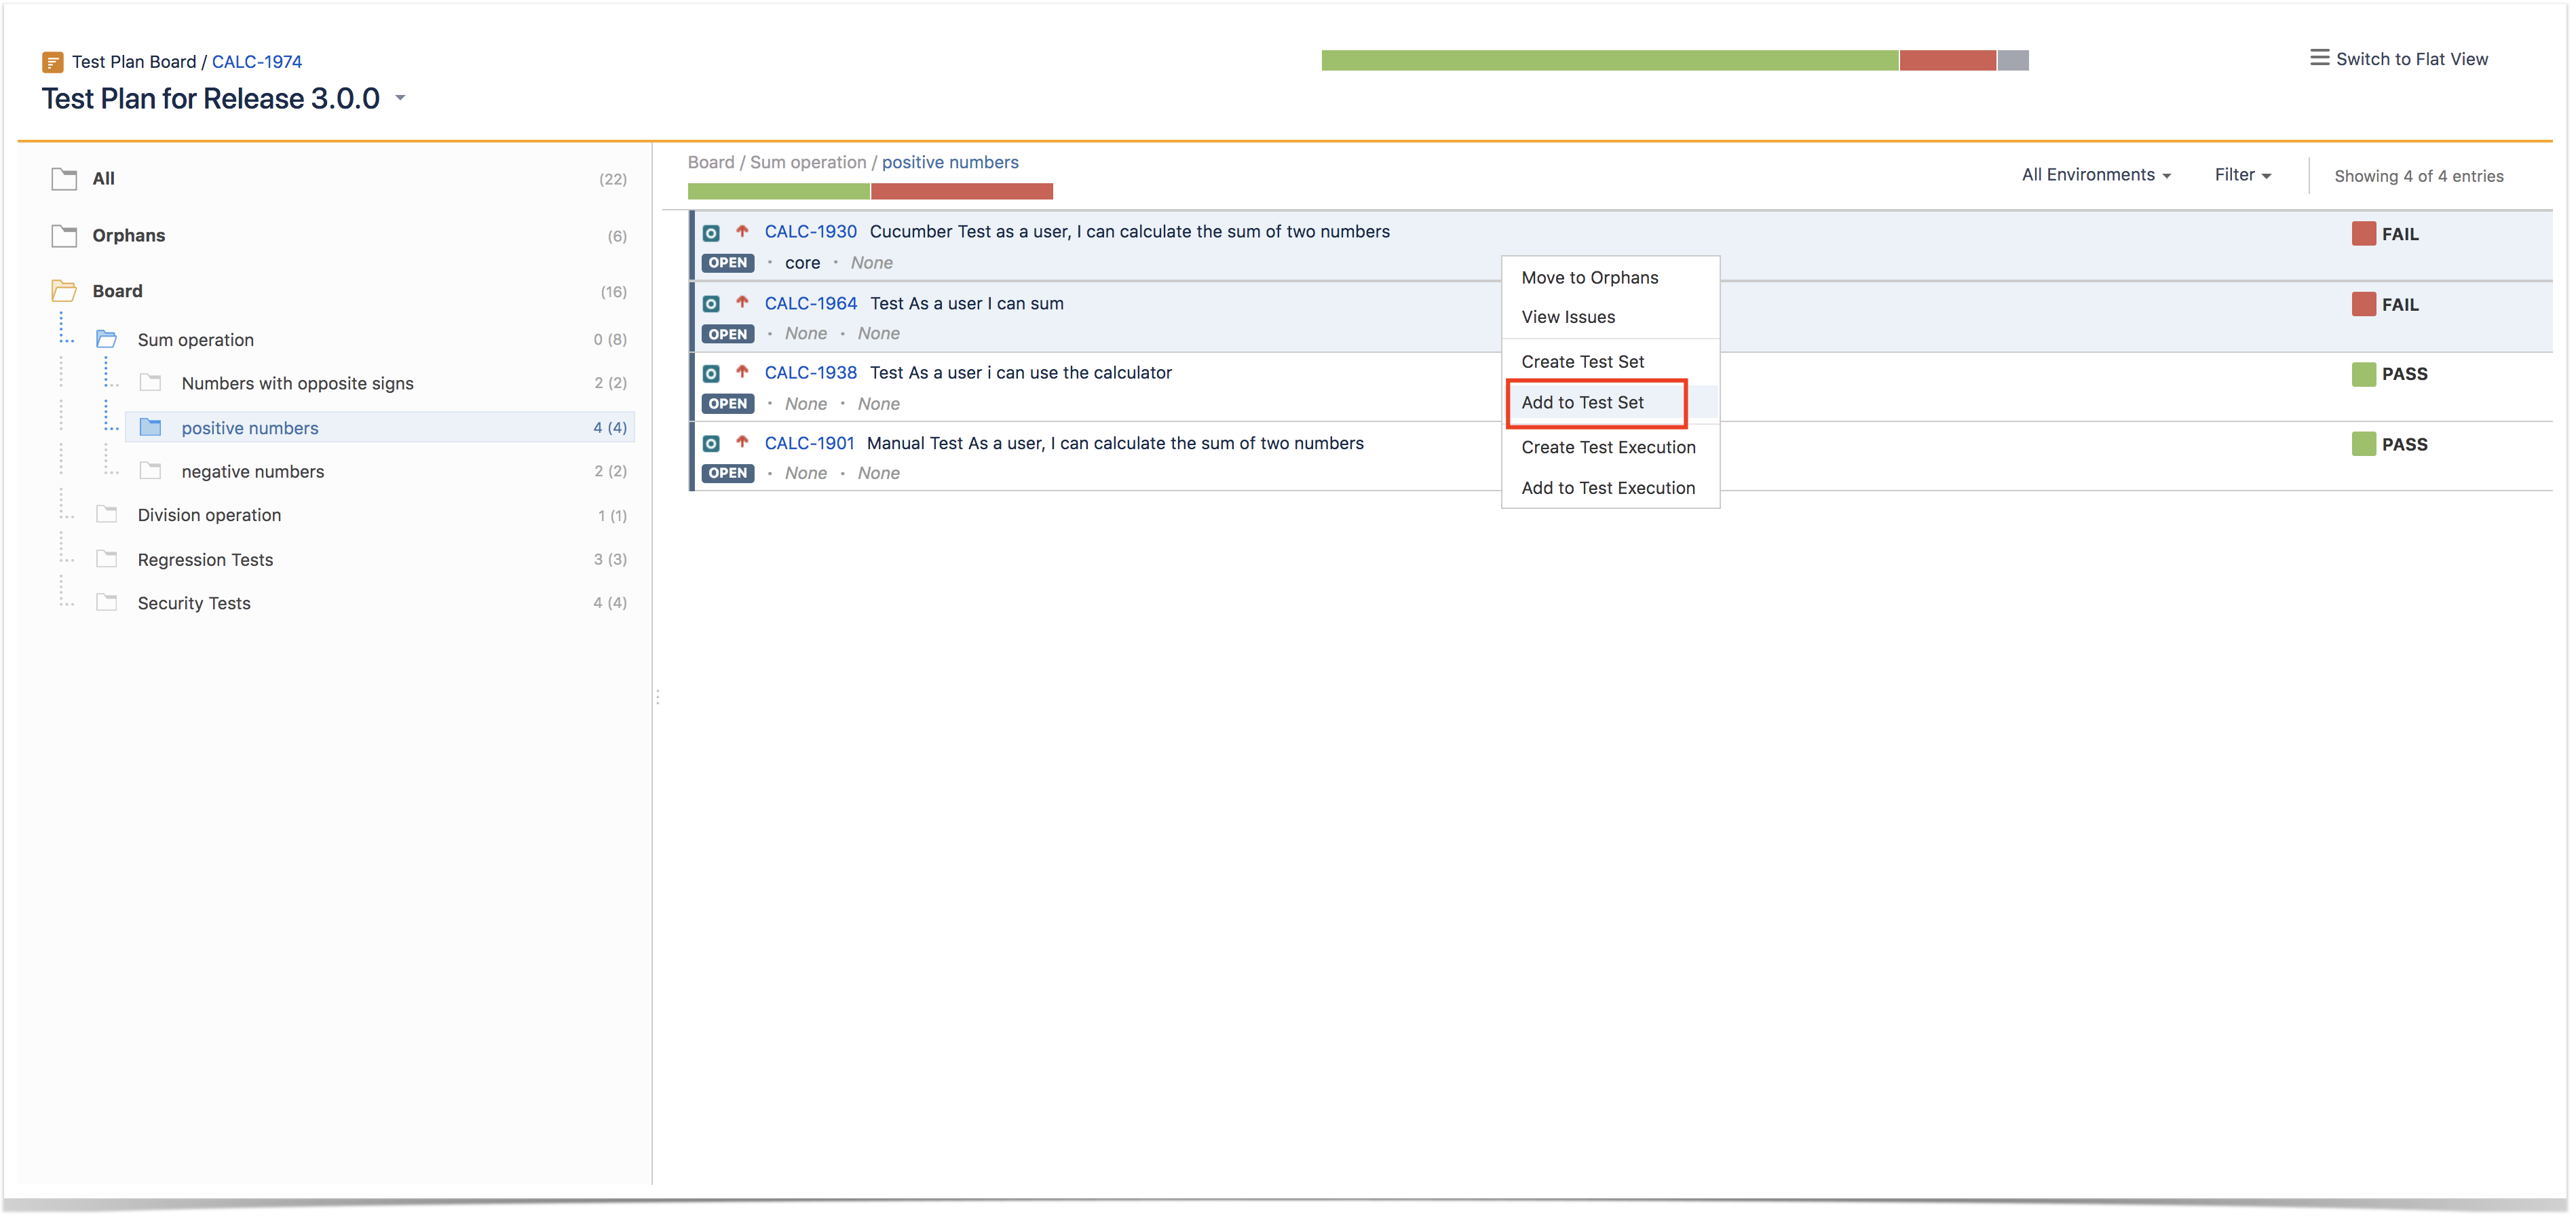
Add to Test Set(s)
...
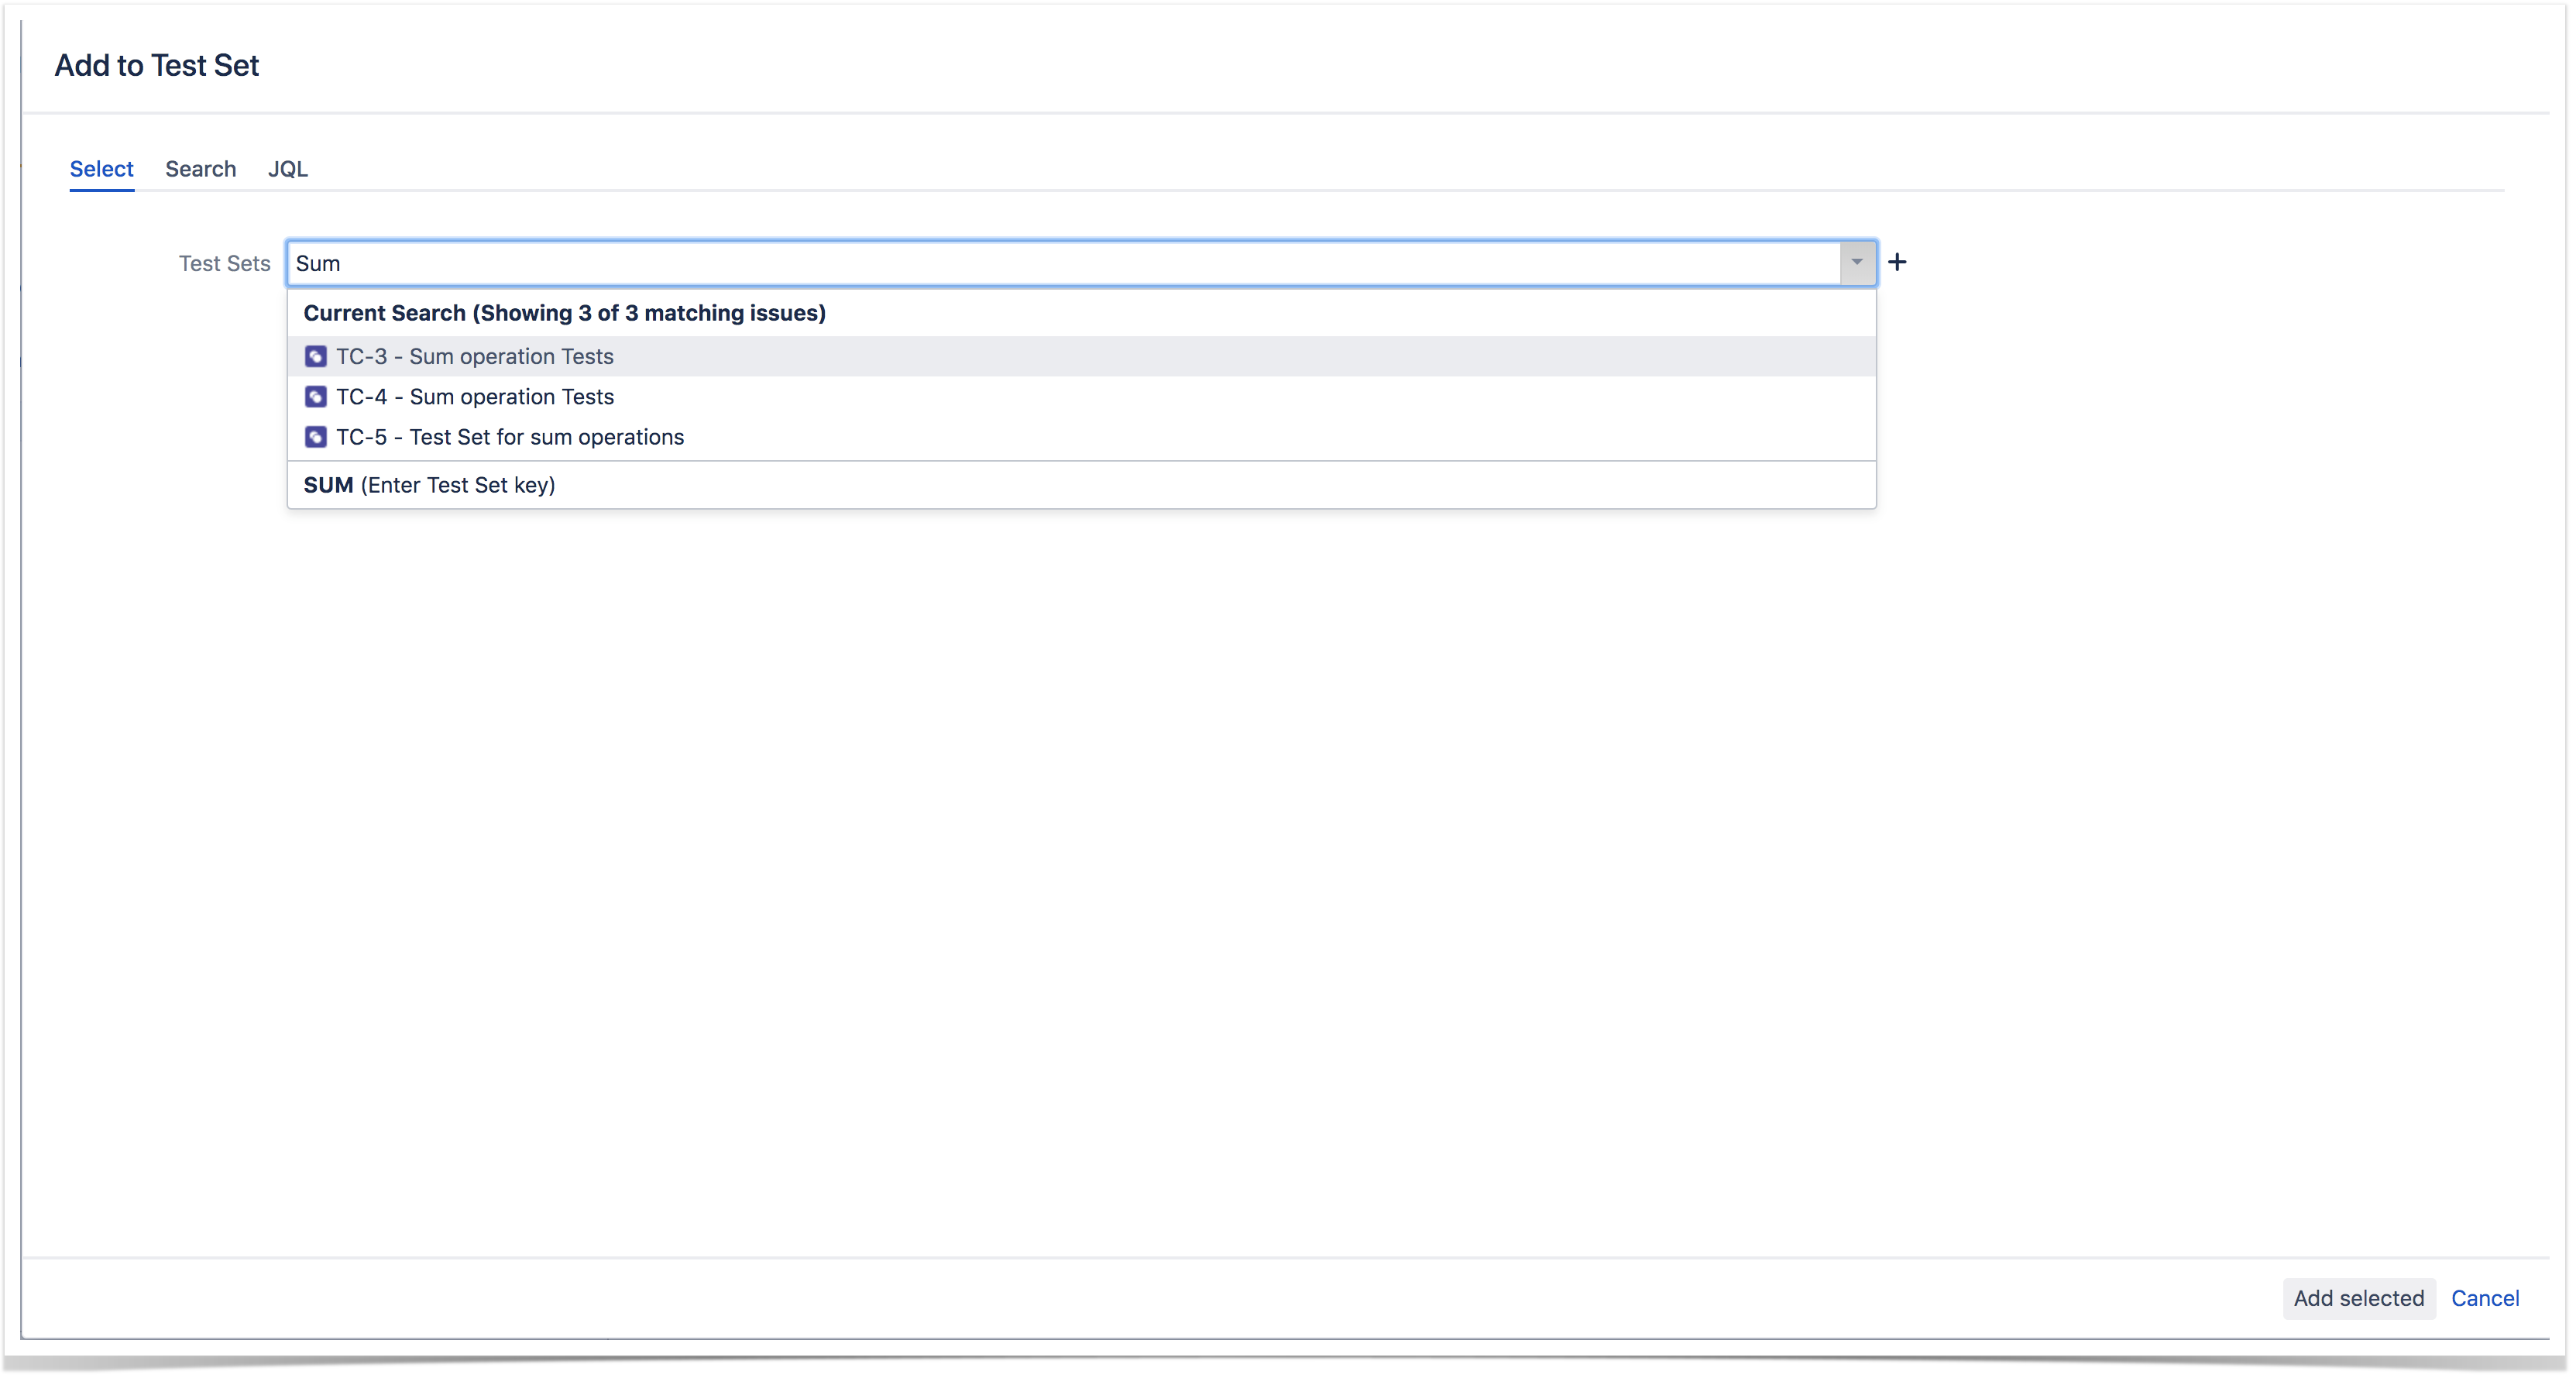
Step 2: Use the context action Add to Test Set.

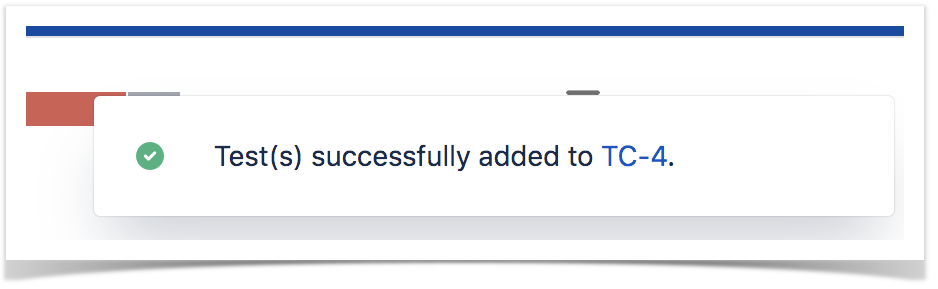
Step 3: Choose the Test Set(s) key(s) and select Add selected. The Test Set(s) will now be updated.


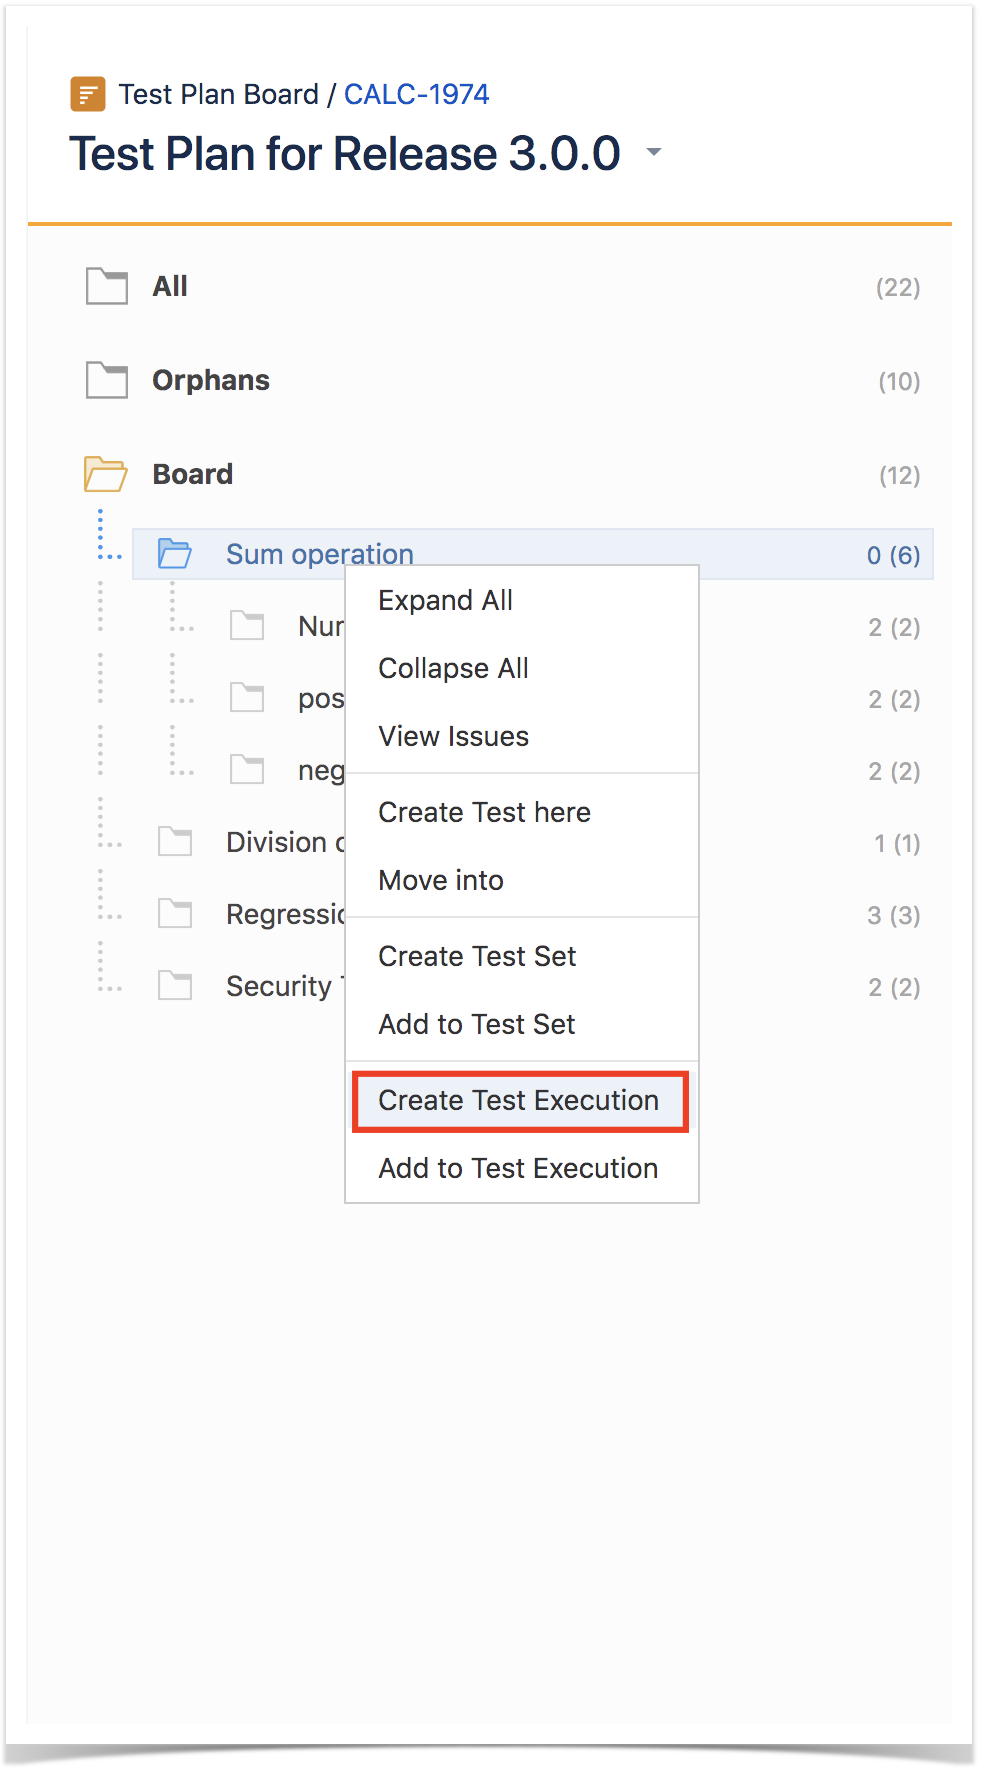
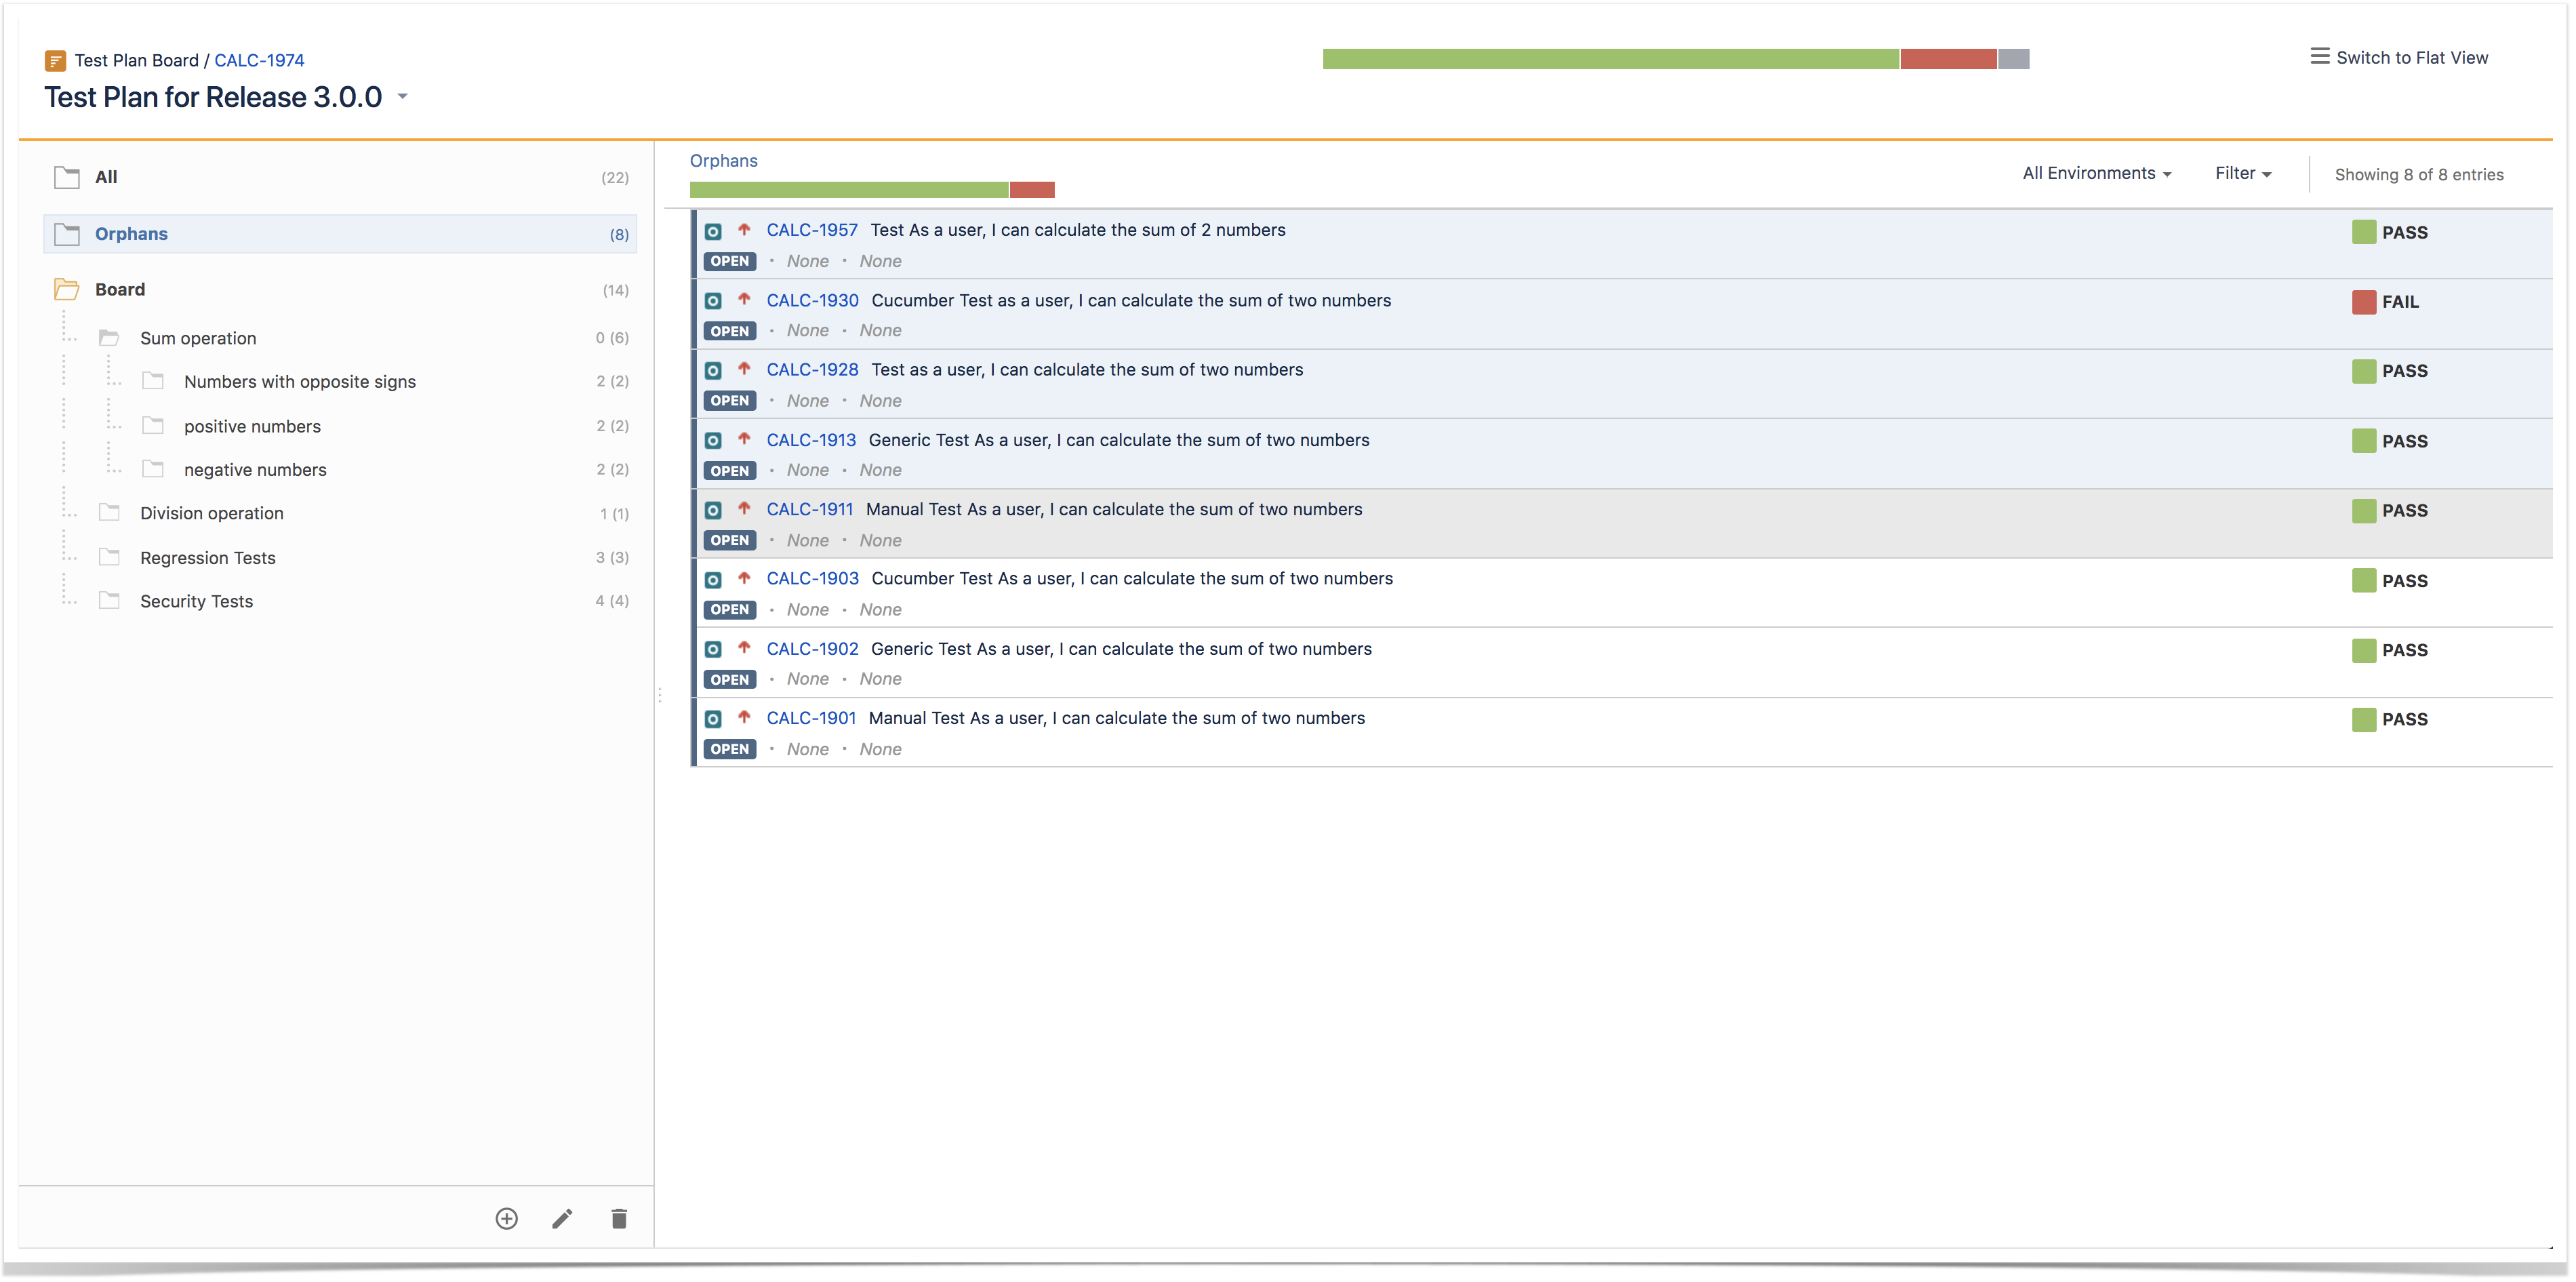
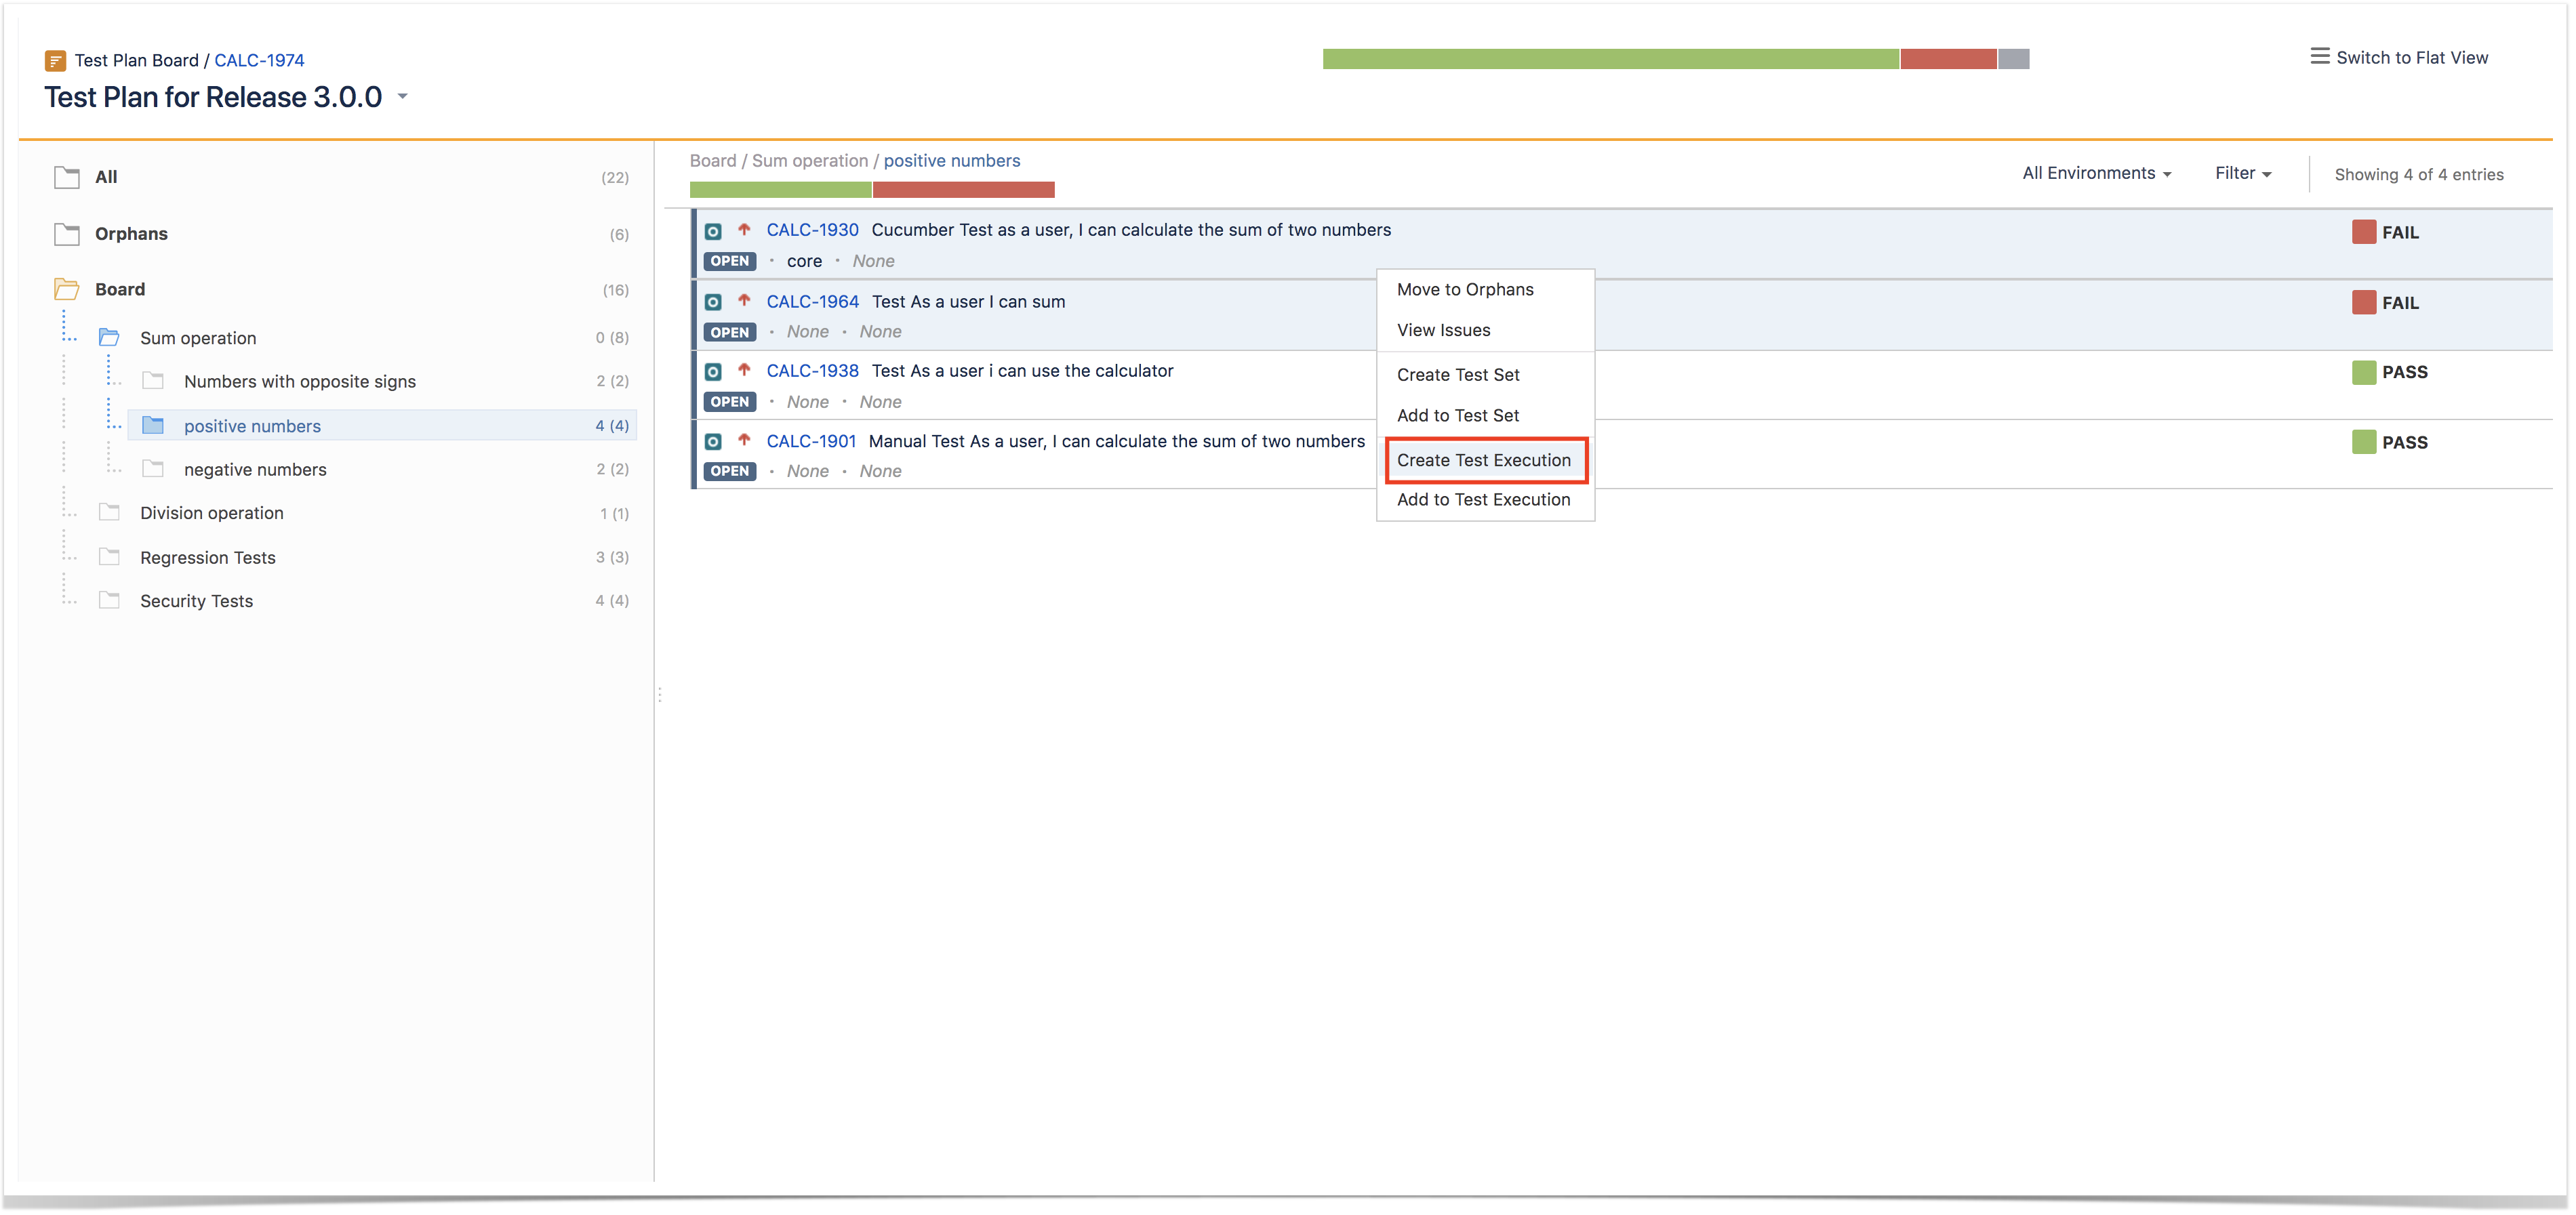
Create Test Execution
...
Step 2: Use the context action Create Test Execution.

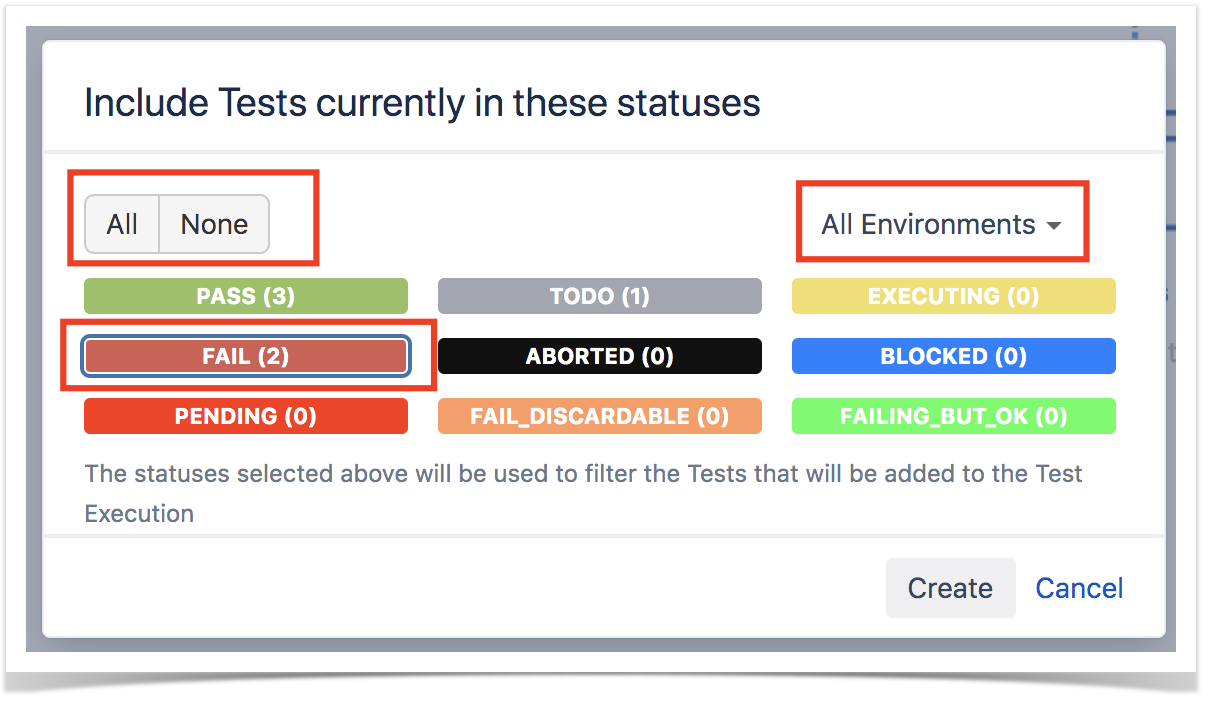
Step 3: Choose the Tests based on their consolidated status in a specific Test Environment. You can choose all Tests using the top left-side option; the Test Environment can be chosen in the top right-side option. For all shown status, you can see the amount of Tests that are currently in that consolidated status. You may choose one or more statuses. In the example below, we will be including just the (1) Test that is currently failing.

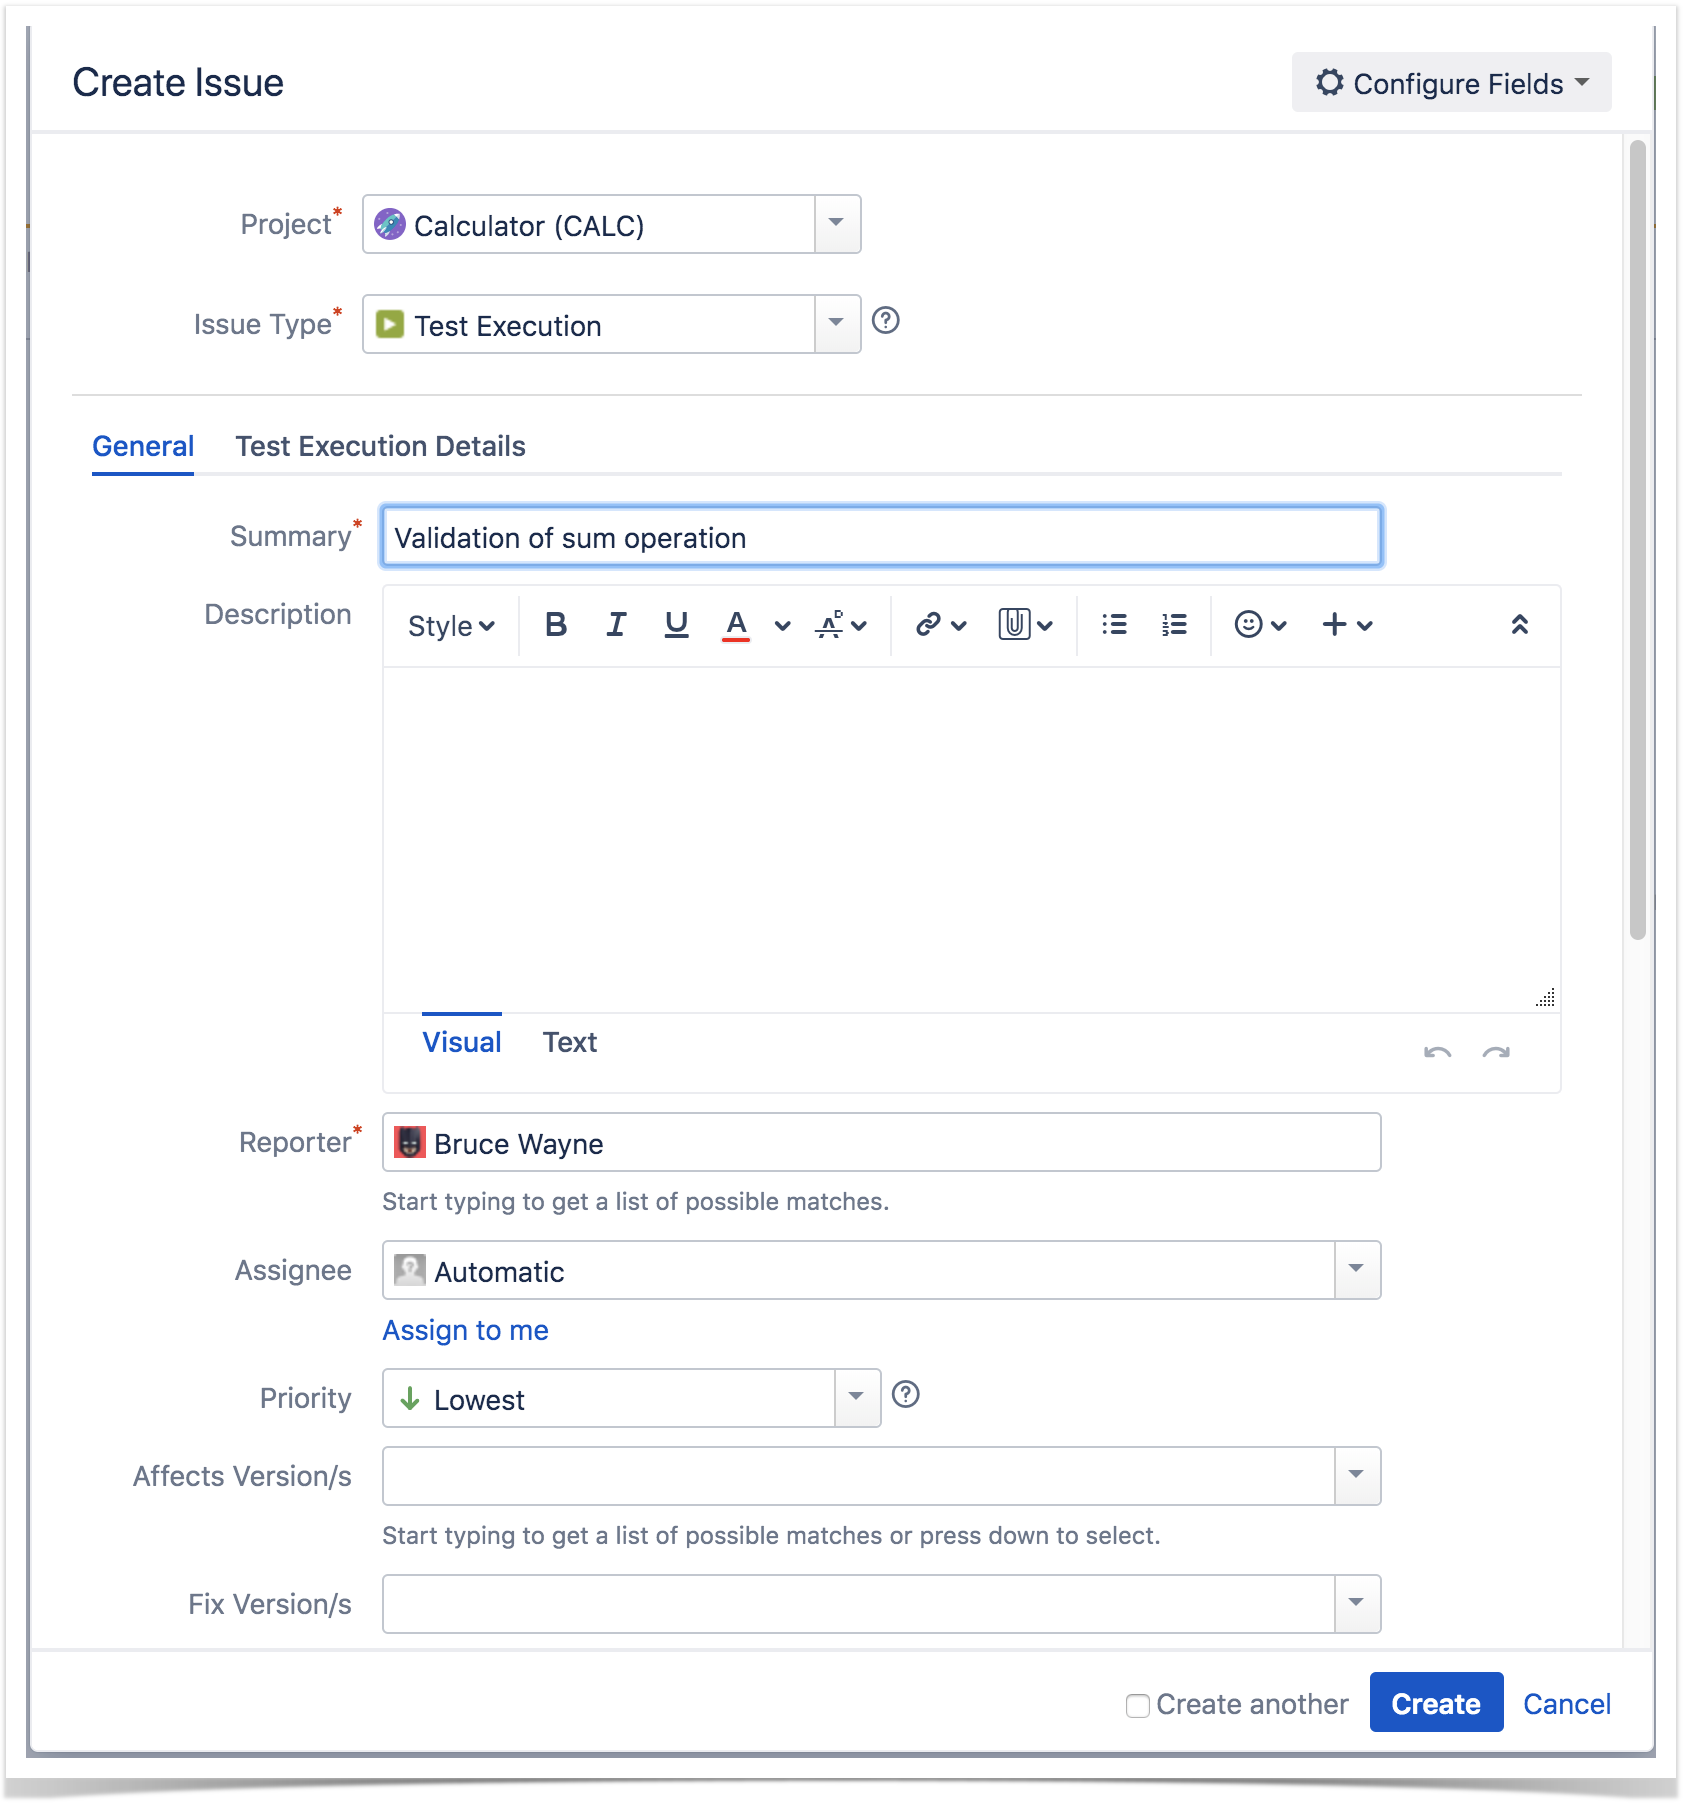
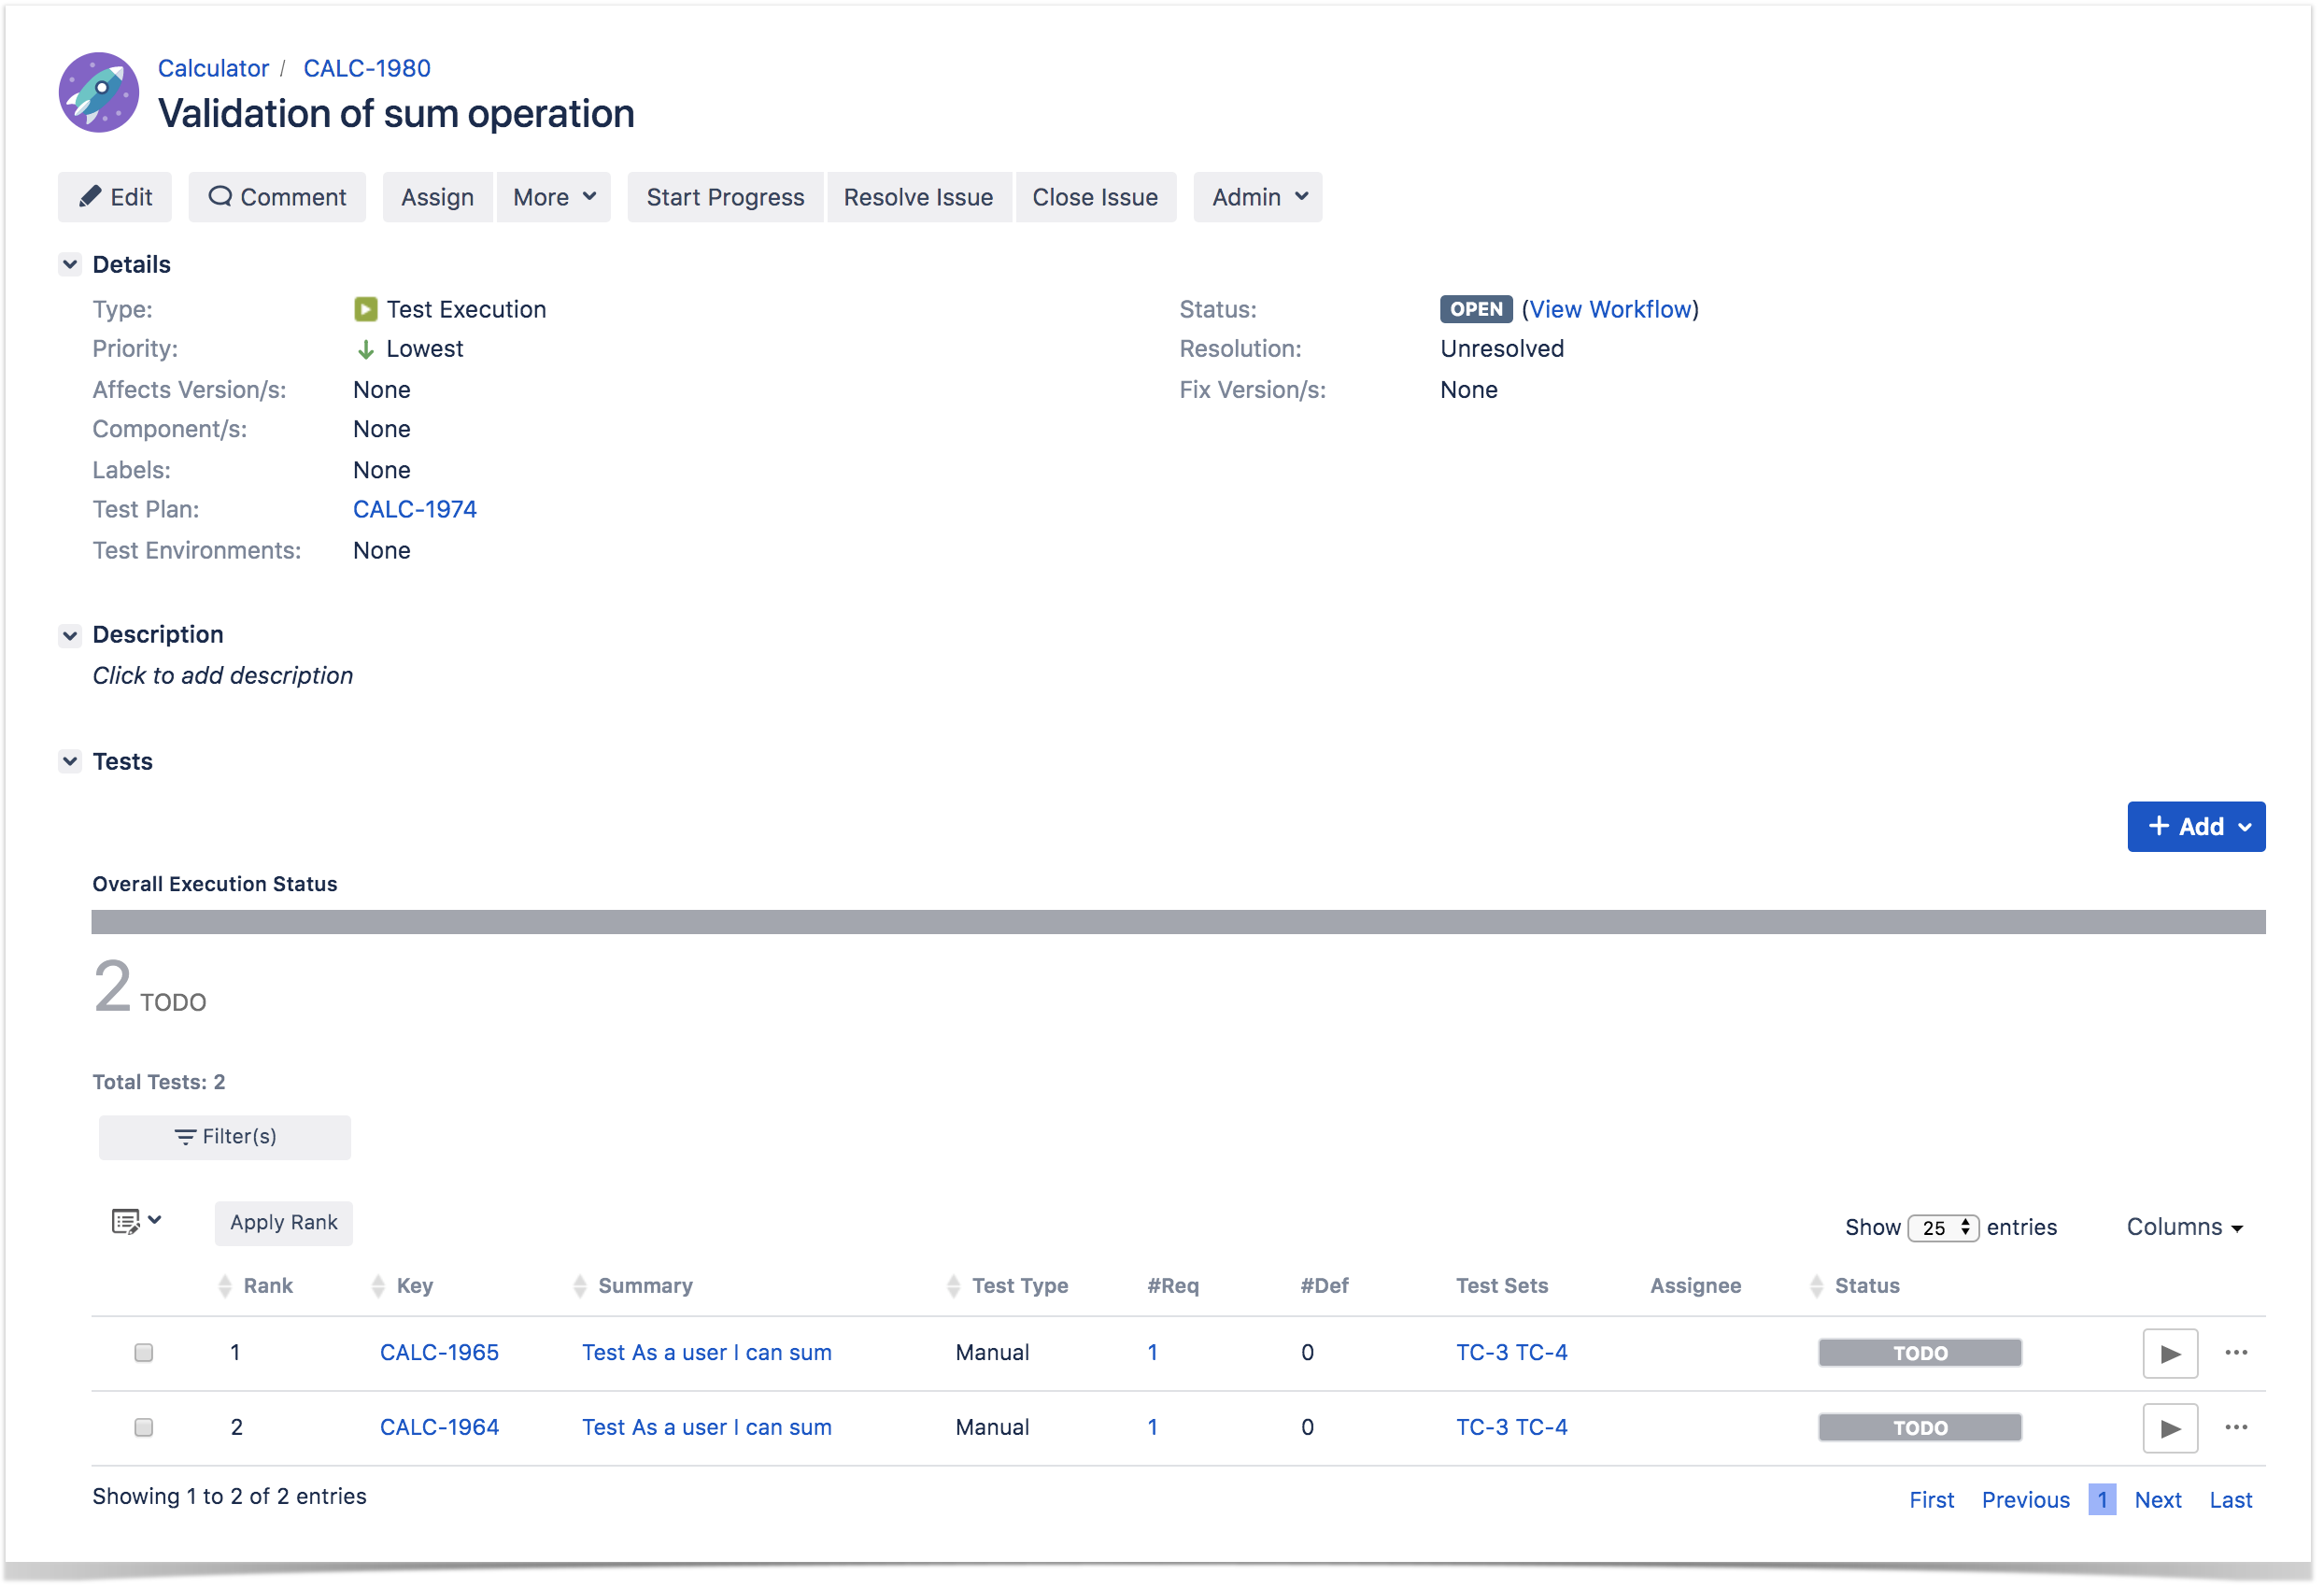
Step 4: Fill out the Test Execution fields and click Create. Your brand-new Test Execution is created with all the Tests, taking into account the previous selection, in the proper order.


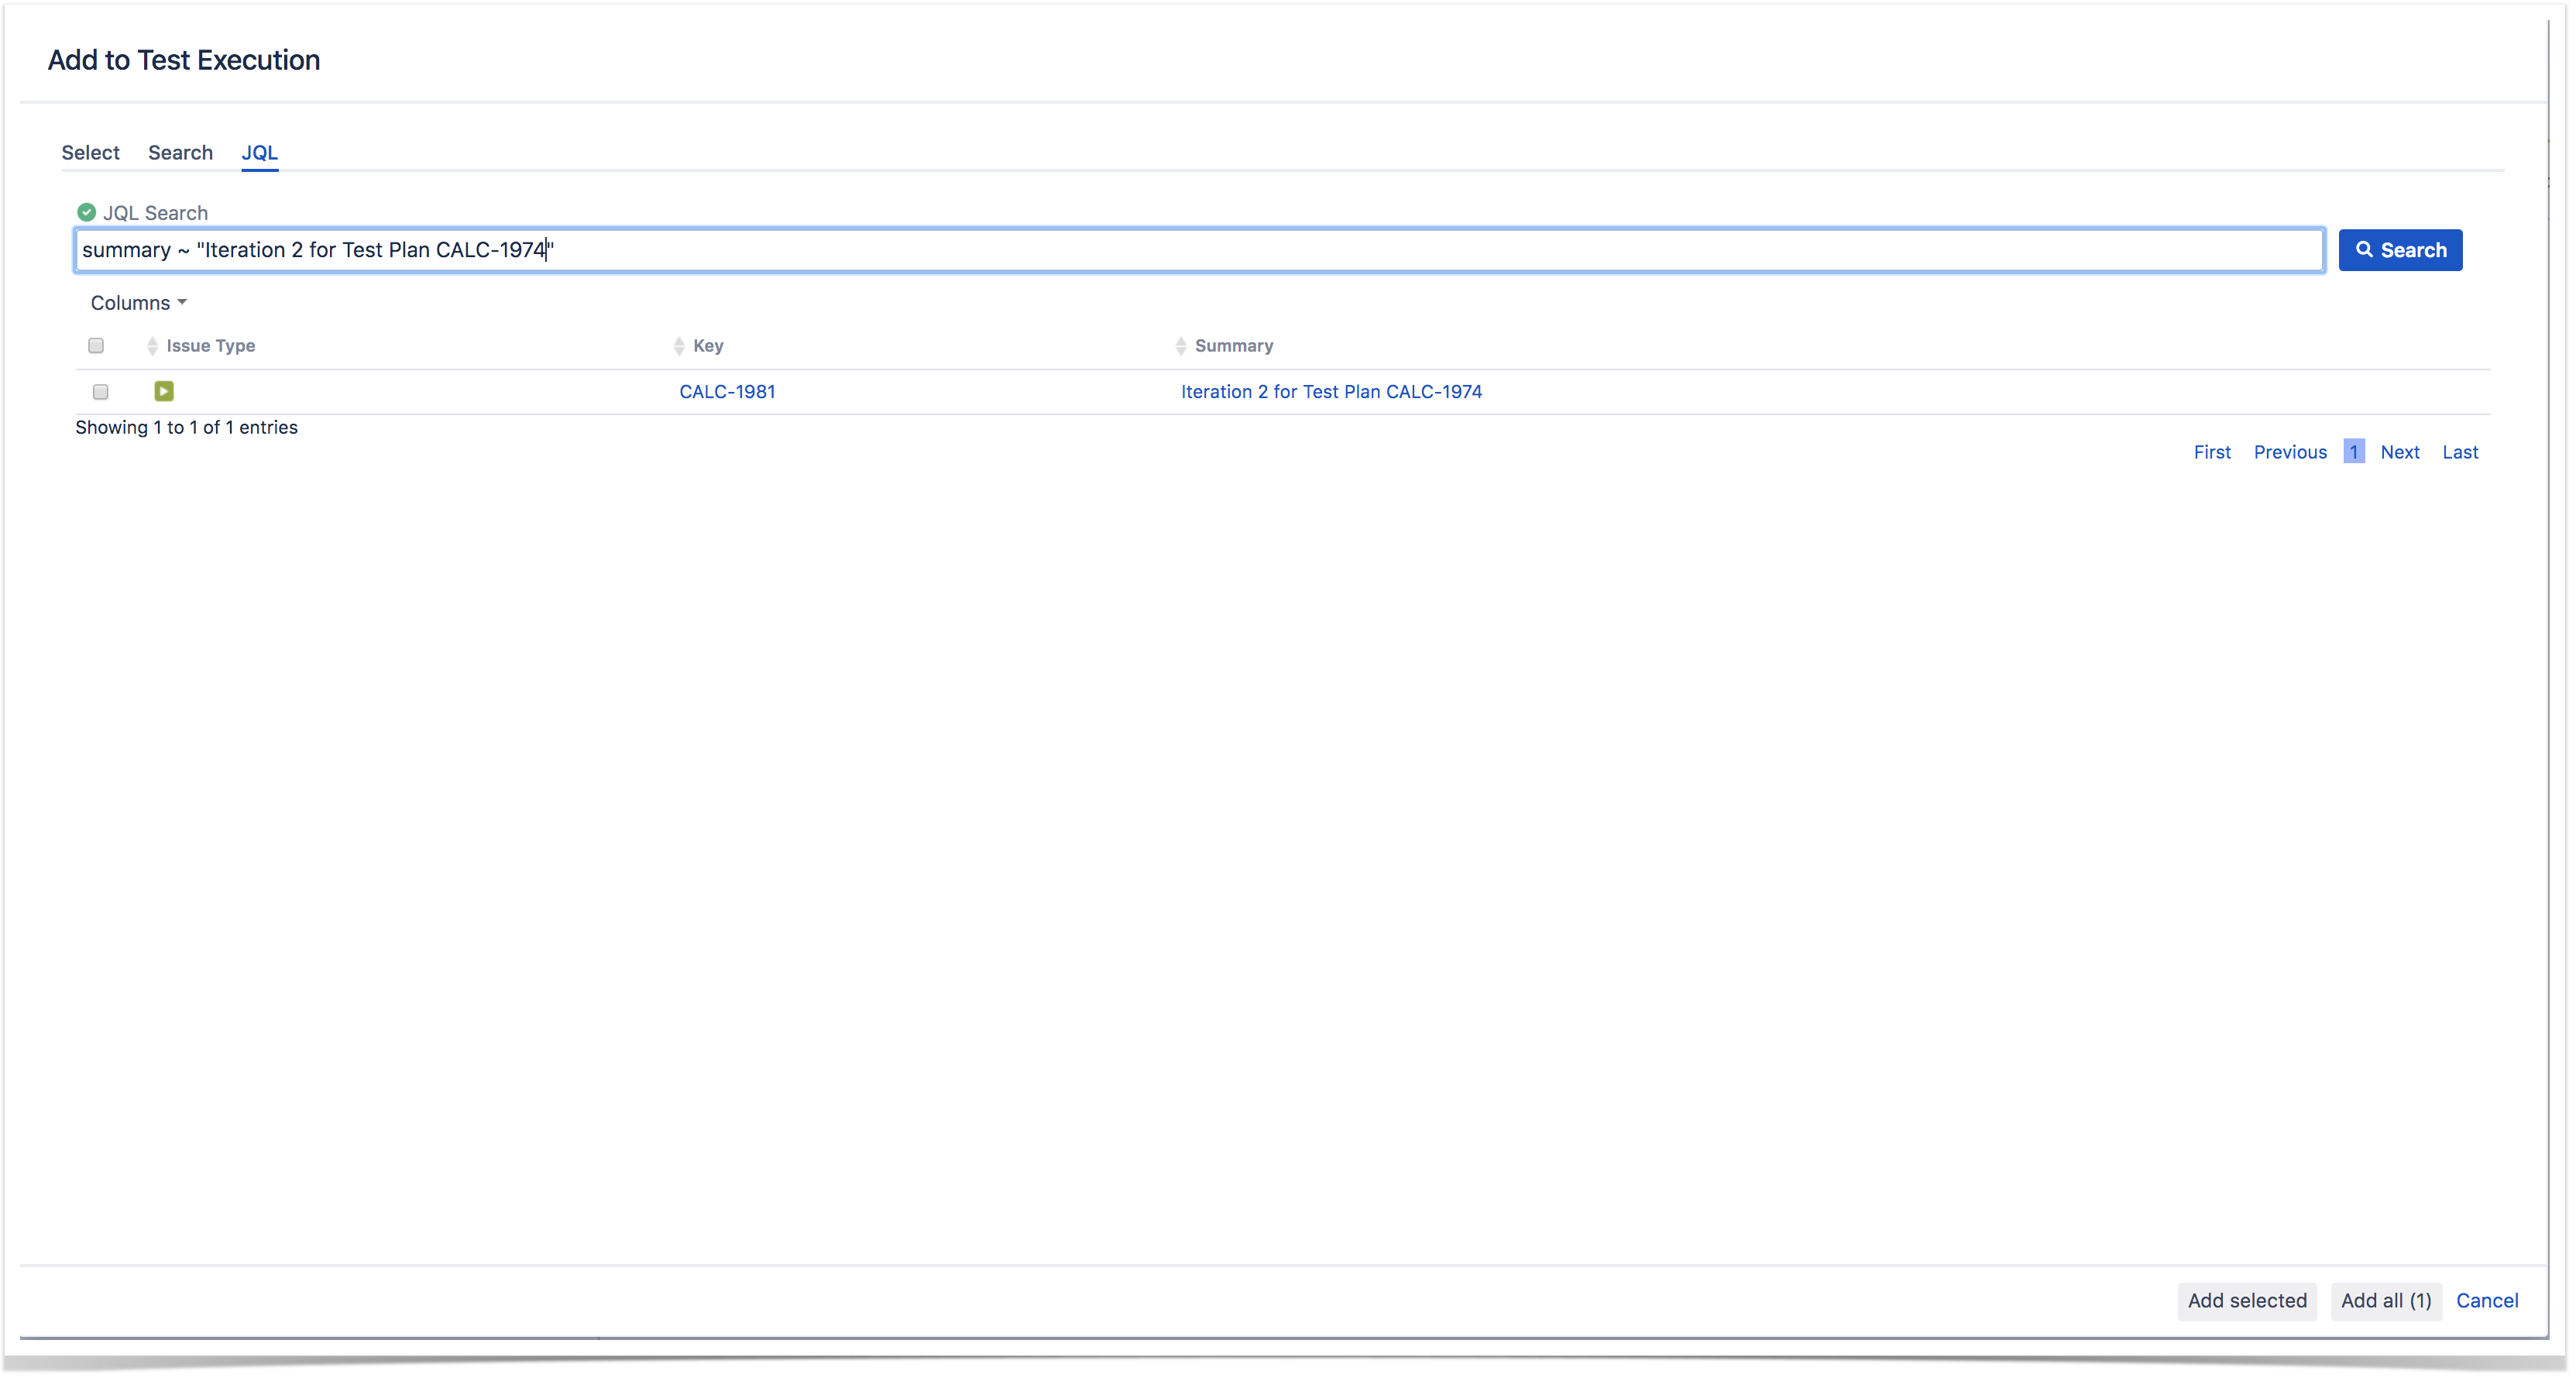
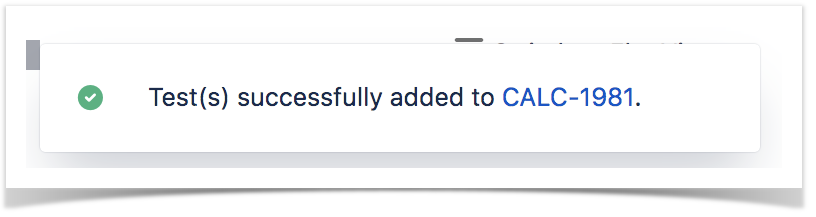
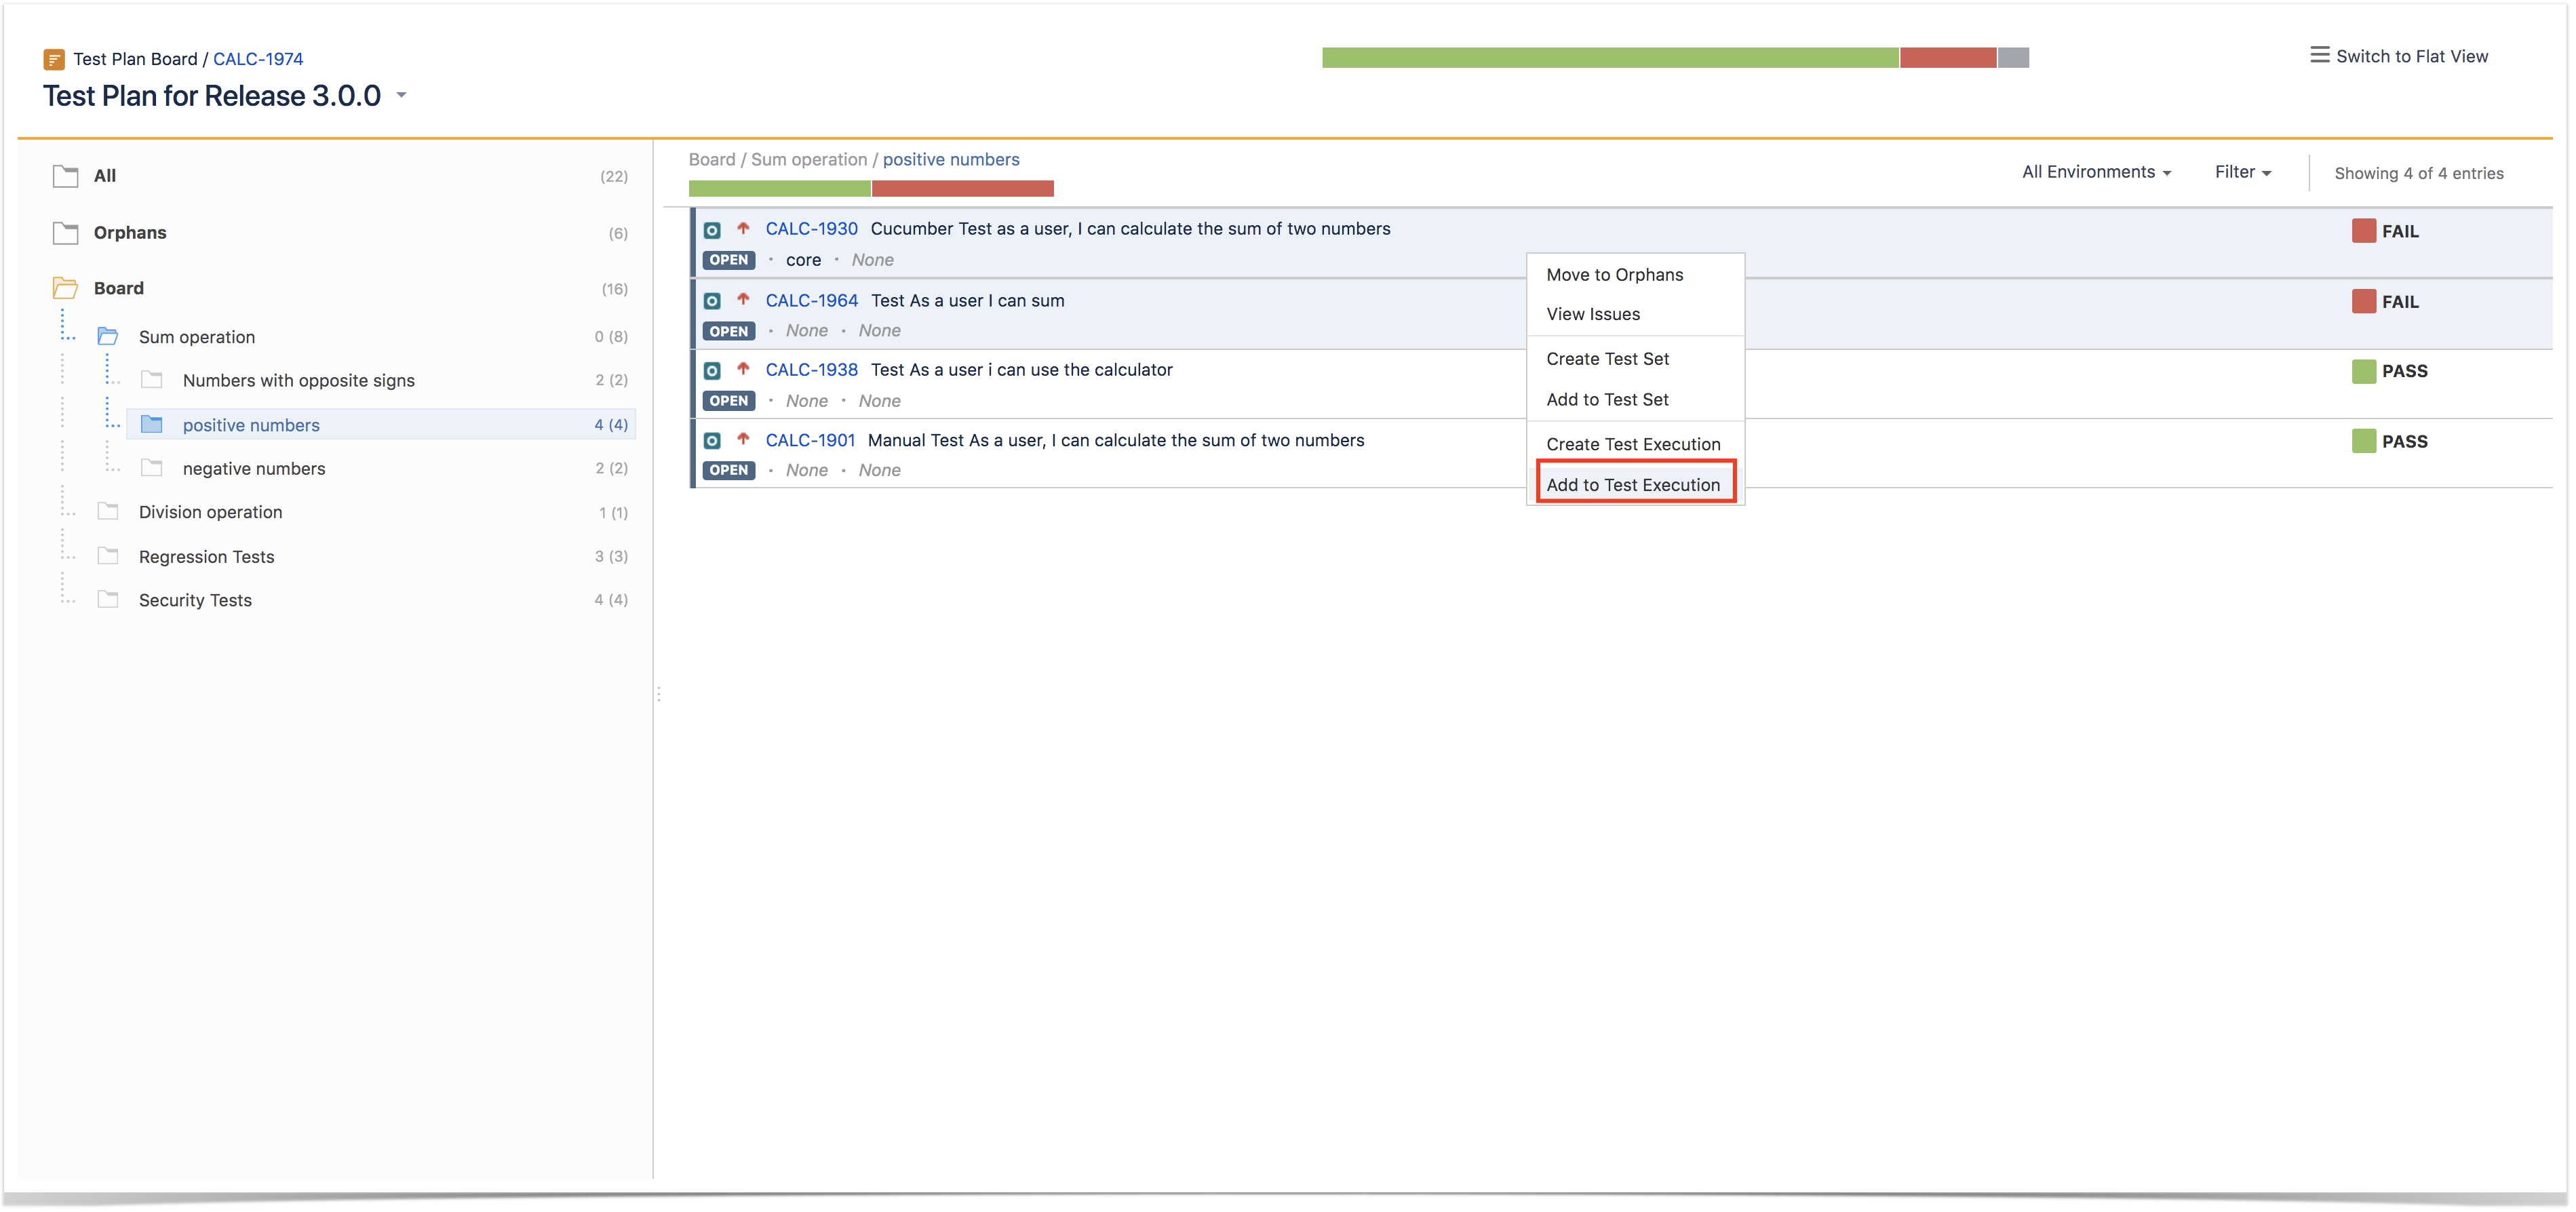
Add to Test Execution(s)
...
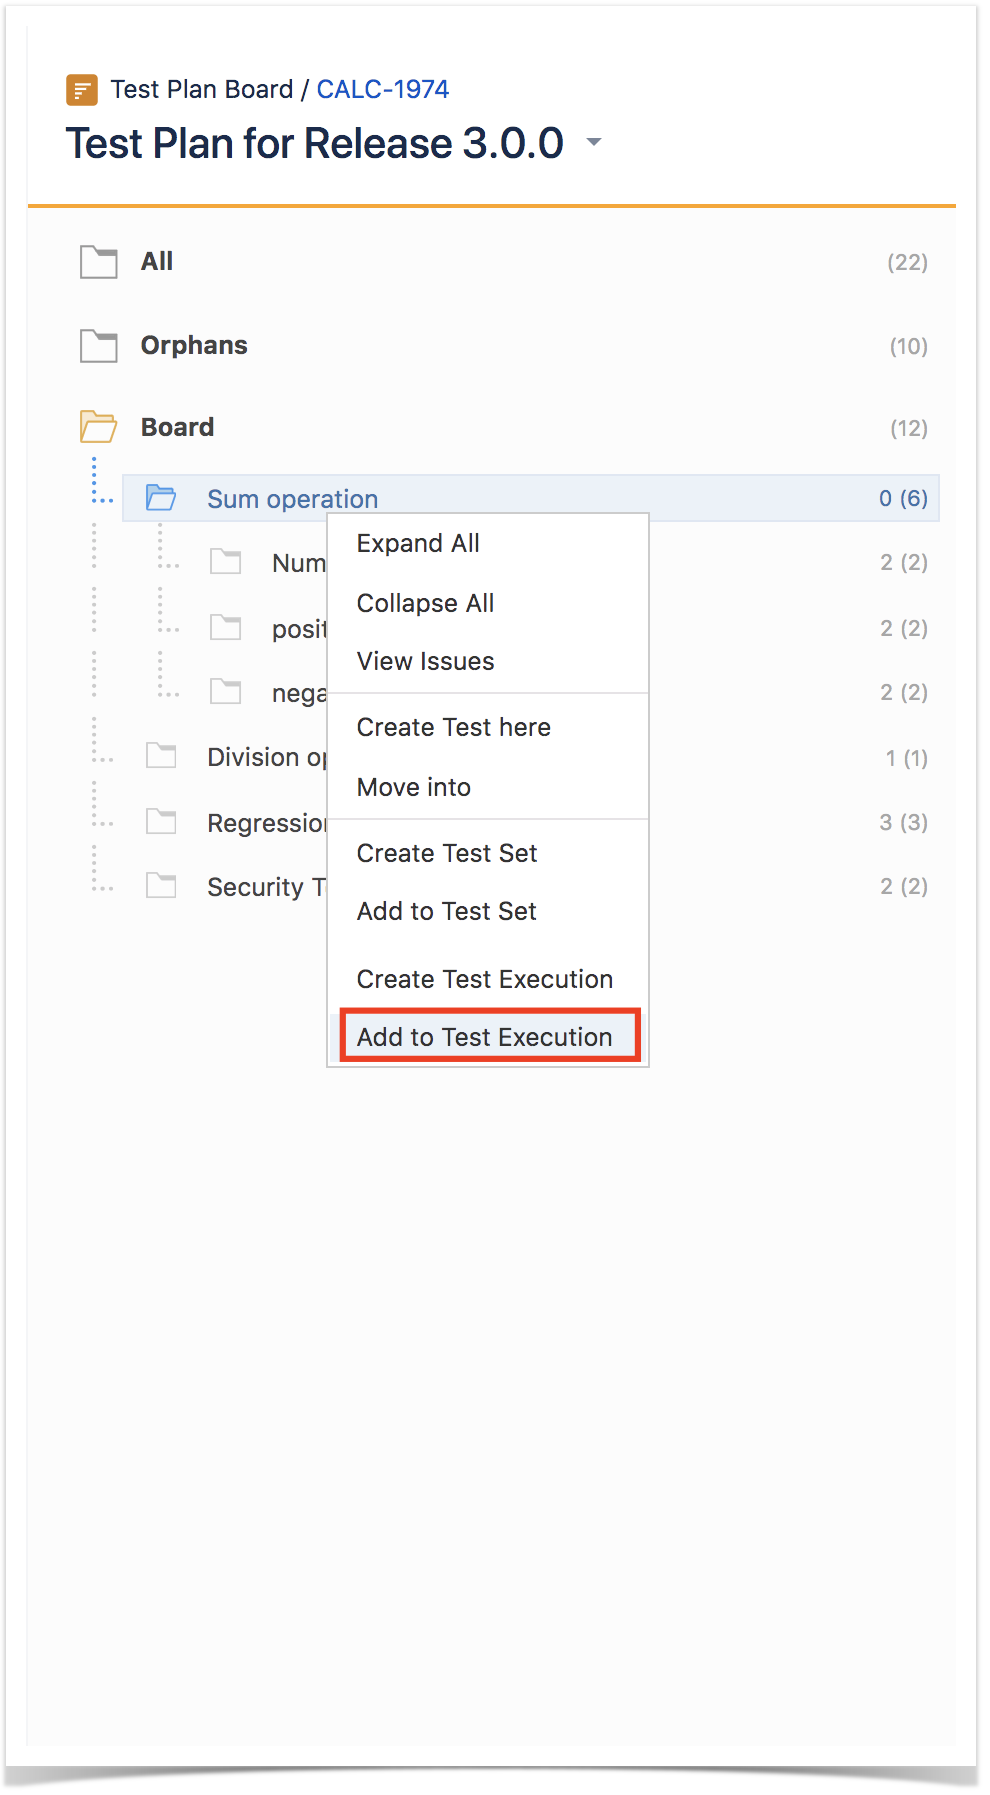
Step 2: Use the context action Add to Test Execution.

Step 3: Choose the Test Execution(s) key(s) and select Add selected. The Test Execution(s) will now be updated.


Tests Actions
Tests can be selected by clicking on them. Multiple selection is possible by using the "Ctrl" key (on Windows) or the "Cmd" key (on OS X). If you want to select more than one Test and the Tests are listed consecutively, use the "Shift" key to quickly select an entire group. Click the first Test in the list you want to select, hold down the "Shift" key, scroll down to the last Test you want and click it. This selects the first item, the last item and all items in between.
...
After selecting one or more Tests, context actions can then be done on them, such as creating a Test Set, Test Execution, etc.

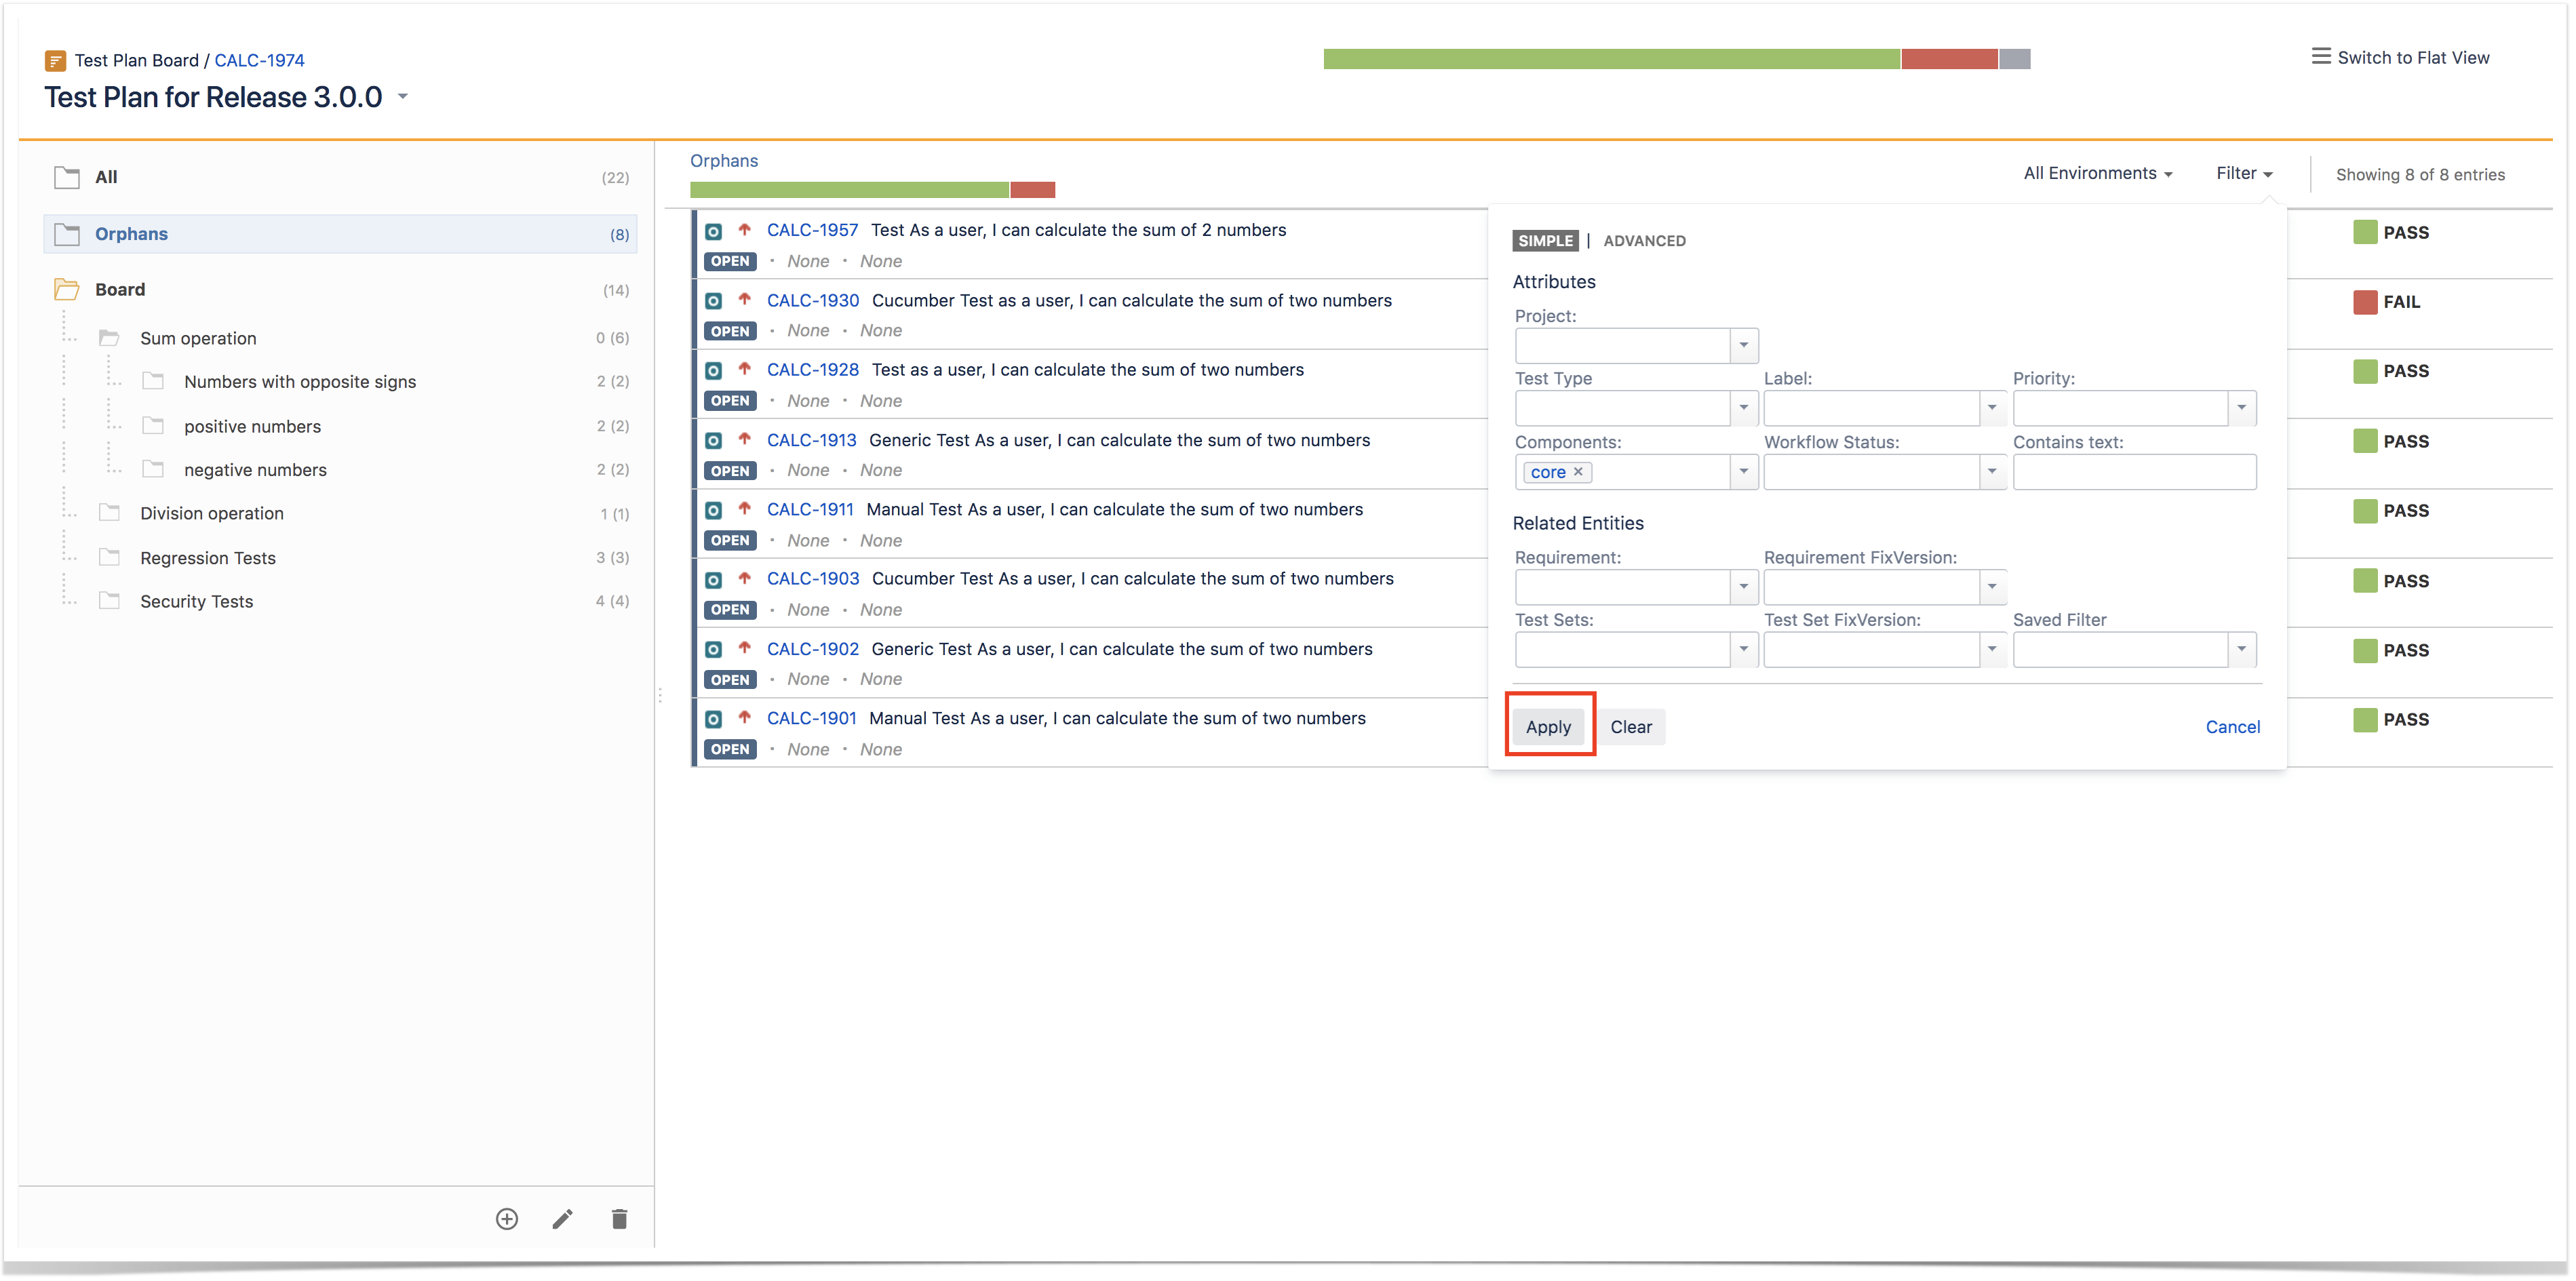
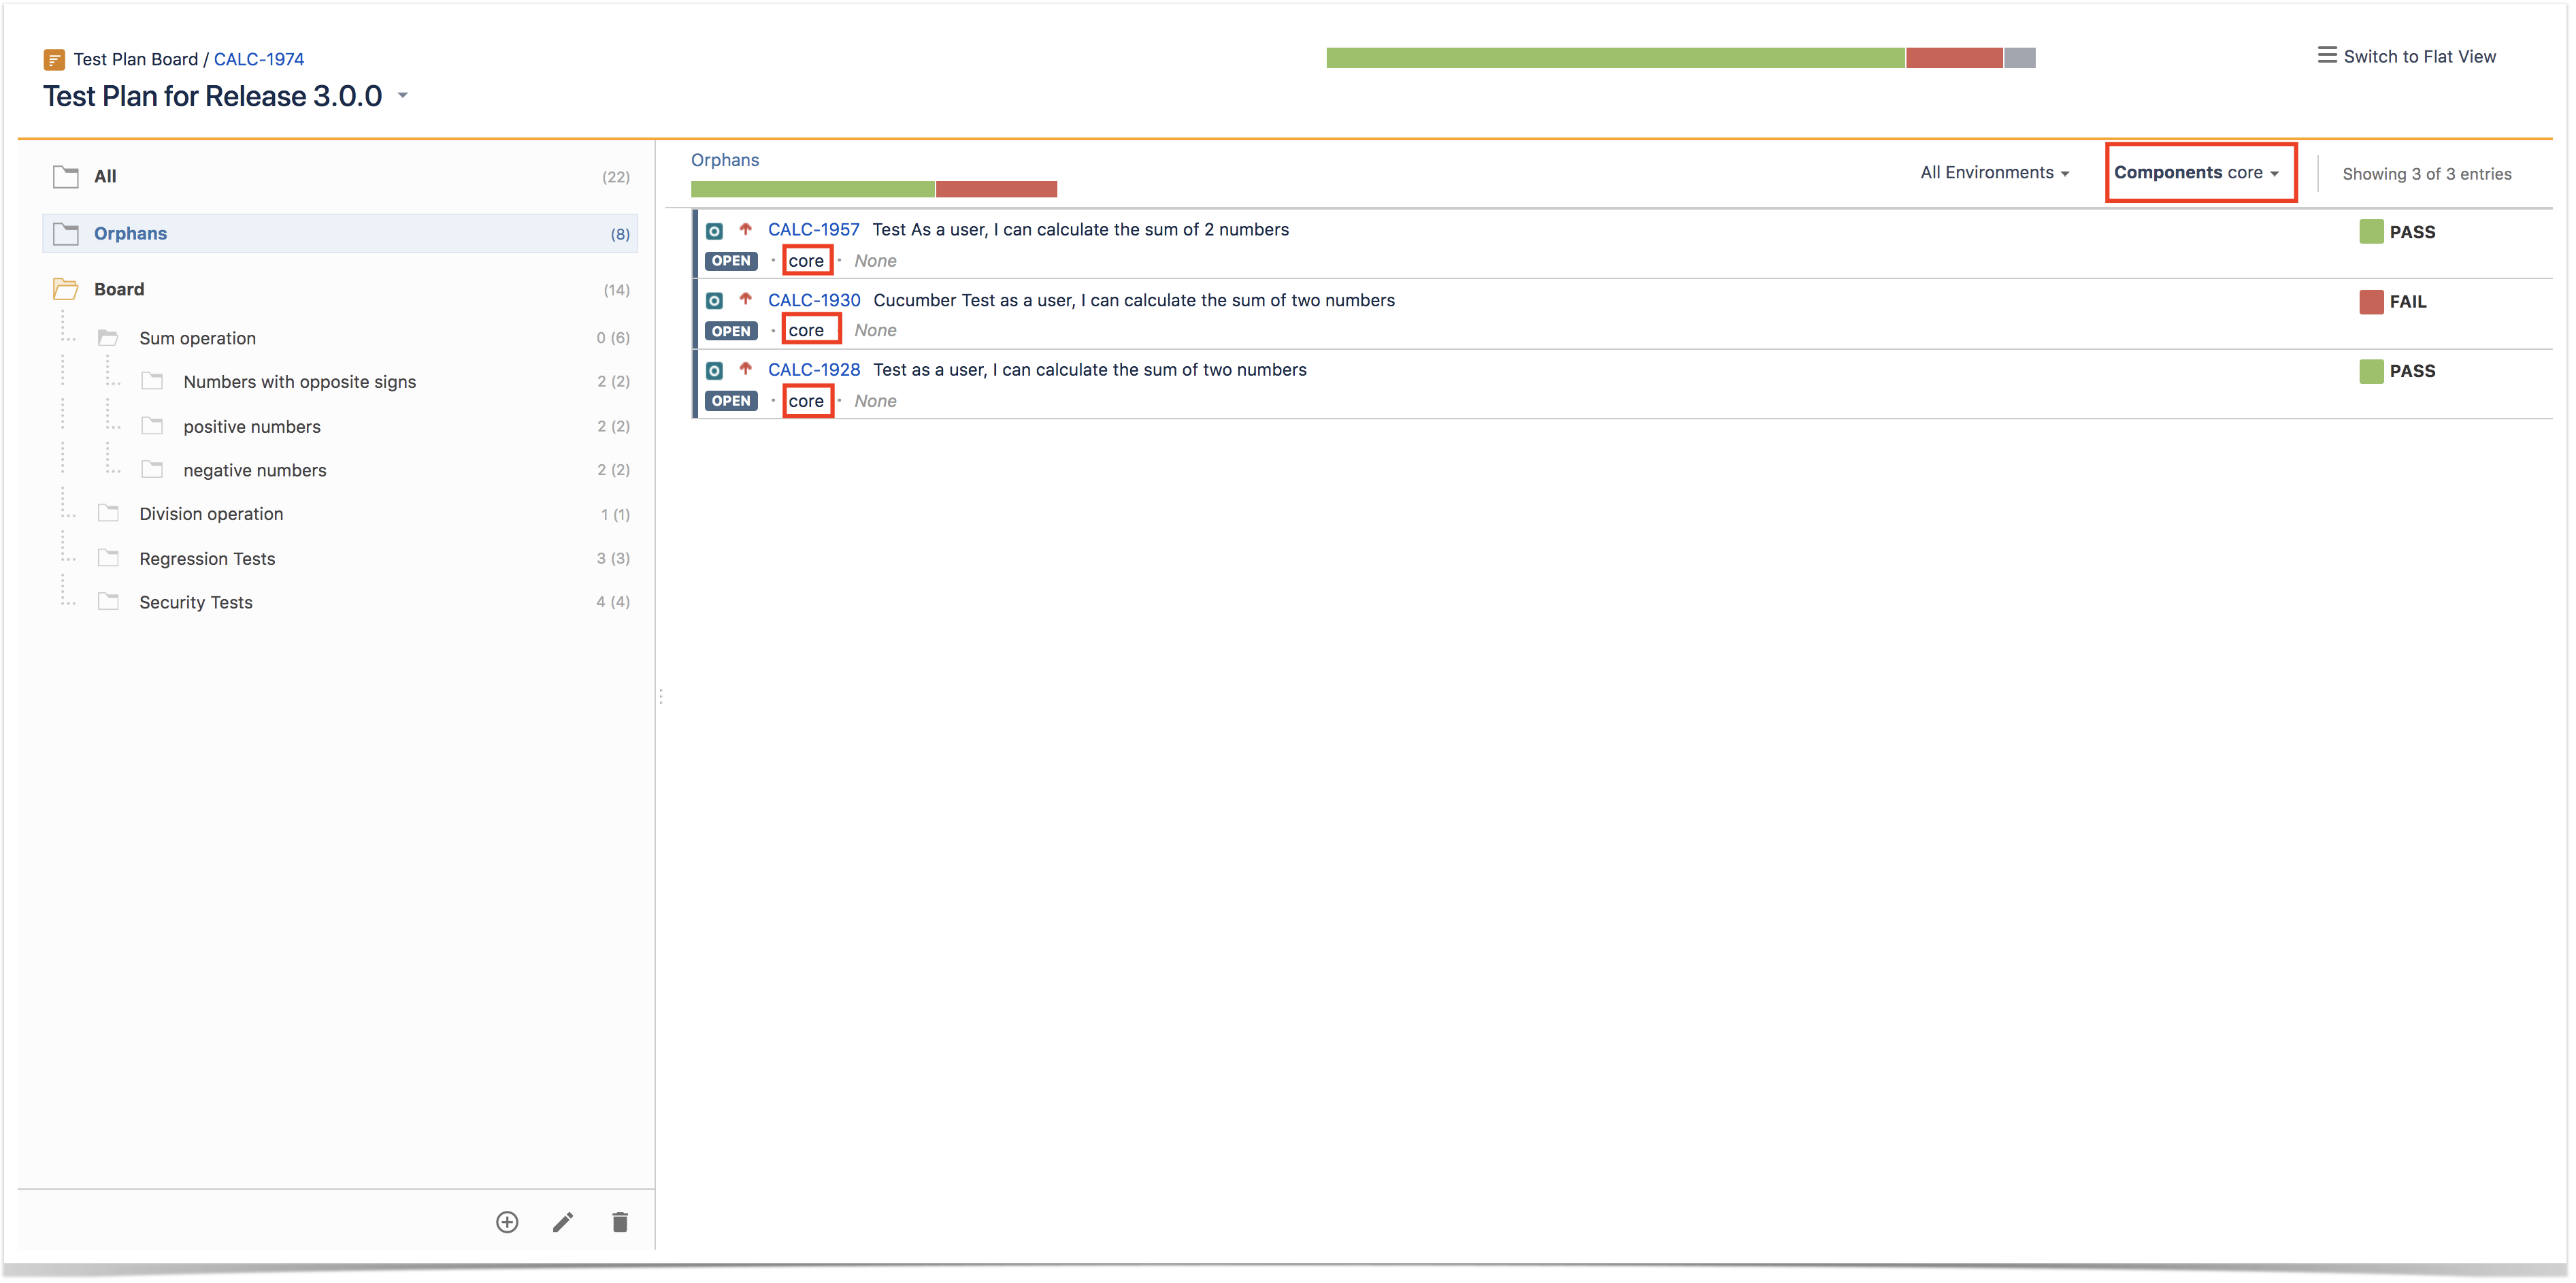
Filtering visible Tests
...
Filtering Tests is quite useful, for example, when creating the structure of the Board based on a subset of Tests from the All or Orphans meta-folders.


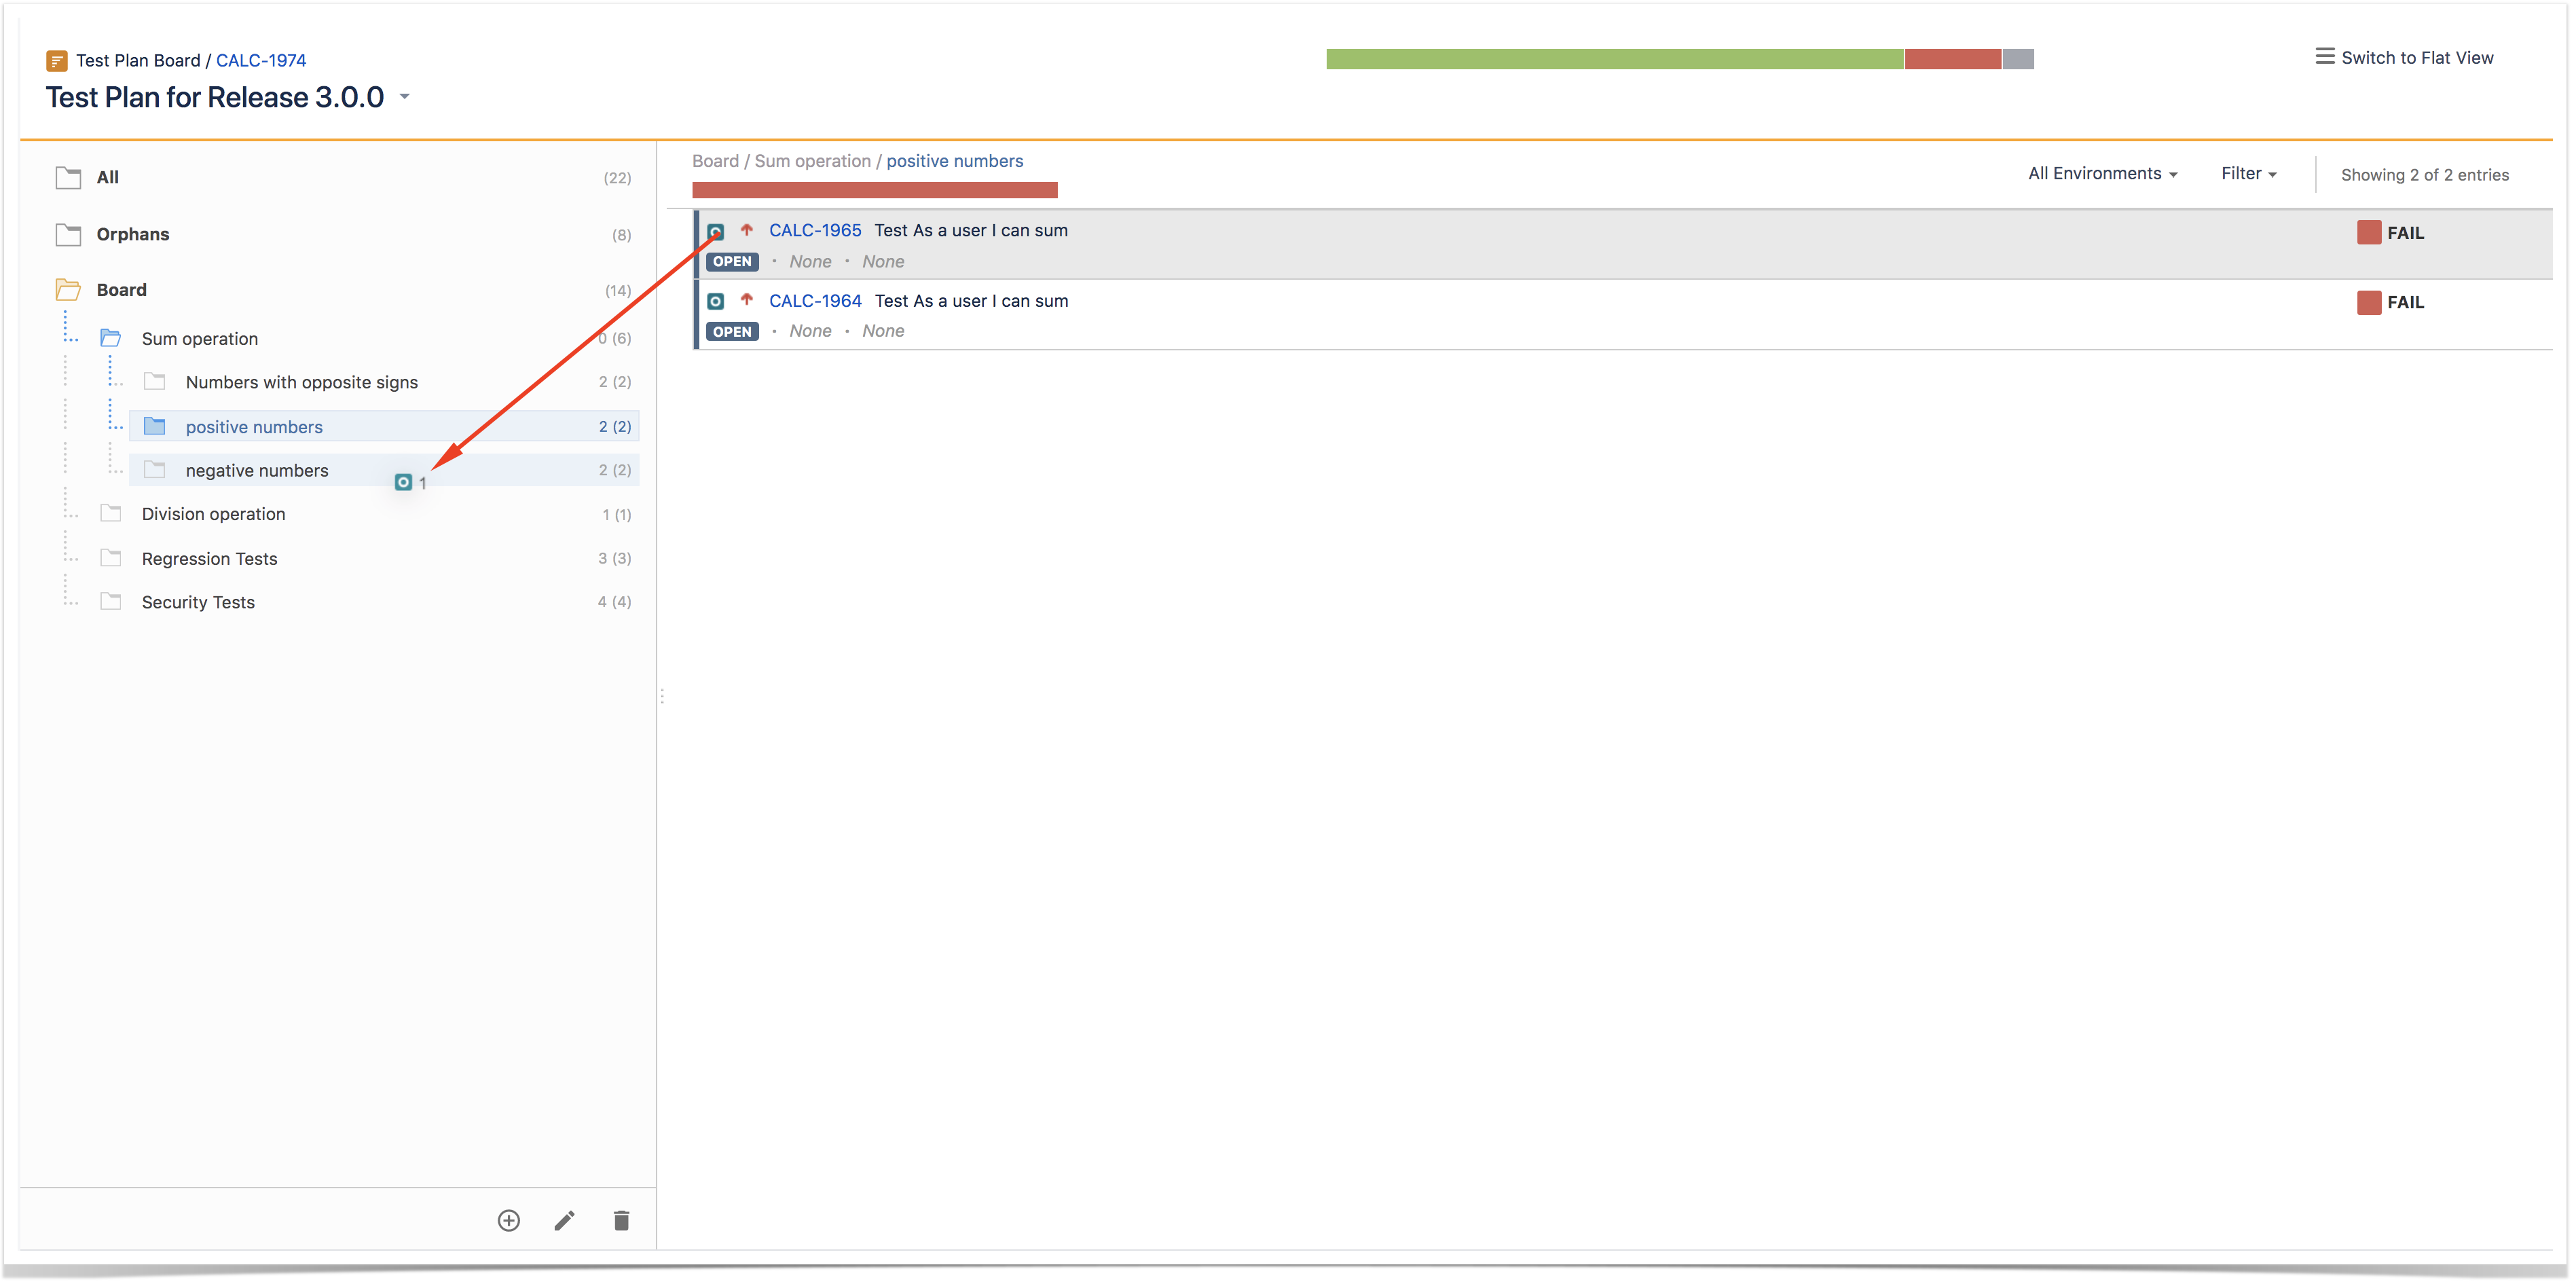
Moving to another folder
...
You can also use this operation for "adding" Tests (i.e. moving Tests) from the meta-folders (i.e. All, Orphans) to folders within the Test Repository.

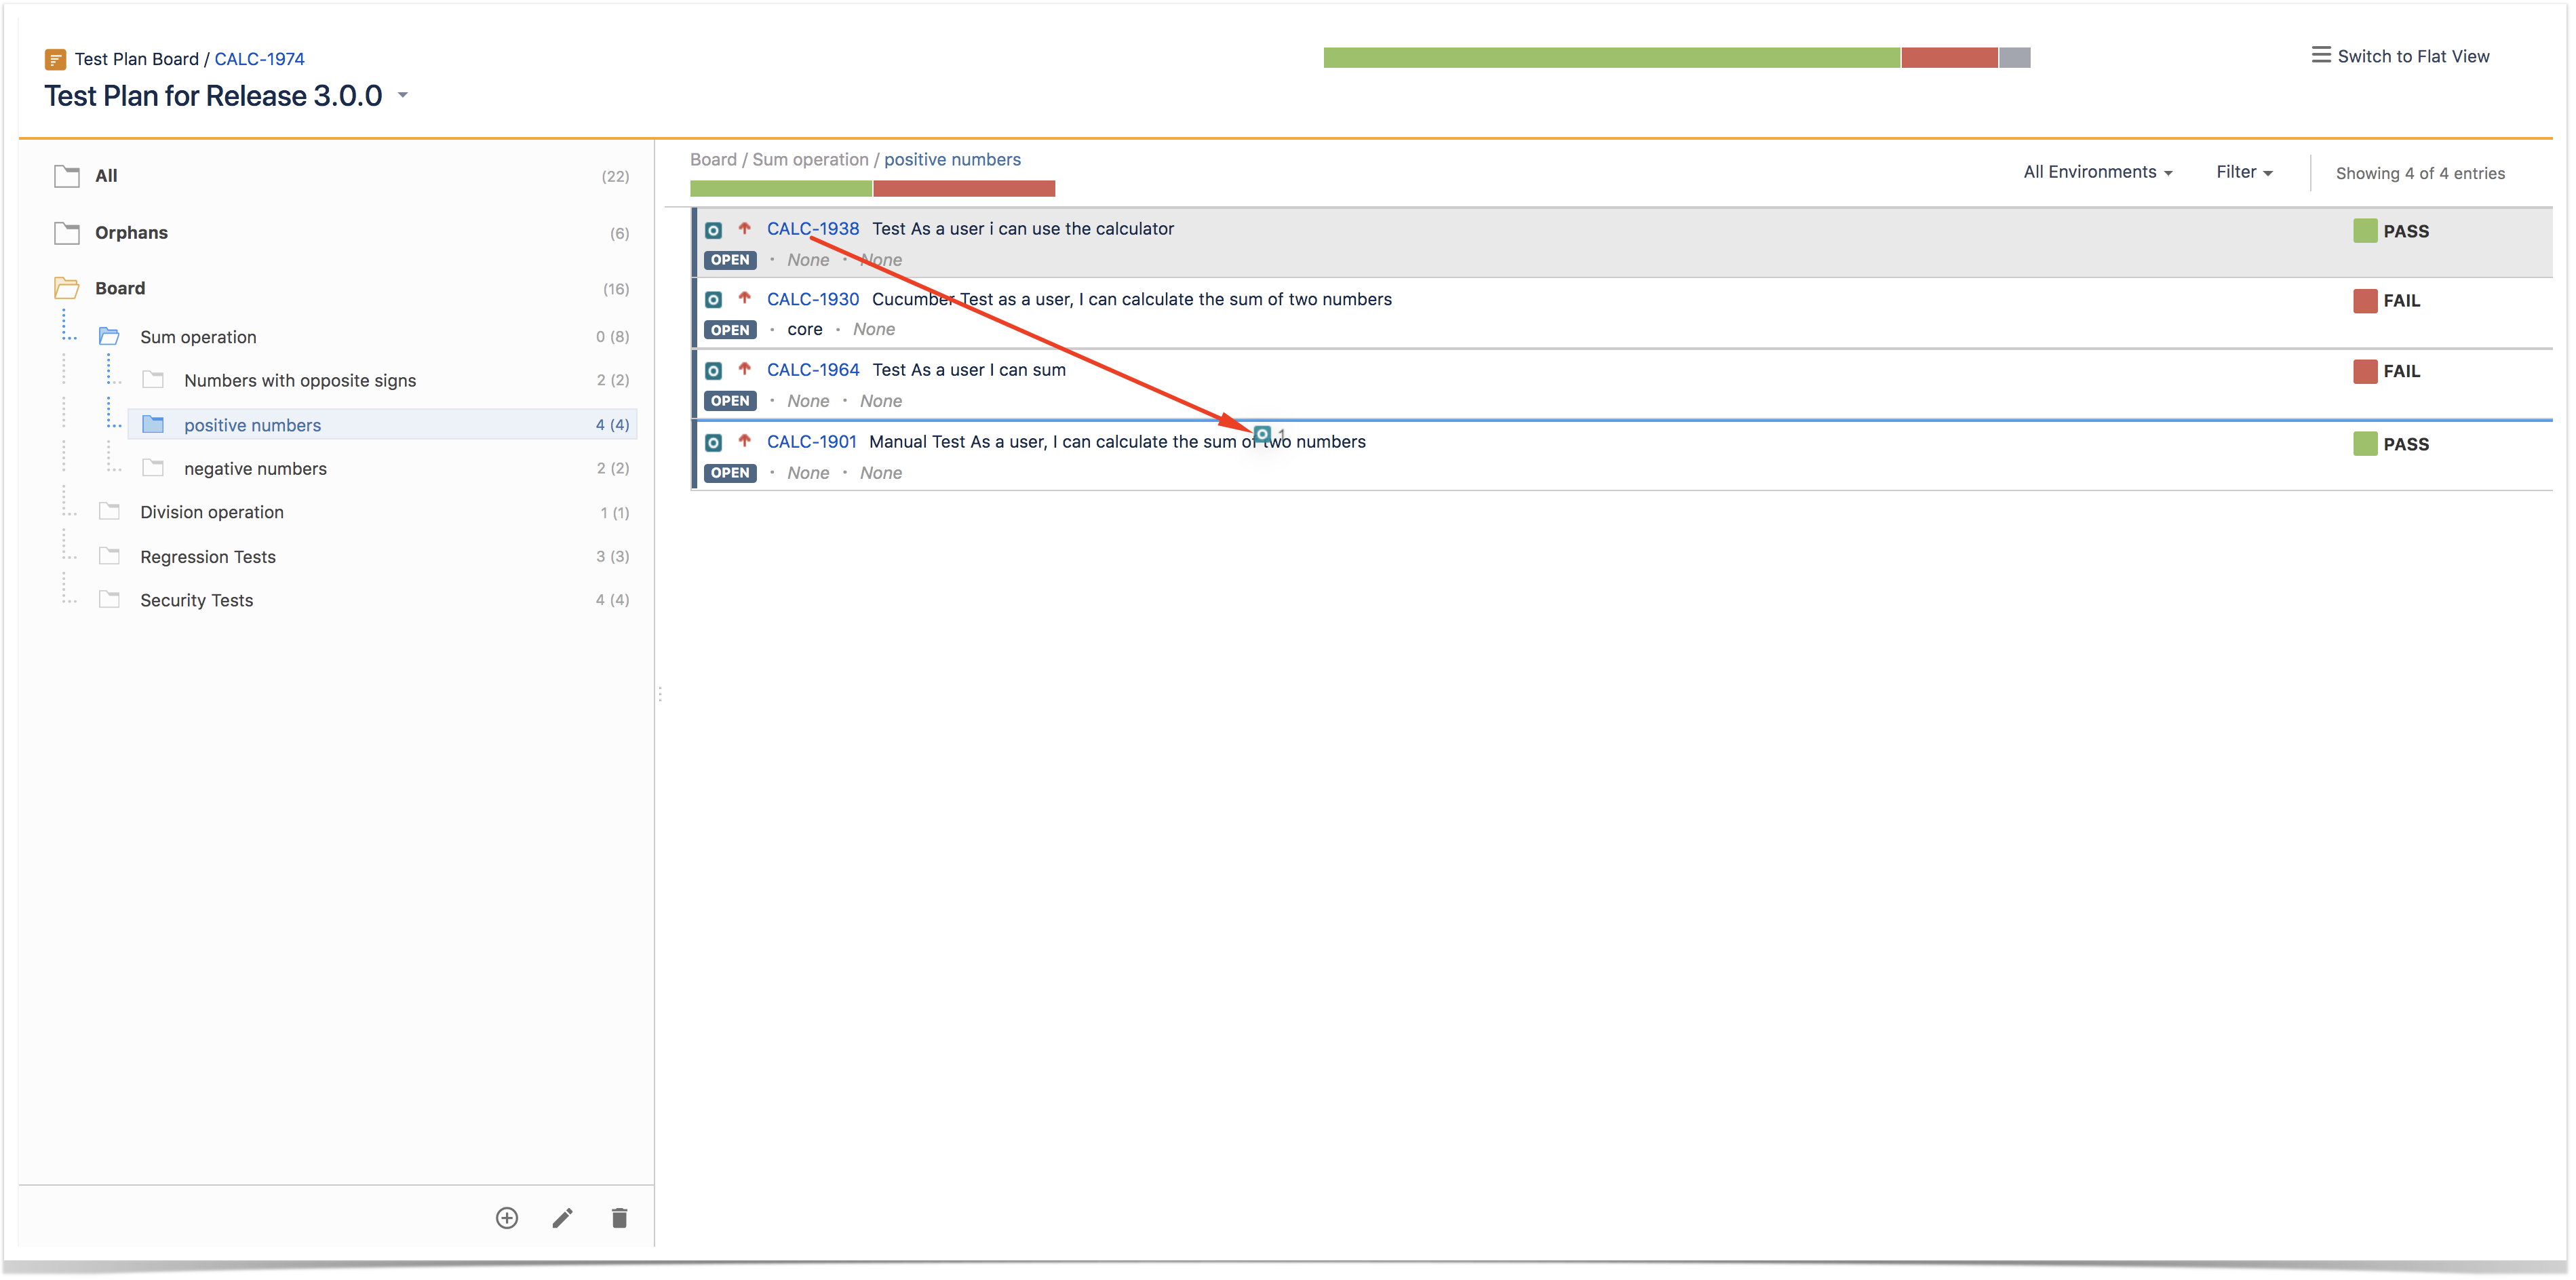
Ordering / Ranking
Tests can be ranked within a folder by using drag-and-drop.

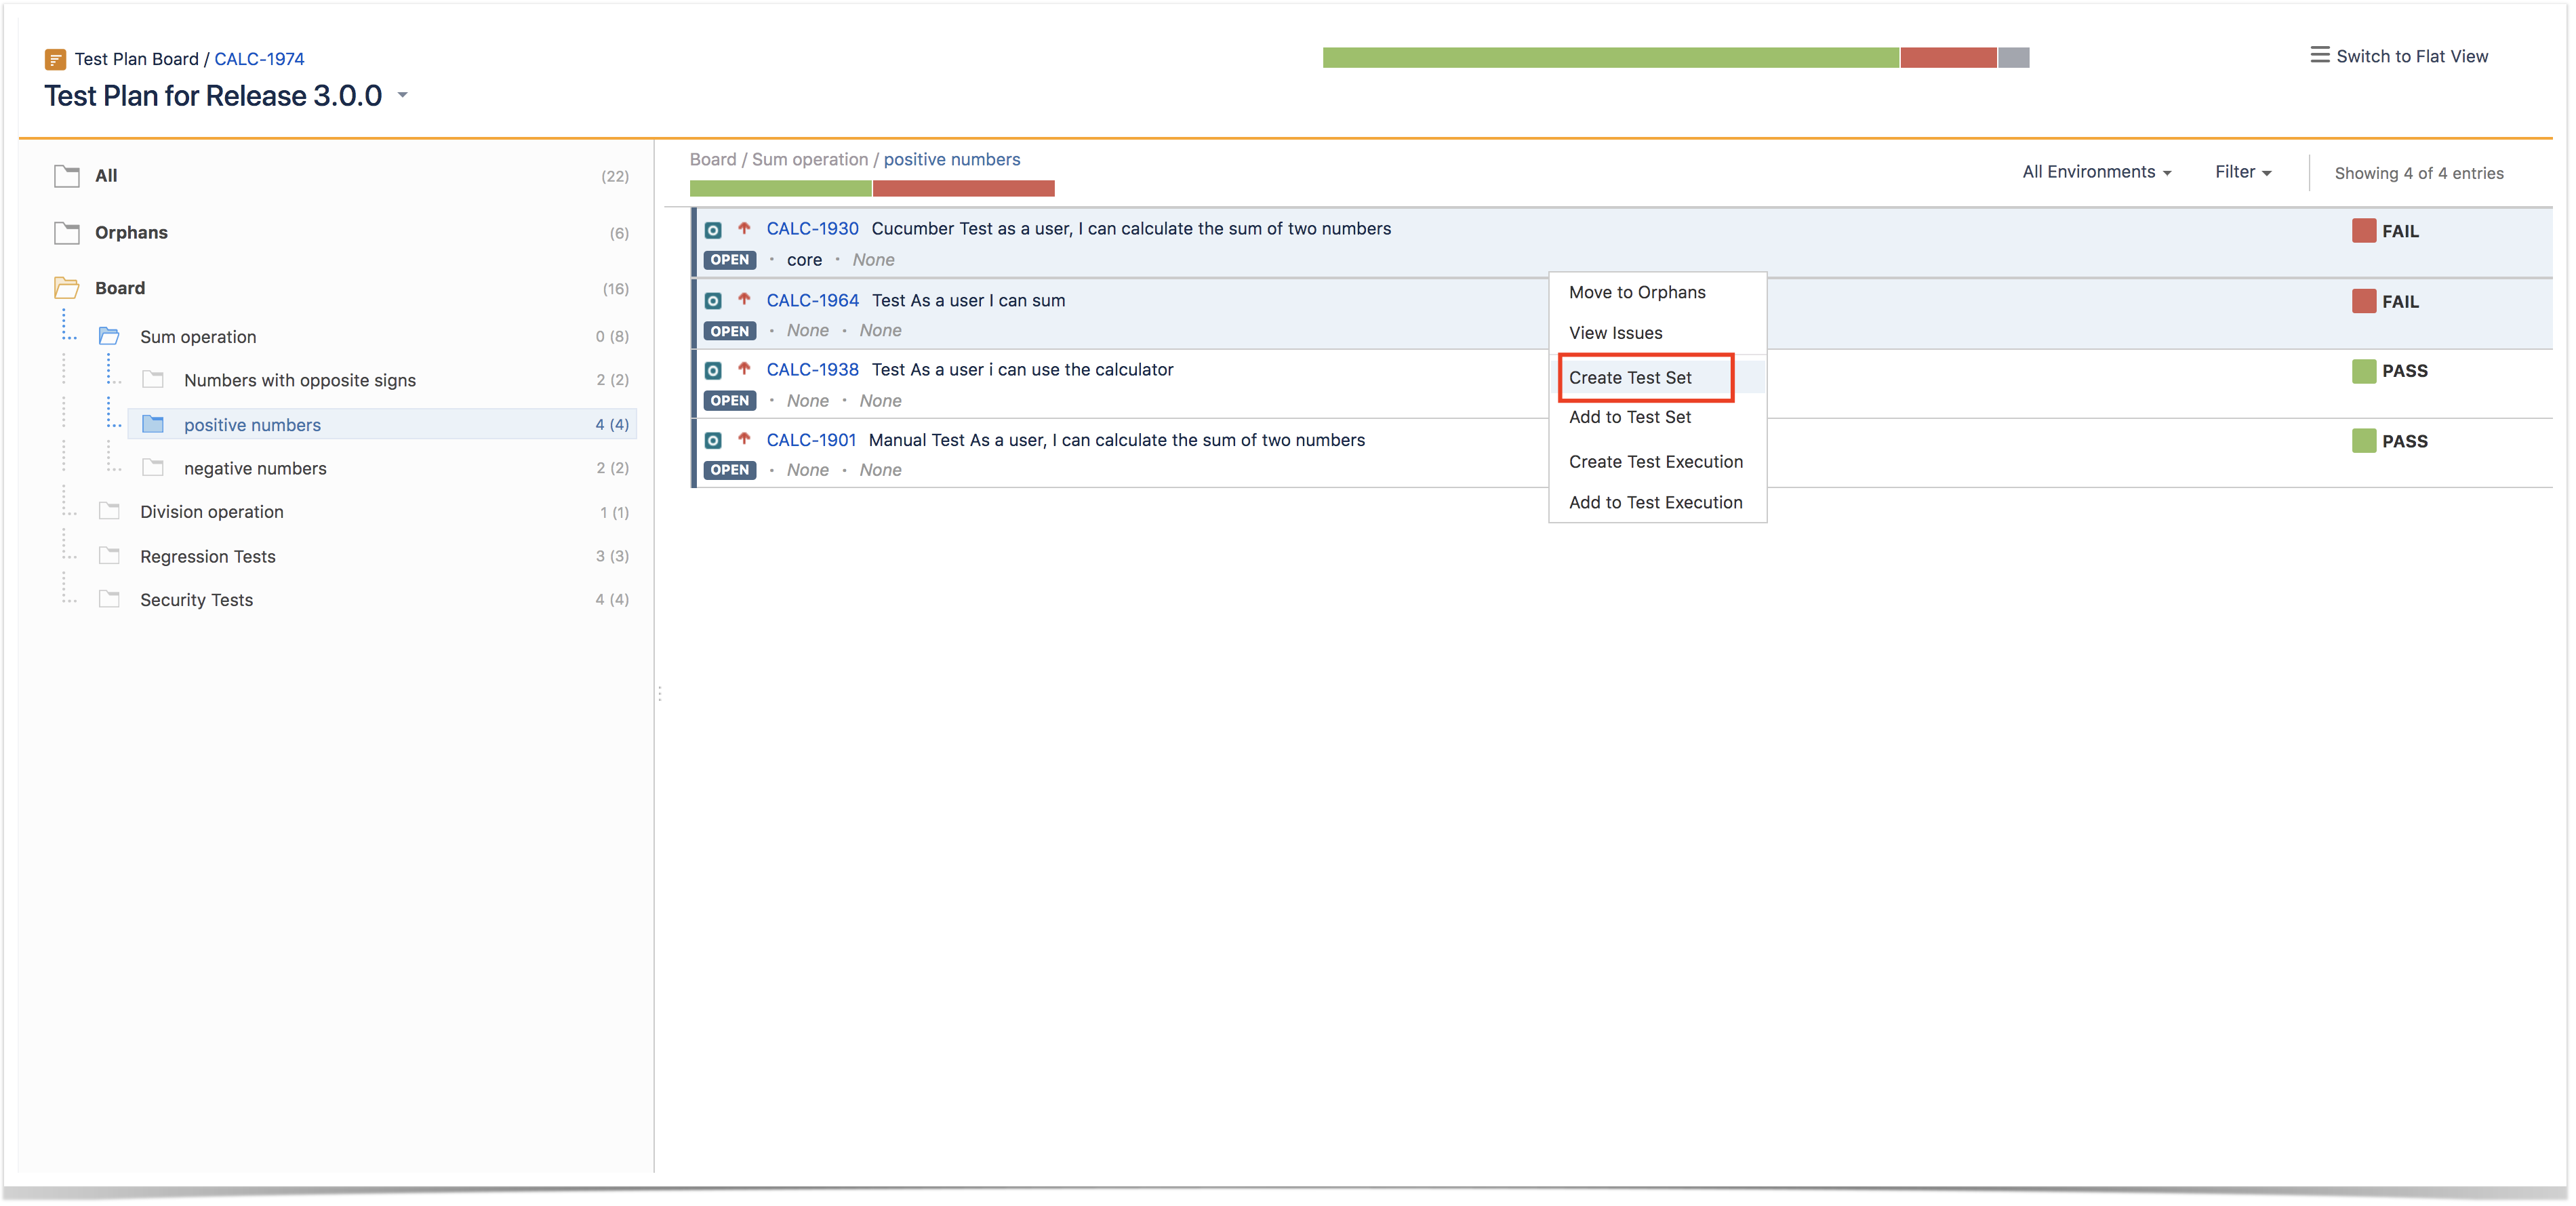
Create Test Set
Use the context action Create Test Set to create a new Test Set containing the selected Tests.

Add to Test Set(s)
Use the context action Add to Test Set to add selected Tests to an existing Test Set.

Create Test Execution
...
Note that when creating a Test Execution from a folder, or selection of Tests, this Test Execution will be linked to the Test Plan.

Add to Test Execution(s)
...
Note that the destination Test Execution will not be automatically linked to the Test Plan. If you want to link it, you will have to do it manually.

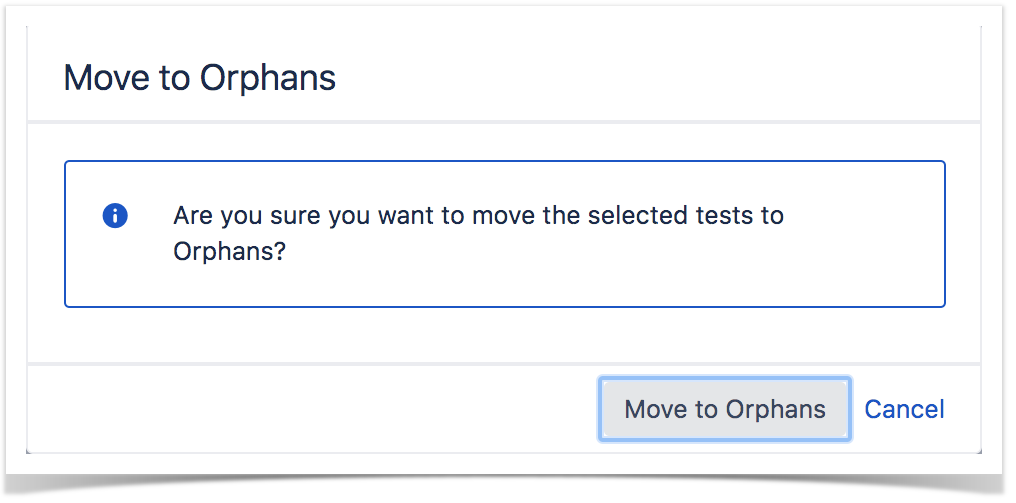
Move to Orphans
...
Step 2: Use the context action Move to Orphans

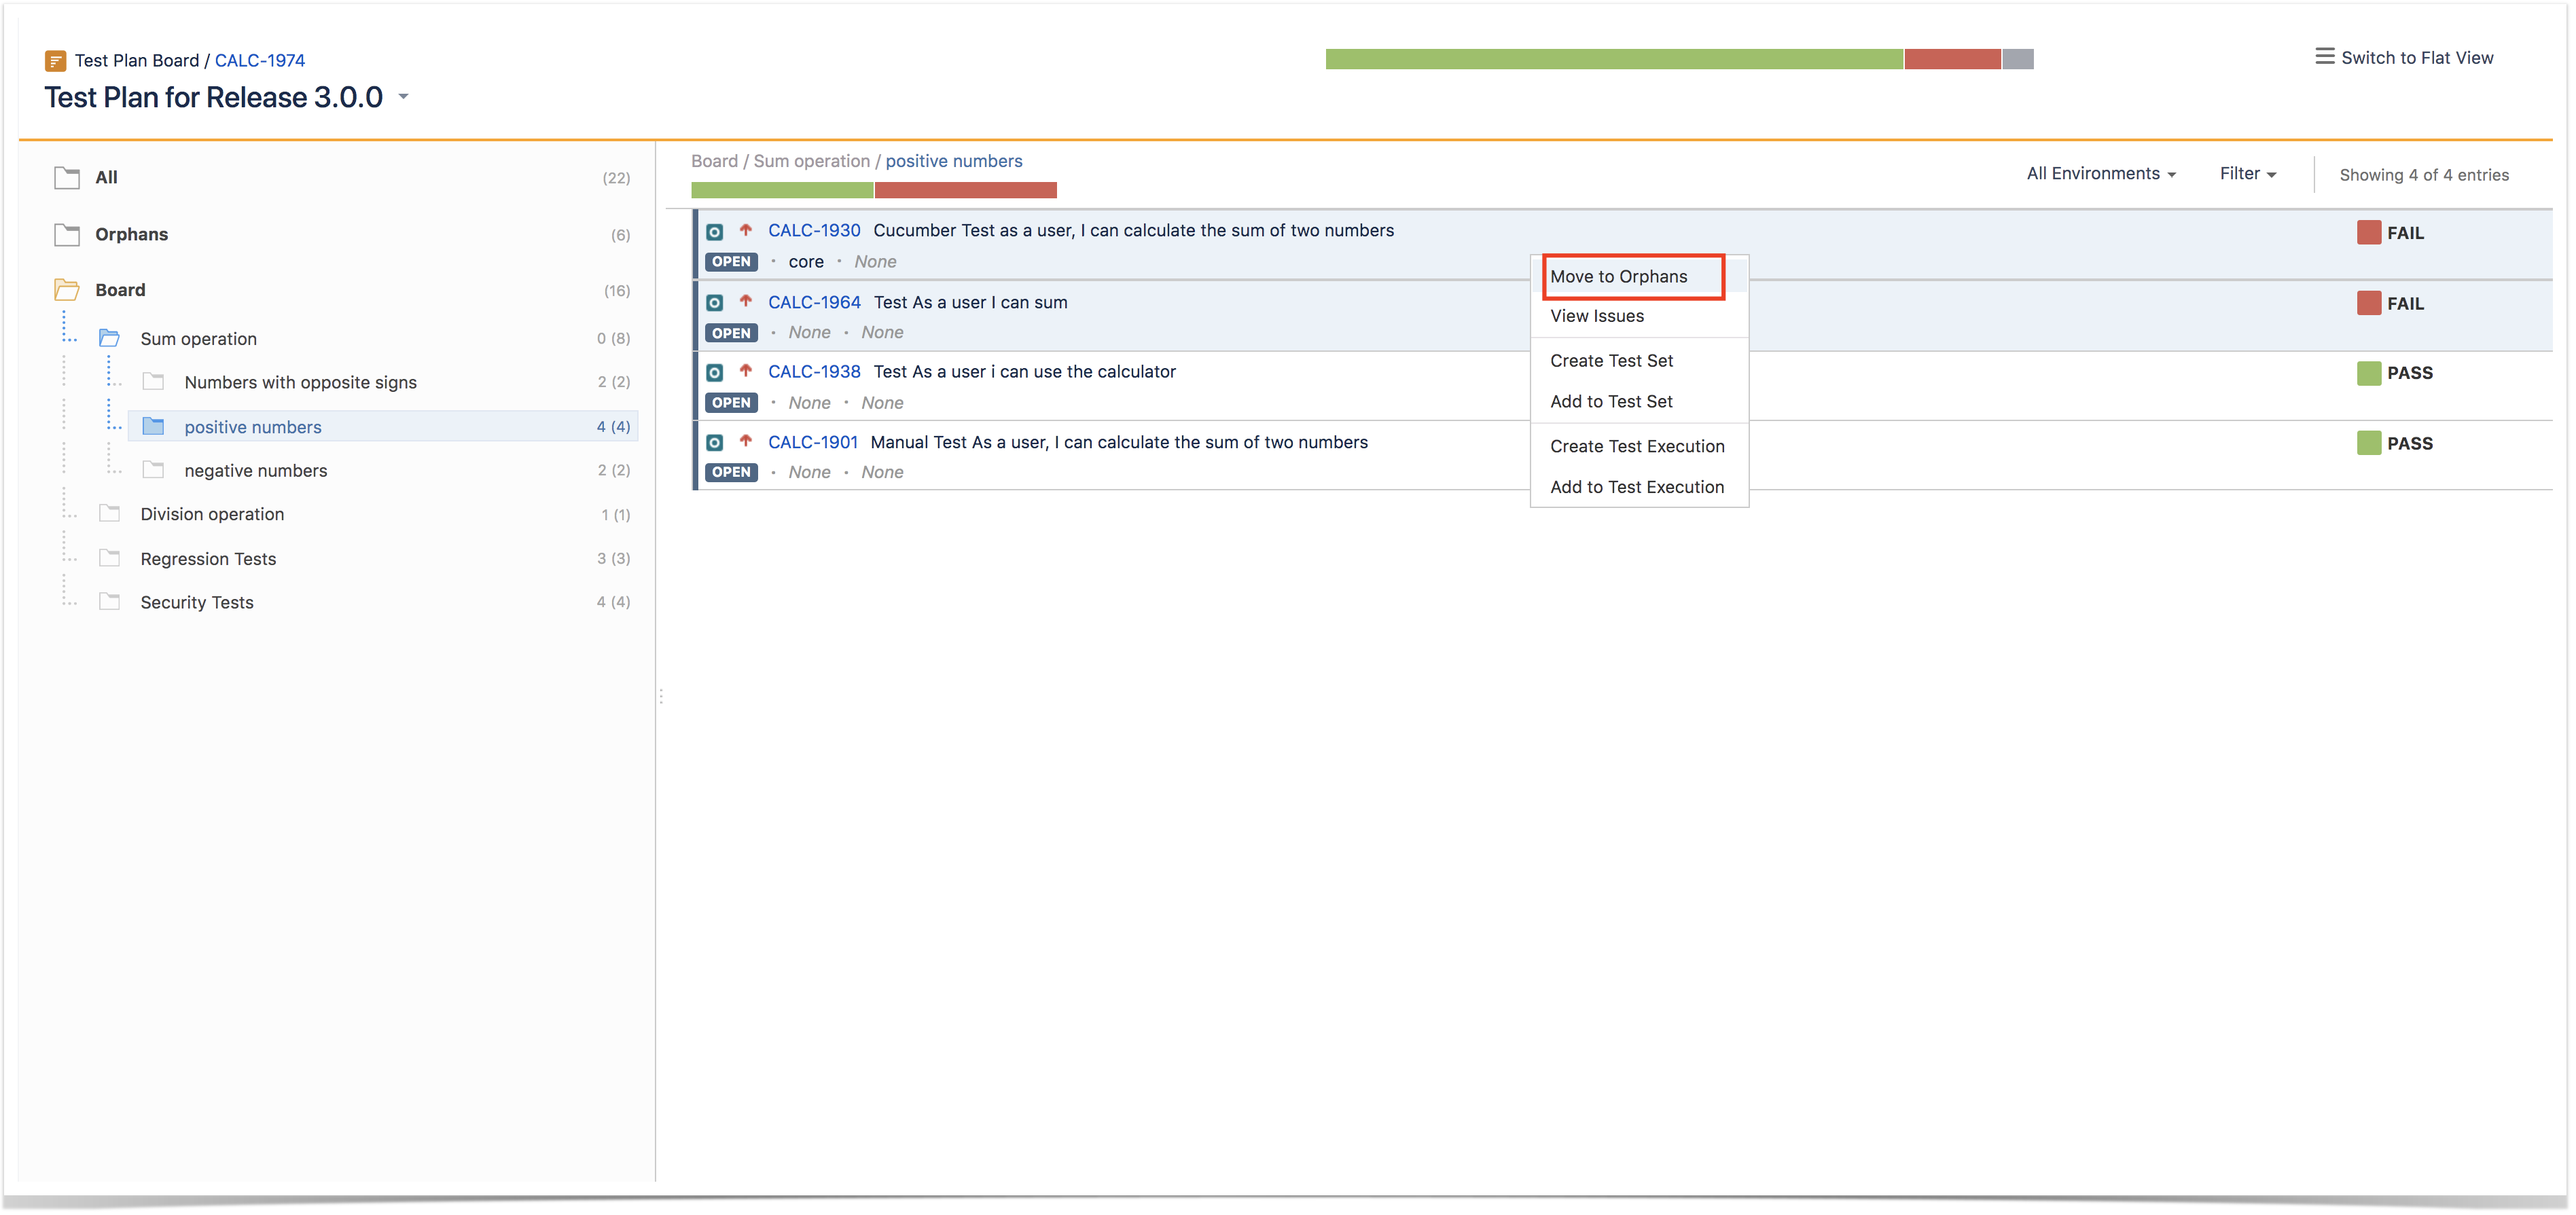
Step 3: Confirm by clicking on Move to Orphans.

View Issues
You can use the context action View Issues to view the selected Tests in the search issues page.
...
Step 2: Use the context action View Issues.


How ranking works when creating, or adding Tests to, Test Sets, Test Executions or Test Plans
...