Page History
...
| Manual Tests | Cucumber Tests | Generic Tests | |
|---|---|---|---|
| Test |
|
|
|
| linked Precondition(s) |
|
|
|
...
Step 1: Open the Test you want to run.
Step 2: Click Test Runs tab.
Step 3: Click Run (1, 2) to open the Execution page.
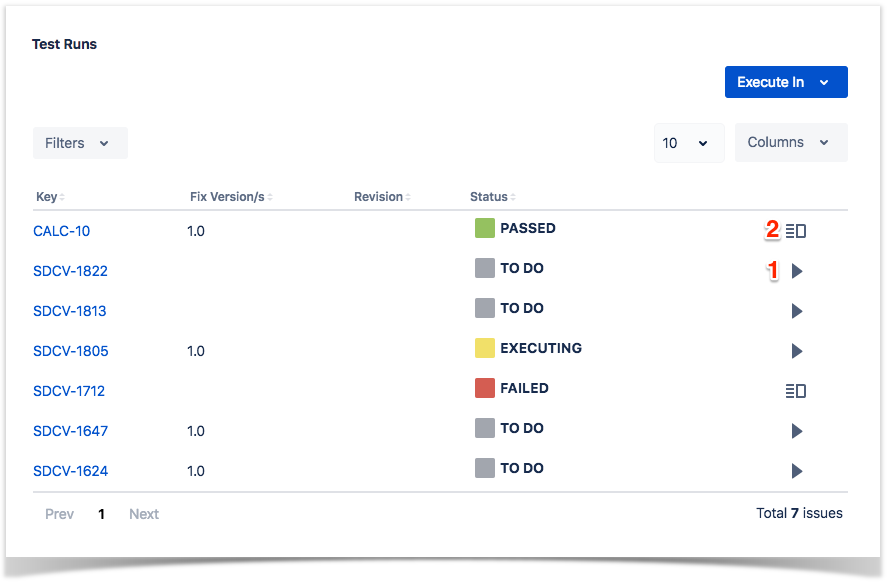
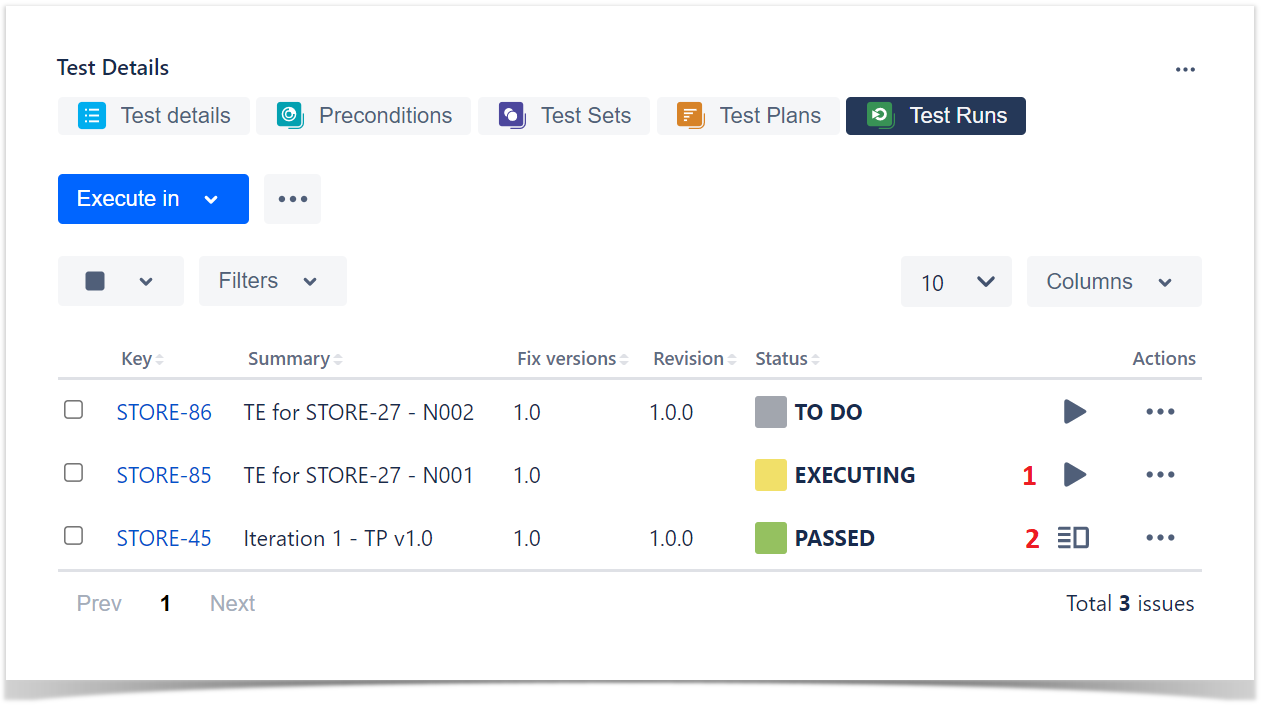
The icon in 2 is only displayed when the test run is in a final status.
Execute Test Inline
To execute Test Runs Inline from the Test issue screen, this option must be enabled in the Xray administration page. The option for setting the Test Run status manually, without having to execute all Test Steps (or Examples in the case of Cucumber Tests), must also be enabled in the Miscellaneous Settings either from the Project Settings or Global Settings.
...
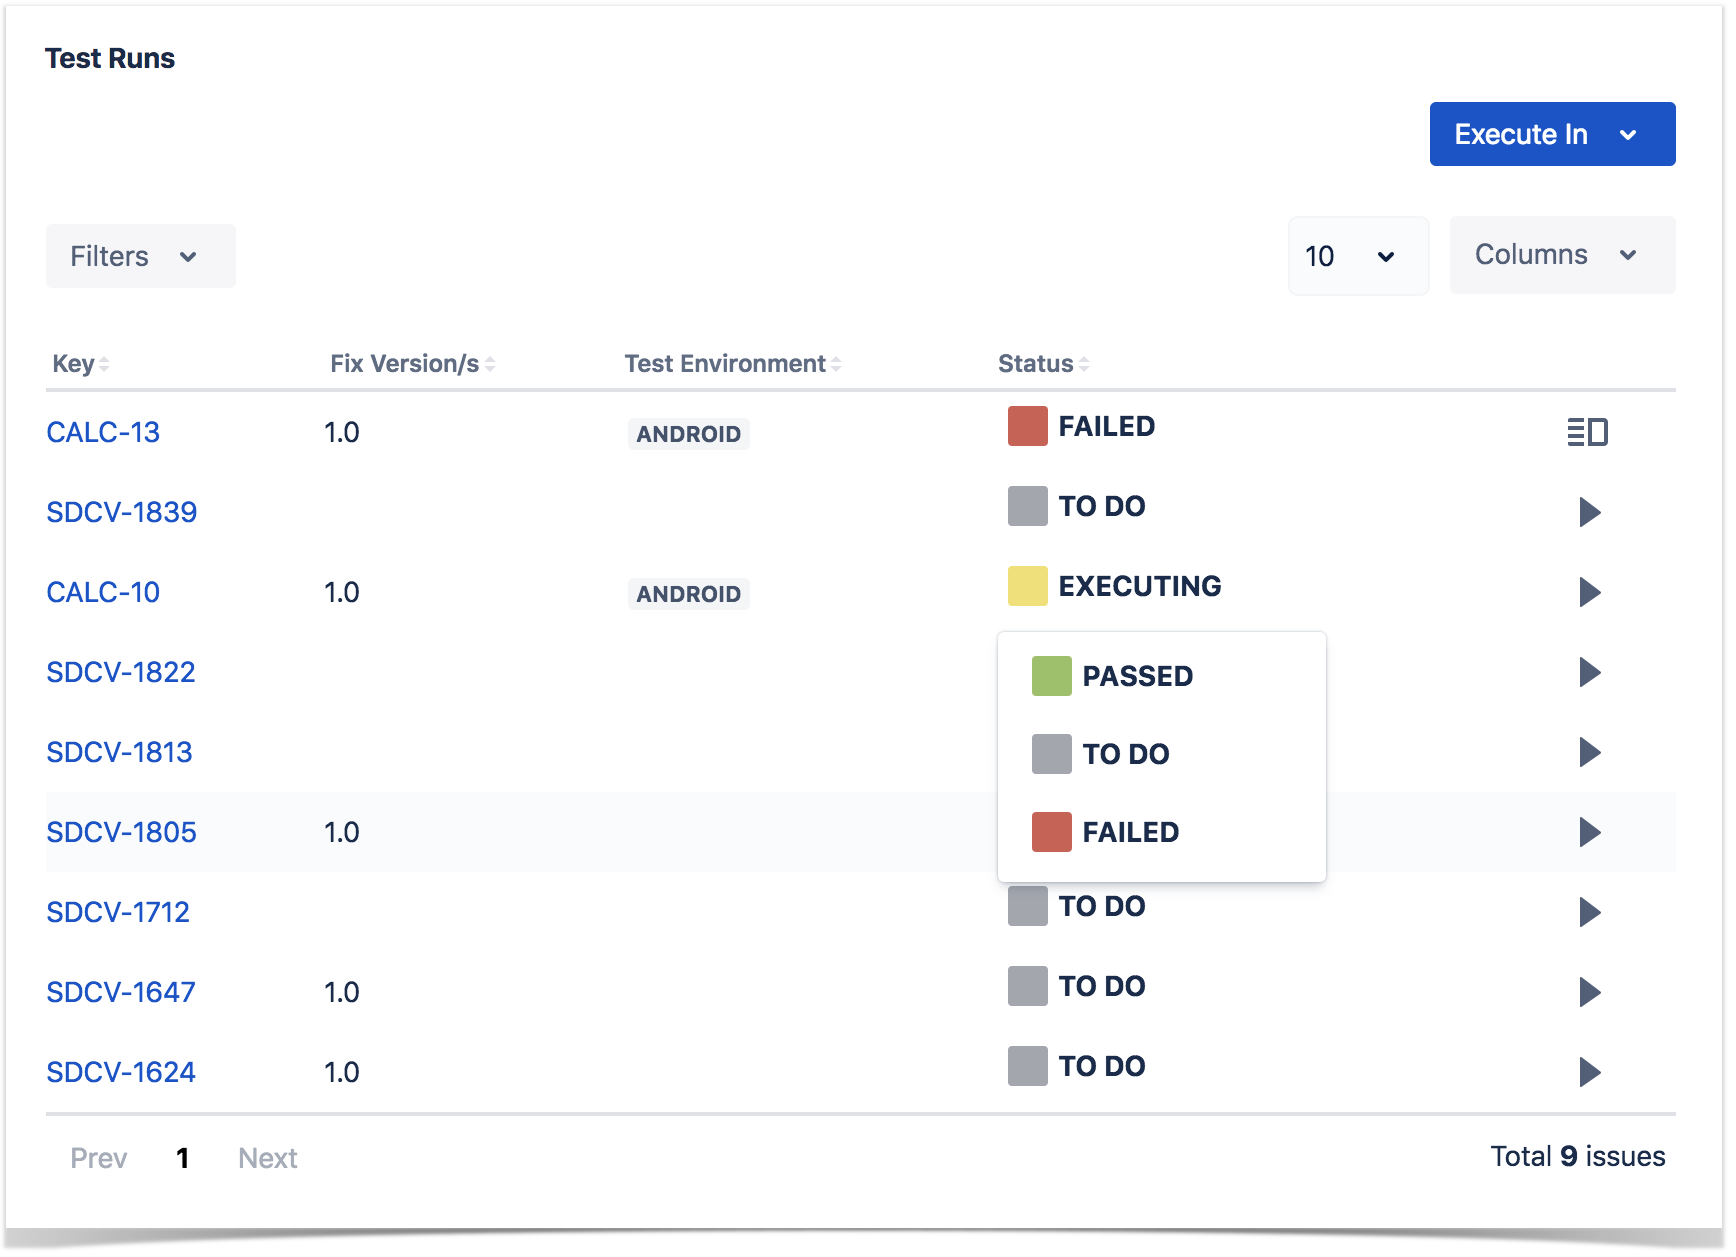
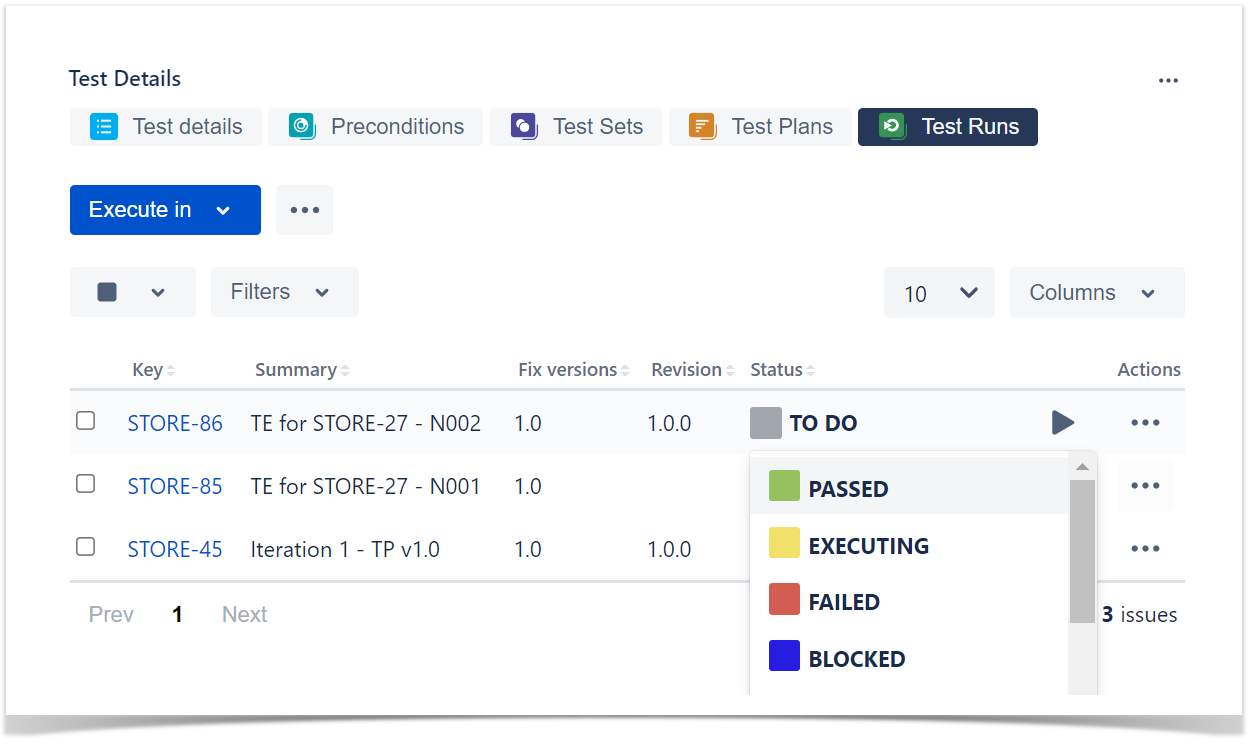
To execute a Test Run inline:
Step 1: Open the Test issue you want to run.
Step 2: Click Test Runs tab.
Step 3: Click on the Status located in the status column of the Test Runs table and select one of the available statuses.
View Test Execution Details
...
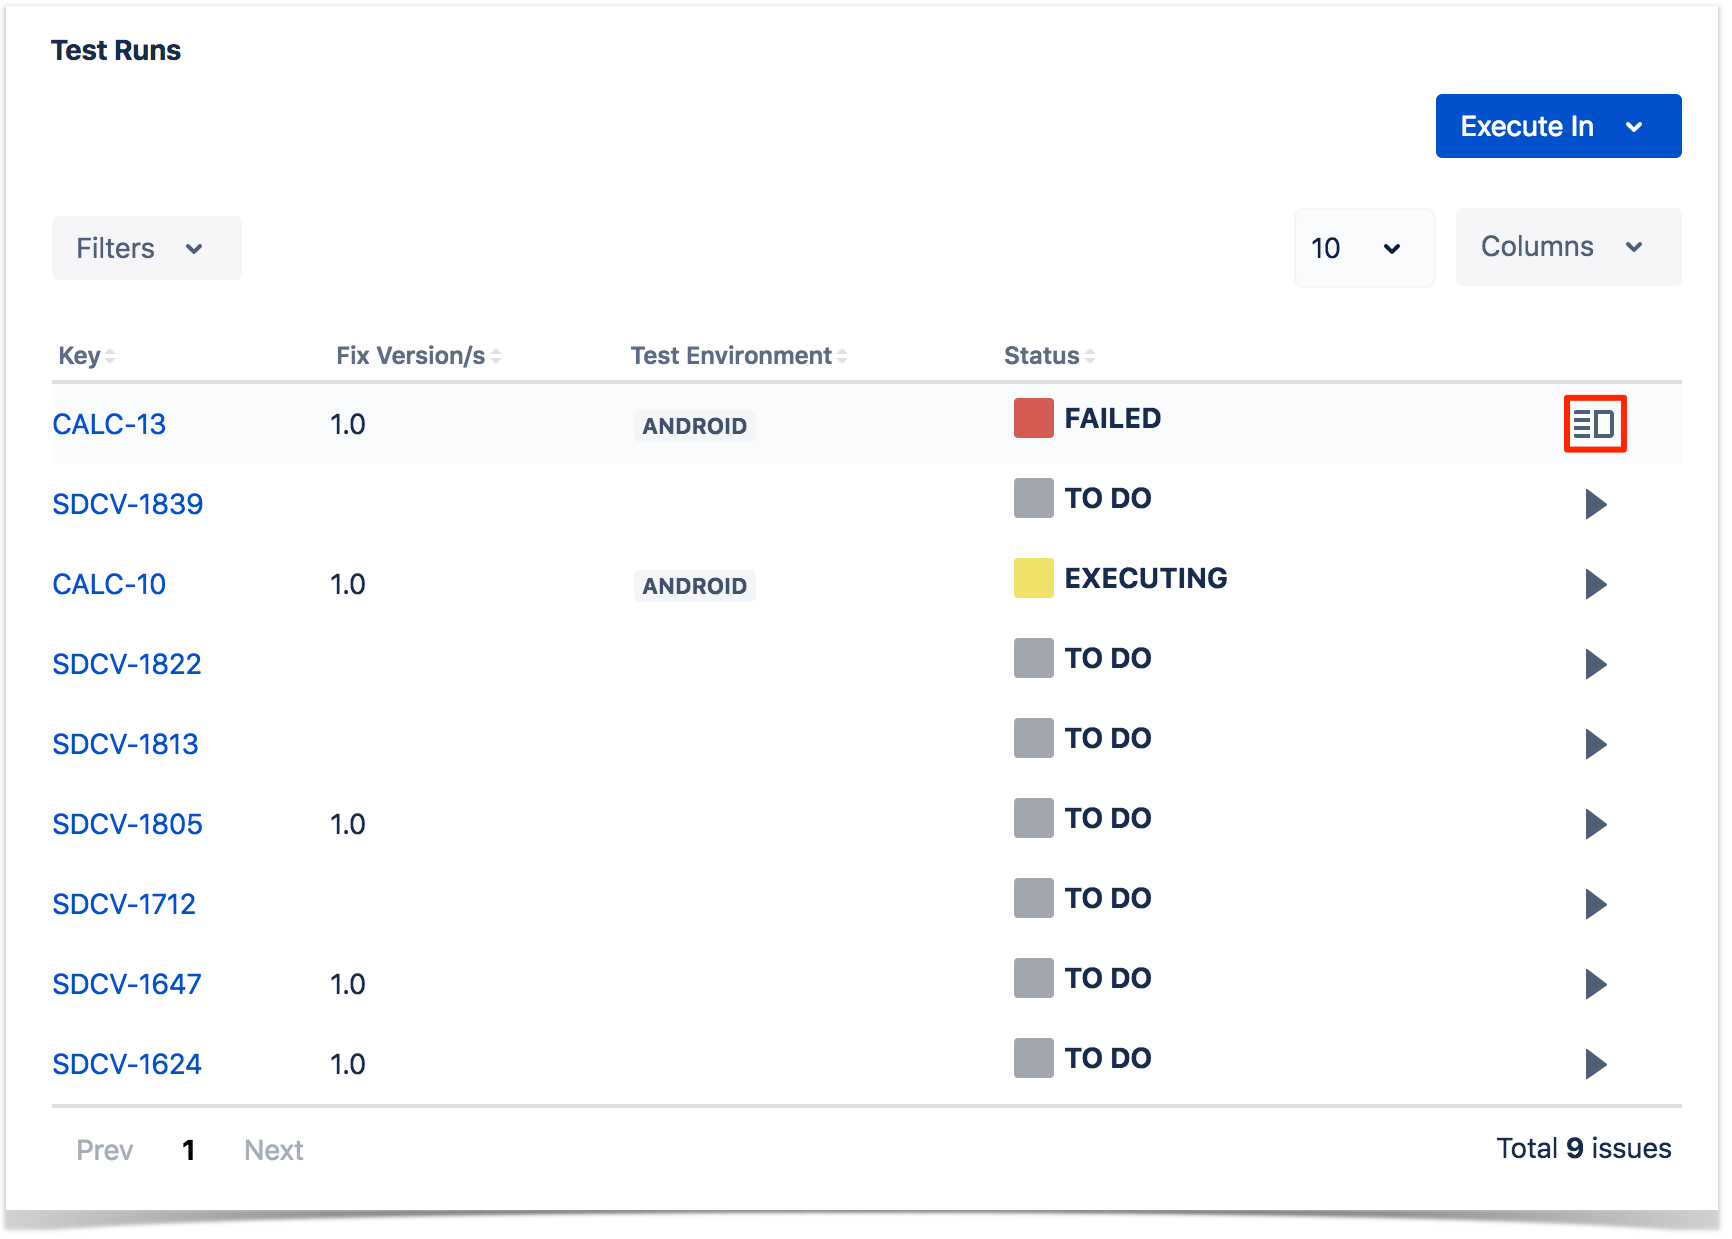
Step 1: Open the Test issue you want to view the test execution details.
Step 2: Click Test Runs tab.
Step 3: Click the Execute button, which appears in the last column of the desired Test Run that is in a final state, to open the Execution page and view the details.

Ad hoc Test Execution
...
Step 1: Open the Test issue you want to execute.
Step 2: Click Test Runs tab.
Step 3: Click the Execute In button in Test Runs section and select New Test Execution....

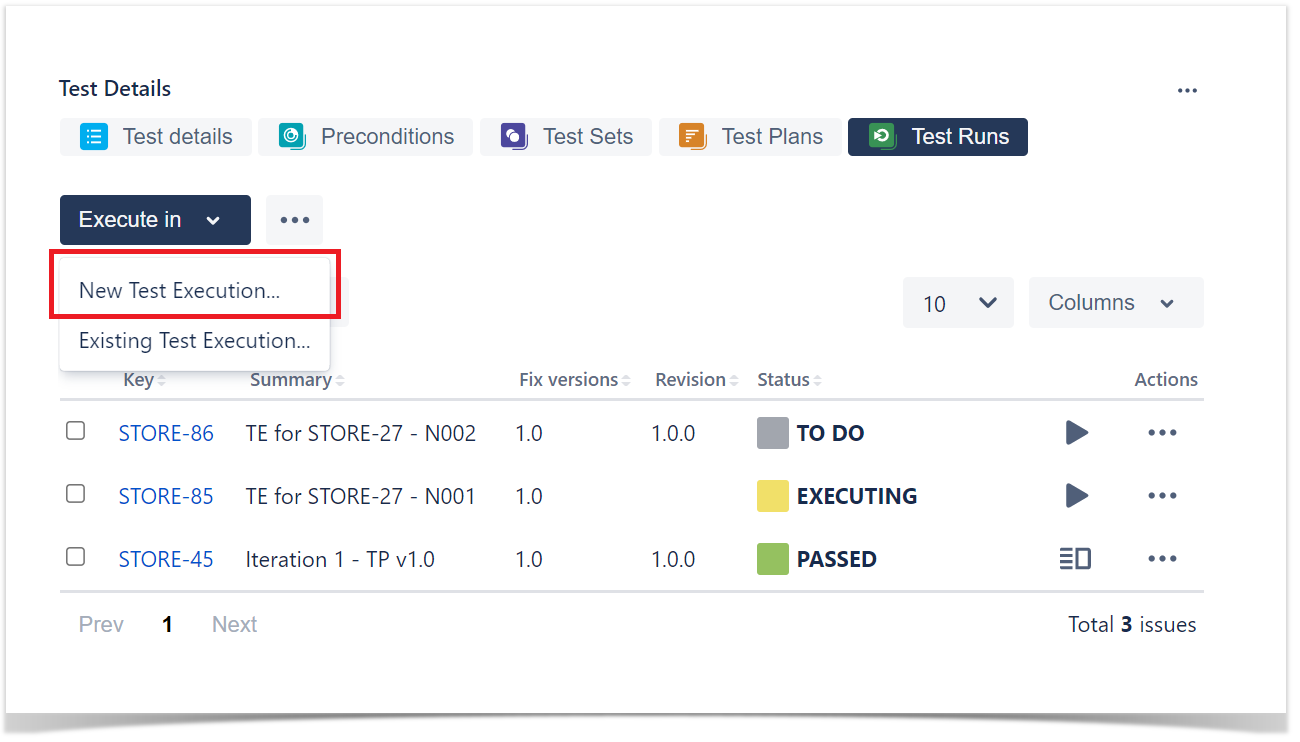
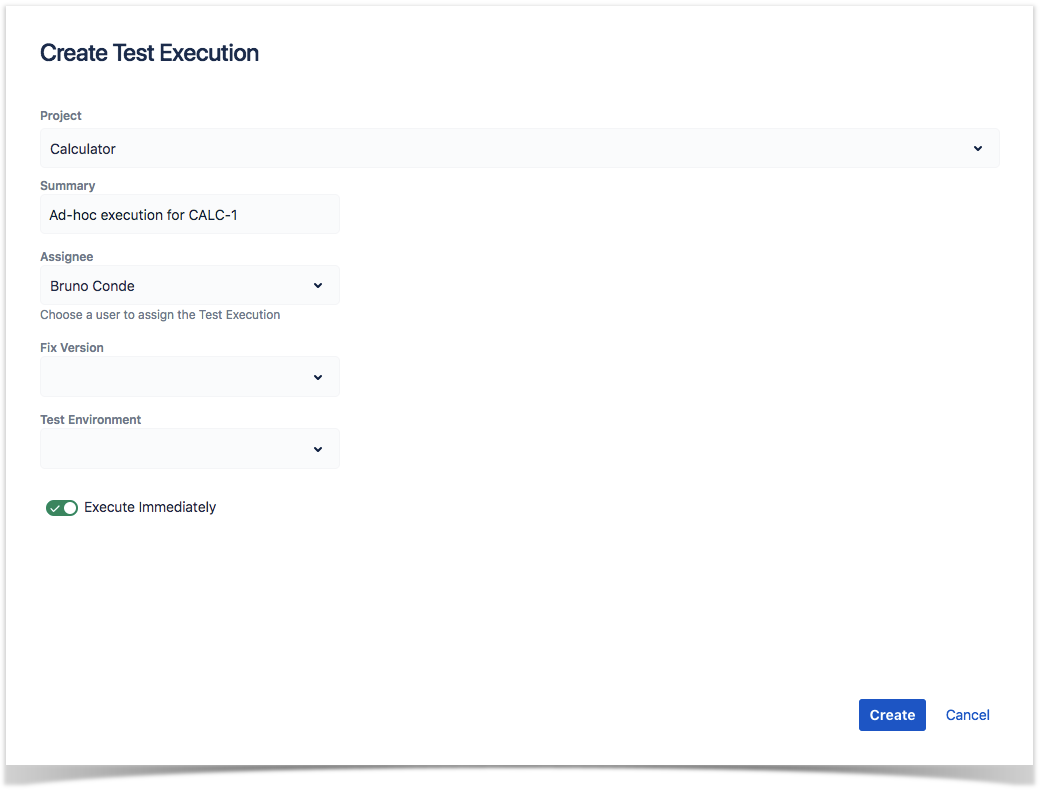
Step 34: The dialog comes with pre-populated fields so if you don't want to change anything, just click Create.
Note: If there are custom required fields, an error message will be displayed asking you to open the normal create issue screen with the pre-populated fields. If the revision field is not configured in the create issue screen of the Test Execution for the selected Project, the field will not appear in the dialog.
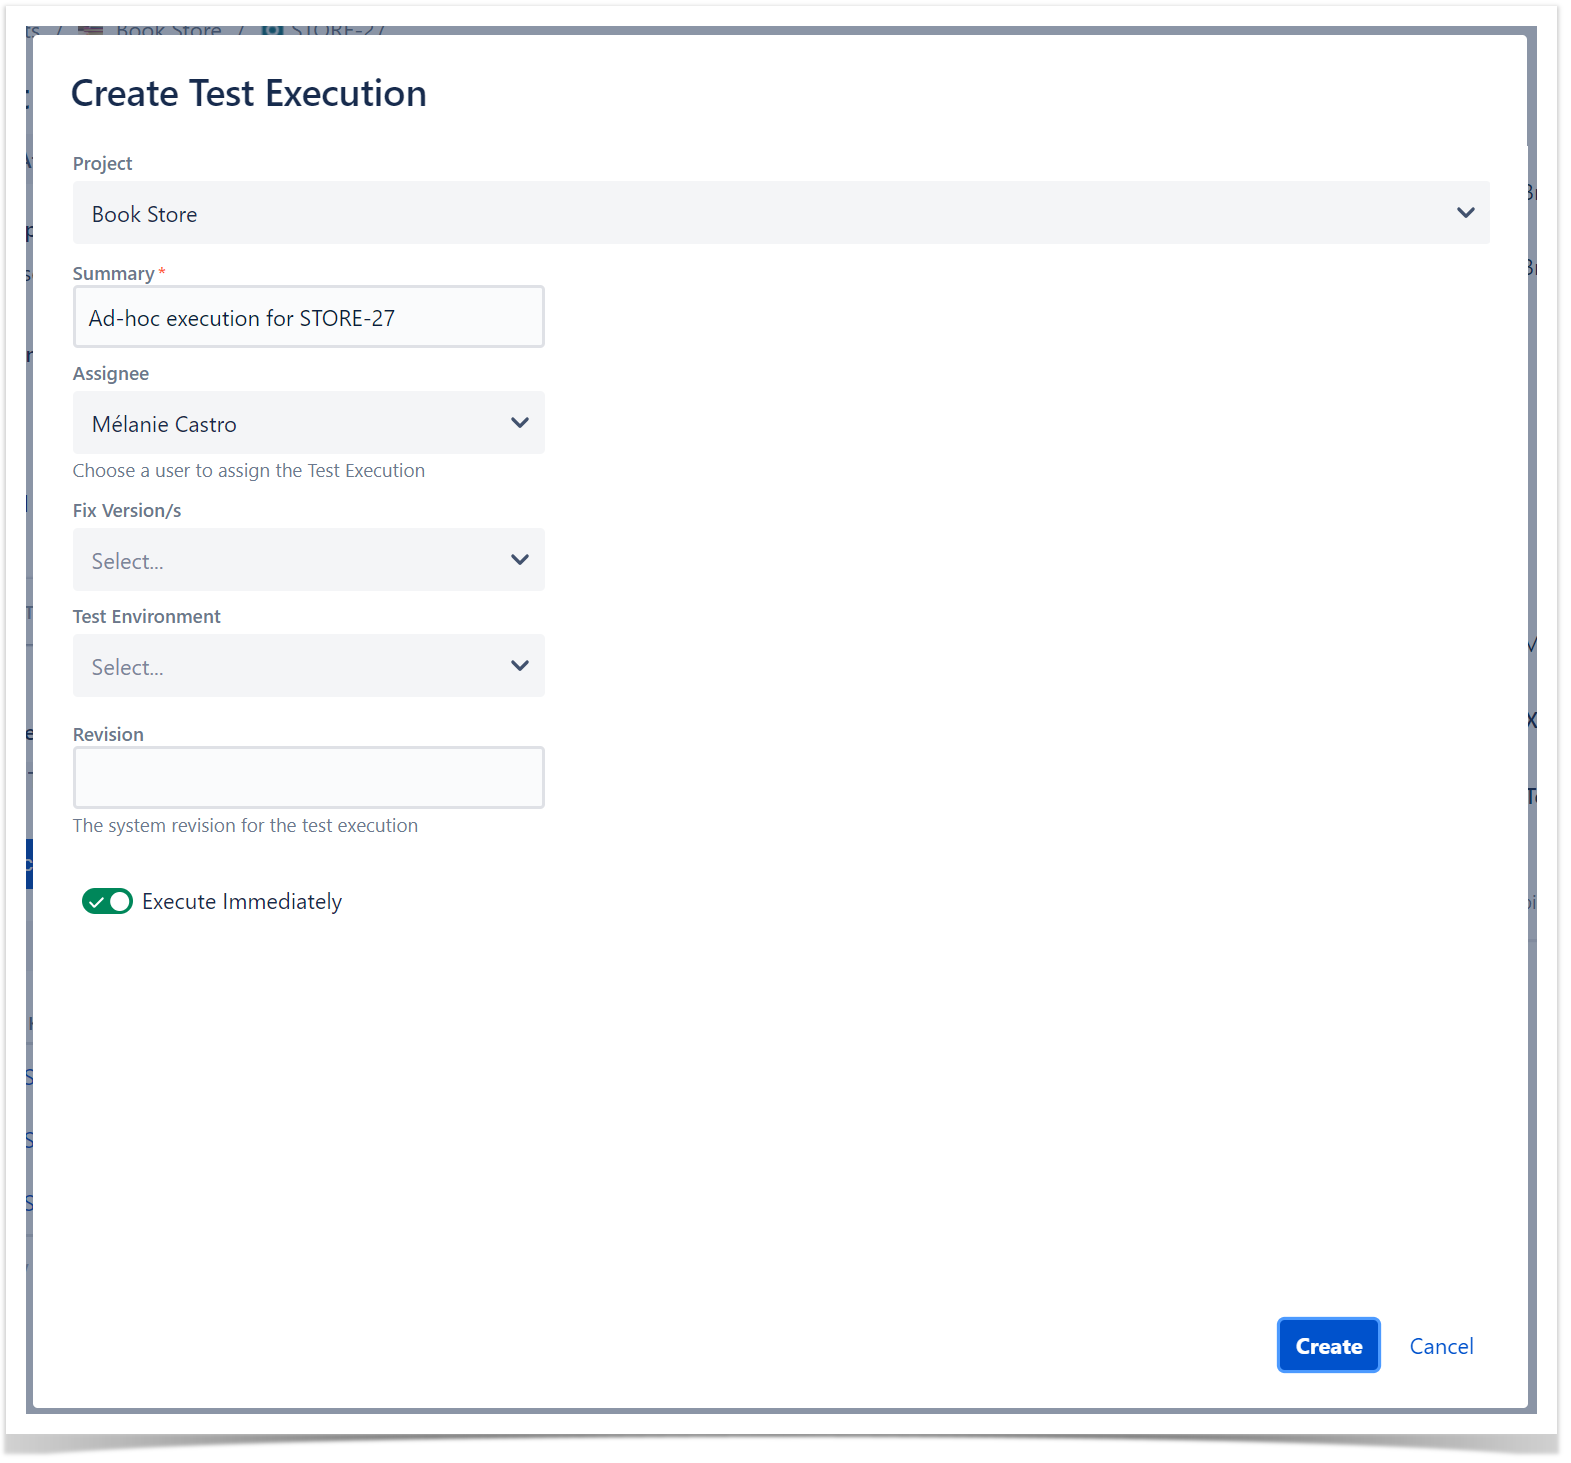
If the Redirect To Execute Test Page option the Execute Immediately option is selected, you will be redirected to the Execute Test page after the test execution is created.
...
Xray provides you to configure columns for the Test Runs table. This configuration is specific to each user and can be restored to the default configuration defined in the Default Column Layouts page in Xray's Project Settings.
...
Restoring Columns to Default Configuration
...
Step 3: Click the Restore ColumnsDefaults link above the columns list. The table refreshes with the default configured columns.
...
Step 3: Click on the column header and drag it to the desired position.
Archive Test Runs
Xray provides you with a way to explicitly archive test runs one at a time or in bulk as well as way to check all the archived test runs for a specific test. For more information about Test Run Archive check here.
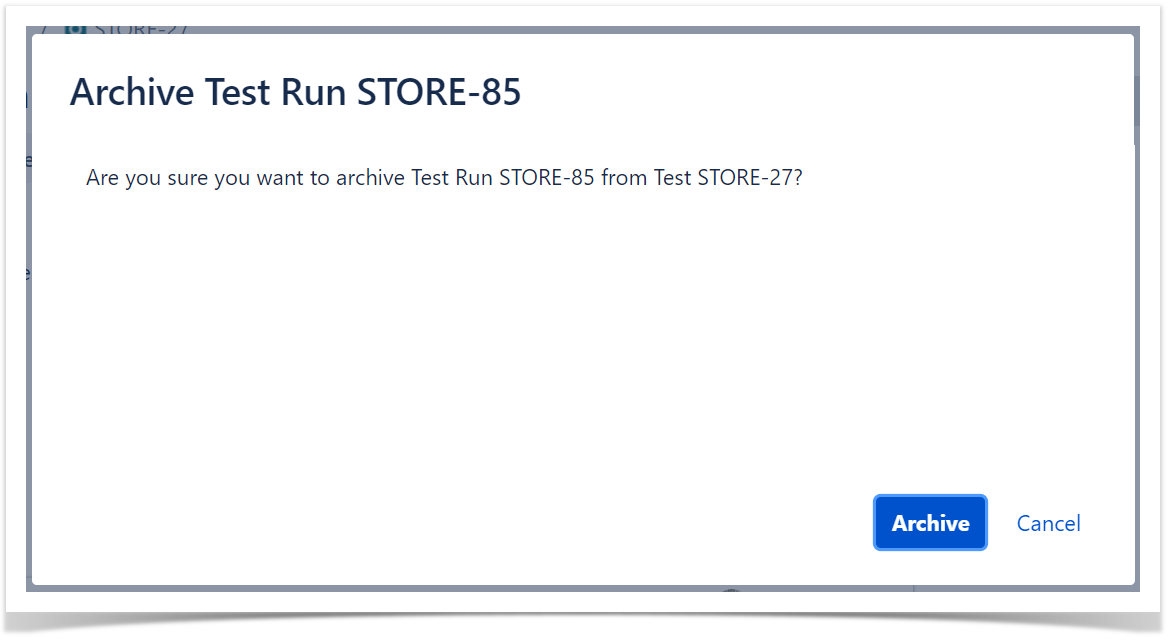
Archive a Single Test Run
To archive a single Test Run,
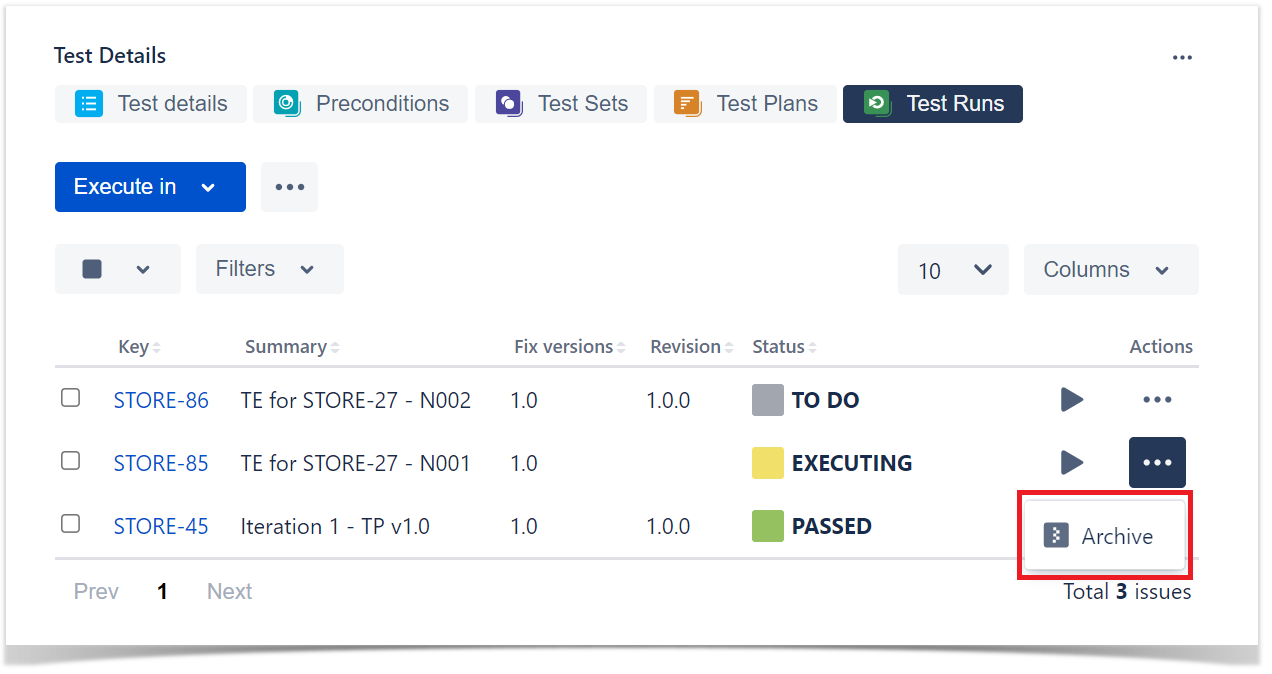
Step 1: Click on the ... at the end of the row that contains the test run you wish to archive.
Step 2: Click on the Archive option that appears.
Step 3: Click the Archive button on the confirmation dialog.
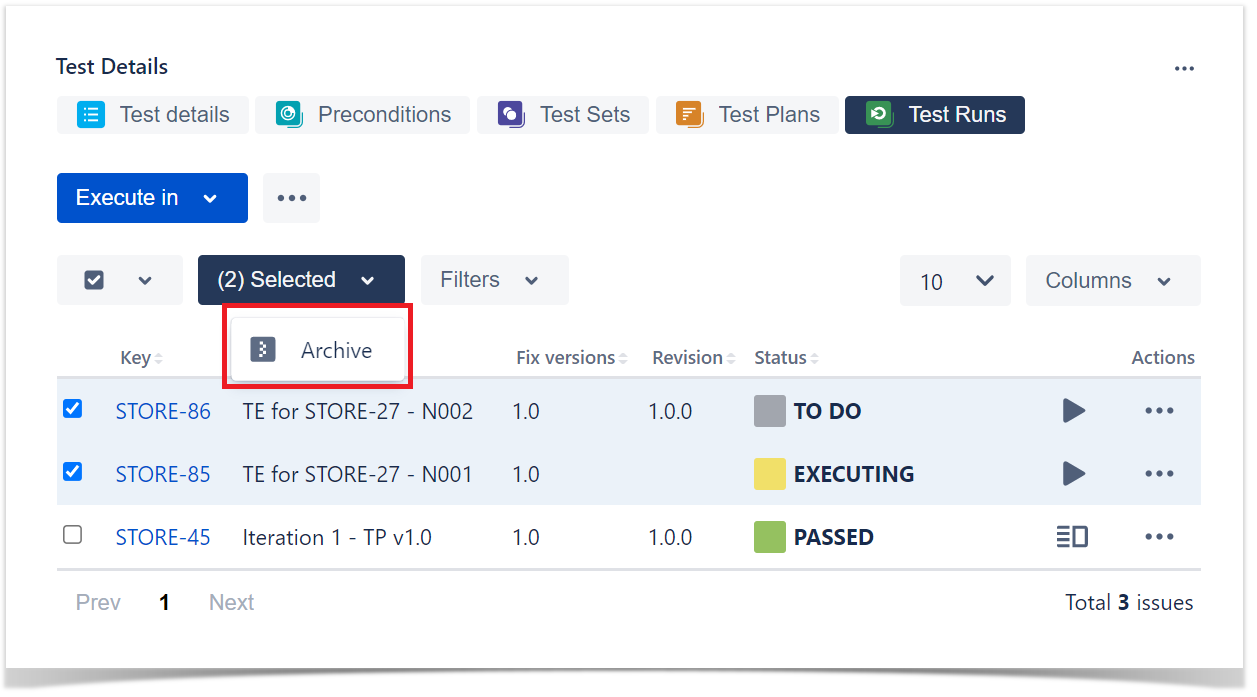
Bulk archive Test Runs
To archive multiple test runs at the same time,
Step 1: Selected the test runs you wish to archive by clicking on the checkbox at the left of each test run.
Step 2: Click on the bottom that appears at the top of the table and then Archive.
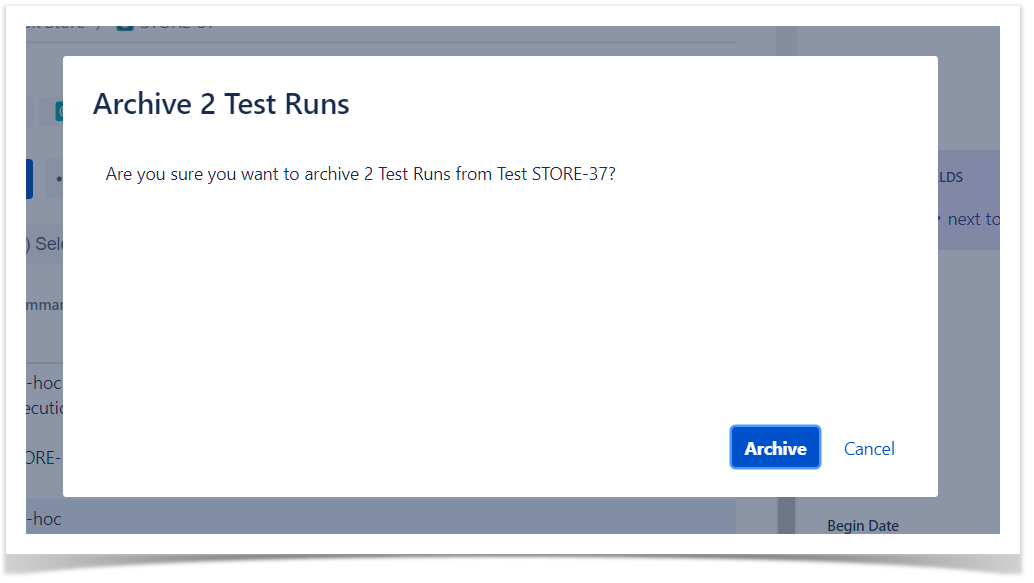
Step 3: Click the Archive button on the confirmation dialog.
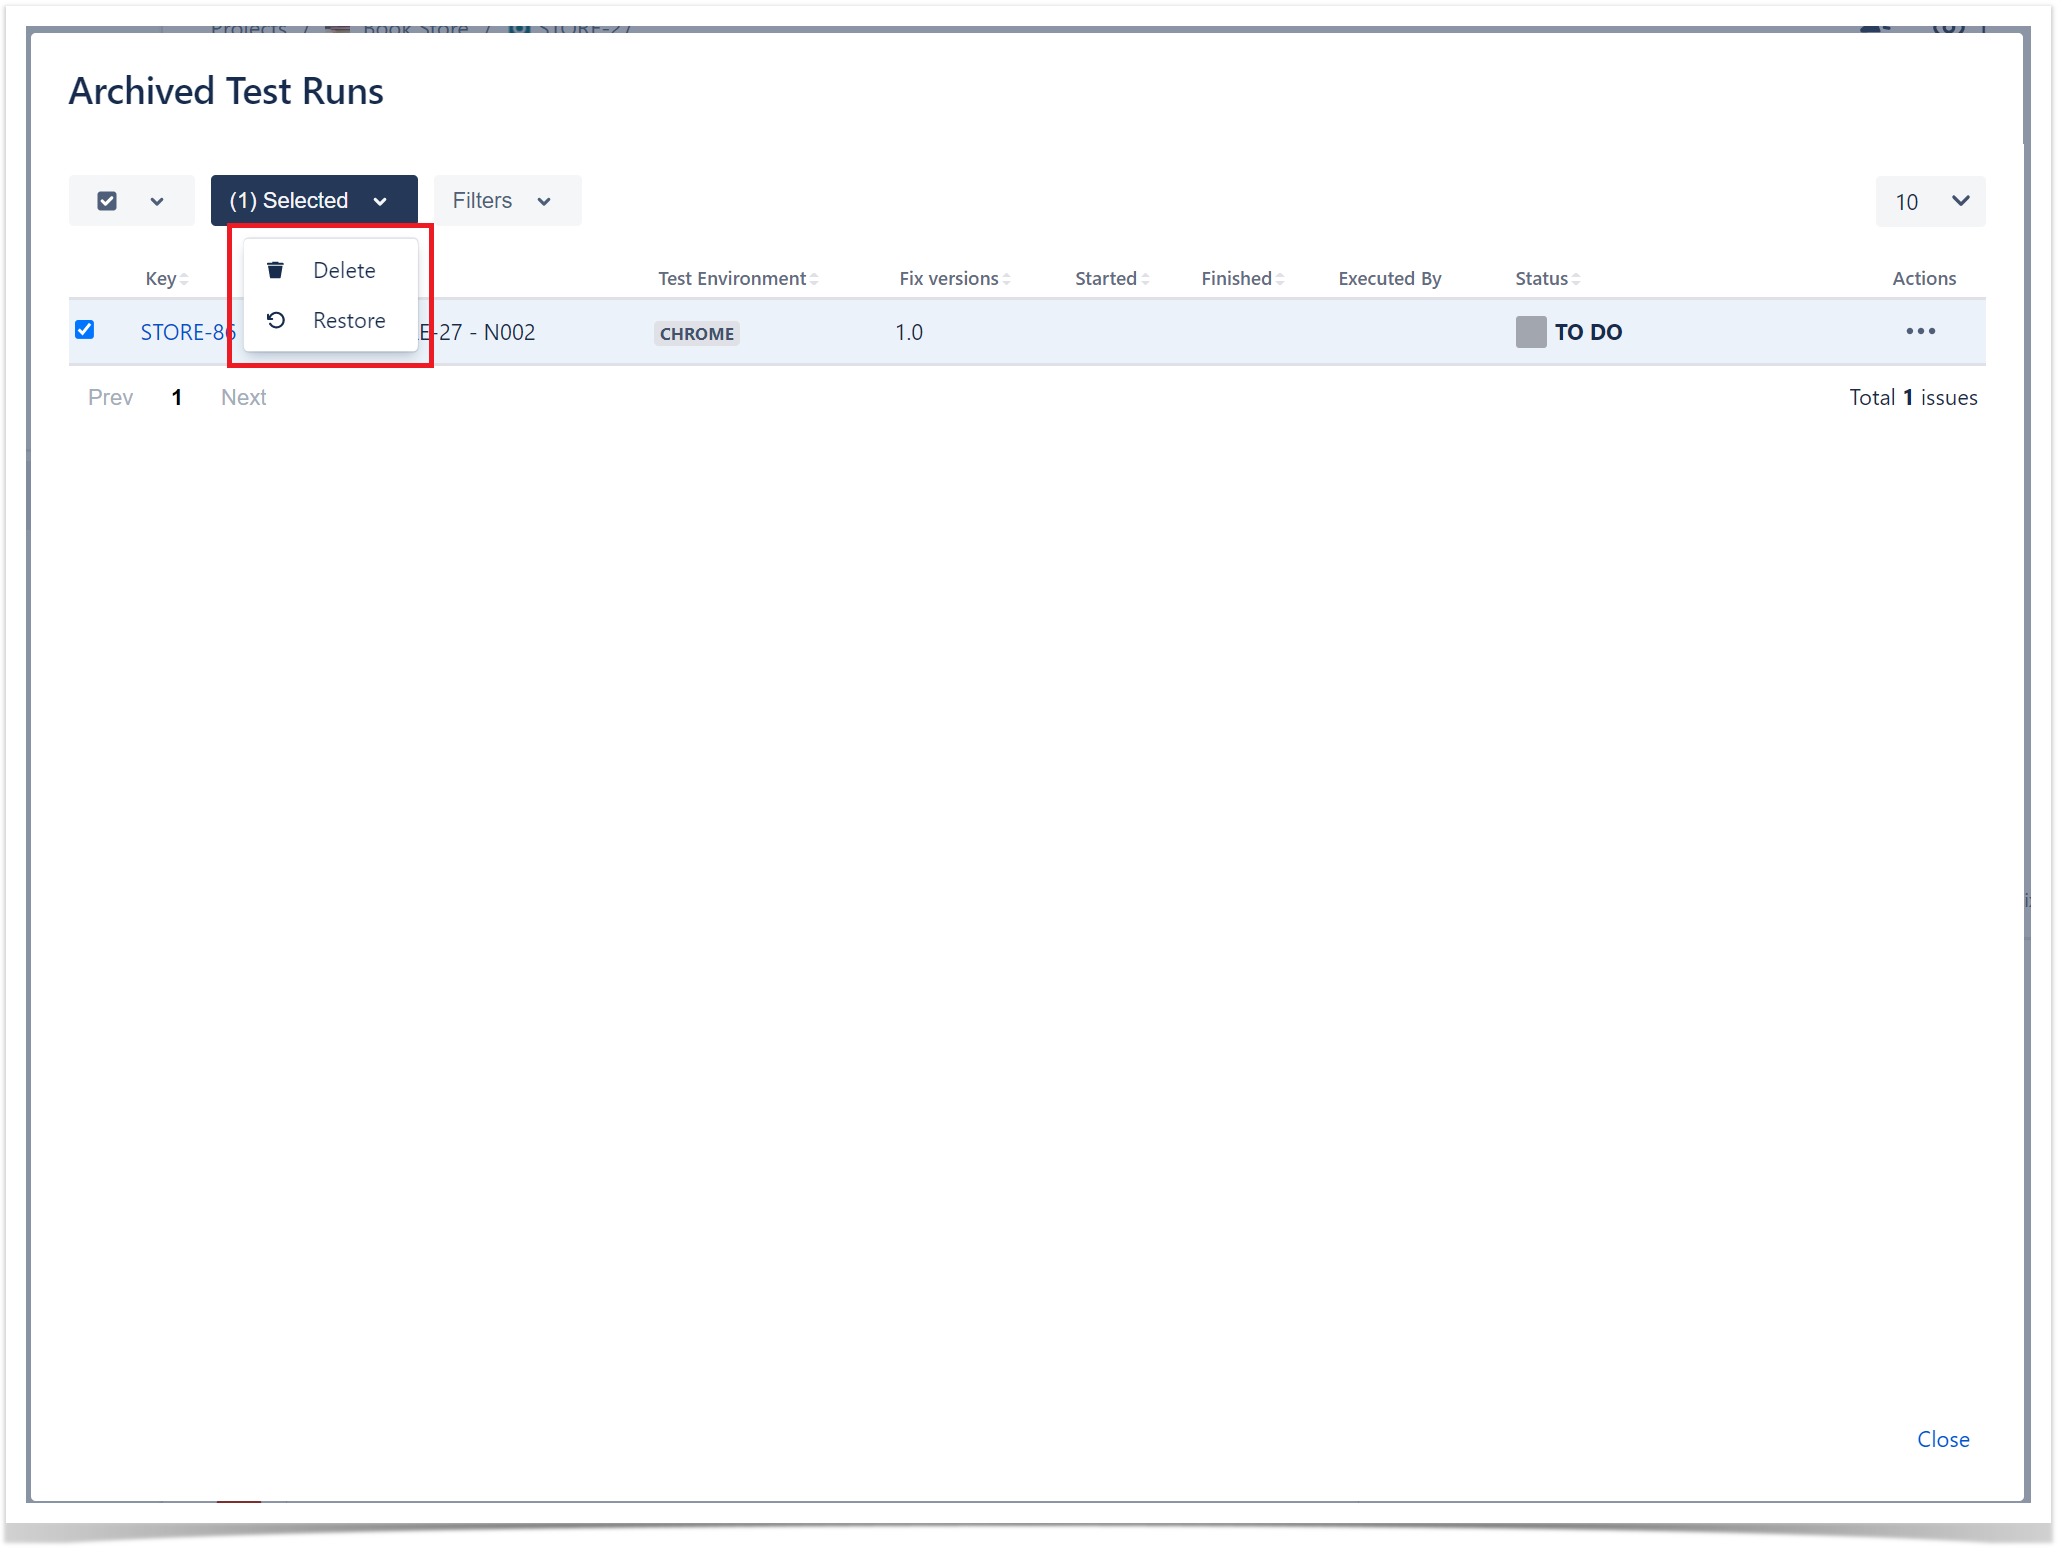
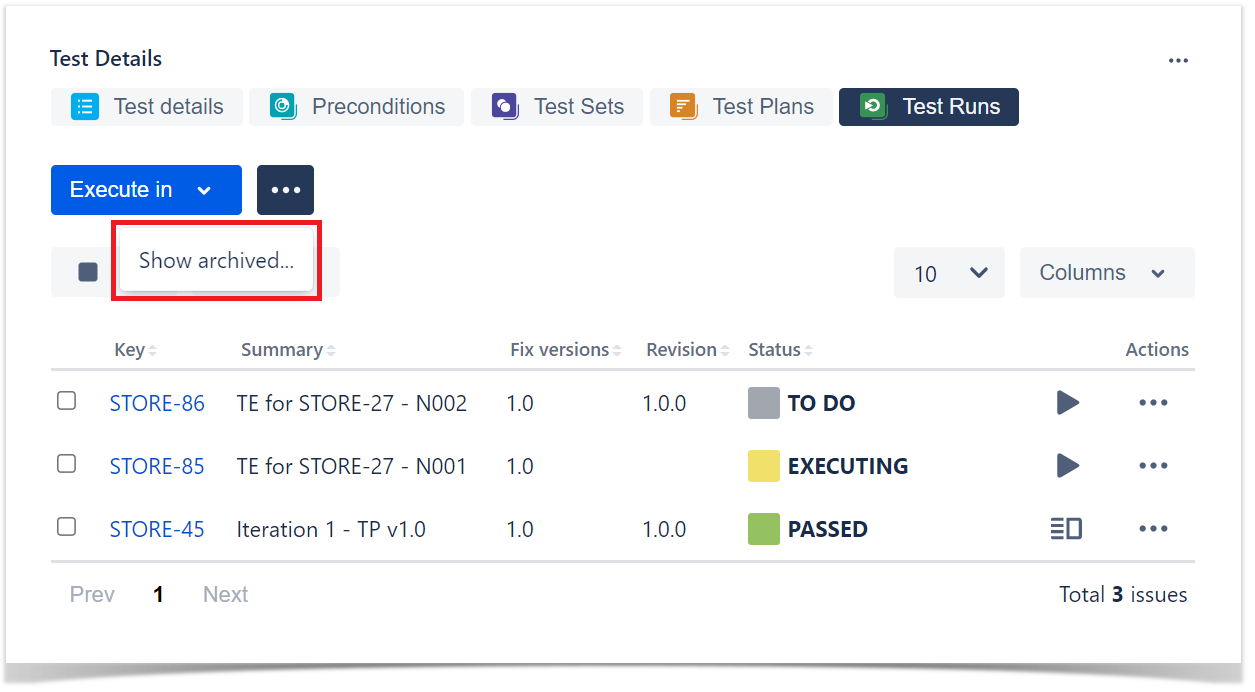
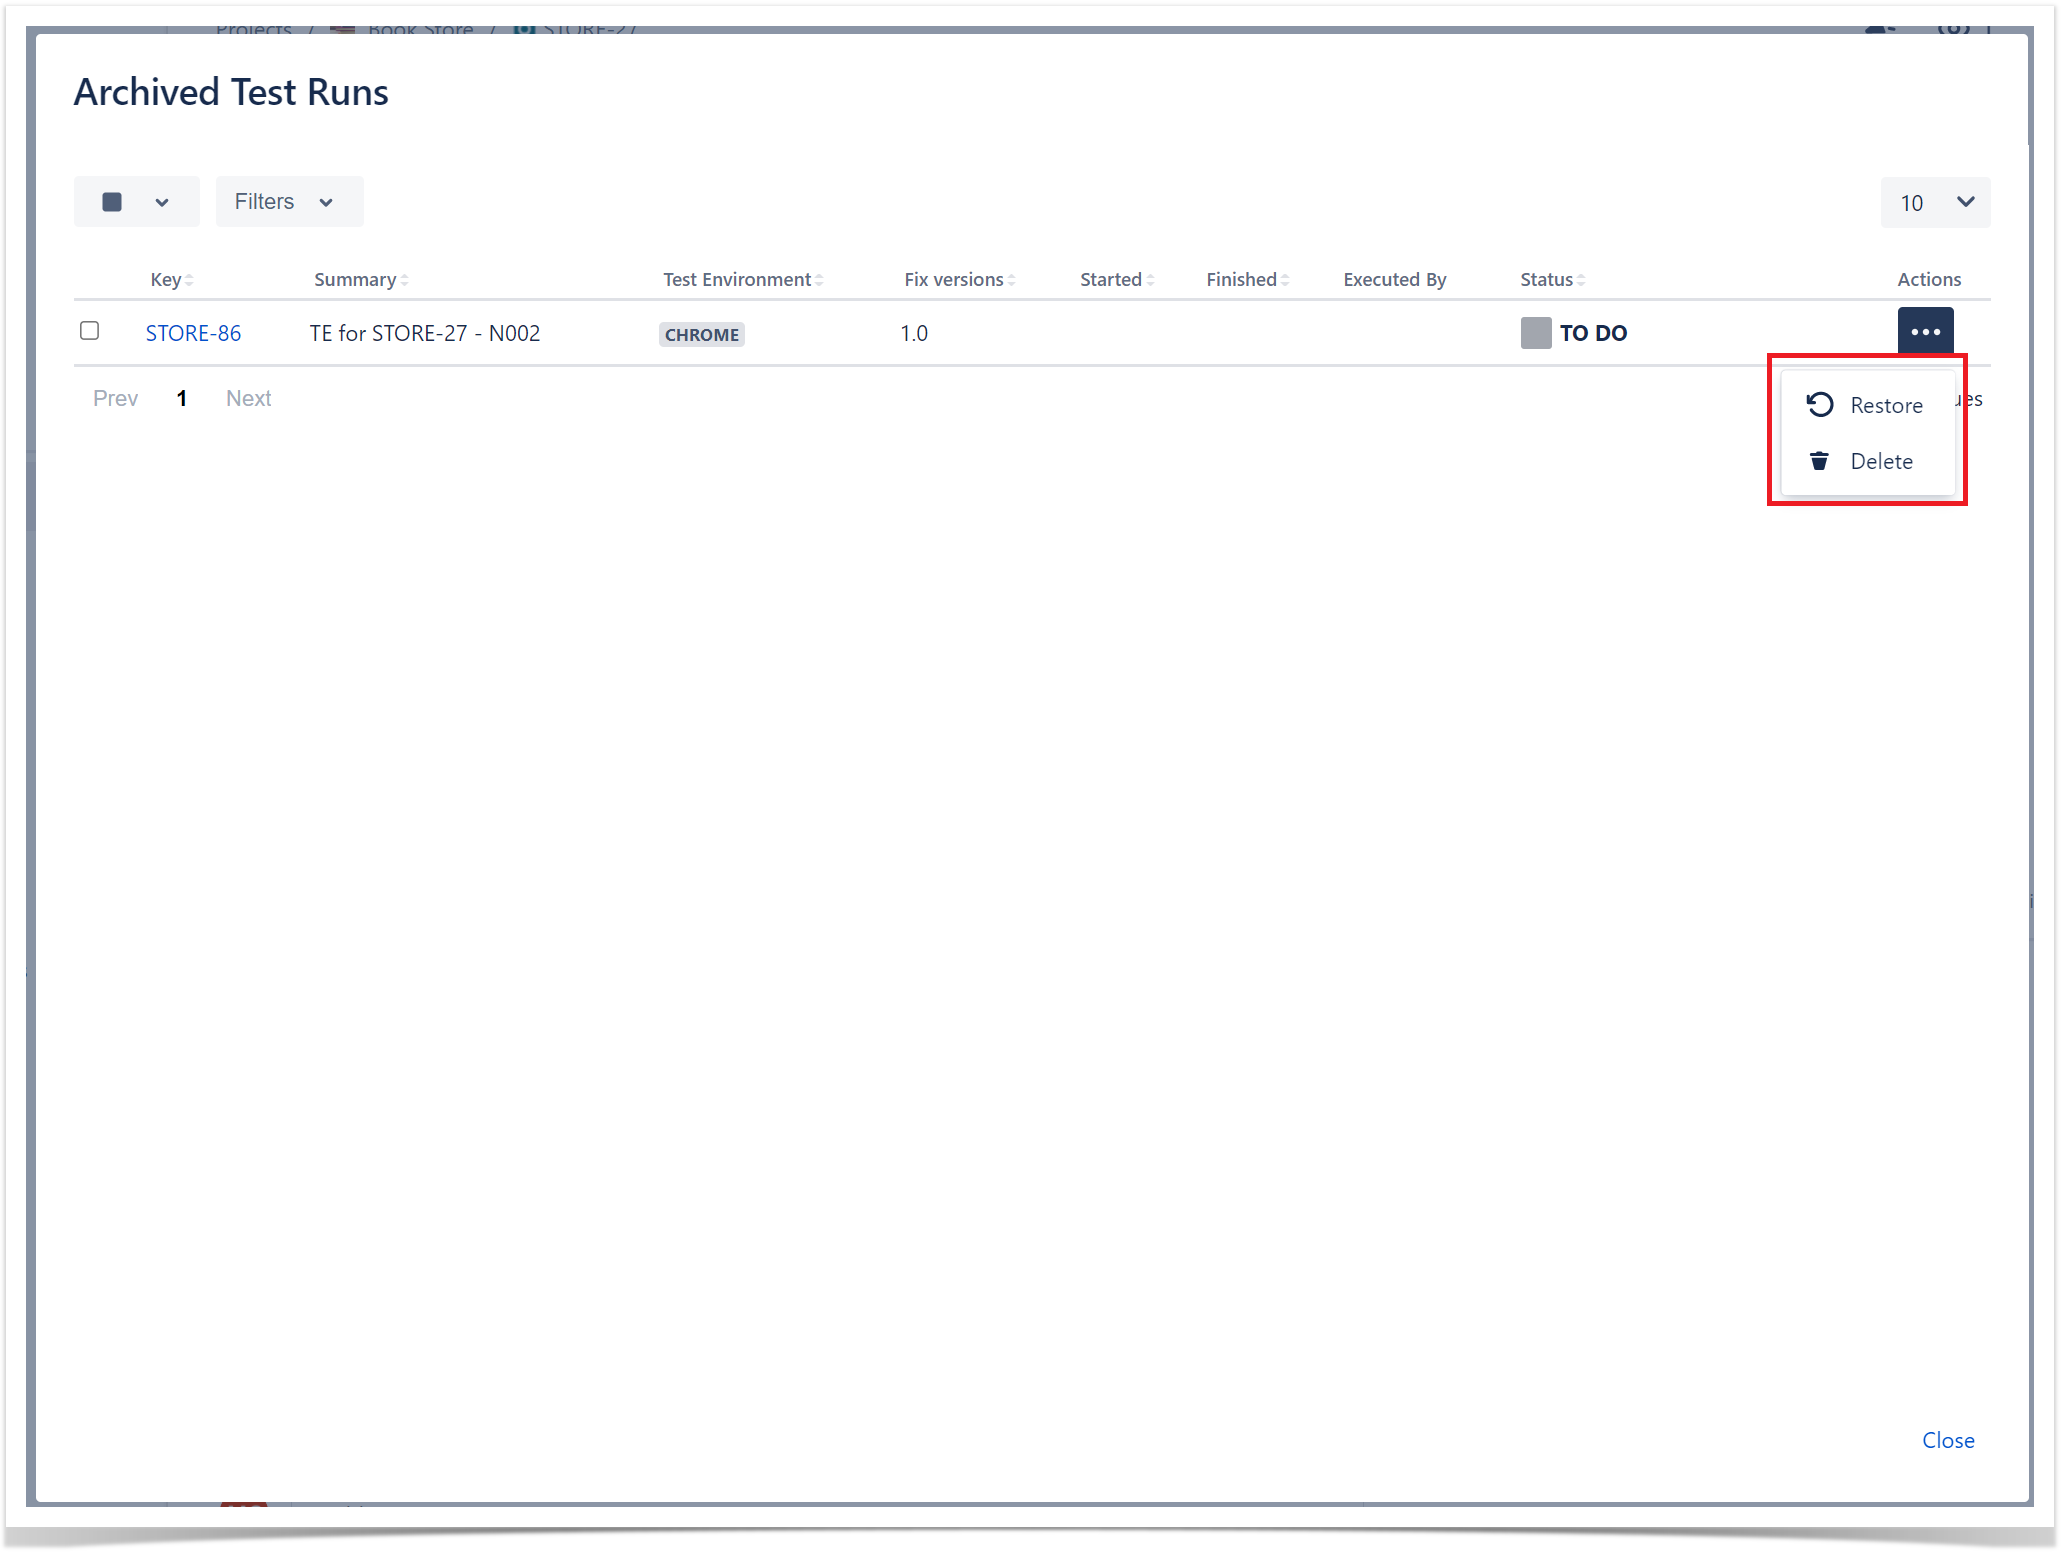
View archived Test Runs
To view the archived test runs of a test,
Step 1: Click on the ... next to the Execute In button.
Step 2: Click on the Show Archived... option that appears. After this a dialog will appear that shows all archived test runs for the test you are on.
There are 2 actions that can be performed on the archived Test Runs:
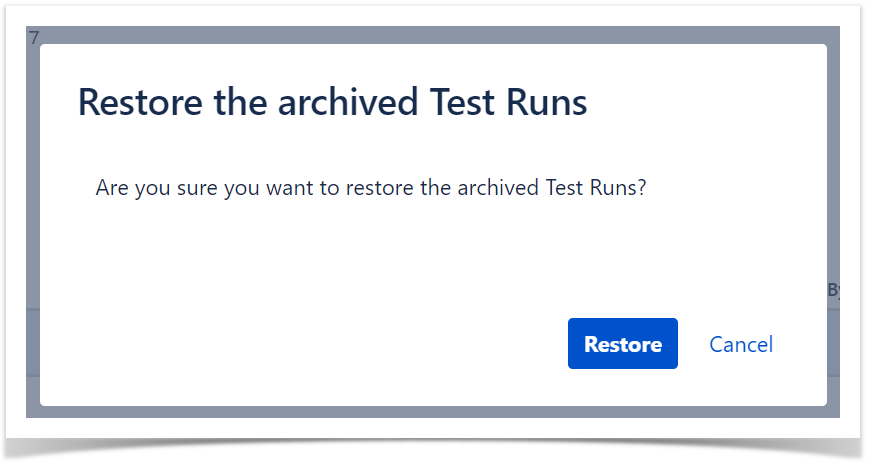
- Restore - By clicking on the ... at the end of the archived test run row and then Restore.
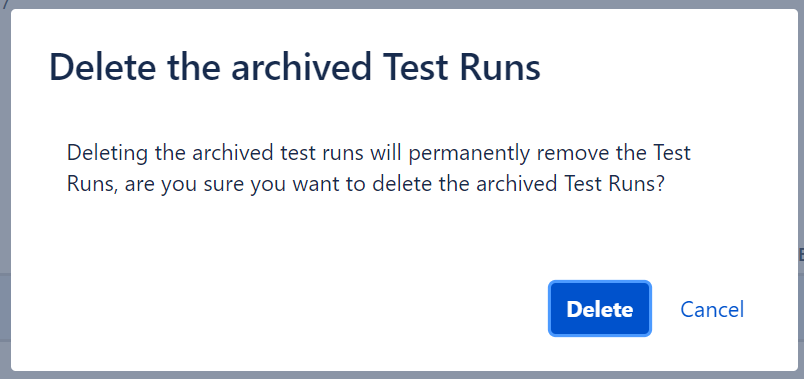
- Delete - By clicking on the ... at the end of the archived test run row and then Delete.
Both of these actions can be performed in bulk by selecting the test runs using the checkbox on the left then
Step 1: Selecting the archived test runs by clicking on the checkbox at the left of each test run.
Step 2: Click on the bottom that appears at the top of the table and then the desired action.
Step 3: Confirm the action.