
Page History
...
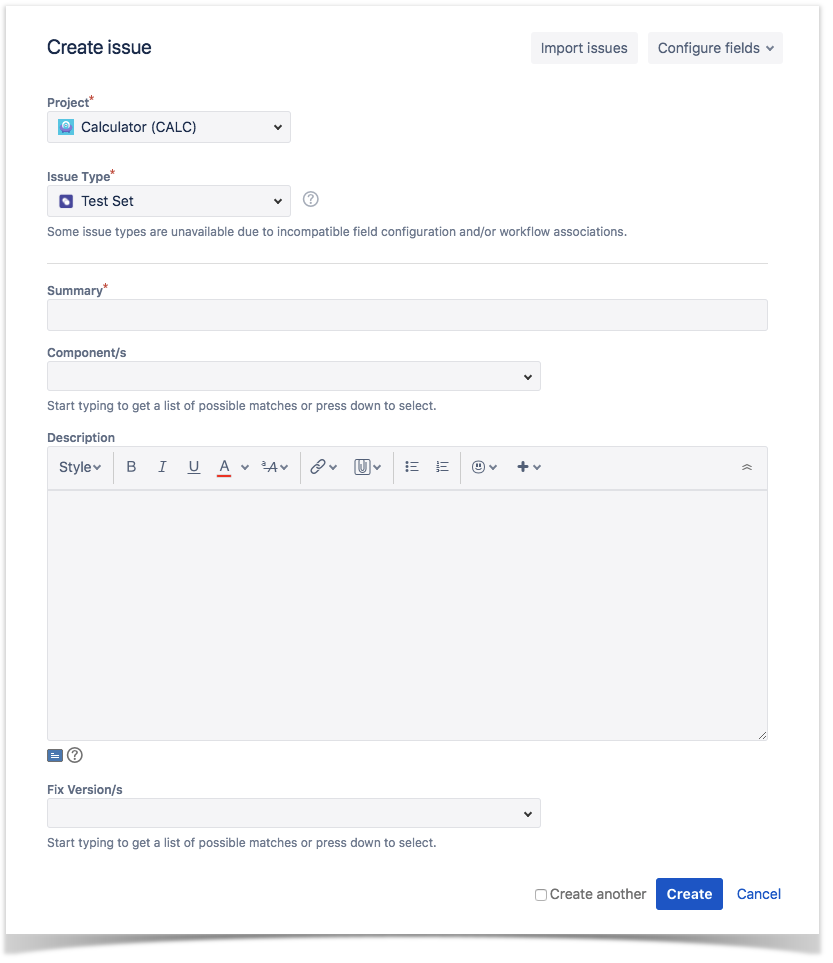
To create a new Test Set issue:
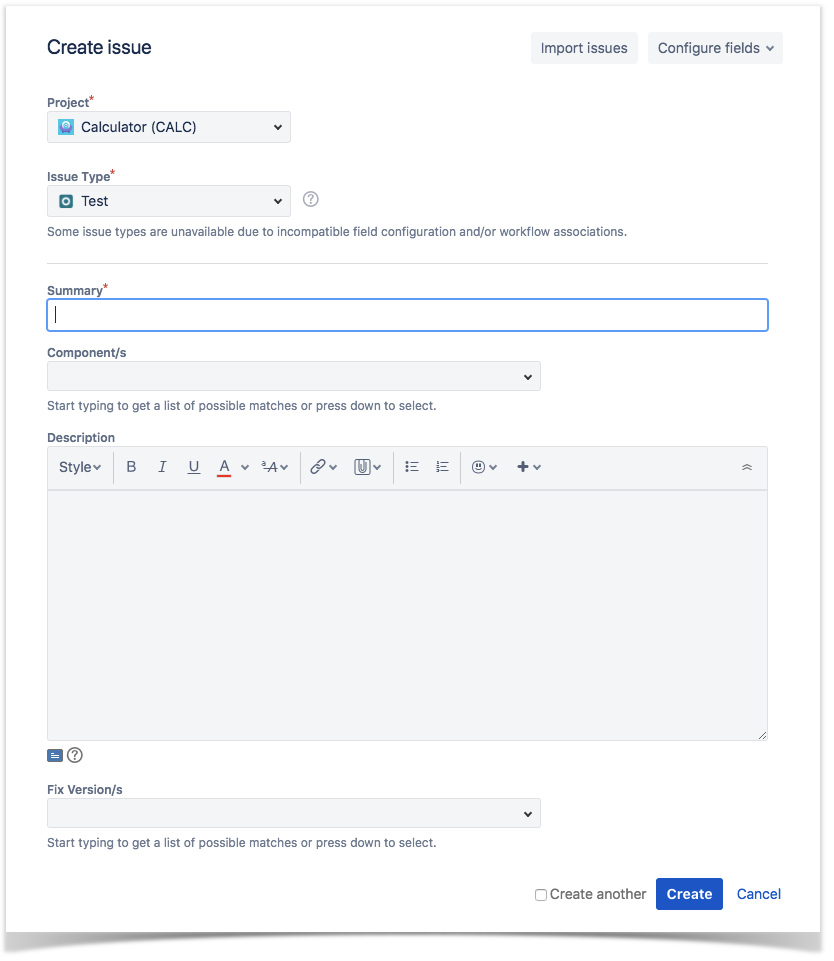
Step 1: Click the Create Issue at the top of the screen to open the Create Issueissue dialog / page.
Step 2: Select the Project and on Issue Type, select Test Set.
...
Step 4: When you are satisfied with the content of your Test Set, click the Create button.
If you selected the Create another checkbox (below), a new Create Issue dialog appears. This issue is automatically pre-populated with your previous Test Set details, while leaving the Summary field blank.
Edit
To edit an existing Test Set issue:
Step 1: Locate the Test Set you want to edit.
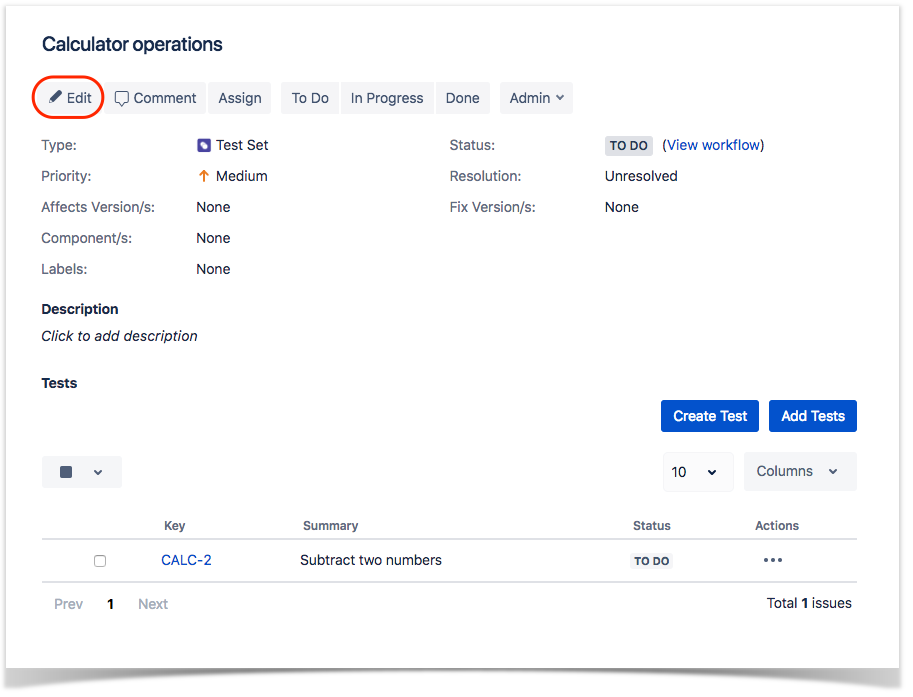
Step 2: Click the Edit button (at the top-left of the 'view issue' page) to open the Edit Issue dialog box.
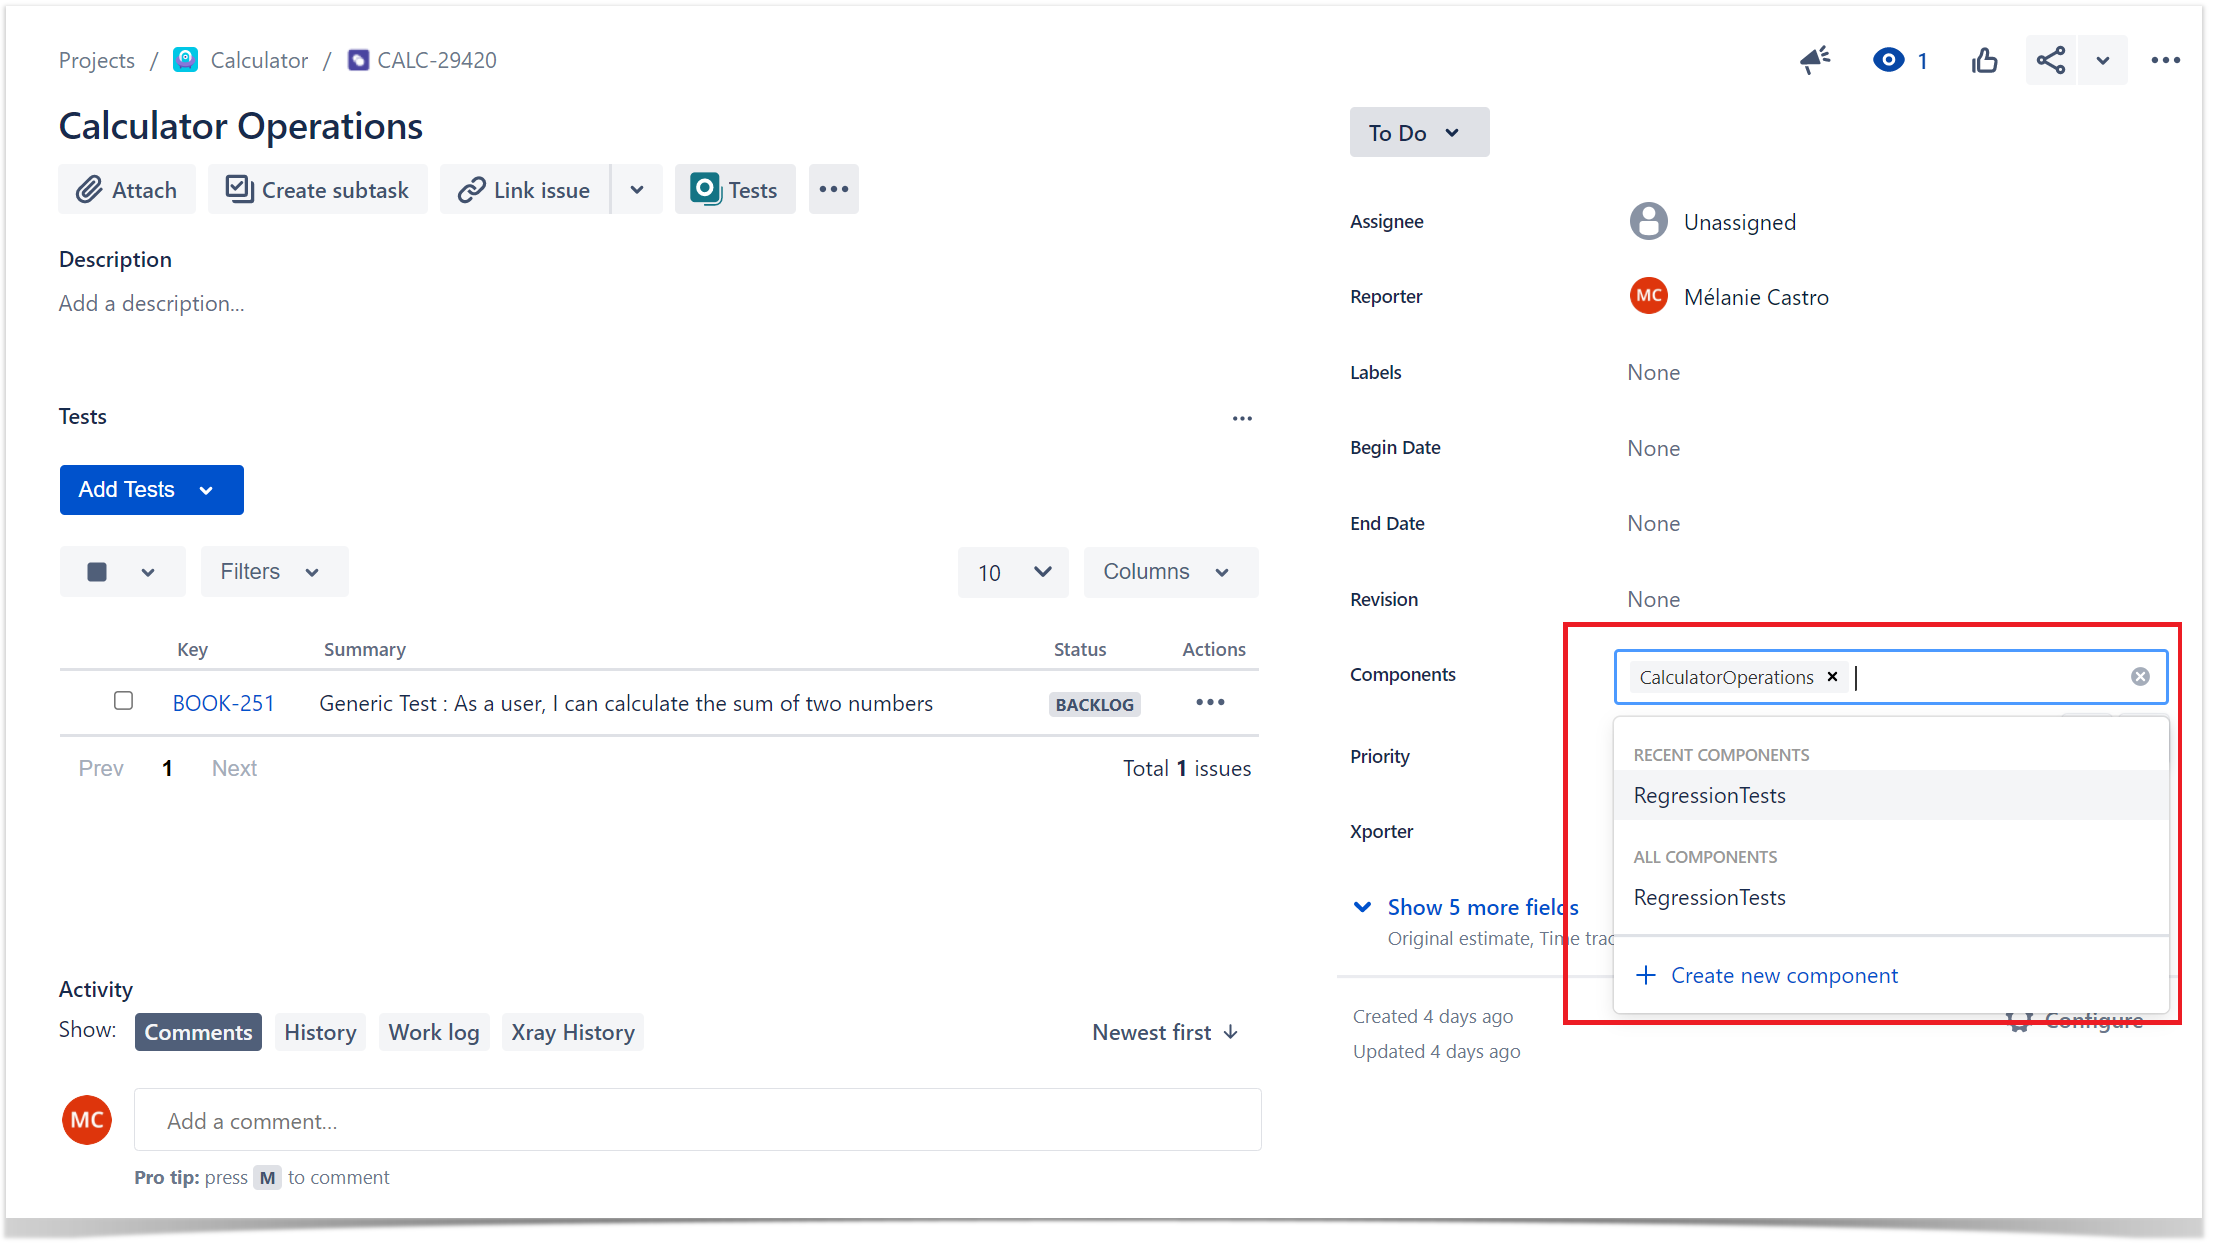
Alternatively, hover over a field and click the pencil icon to edit it inline. Place the cursor over the field to edit and click on it.
Step 3: Modify your Test Set's details detail in the appropriate fields of the Edit Issue view.field
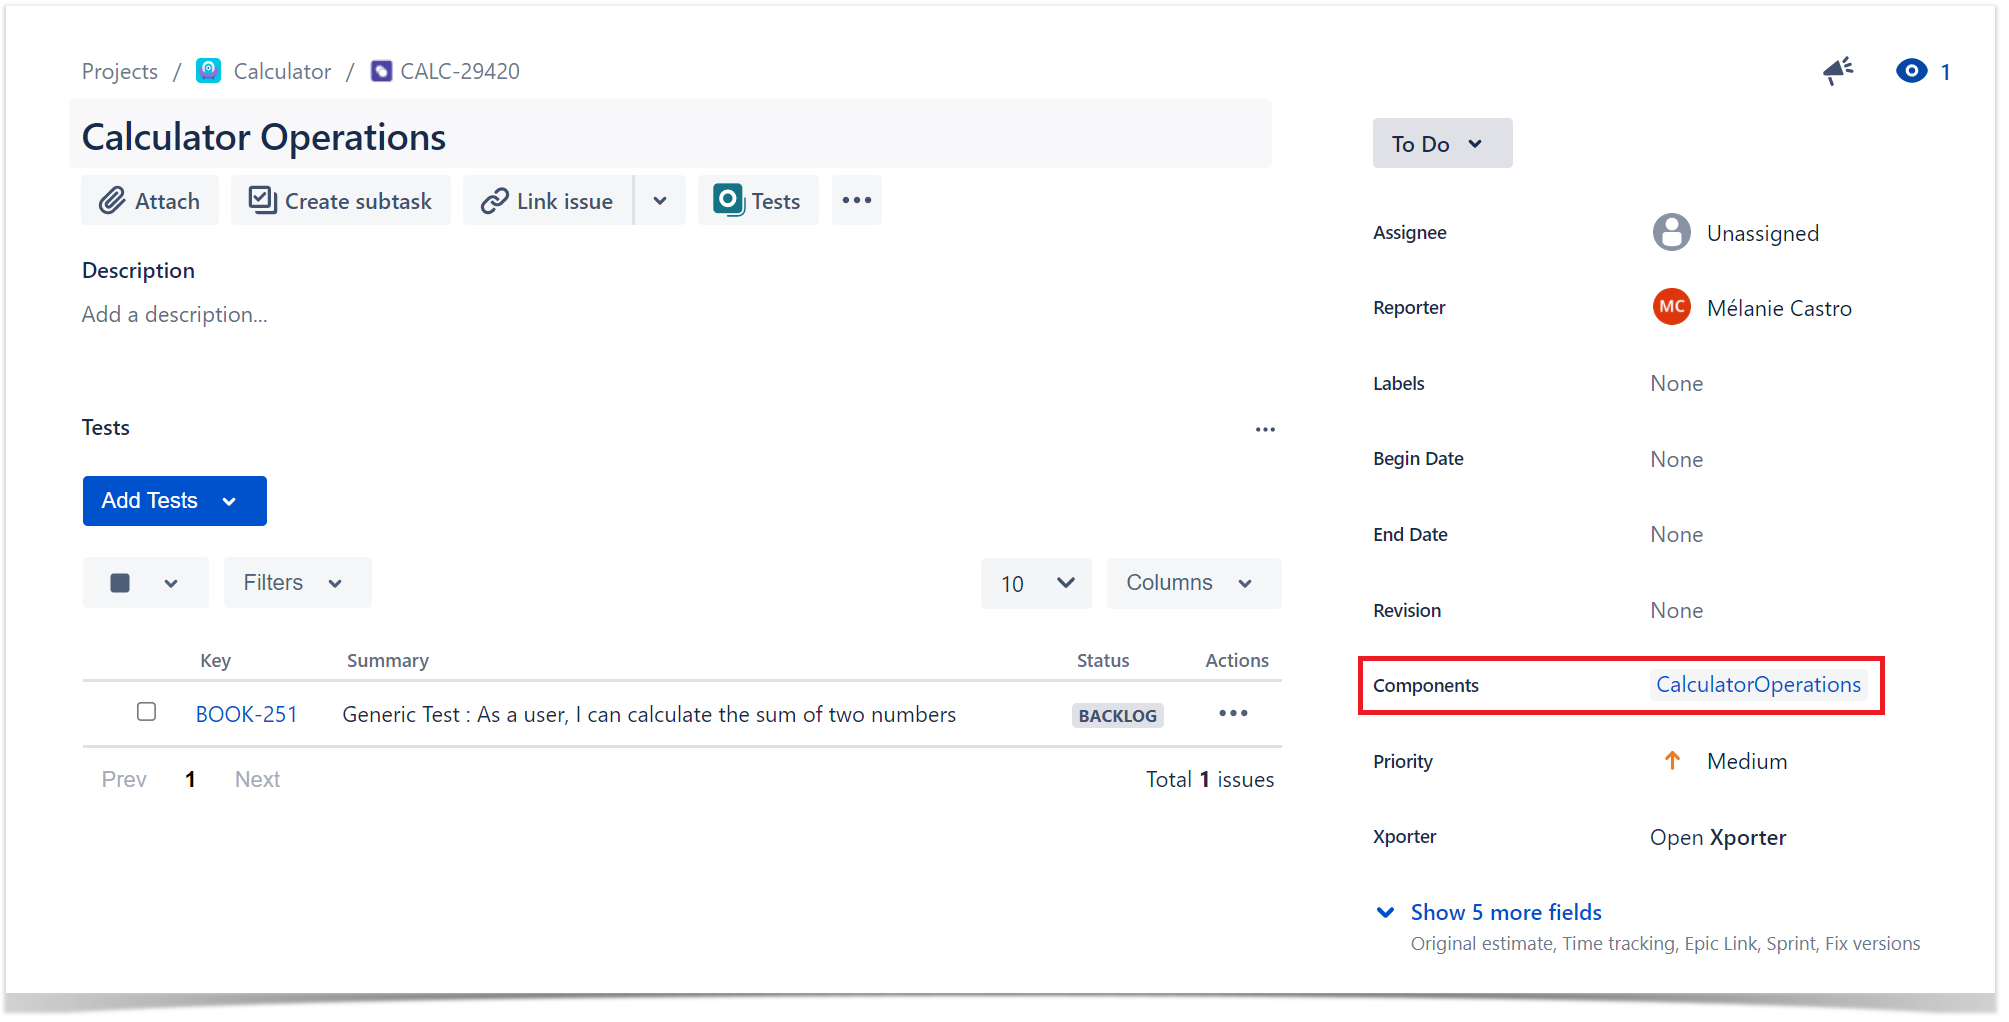
Step 4: Click the Update button to out of the field to save your changes.

Clone
When cloning a Test Set issue, all the Test issue associations will also be cloned.
To clone a Test Set issue, select the "Clone" action in the issue page:

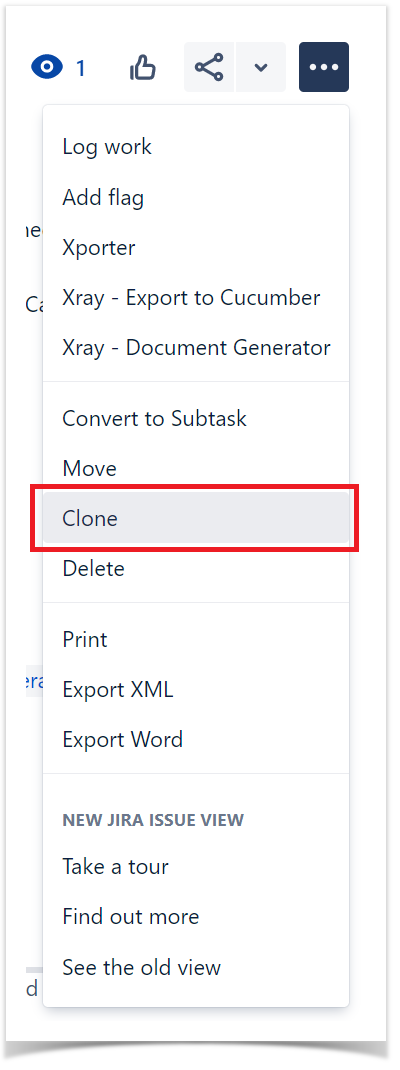
After this, an additional dialog will be shown.
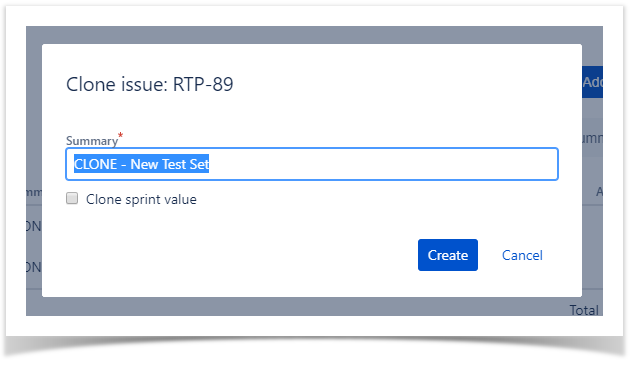
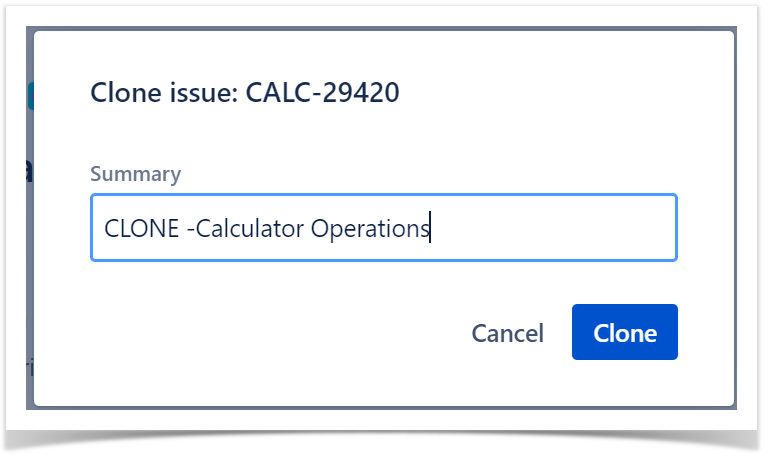
And after the issue is created, its page will be opened.
...
Step 1: Open the Test Set issue view screen you wish to create a Test with.
Step 2: Click the Create TestAdd Tests button (under the Tests section on the view page) and select New Test to open the Create Issue dialog box.
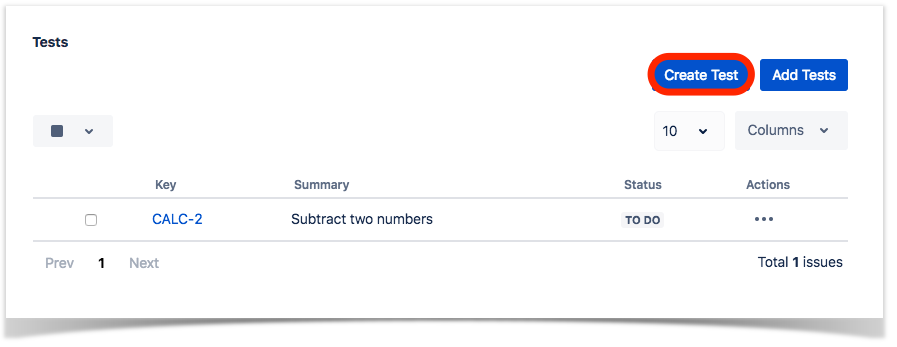
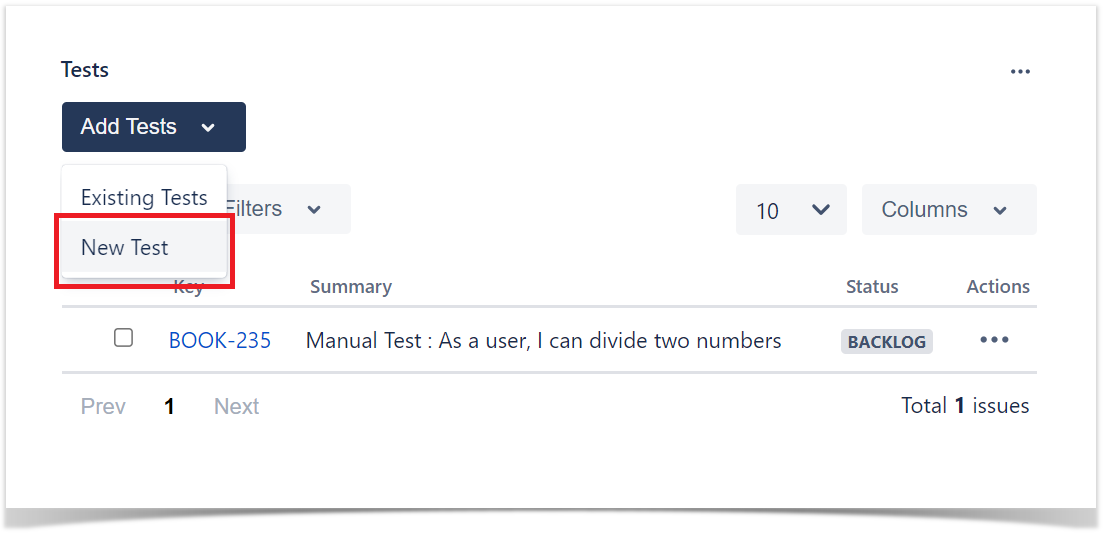
Step 3: Type a Summary for the Test and complete all appropriate fields — at least, the required ones marked by an asterisk.
Step 4: Click Create.
...
Step 2: Click the Add Tests button (under the Tests tab on the view page) to and select Existing Tests to open the Add Tests dialog box.
...

Step 3:Select or search the Test issues to be associated with the Test Set:
...
Step 1: Open the Test you wish to associate a Test Set with.
Step 2: Click the Associate Add Test Sets button (under the Test Sets tab on the view page) and select Existing test sets to open the Associate Add Test Sets dialog box.
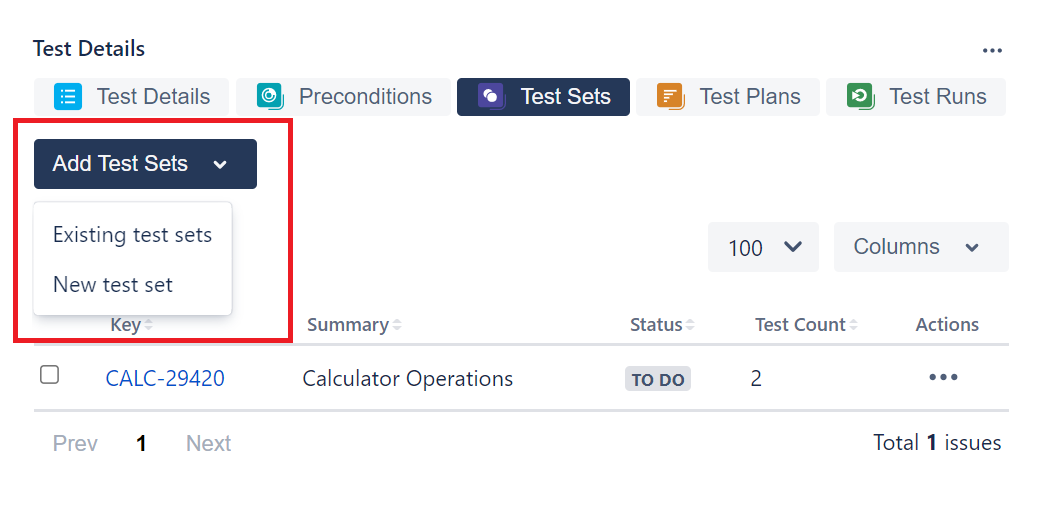
(Note: to create a new test set click New test set.)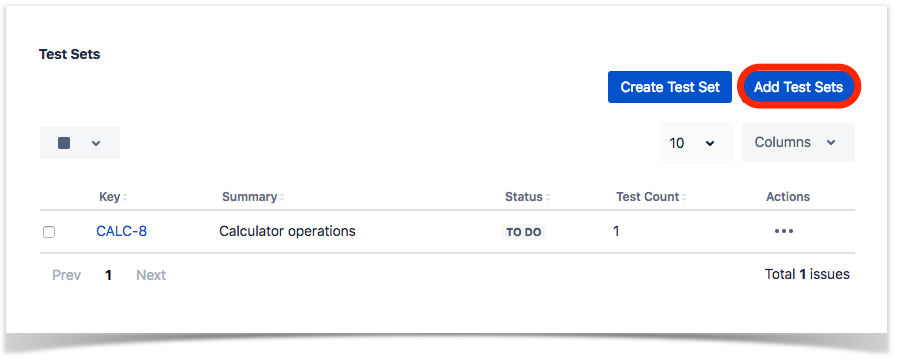
Step 3: Select or search the Test Set issues to be associated with the Test Set:
...
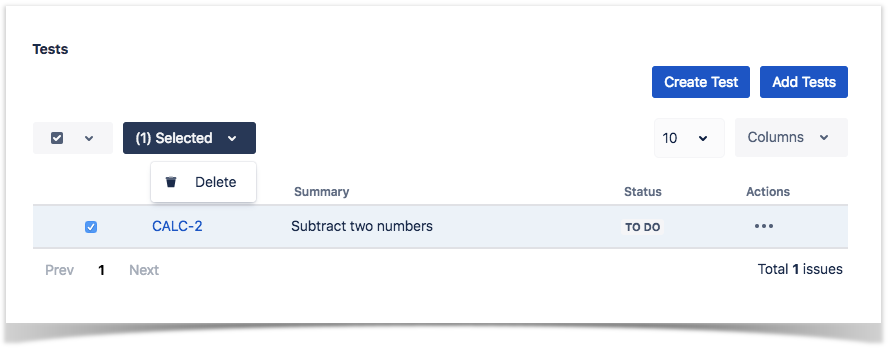
Step 4: Click the bulk actions button located above the tests table and choose one of the available actions.

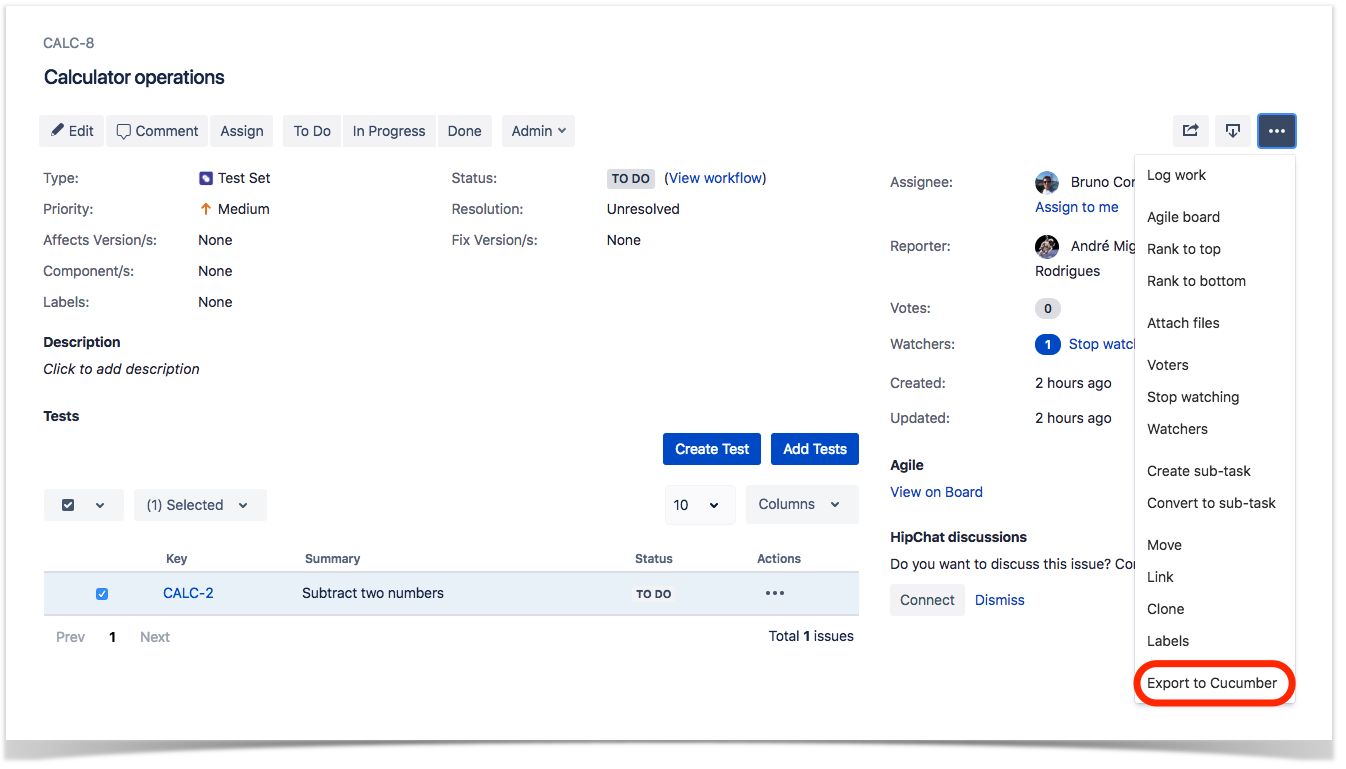
Export to Cucumber
Cucumber Test Sets in Jira can be exported to feature files ready to be executed in Cucumber. The generated feature files follow the rules defined in Export Generate Cucumber Features and take into account the context of the Jira Test Set issue.
...
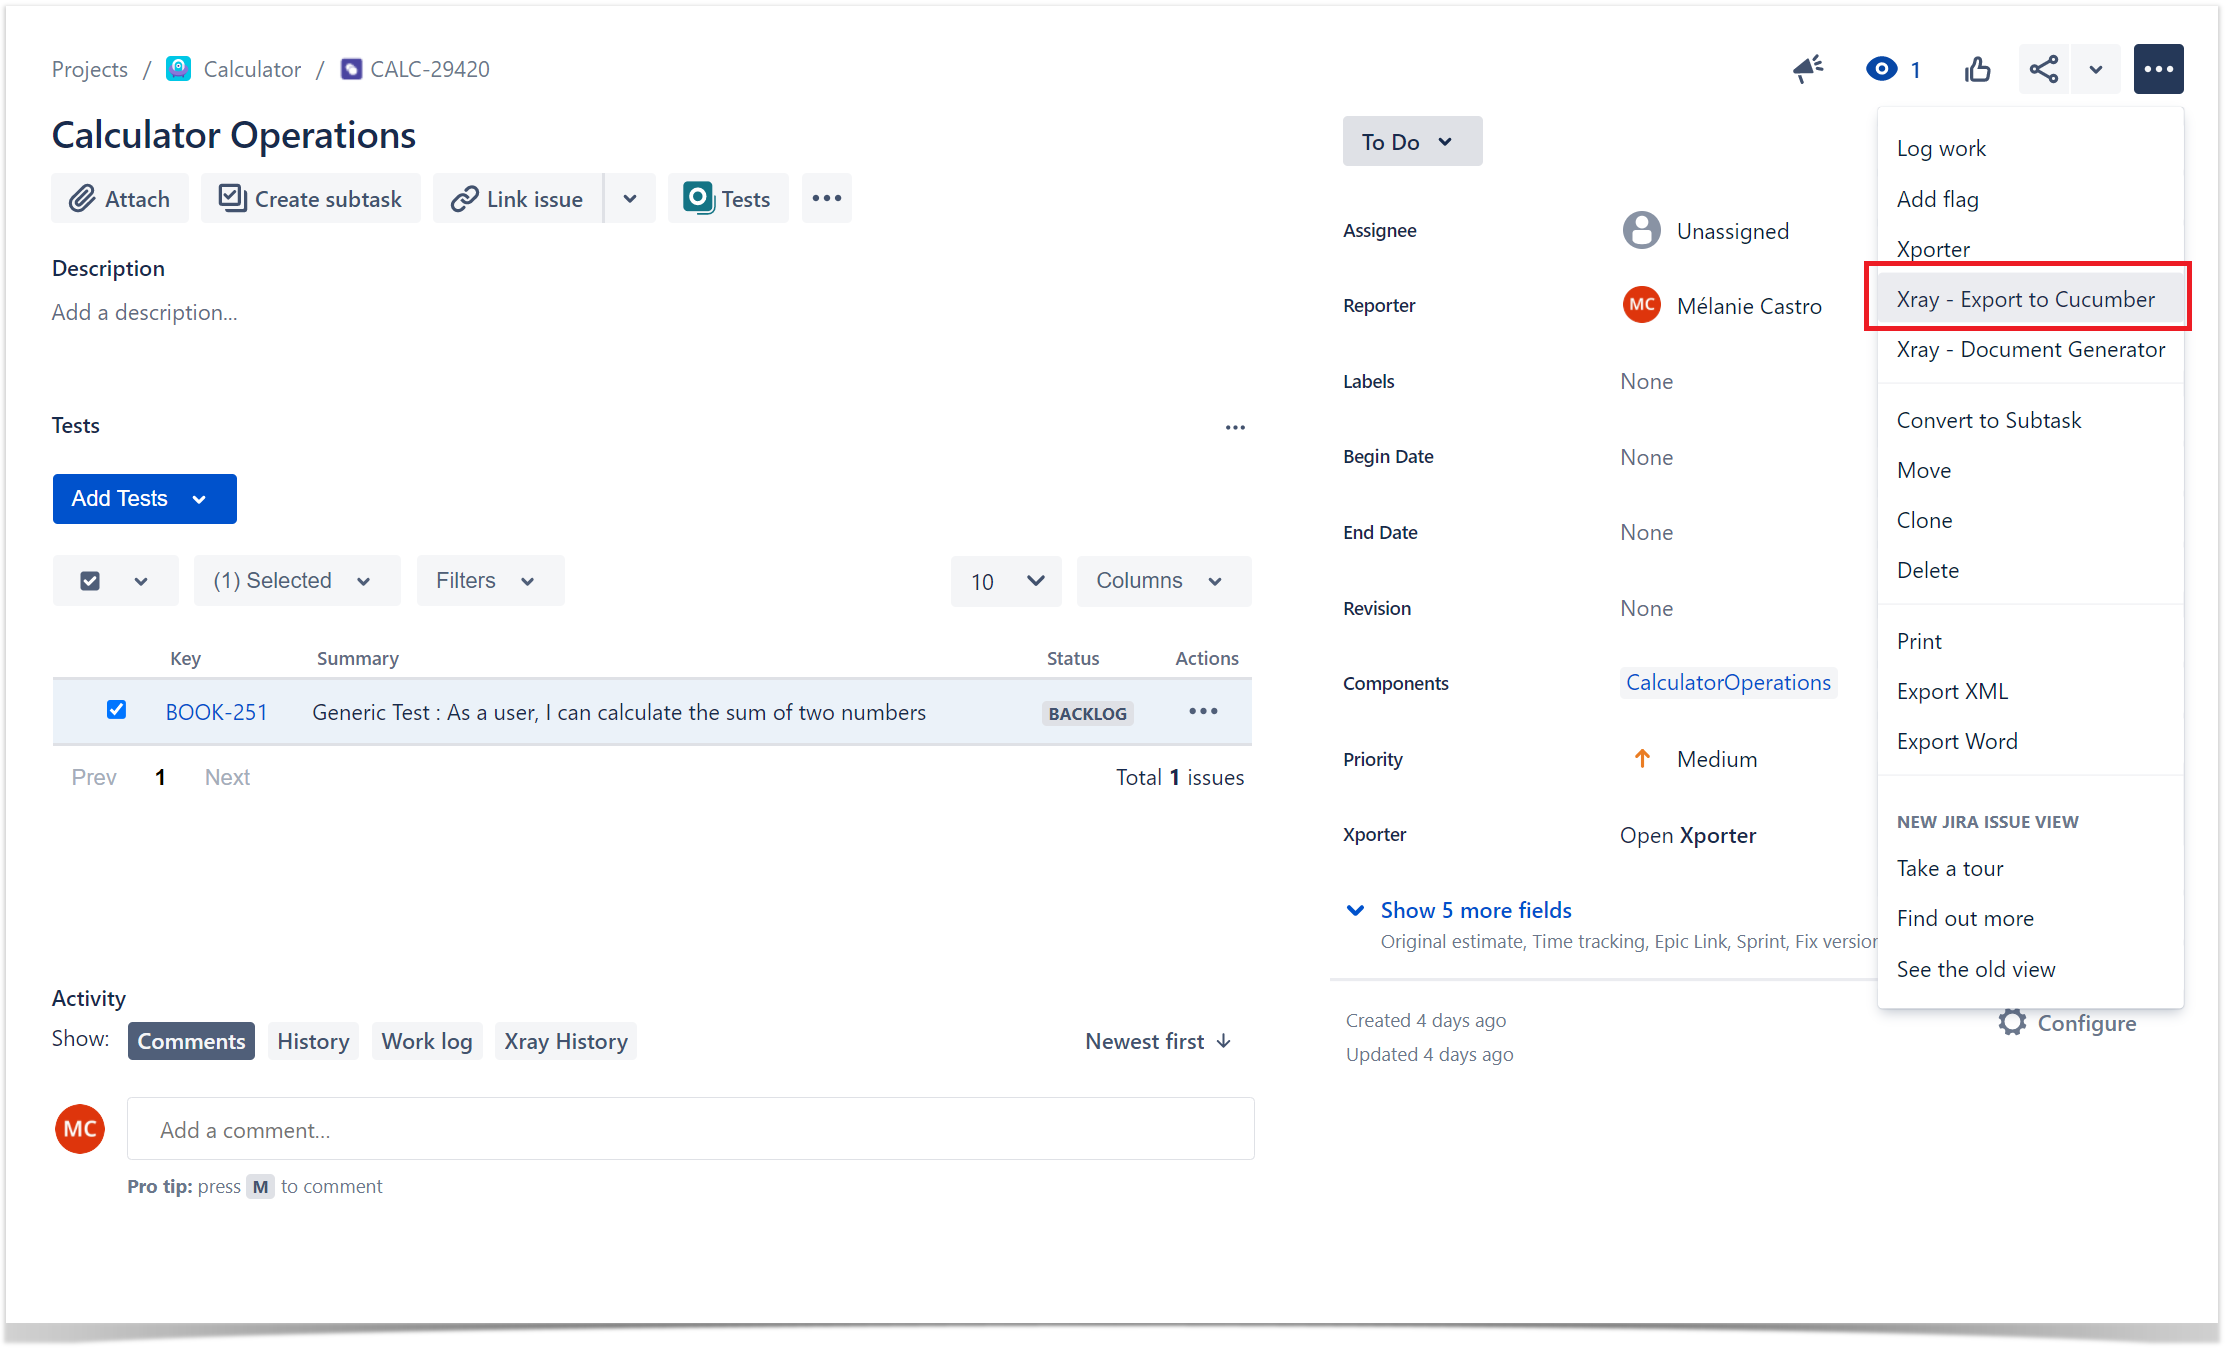
Step 1: Open the Test Set issue view page.
Step 2: Select ... > Xray - Export to Cucumber. The file will be downloaded from the browser.
Xray History
Any changes made to the Test Set data are recorded on the Xray History section. These include:
...