Page History
...
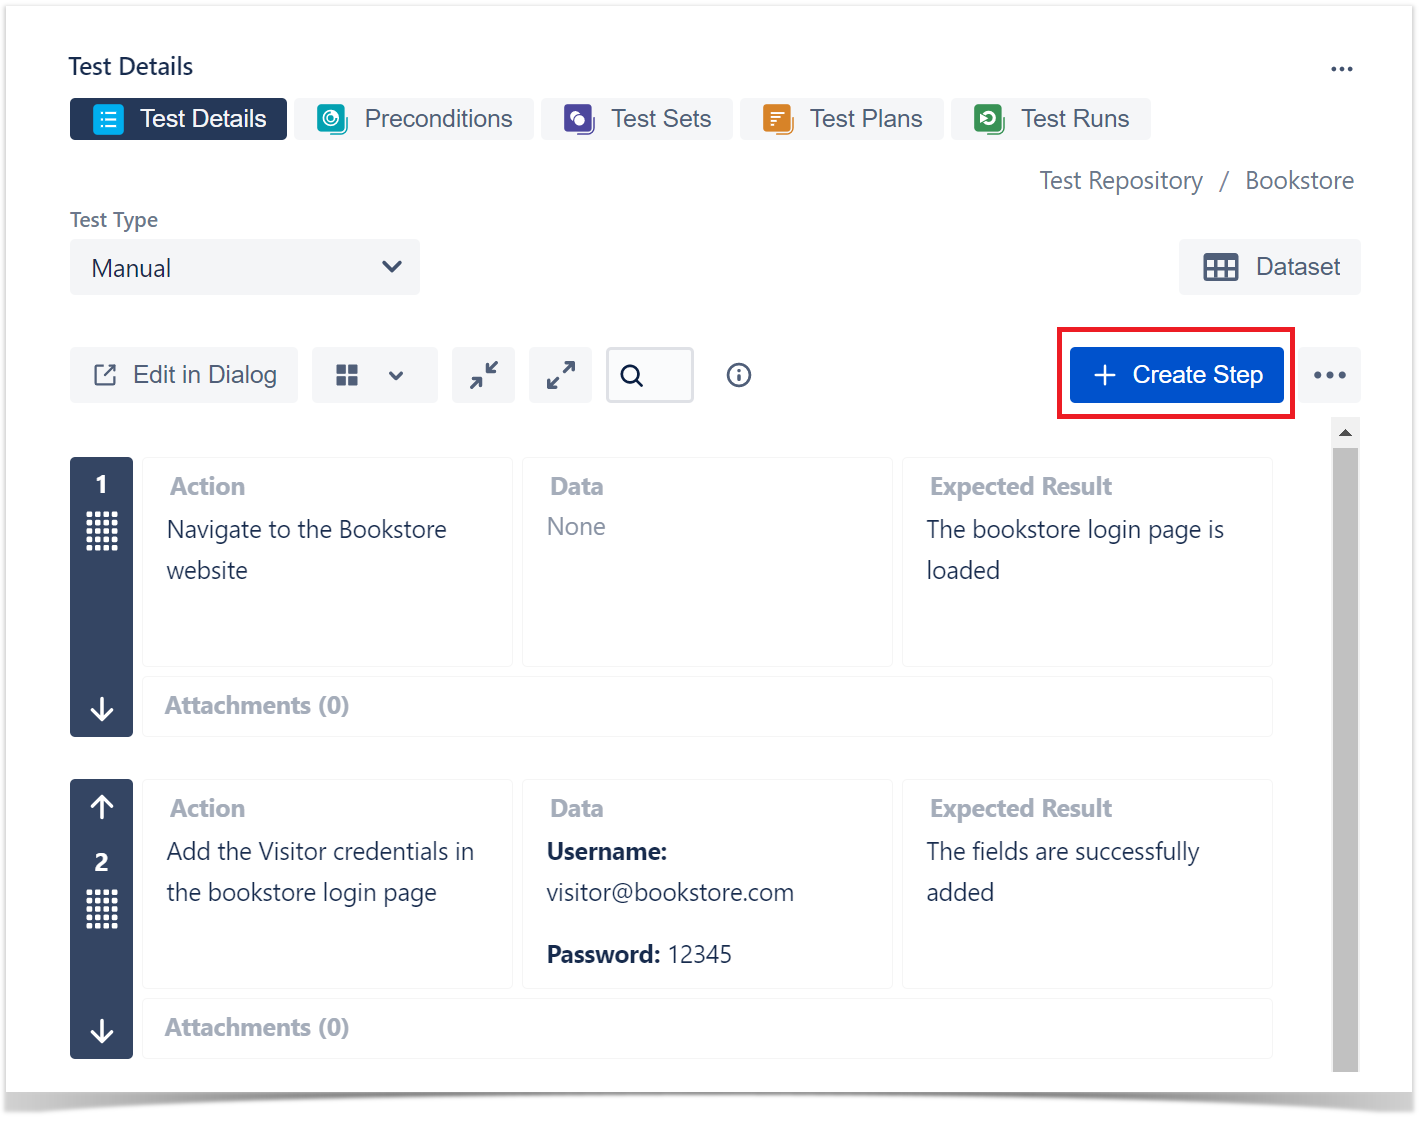
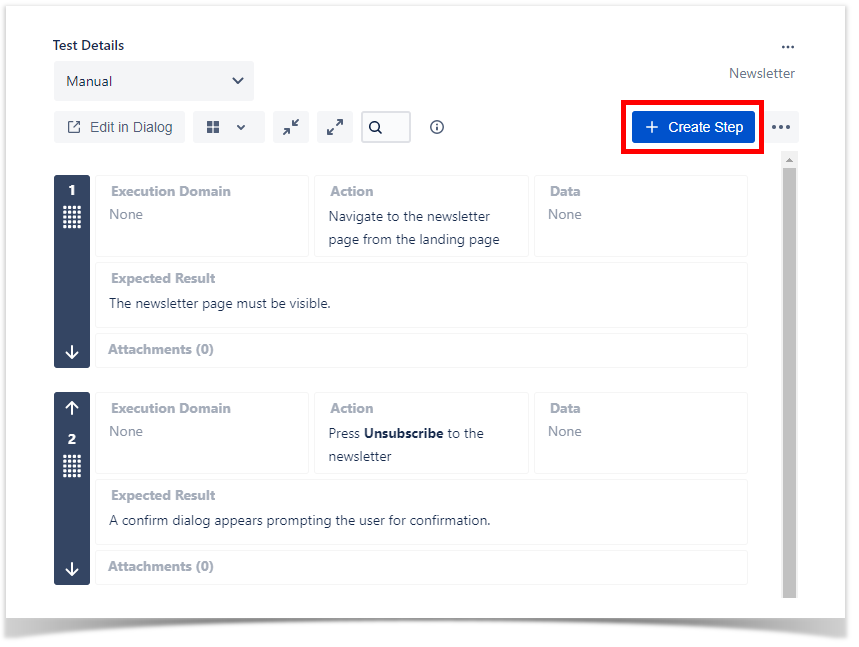
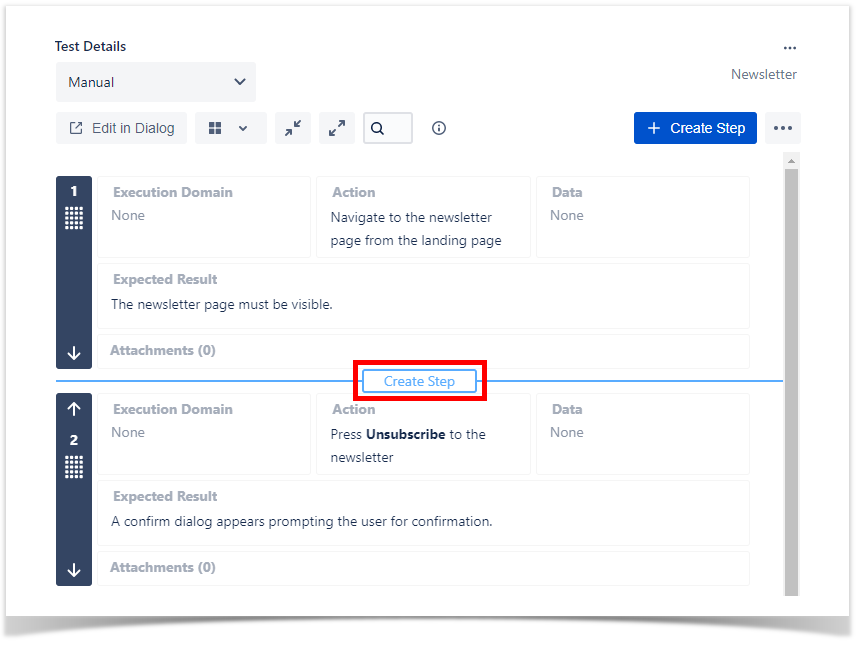
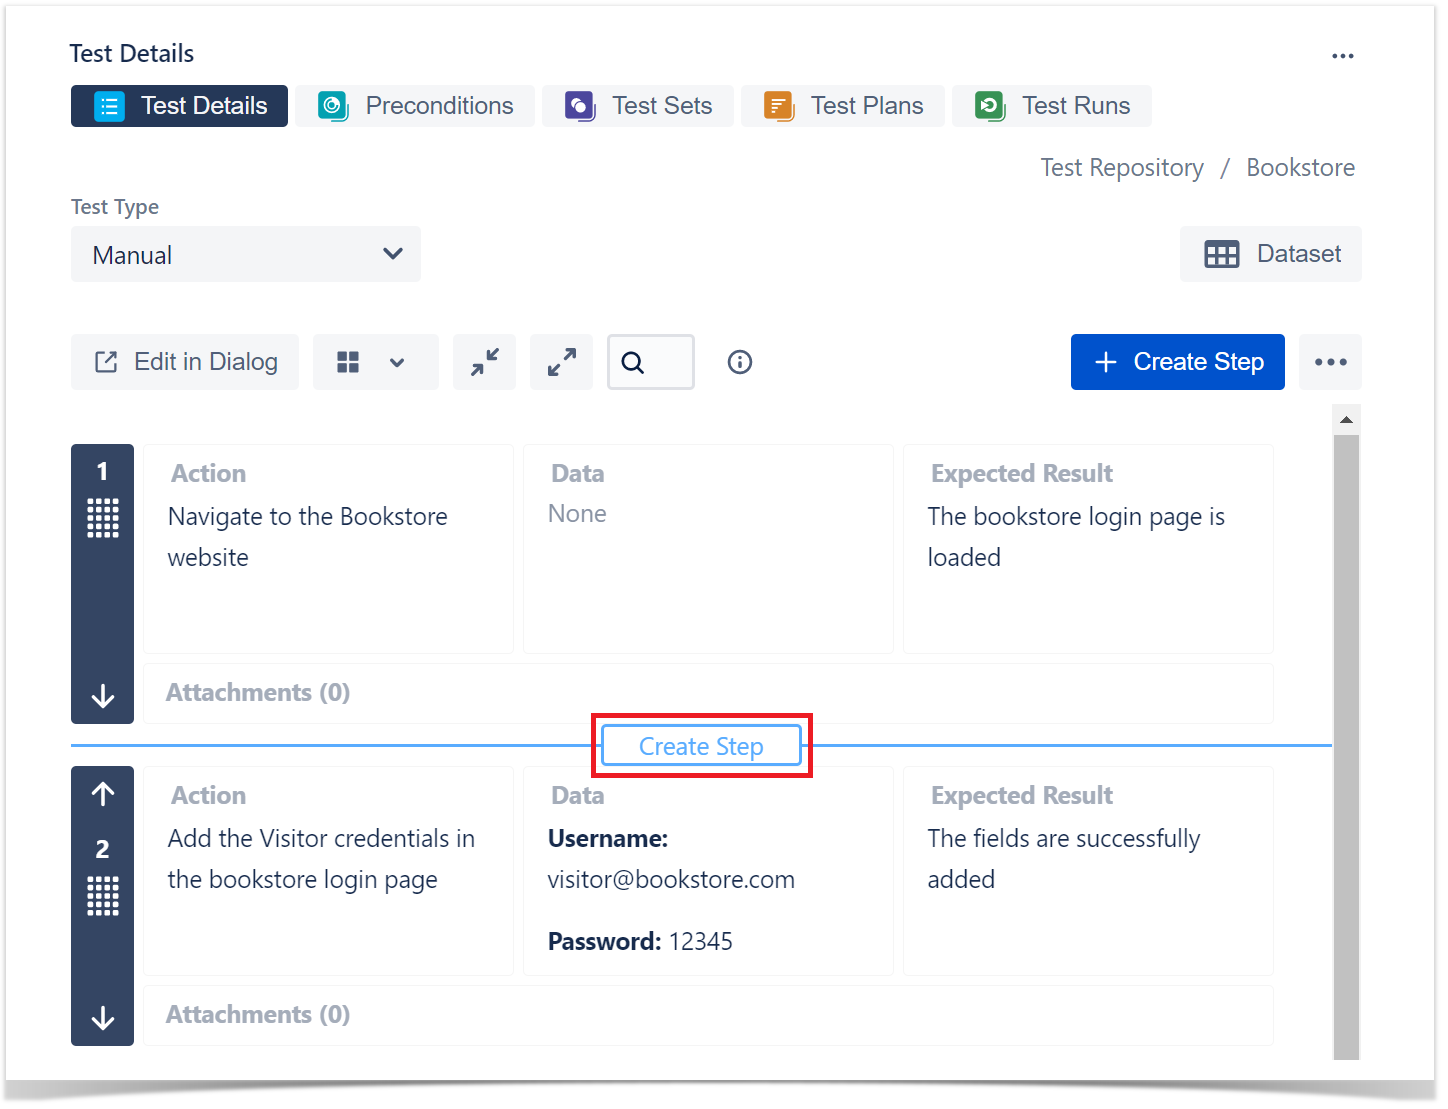
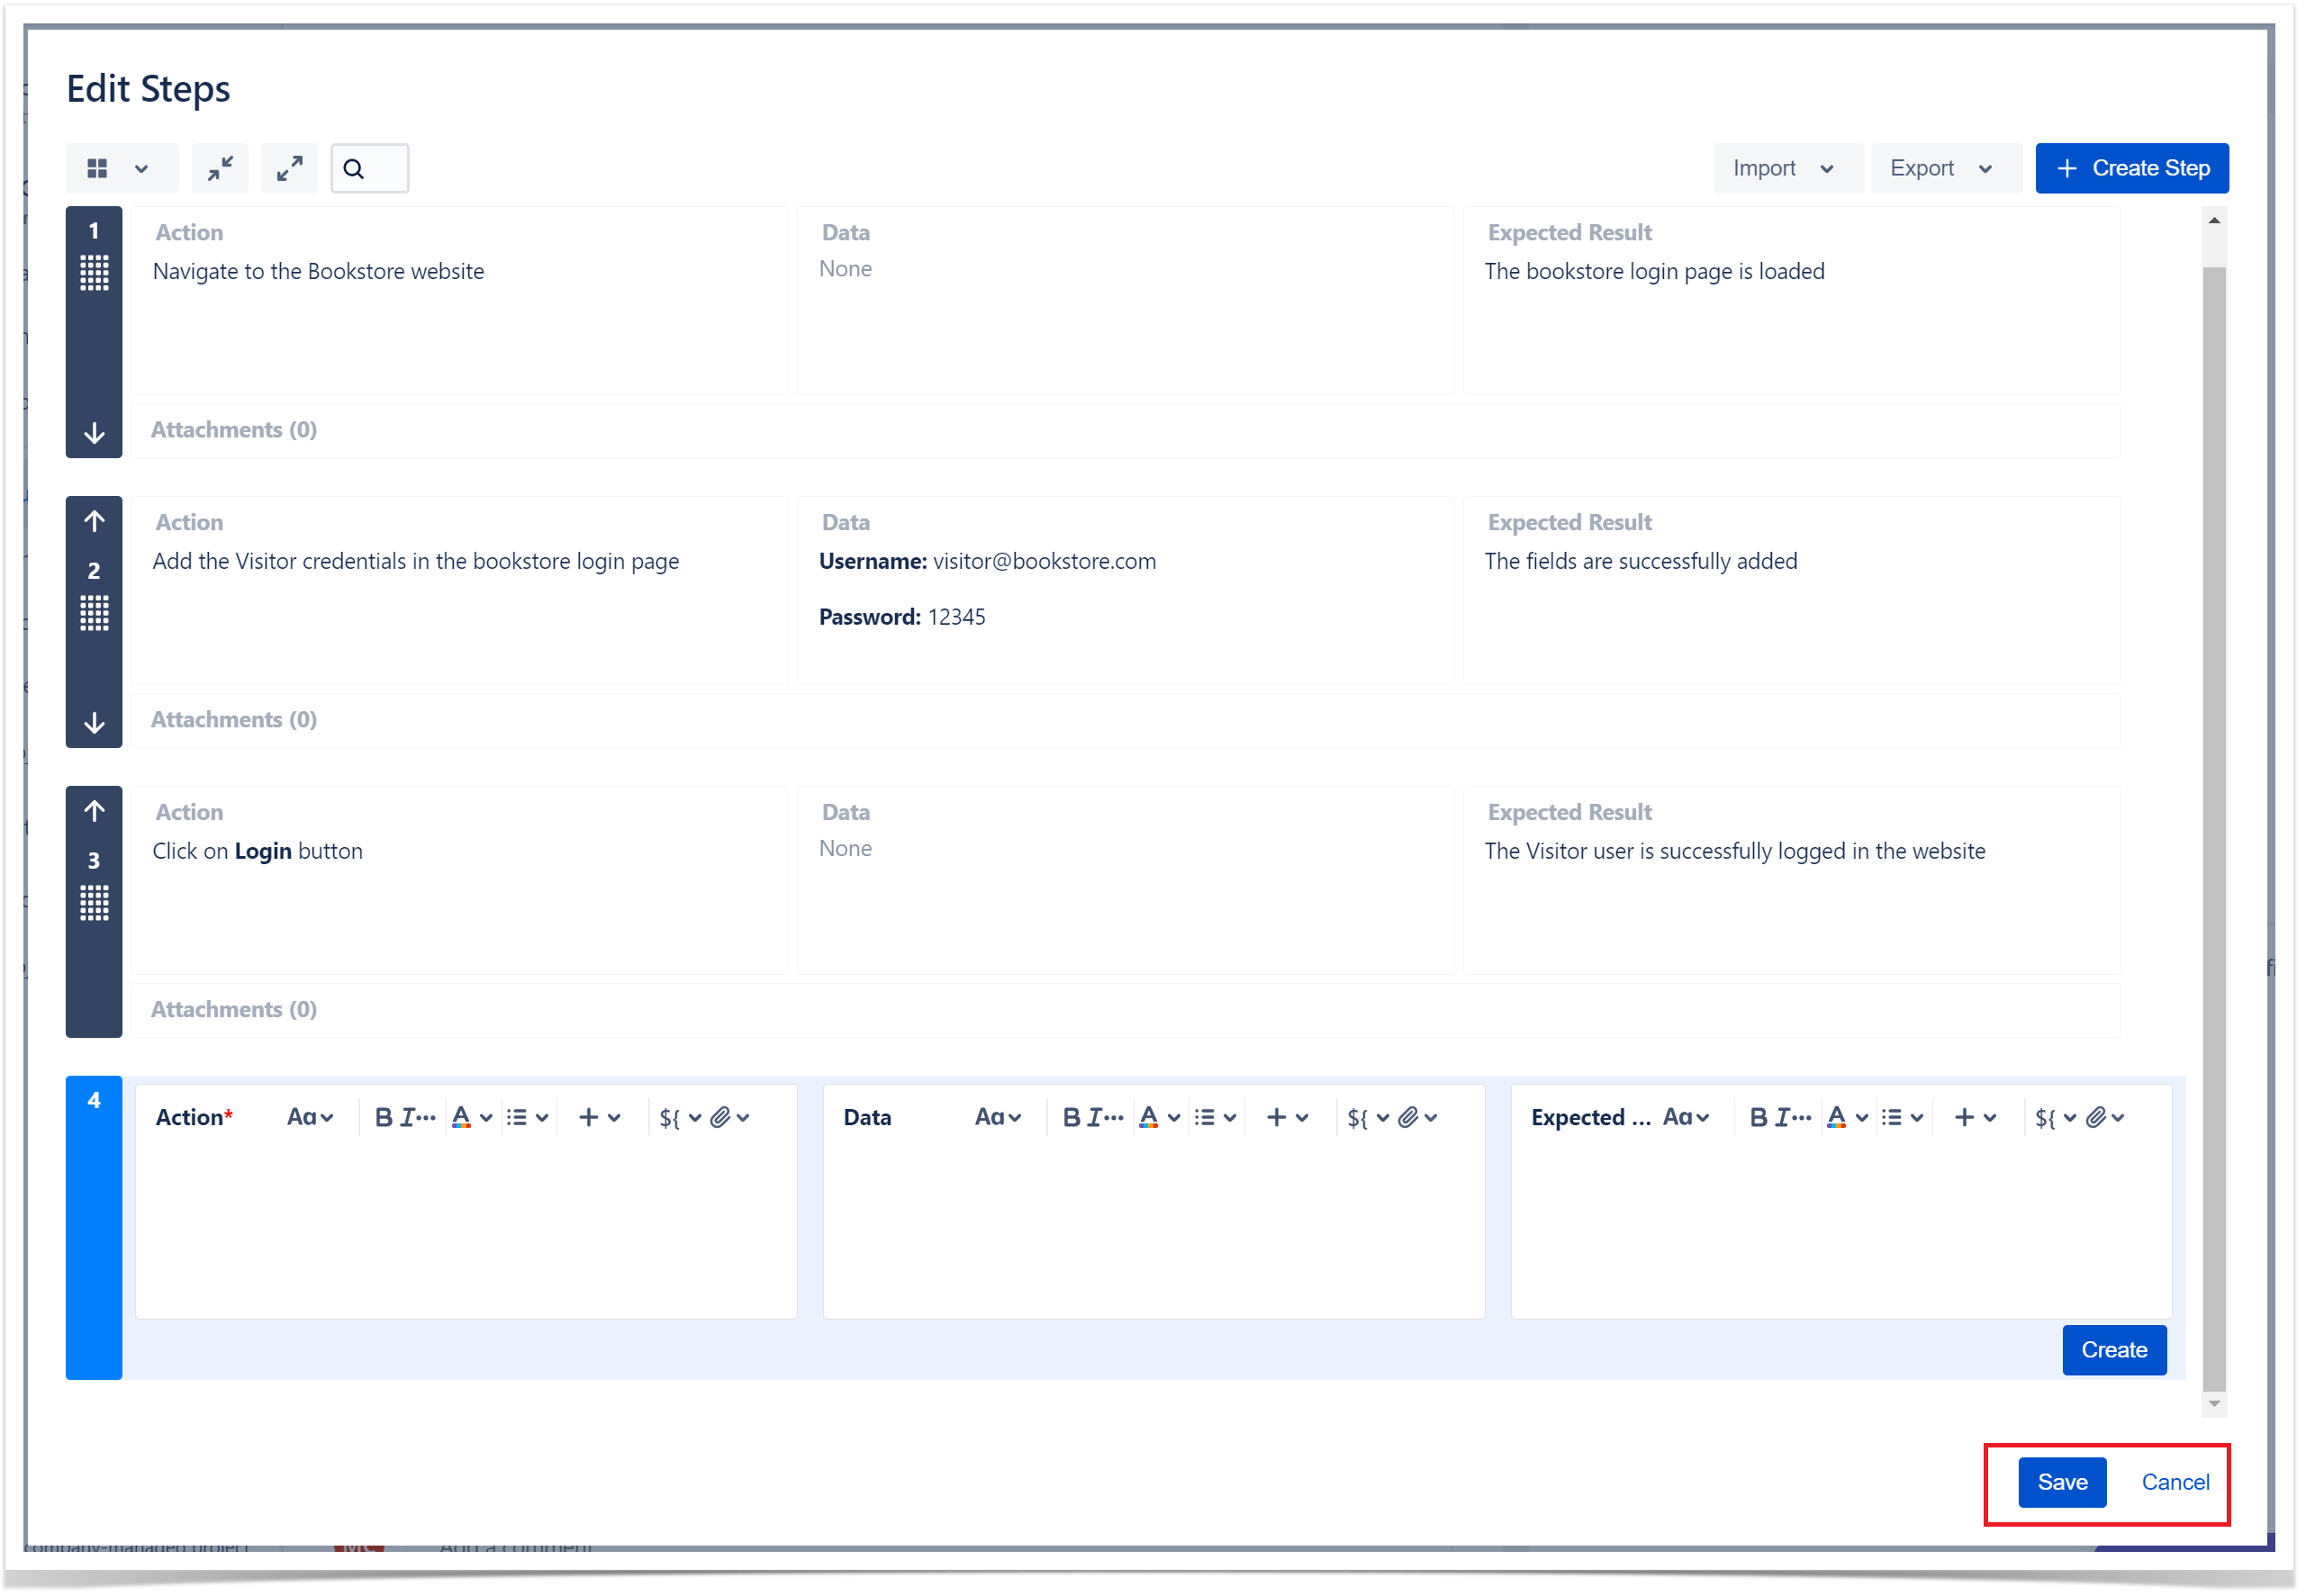
There are 2 ways of creating a new Test Step:
- by By clicking the Create Step button, which will create a new step at the end of the steps list;
- or by By hovering in-between steps or after the last step and clicking the Create Step button, which will create a new step in between the steps or after the last step.
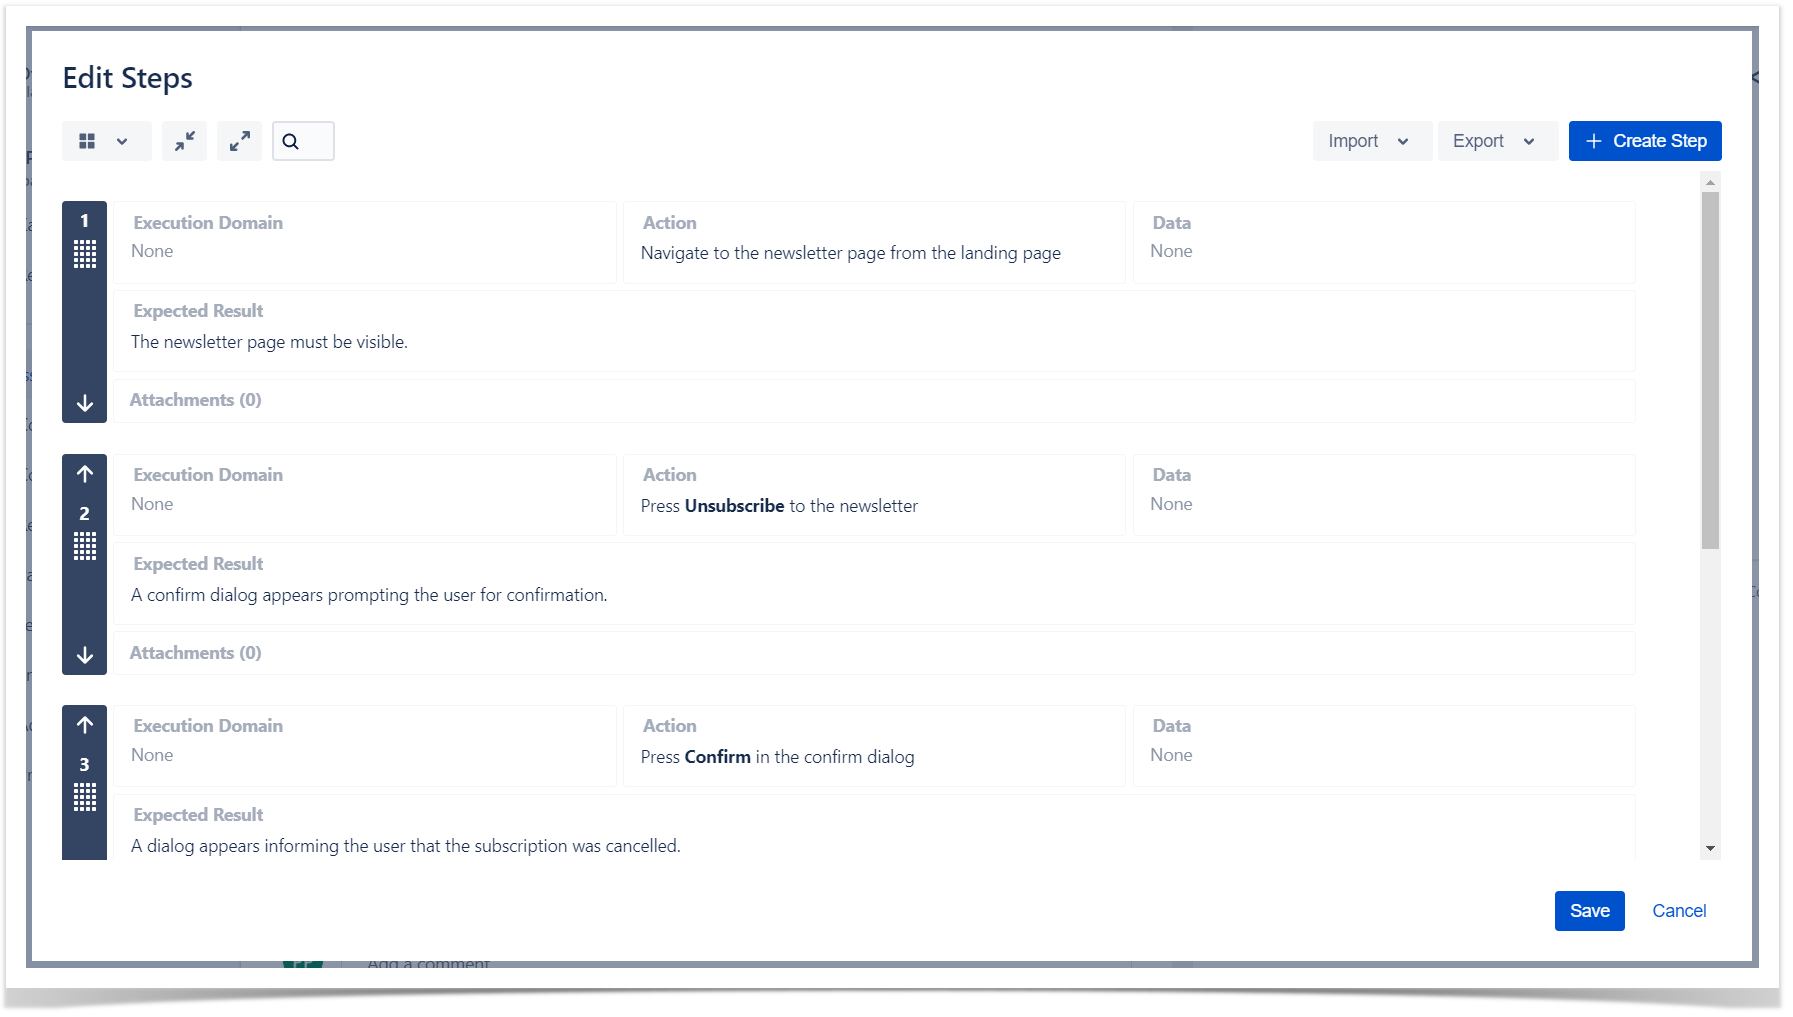
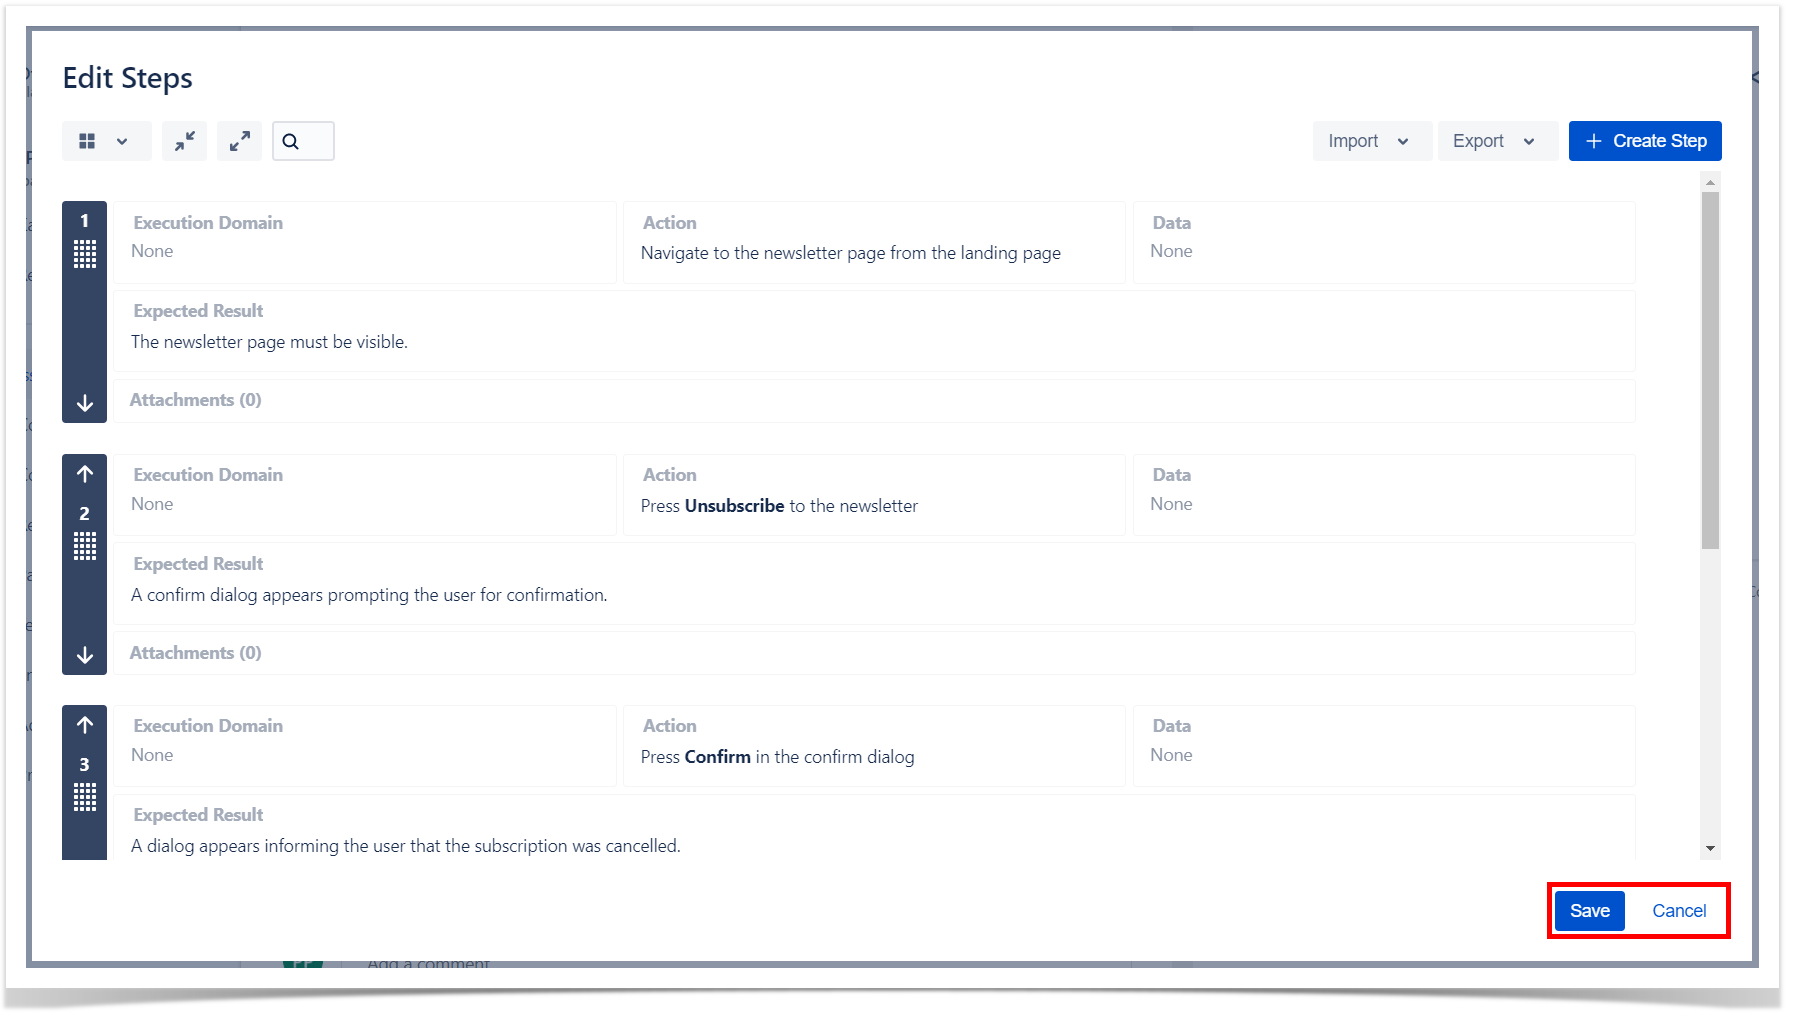
Edit Steps
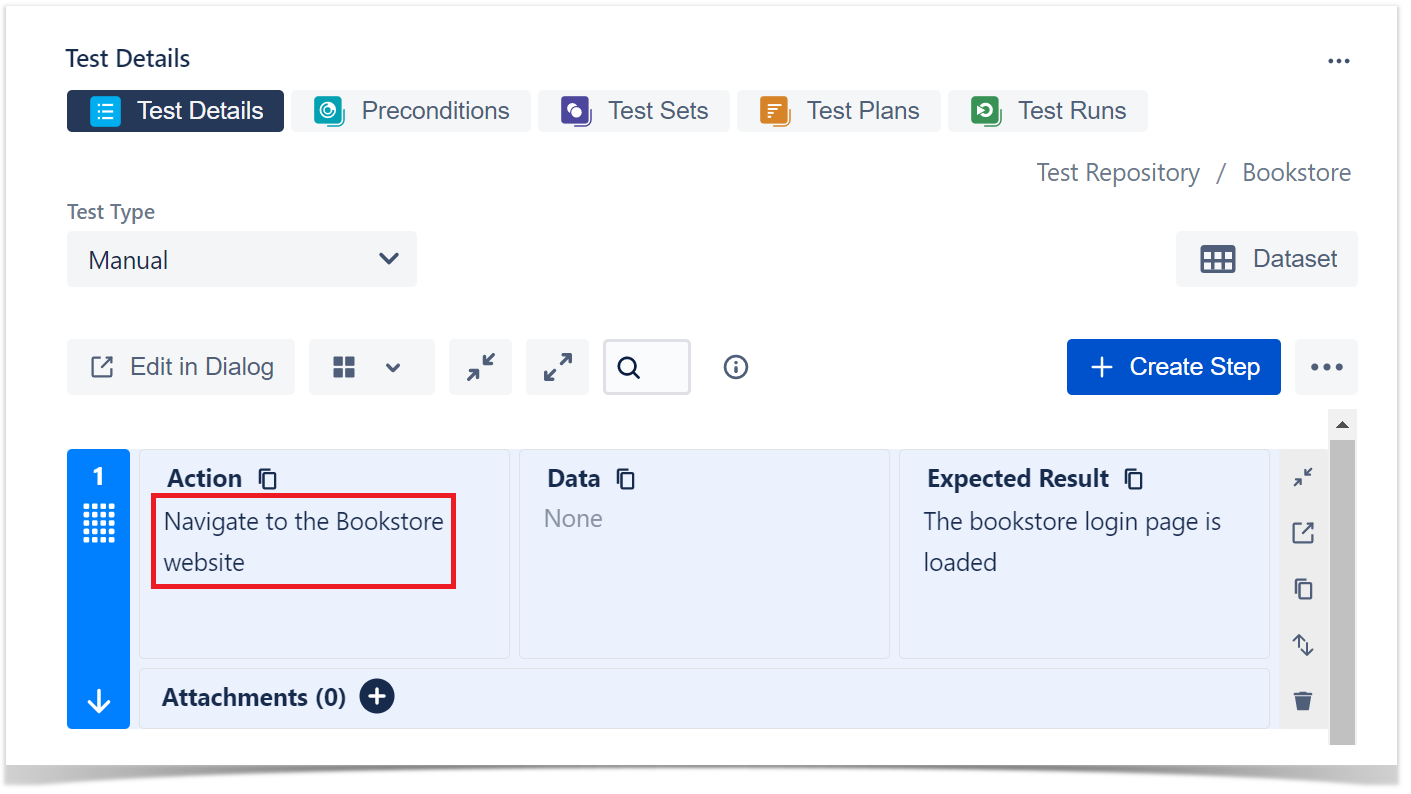
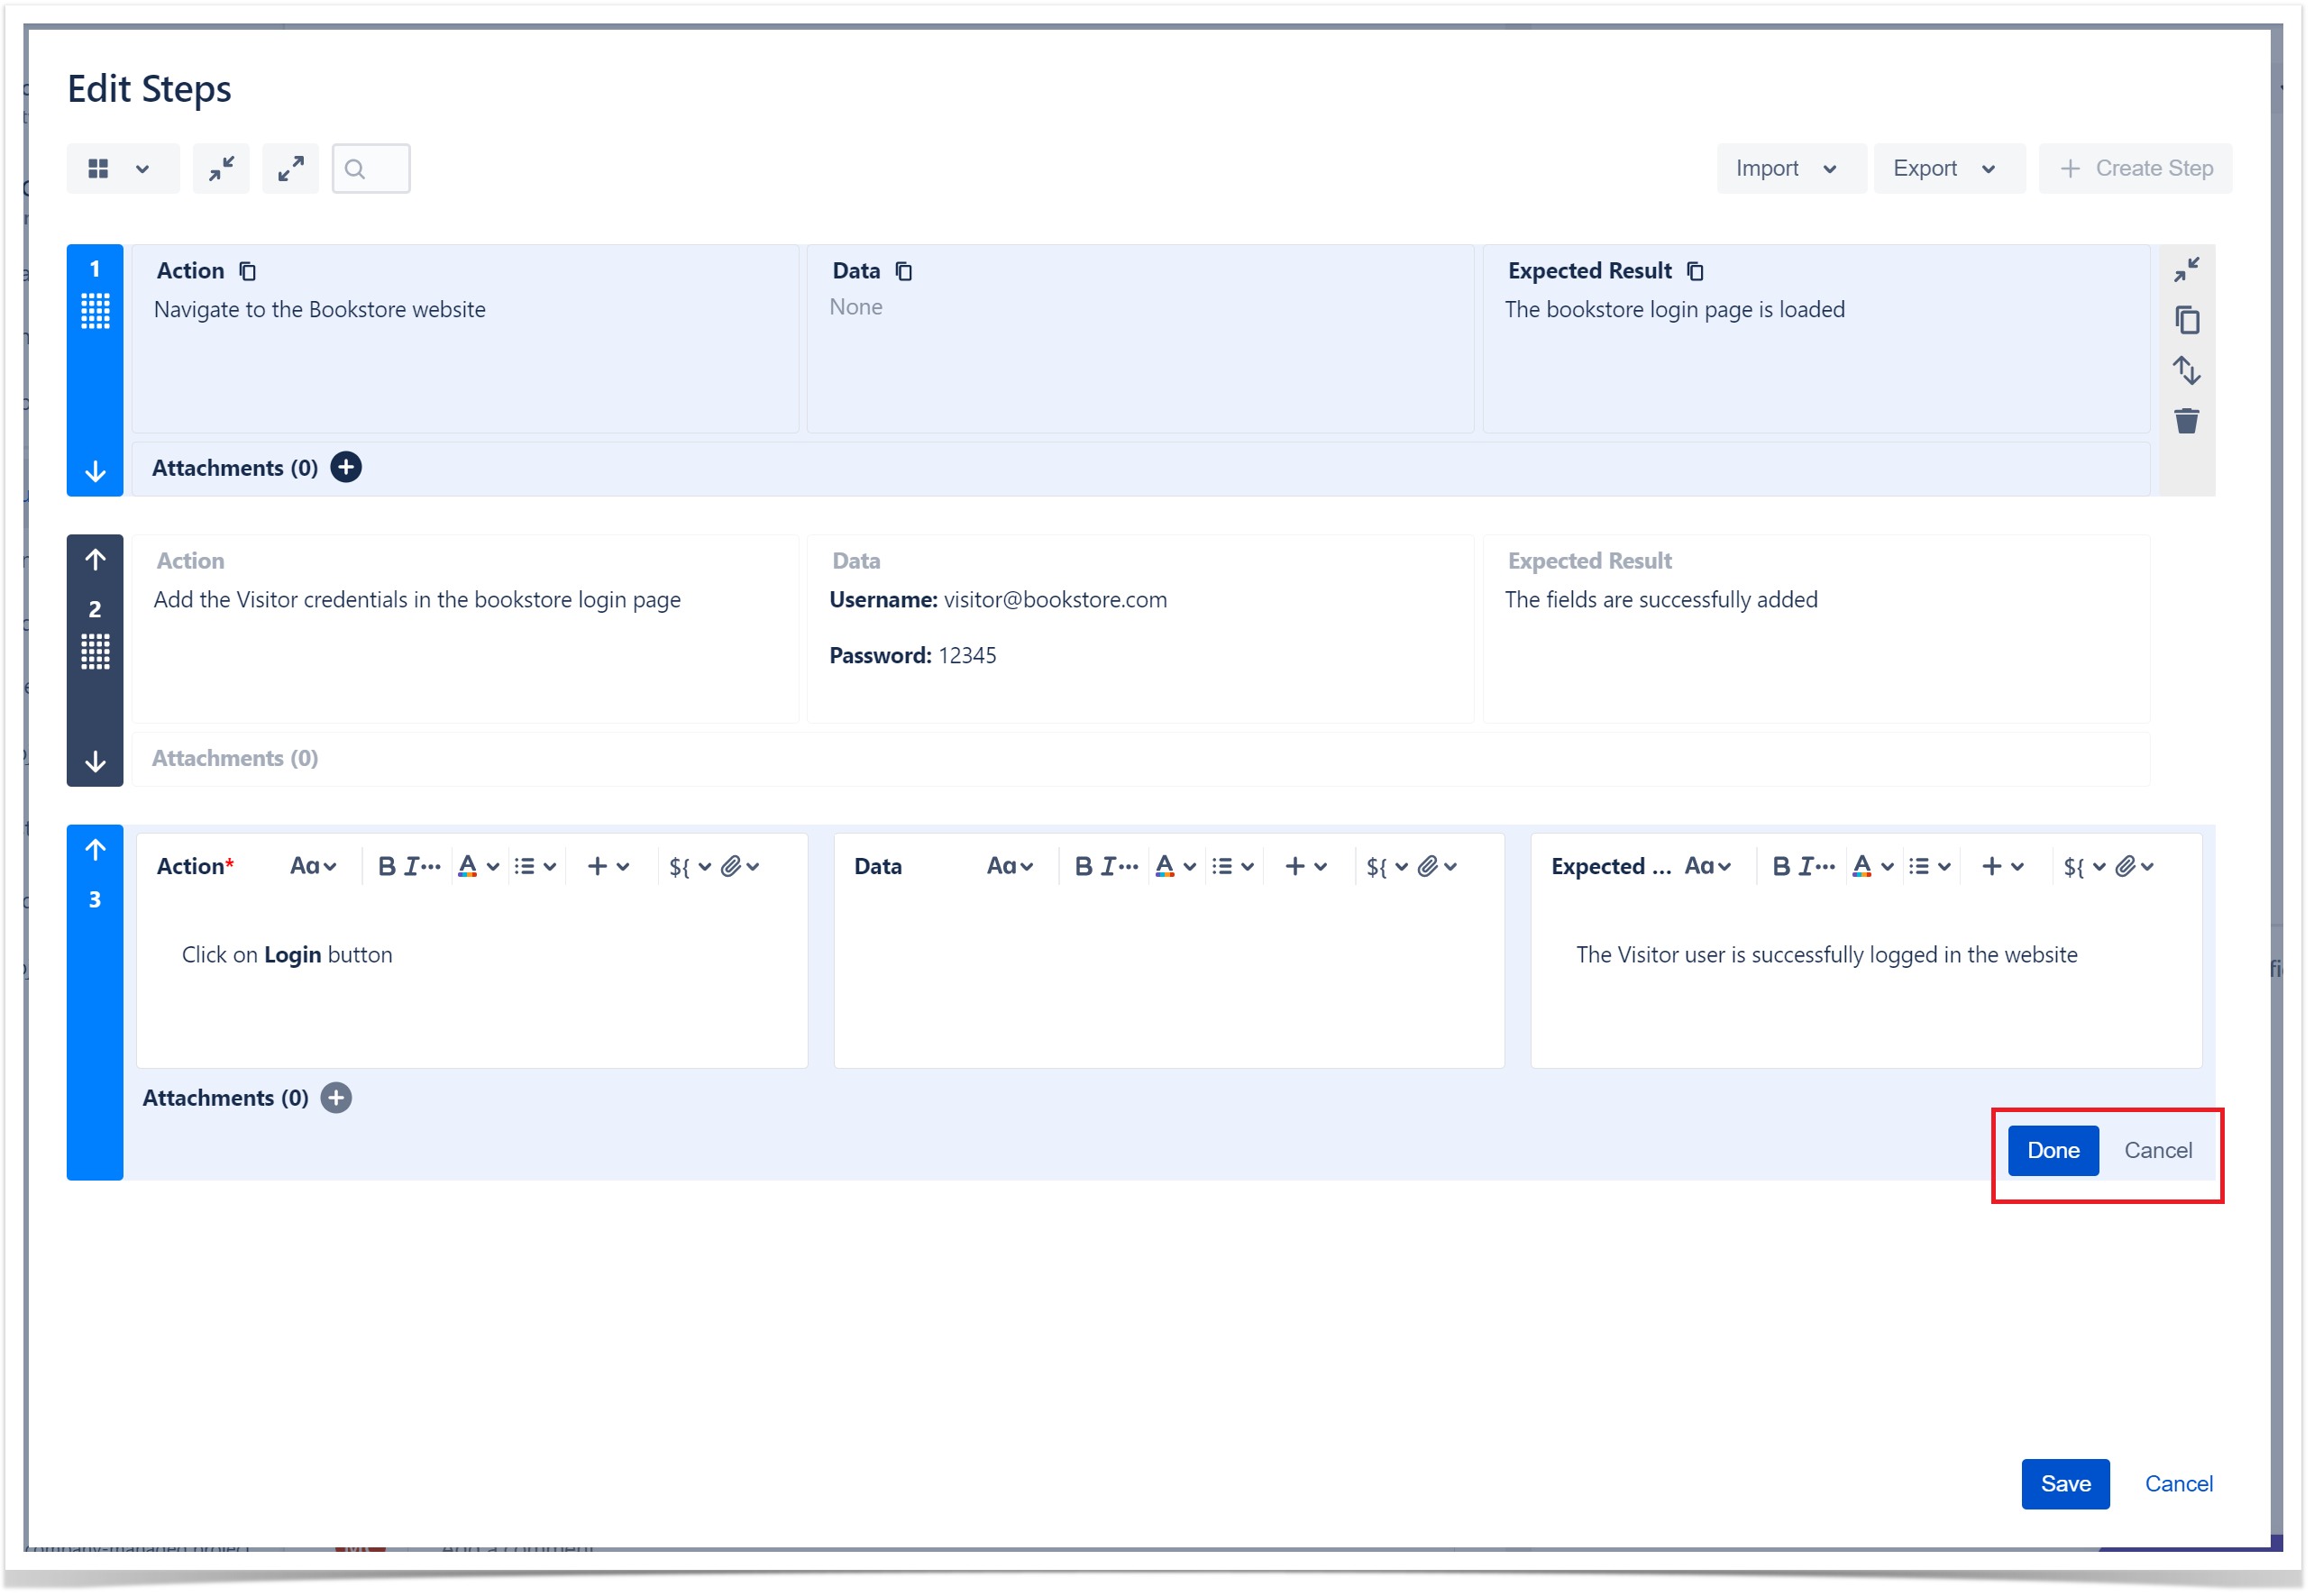
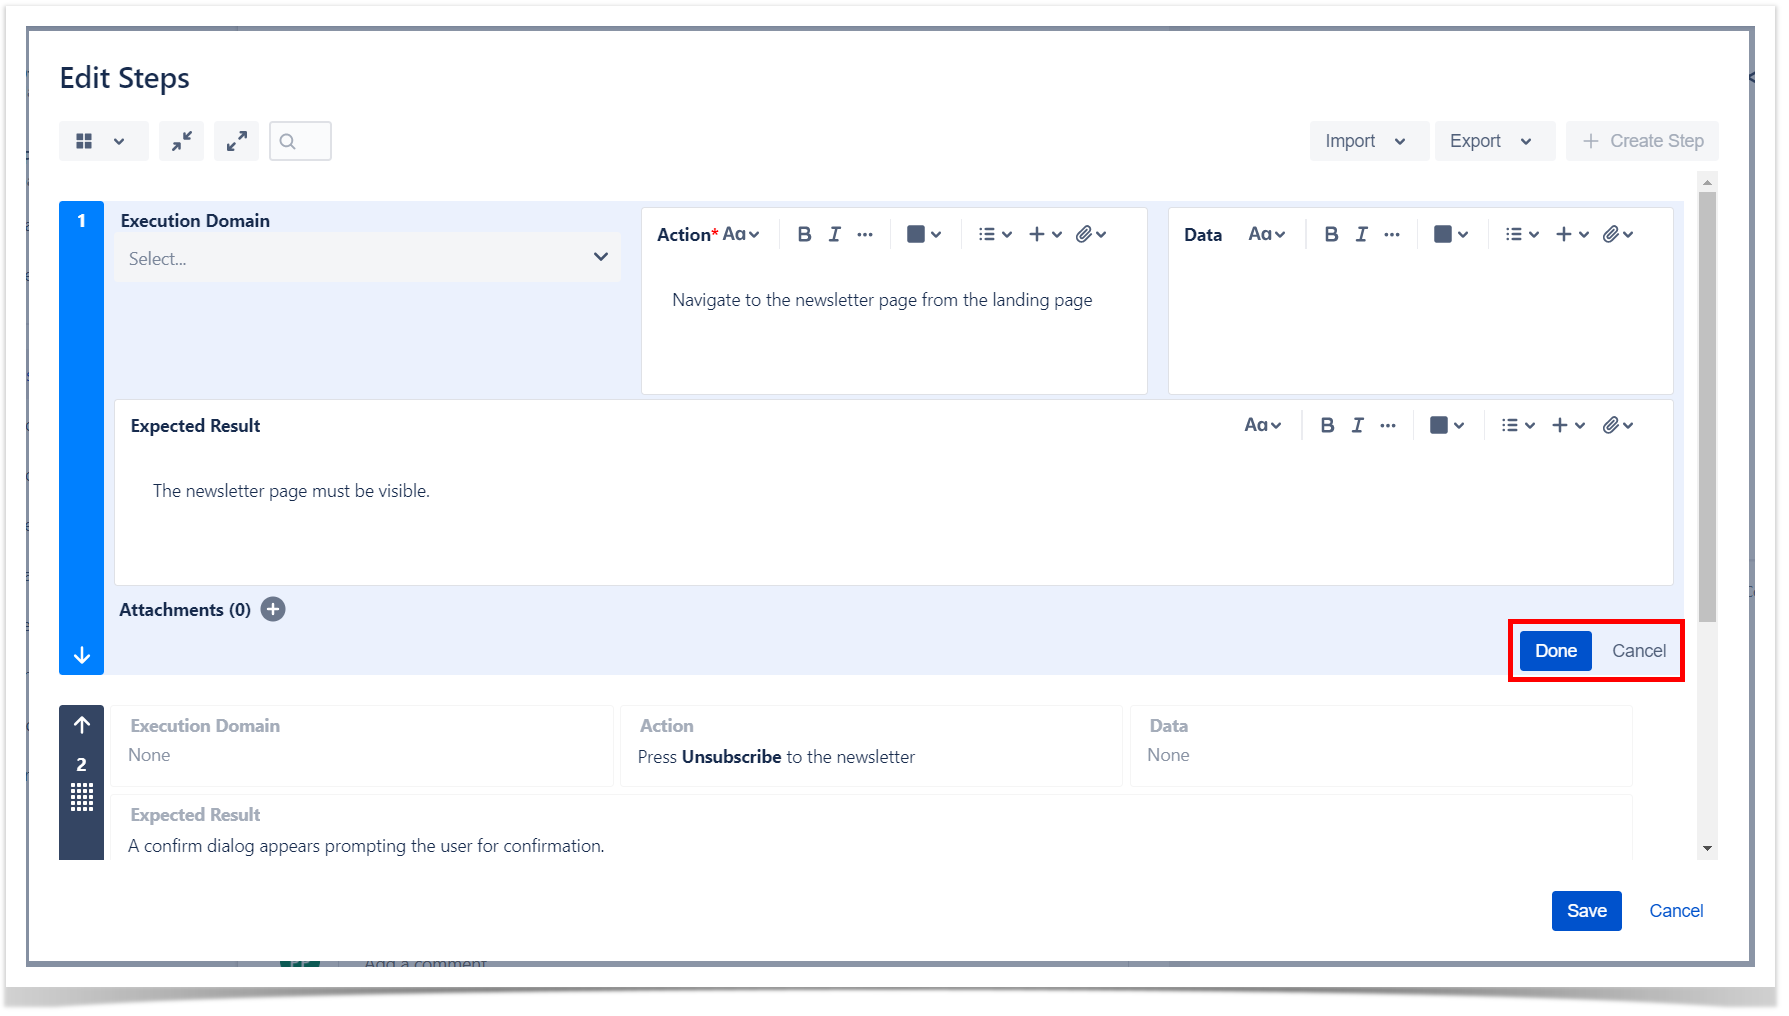
To edit a step, click on any of the fields of the step, and it will enter in edit mode. A step in edit mode is easily identified by its background color and by the Save and Cancel buttons at the top and bottom of the form. Once you are done editing the step you should press the Save button.
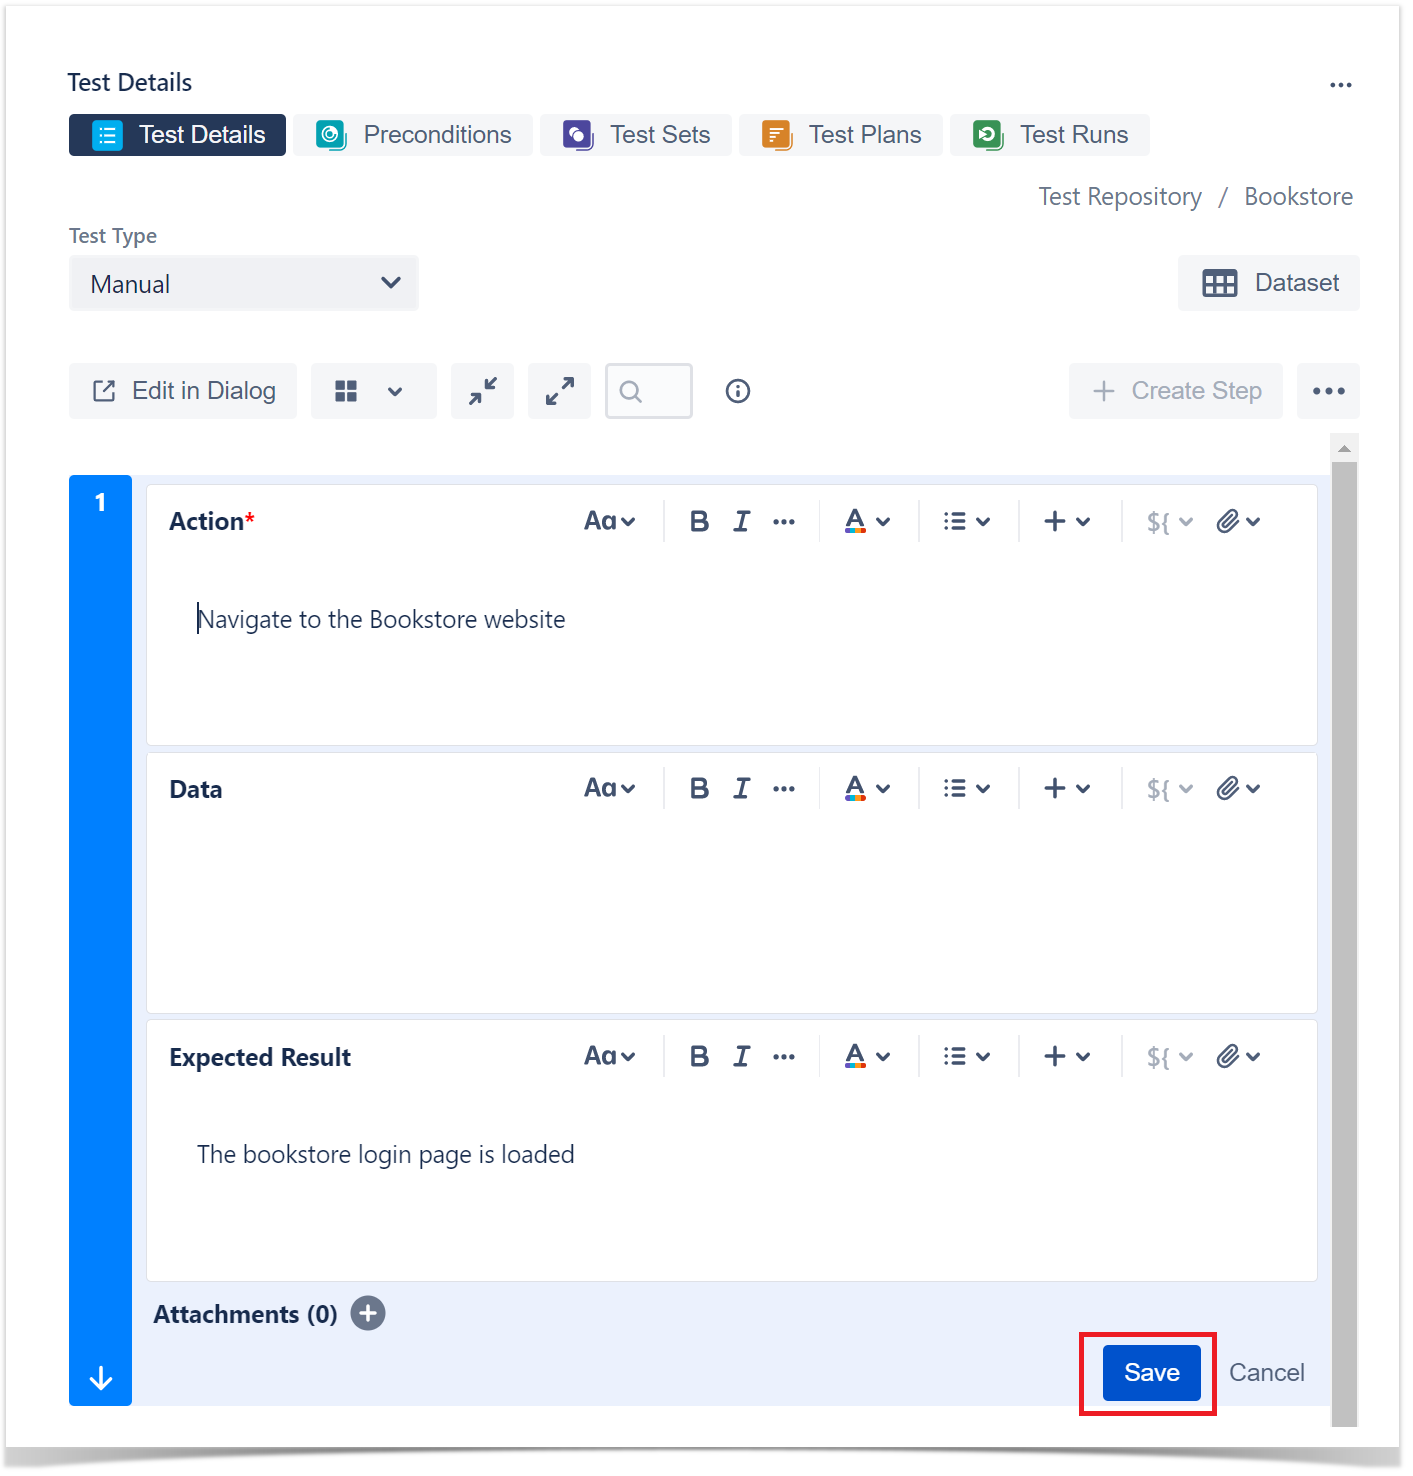
Note: For Parameterized tests, in the edit mode you will see that if you start typing "$" or you click in the "${" button, a list with the parameters name available will be displayed (only if there are parameters created in dataset).

To learn more about Parameterized tests, click on Parameterized Tests.

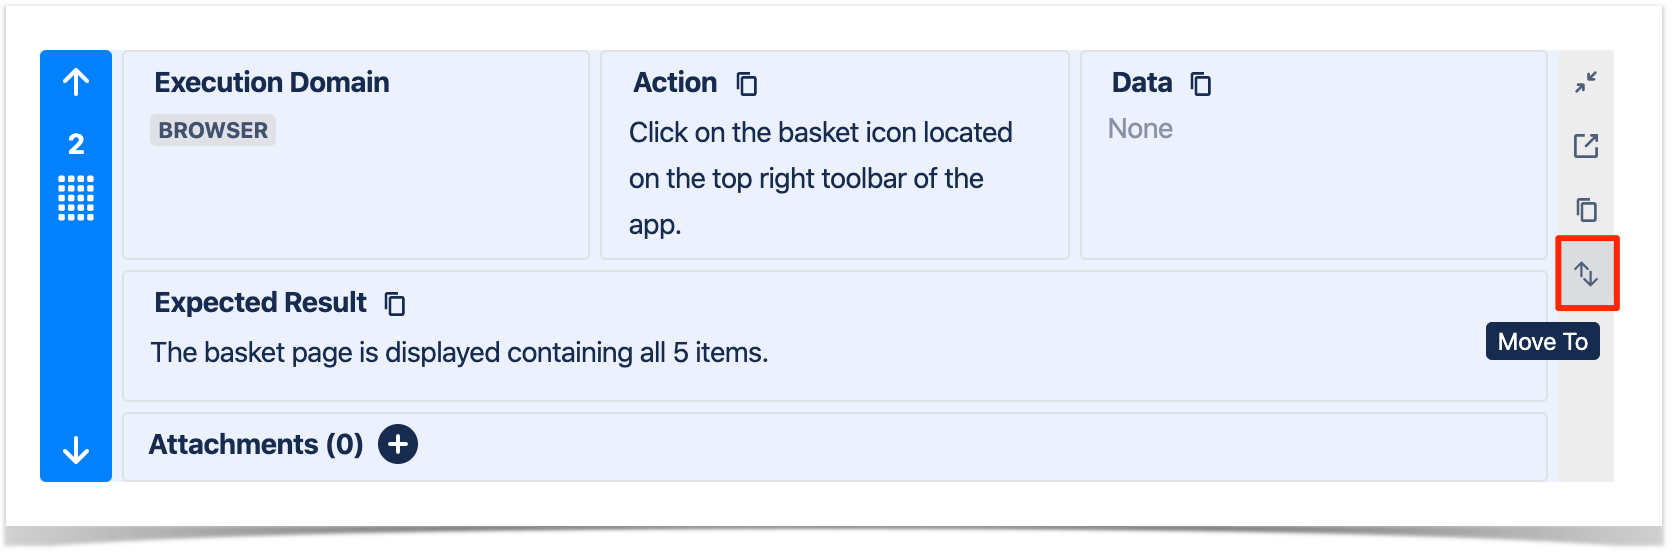
Rerank Steps
...
- by using the Change Rank dialog, you can change the rank of a step to a particular number clicking on the marked icon and entering the desired new rank and then pressing the Move button.

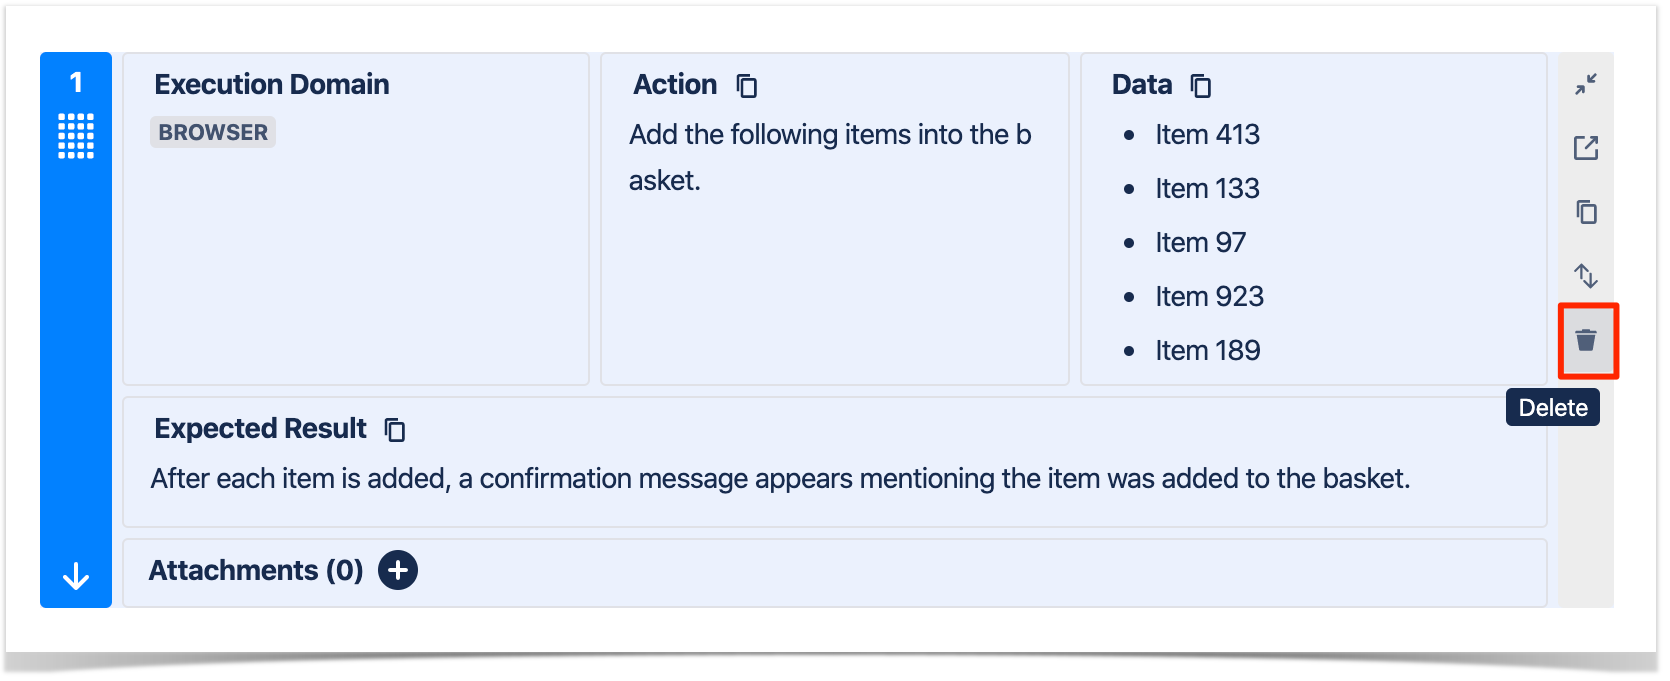
Delete Steps
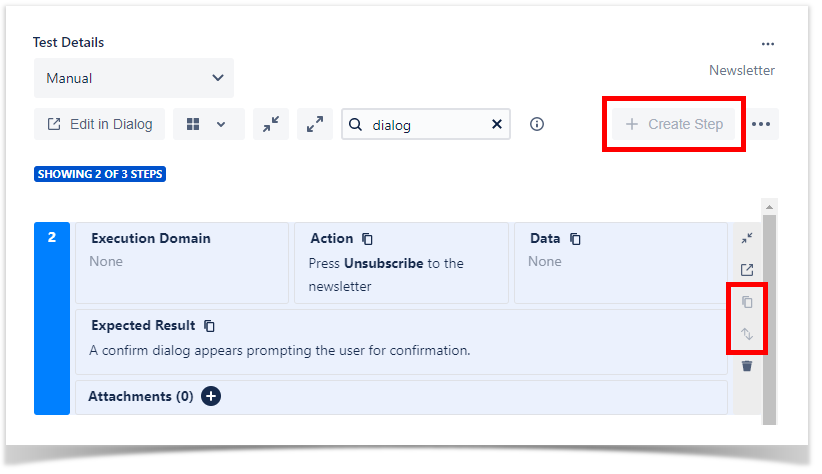
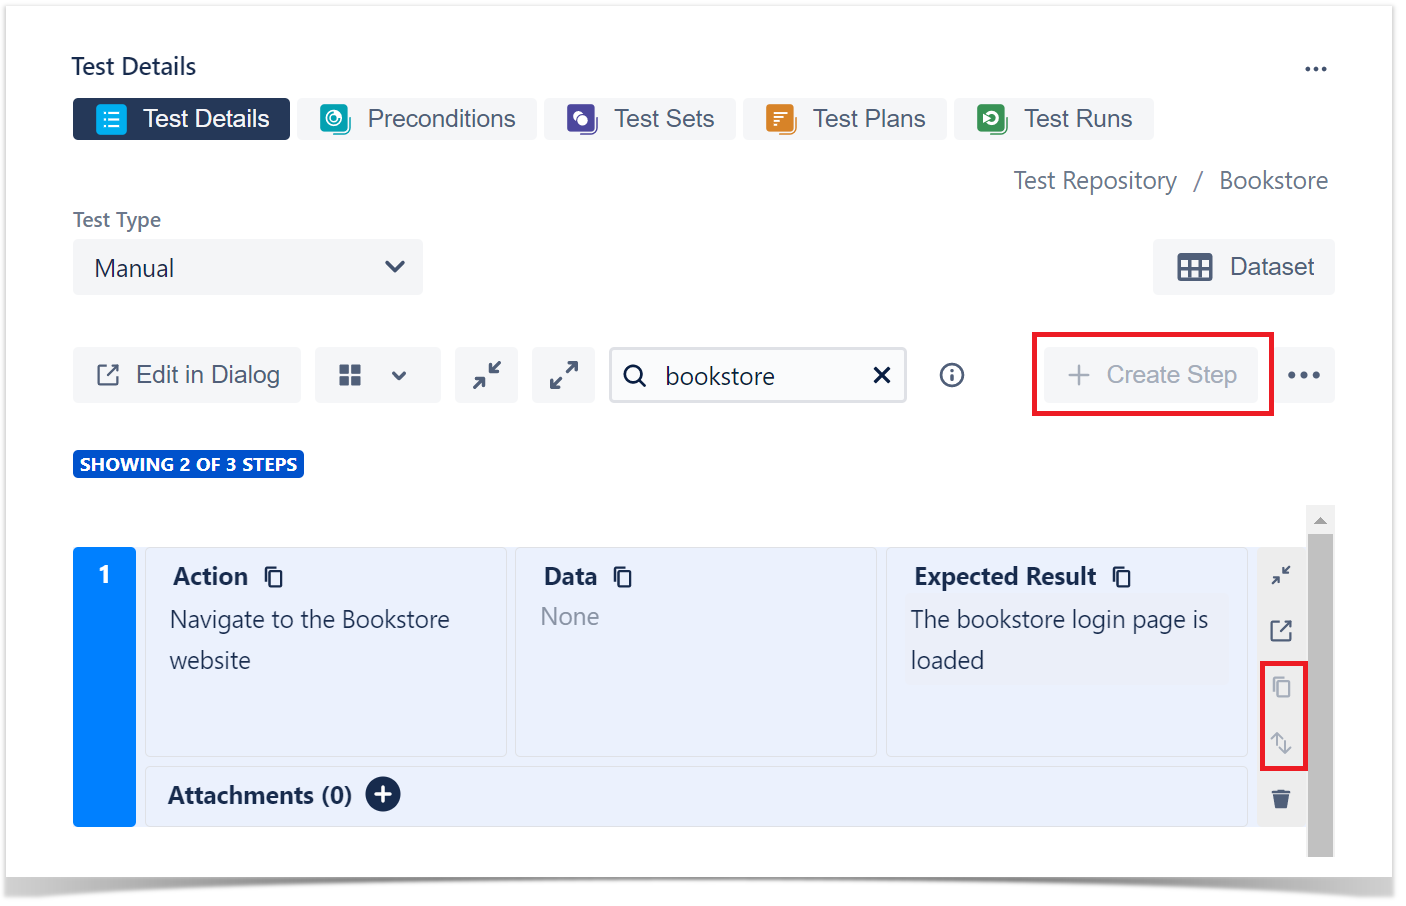
To Delete a step simply click on the marked icon.

Clone Steps
To Clone a step, simply click on the marked icon. The new step appears right after the cloned one.
...
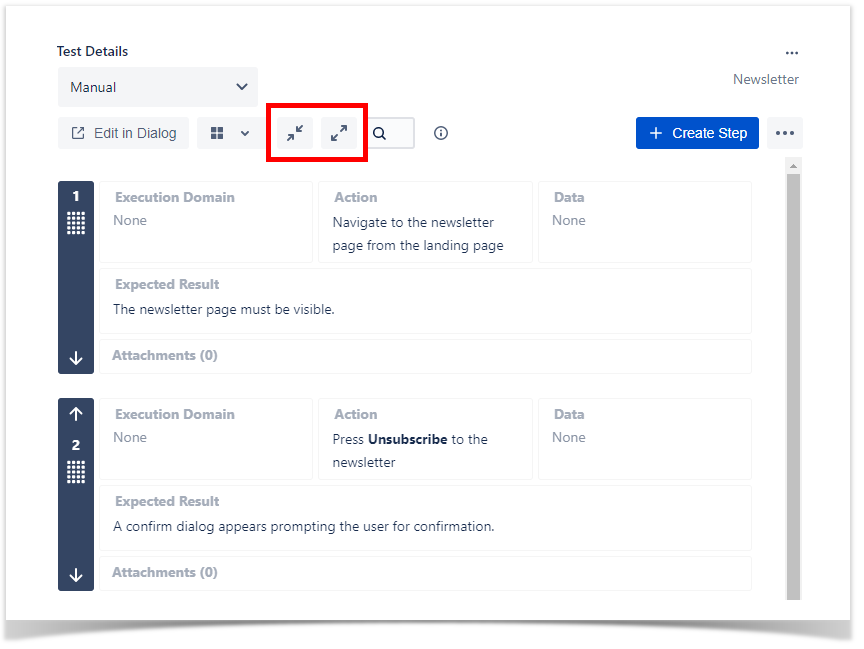
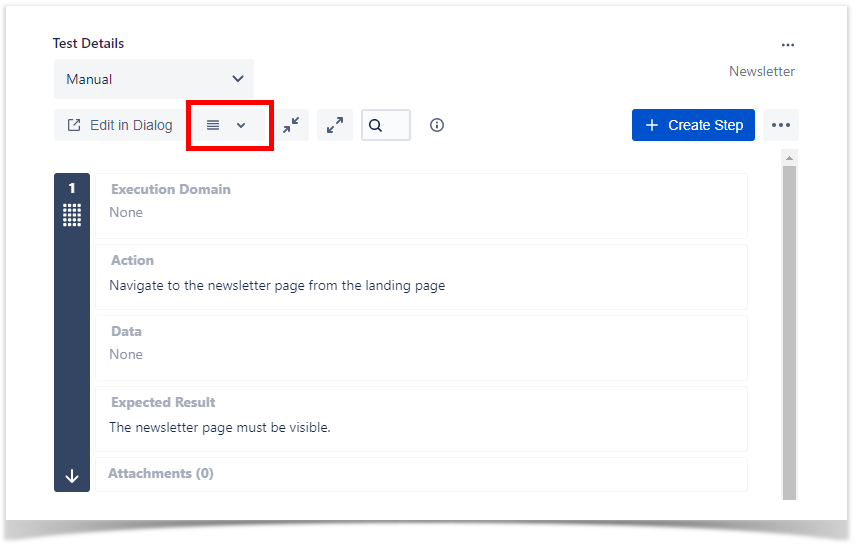
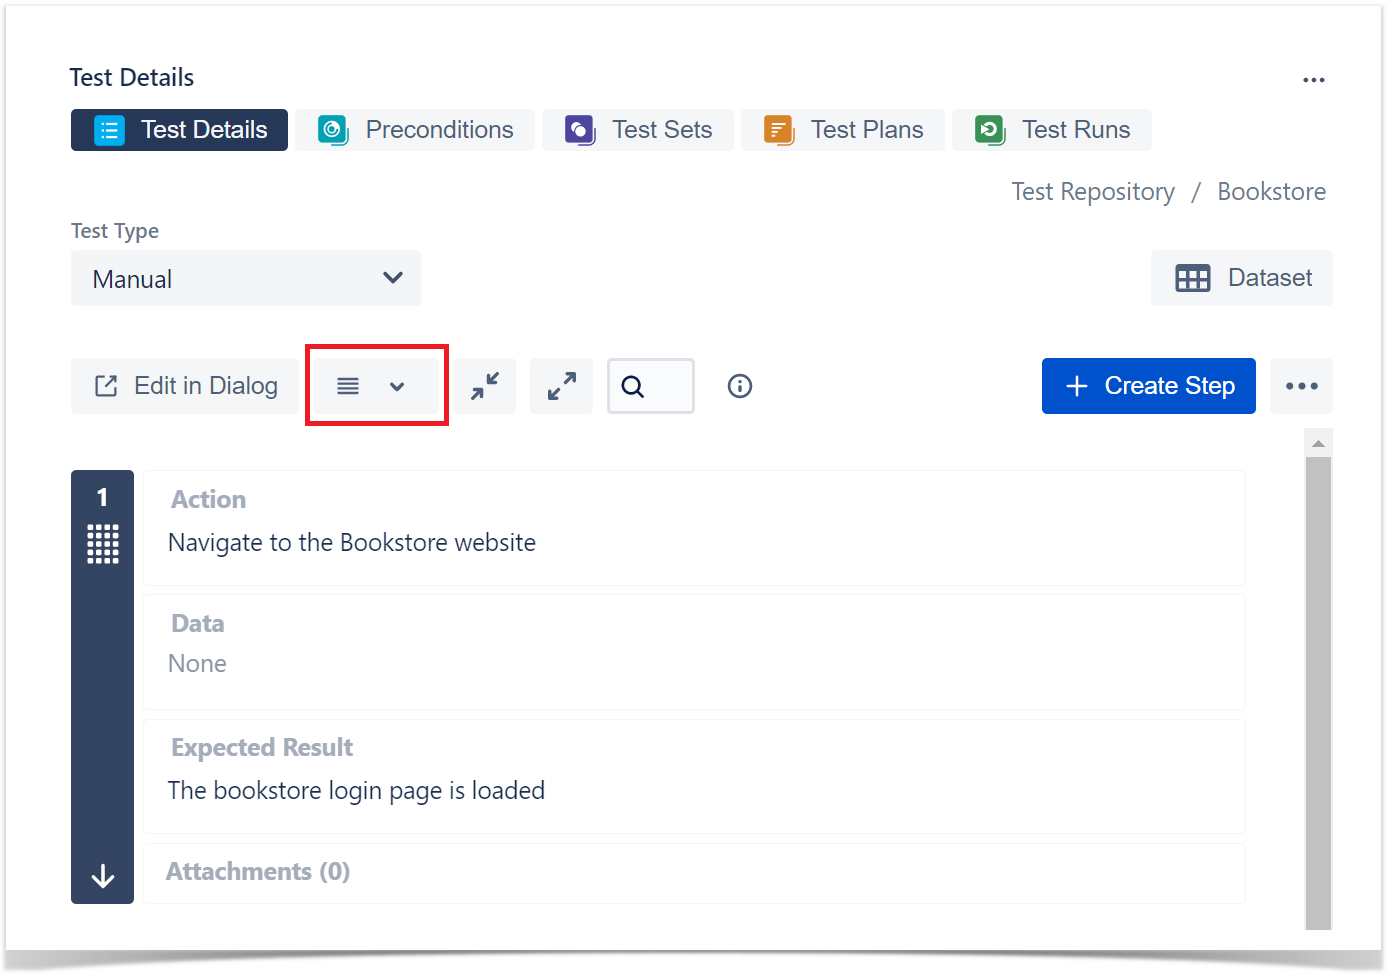
It's also possible to do the same for all steps at the same time. This can be useful in order to have a quick overview of all the steps.content The left icon in the marked section will collapse all the steps and the right one will expand all steps.

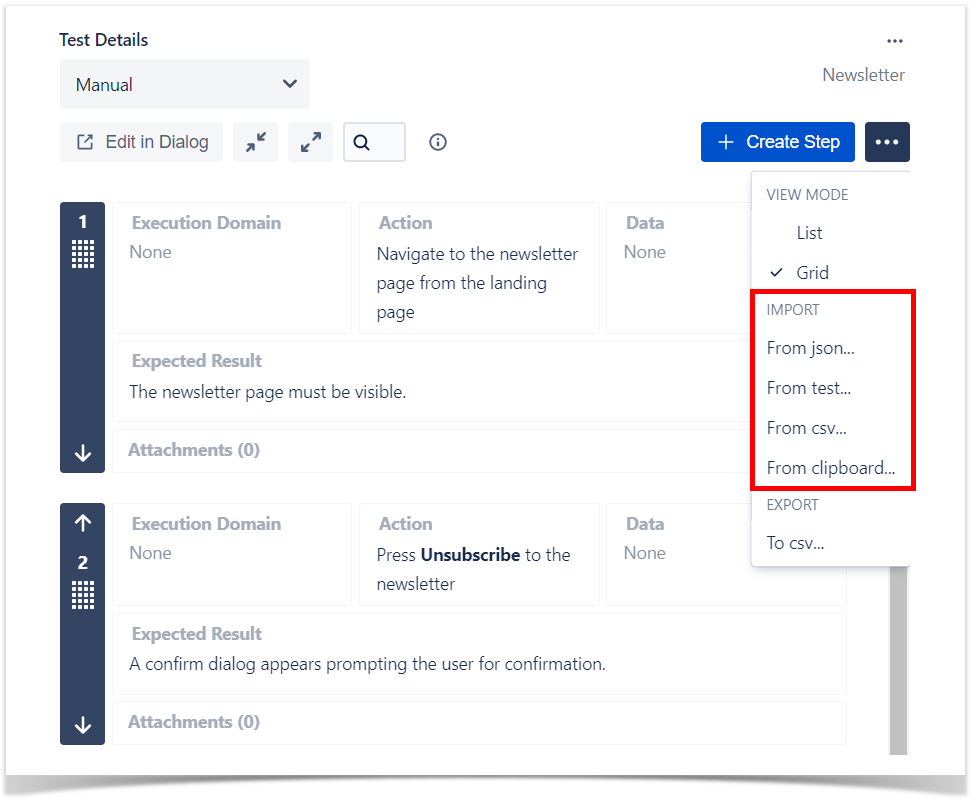
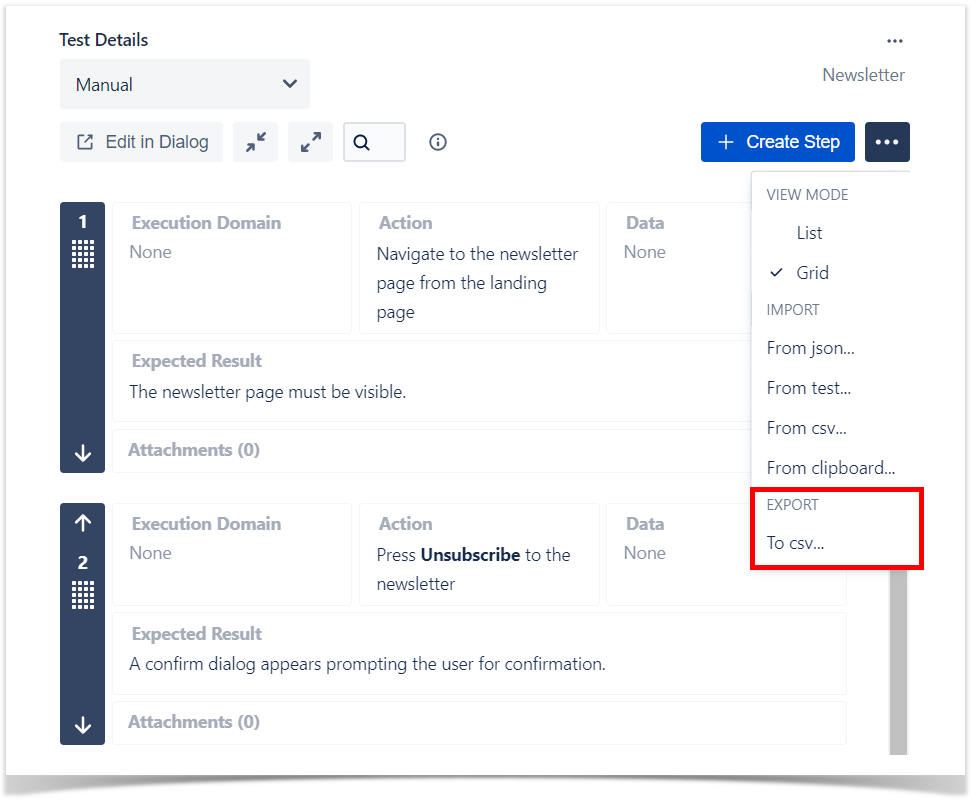
Change View Mode
The steps can be viewed in 2 modes: List and Grid. The view mode can be changed in the top toolbar of the Test Steps.
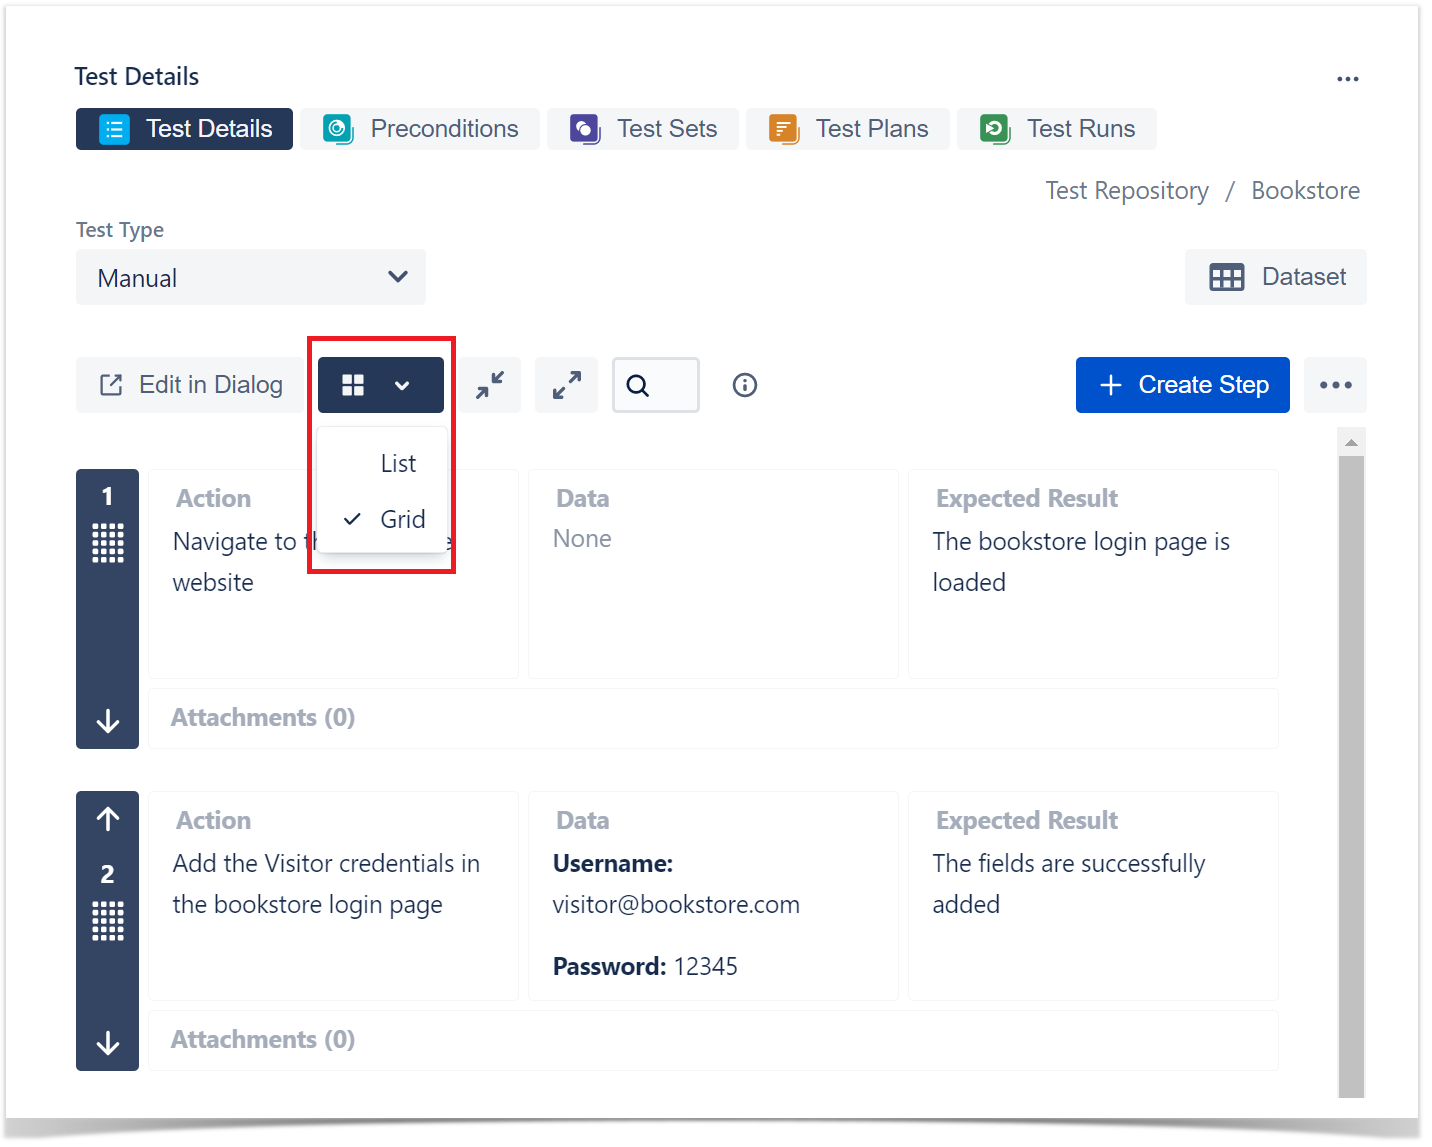

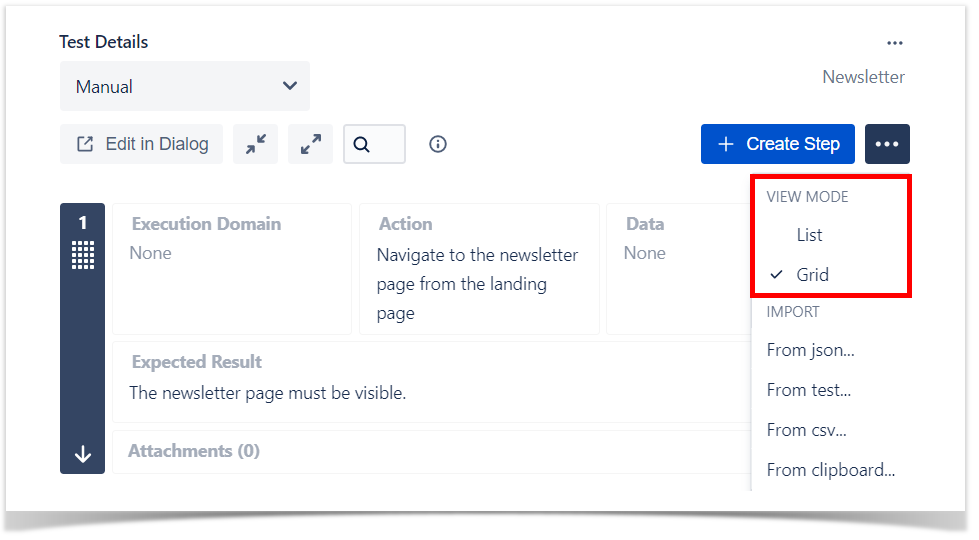
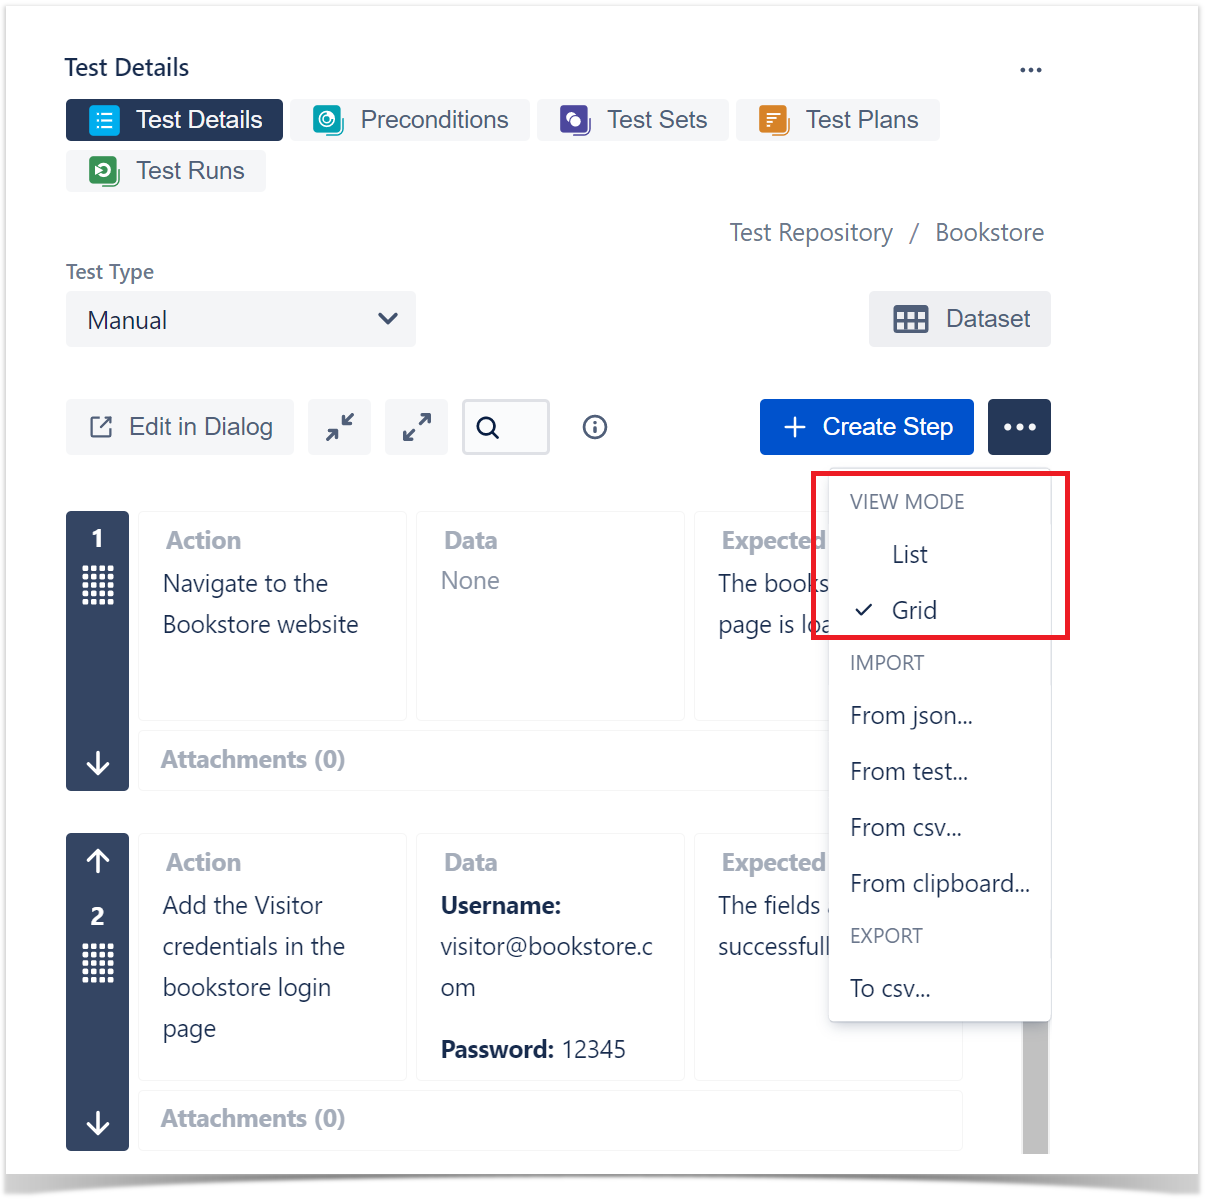
The List mode is advised if the steps have a large amount of content, and you need to view all of it instead of having a quick overview of the step.
The Grid mode is more compact, and it's better used to view multiple steps at the same time.
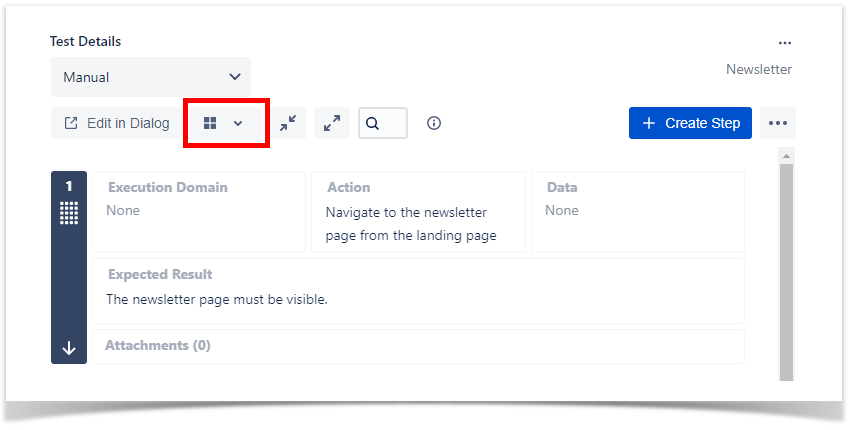

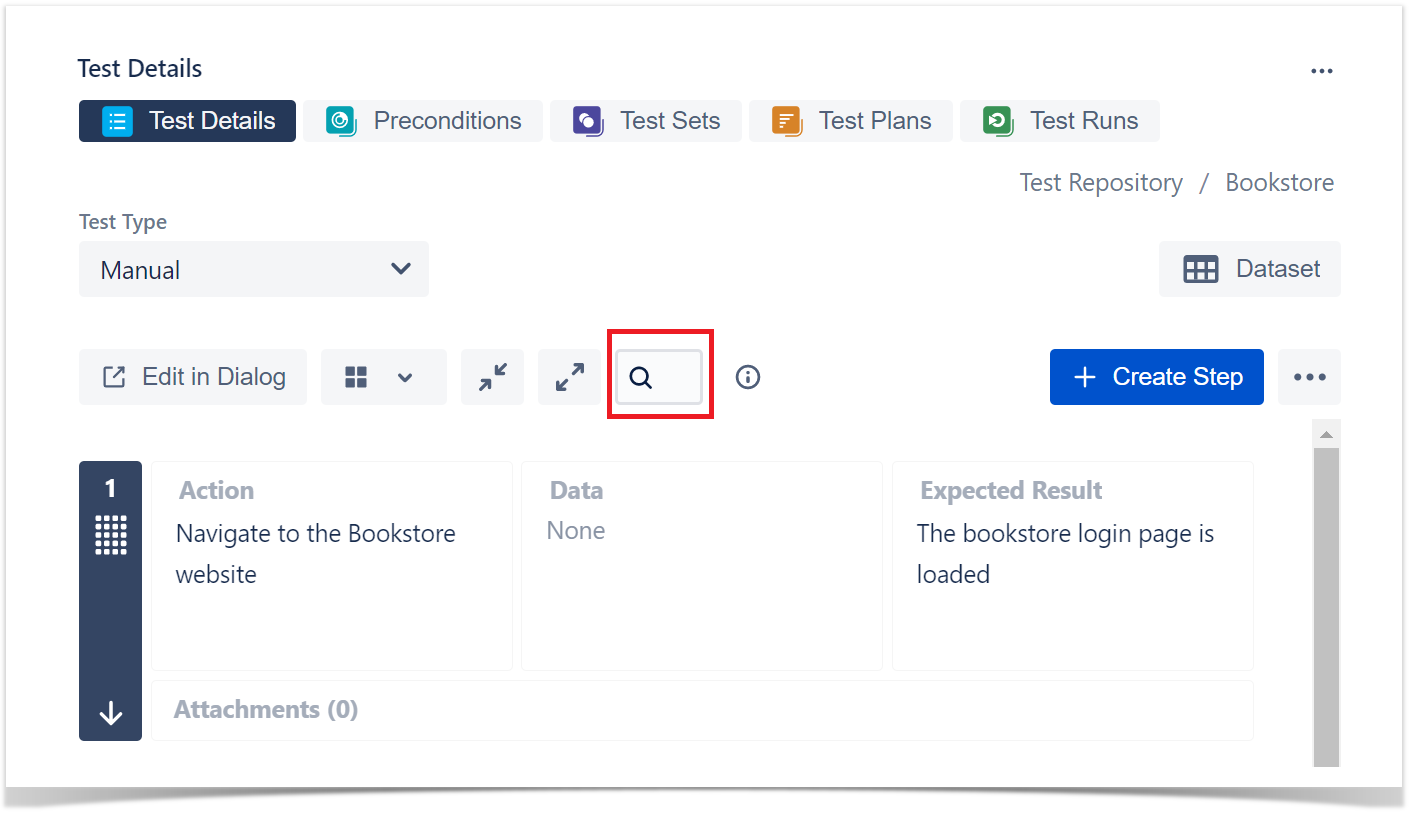
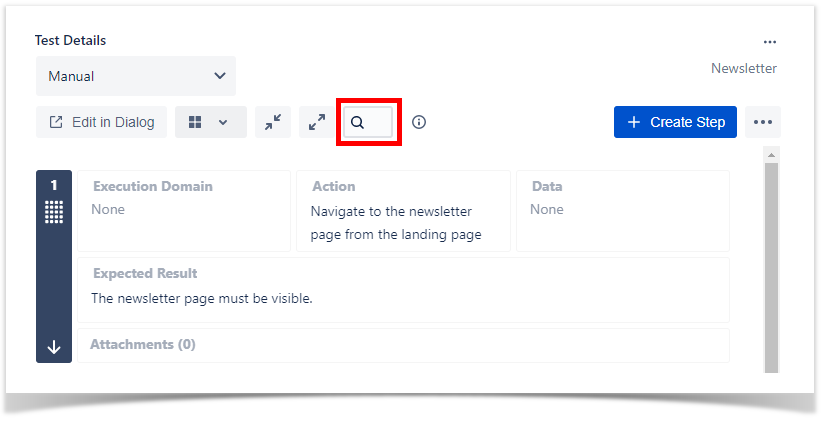
Search Steps
It's possible to search for steps containing a specific text using the search bar.
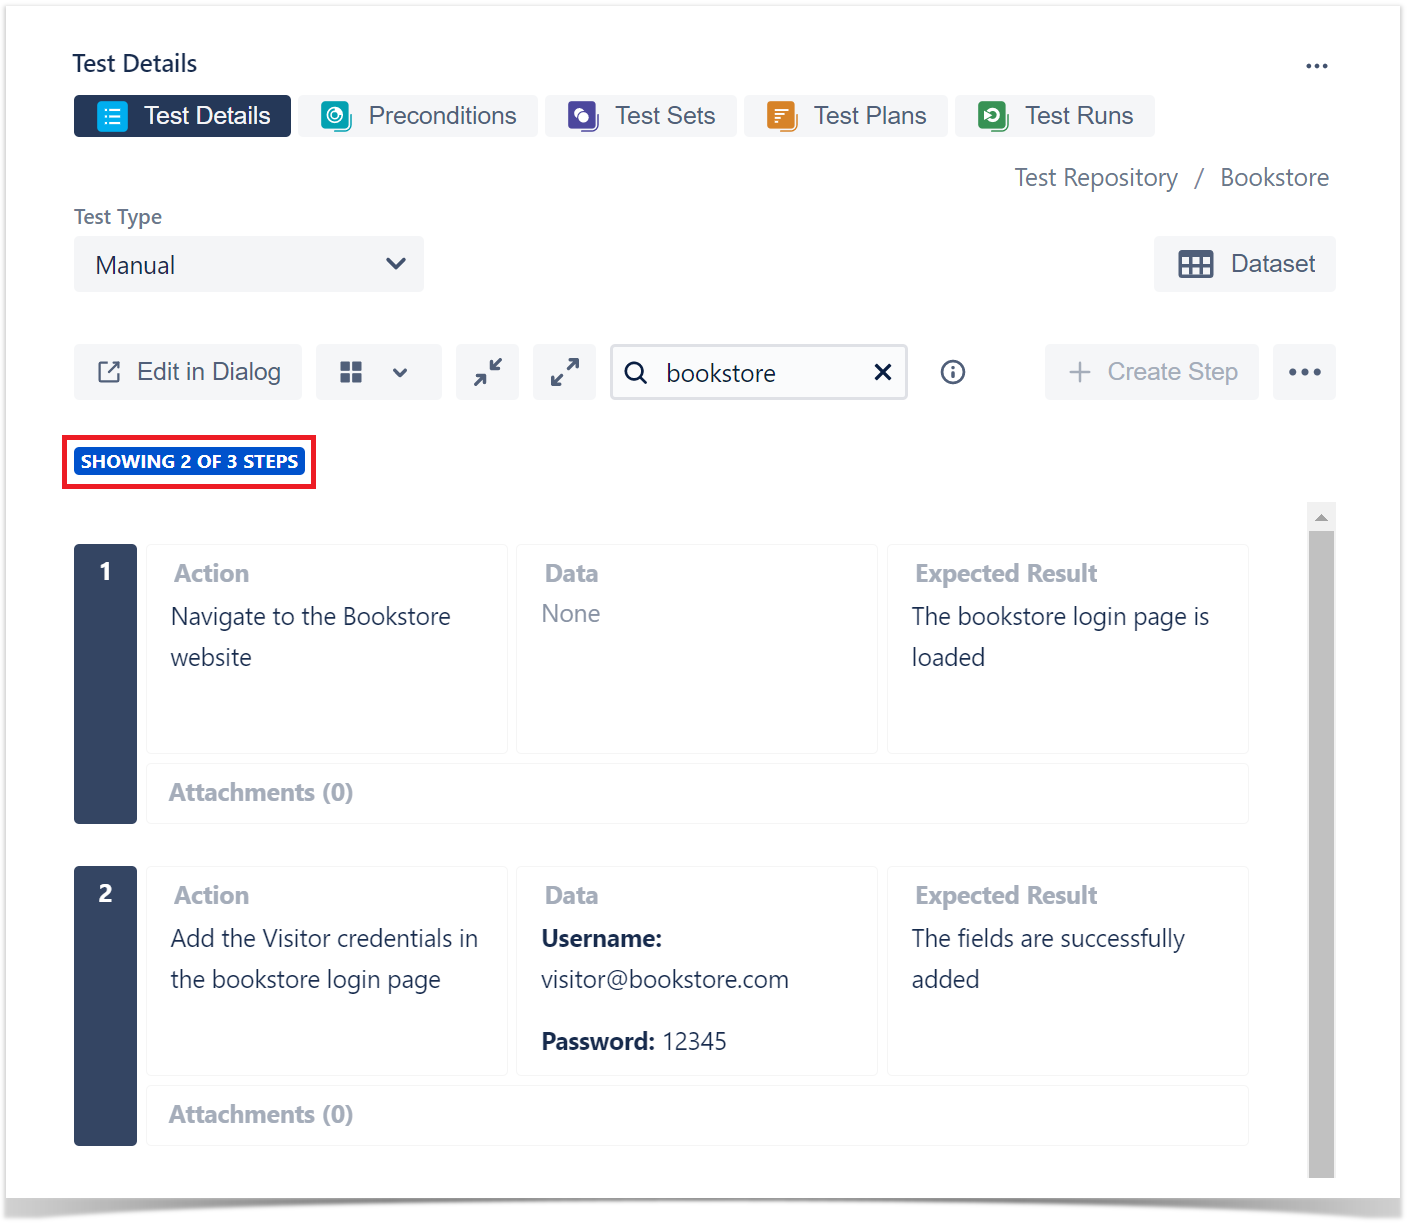
When text is introduced into in the search bar, it will enter into an active search state and only the steps that include that text in any of its fields will be displayed. The search is case insensitive.
The steps displayed in the search results will be automatically expanded.
An active search can also be identified by the search results overview at the top of the steps list indicating how many steps are being showed currently from the total steps available.
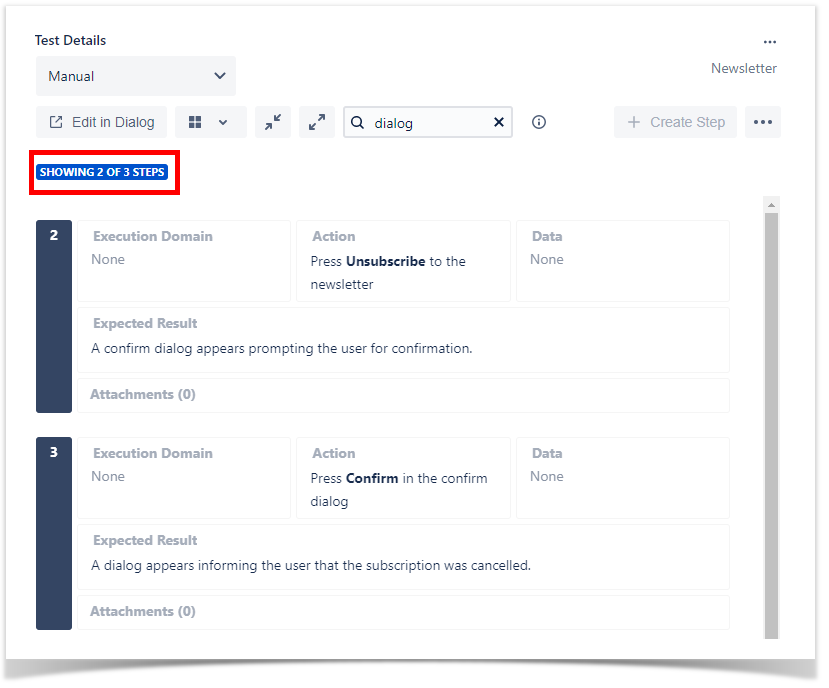
In an active search state, the following step actions are disabled:
- Create
- Rerank
- Clone
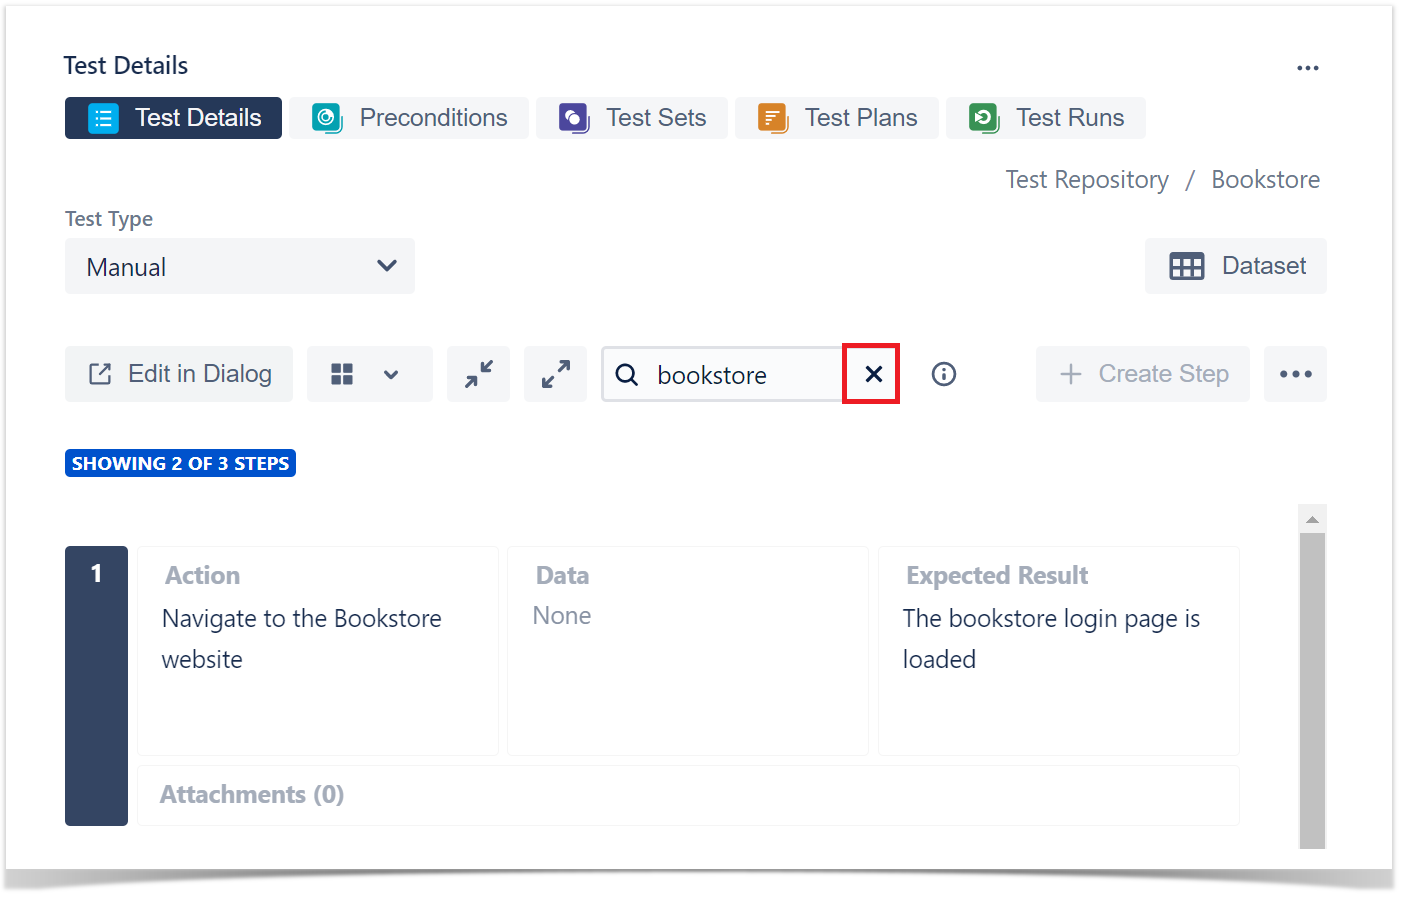
An active search can be dismissed to return to the normal test steps view by clicking the "x" icon in the search bar or by manually clearing the text there.
![]()
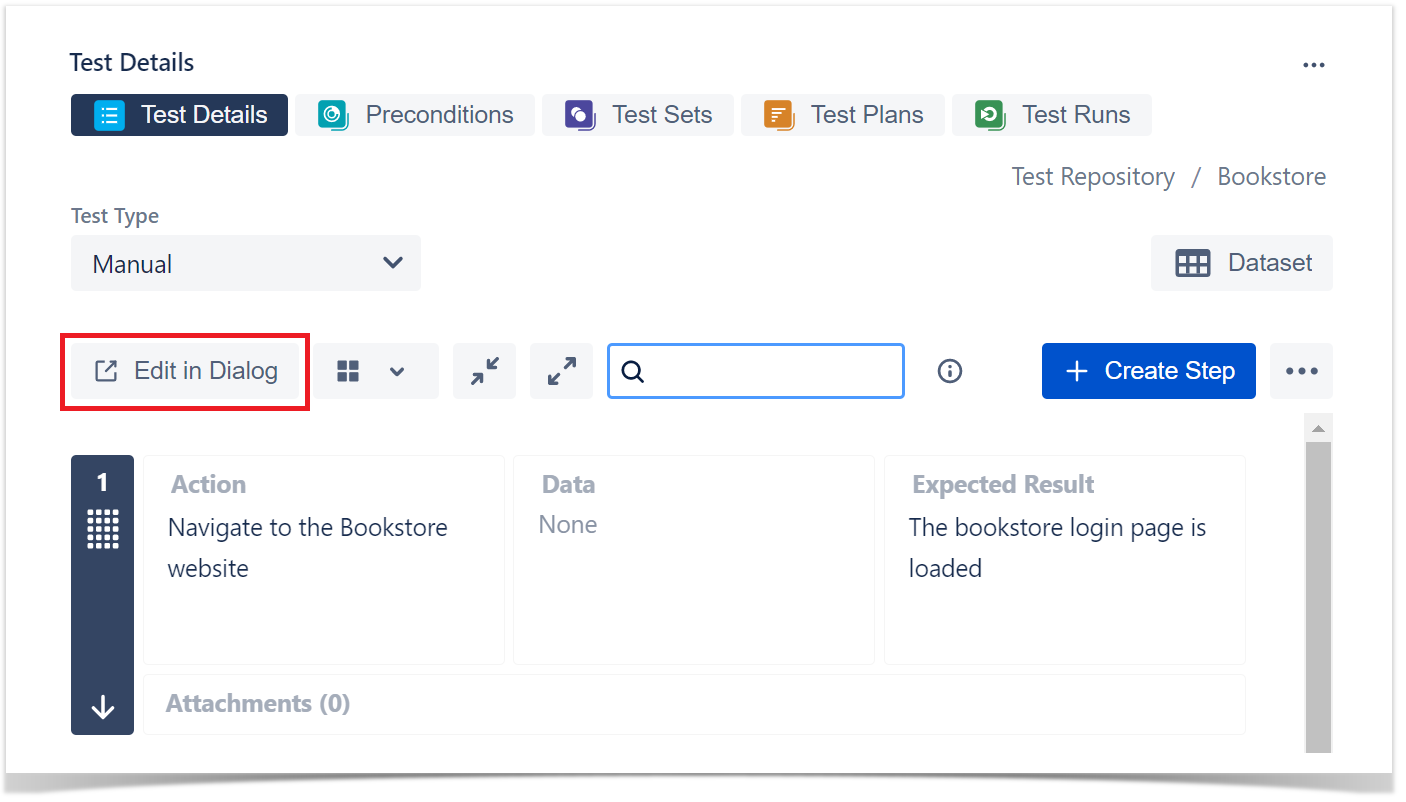
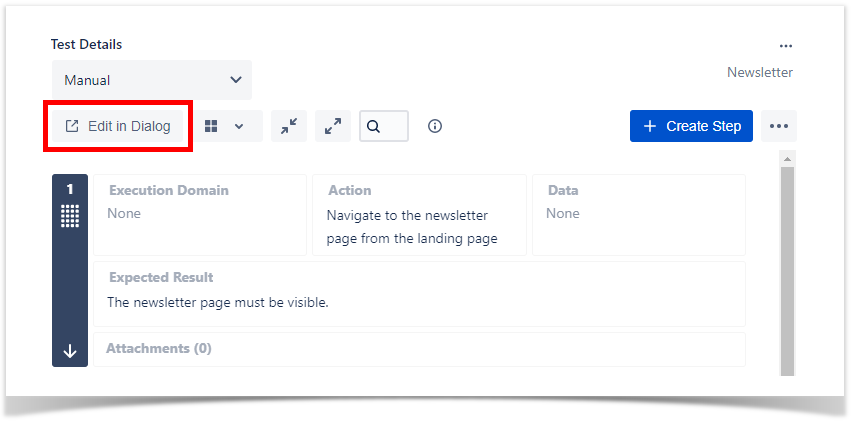
Edit in Dialog
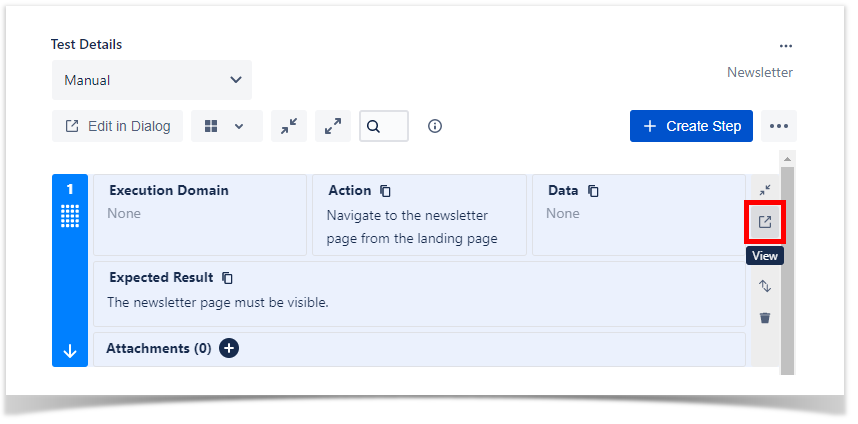
It's possible to do all the actions mentioned above in a dialog. To open the dialog click the Edit in Dialog button or pick a step and press the first icon of the actions toolbar.

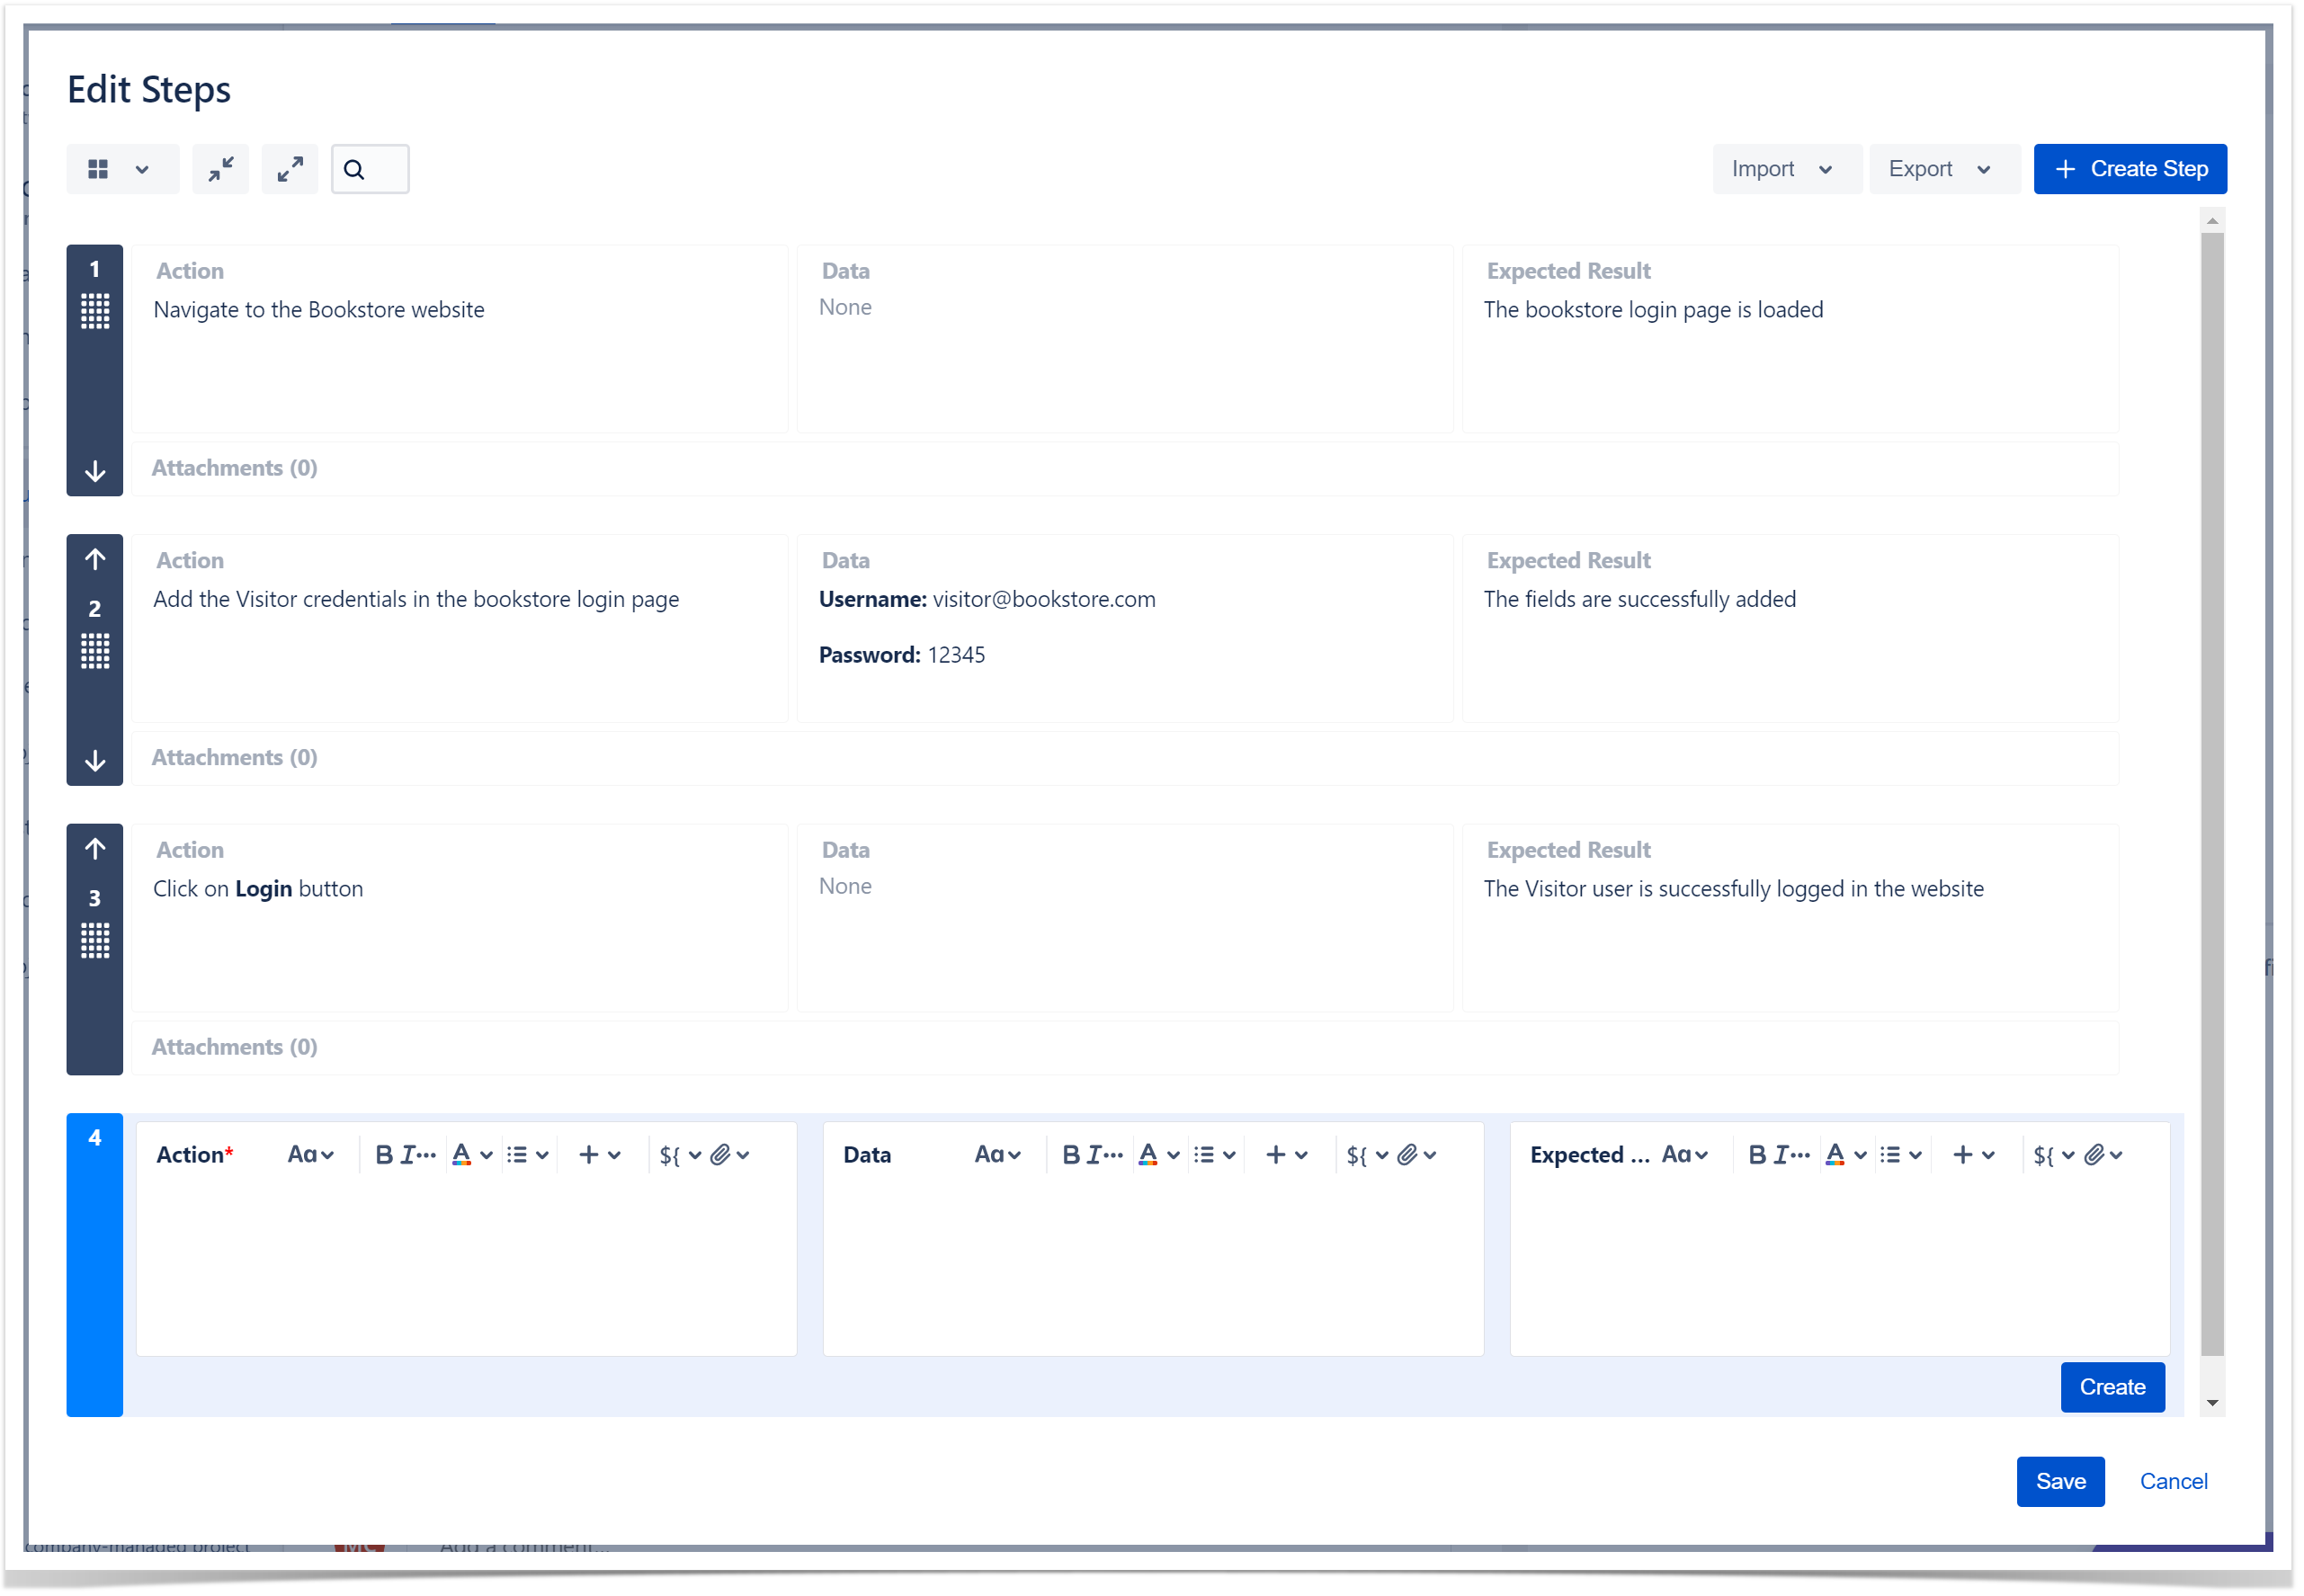
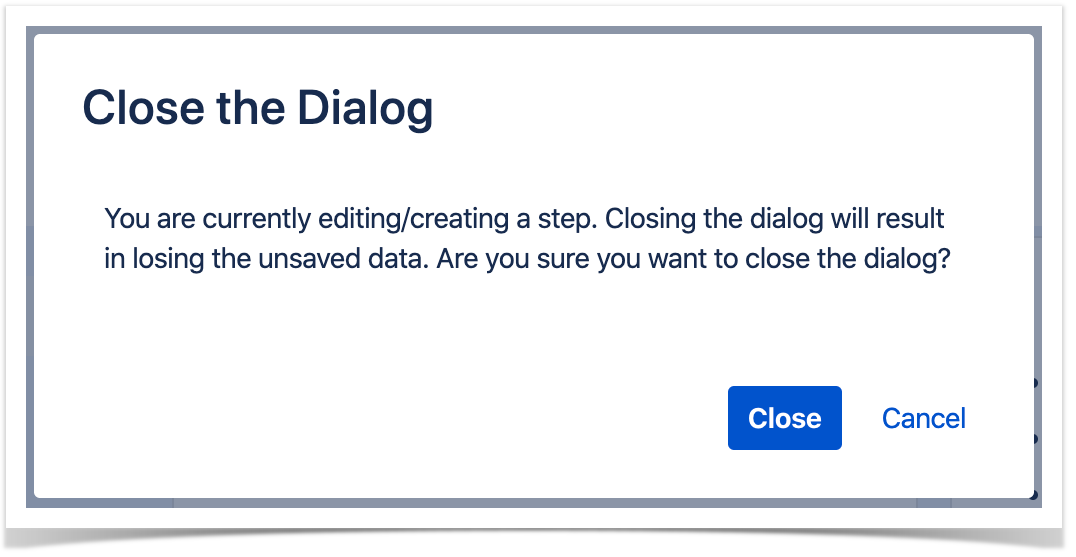
The only difference between the Dialog and the Issue view is that on the Dialog the steps are only saved when the Save button at the bottom of the dialog is pressed and not when you press the Done button in the edit/creation form of the step. This means that you can edit multiple steps at the same time and if at the end you want to revert the changes you just have to click Cancel. If you want to save the steps you click Save. When doing so, without first pressing the Done button and after a change has been made, a dialog message is displayed warning the user for unsaved changes.
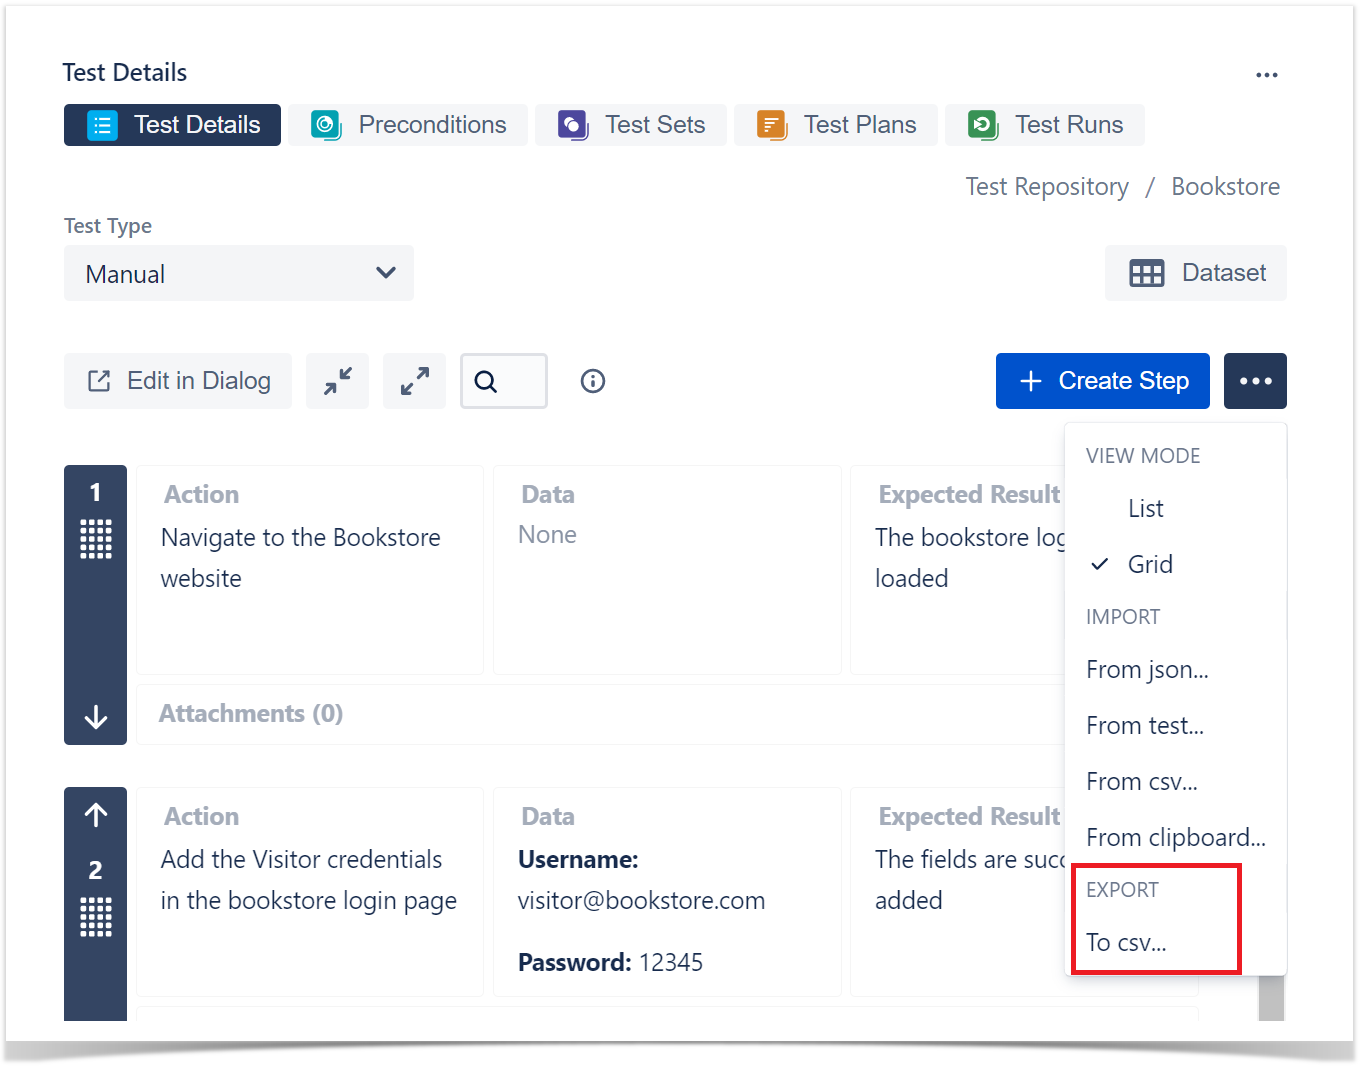
Import Steps
Test Steps can be imported from external sources such as:
- Test
- CSV
- JSON
- Clipboard
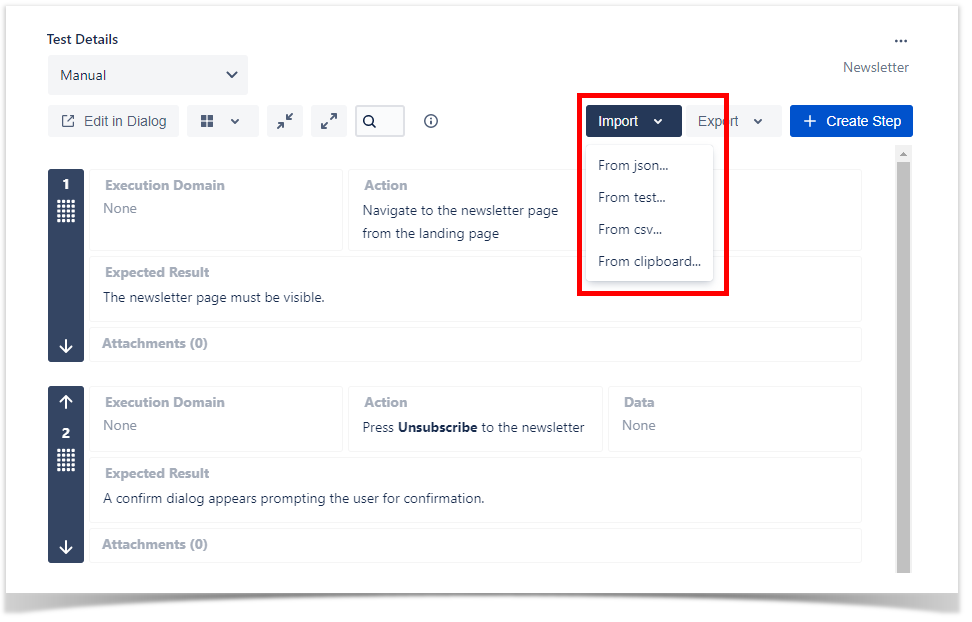

Overall, you can configure which columns you want to import, including if you want to override the steps already present in the Test.
...
The first screen of the dialog allows you to paste the steps that you want to import, the delimiter and the list delimiter that is used in the pasted steps, a checkbox to specify if the pasted steps have a header or not, a checkbox to allow you to choose if you want to override the steps already present in the Test and the Date and Date Time format that the date/time should be in. After the file is selected, the Next button will be enabled.
...
Manual Test Steps can be exported to CSV by clicking Export Steps in the Test Details section of the Test.
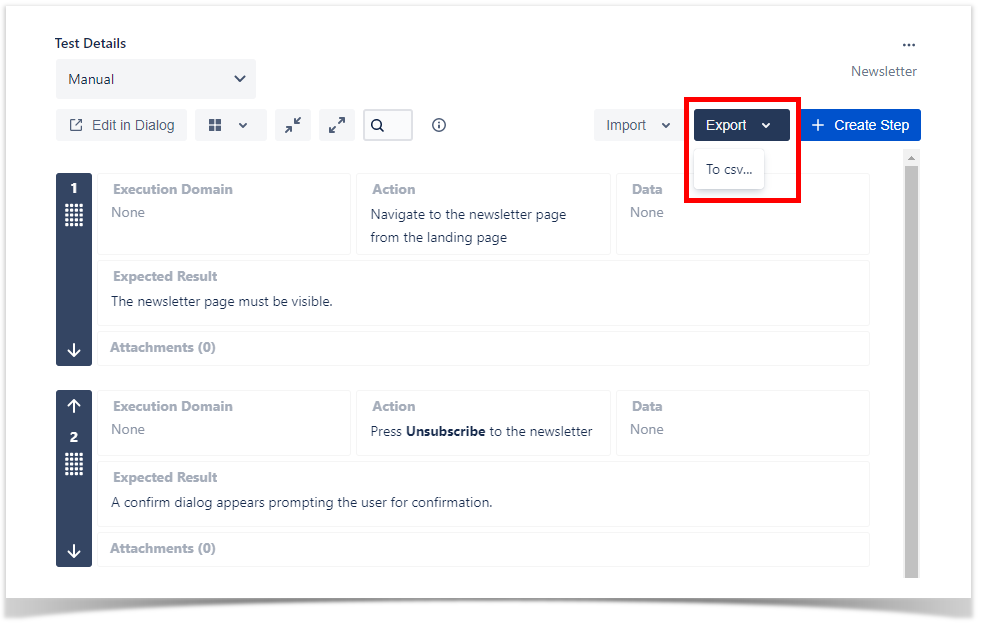
The following dialog will pop up.
...
The result will be a CSV file containing all the configured test steps fields and, if the option is selected, the Attachments column that contains the attachments links.
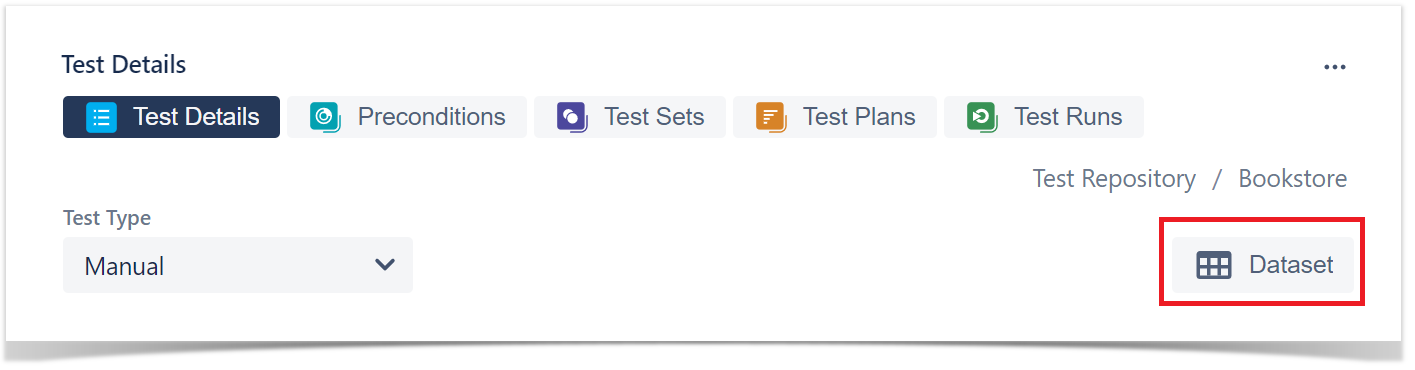
Manage Dataset
A default dataset can be defined, edited, or simply viewed in the Test page using the Dataset button. To learn more about it, click on Parameterized Tests.