
You can use the Xray's Test Case Importer (a JIRA Importer Plugin extension) to import Manual Tests from a CSV source file.
Before importing
The CSV source file must follow some simple rules.
You can name the fields as you wish since they are going to be mapped during the importation process, but there are three mandatory fields:
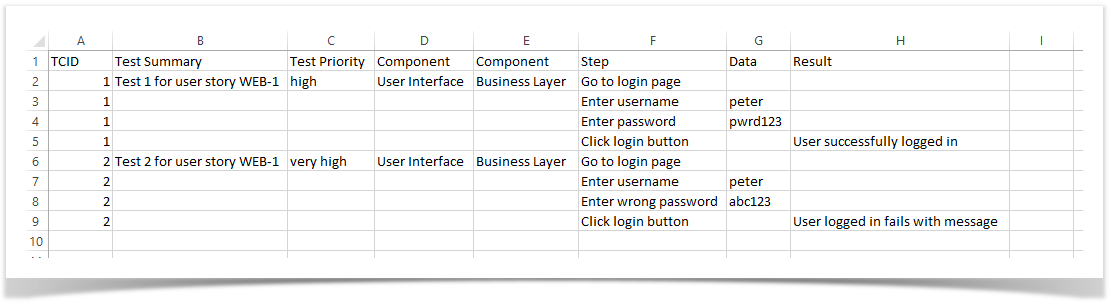
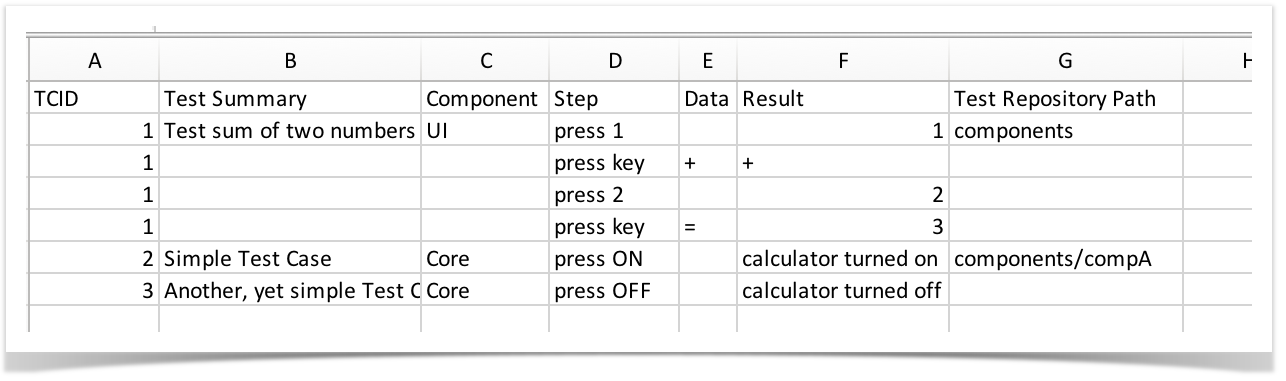
- Test Case Identifier – this is the field used to identify which lines belongs to which test case. In the example bellow, it is the TCID column.
- Summary – this field is mandatory since JIRA doesn’t allow to create an issue without a summary. In the example bellow, it is the Test Summary column.
- Step – this field is going to be mapped as the Step field of a Manual Test Step. In the example bellow, it is the Step column.
Here is an example of test cases structure:
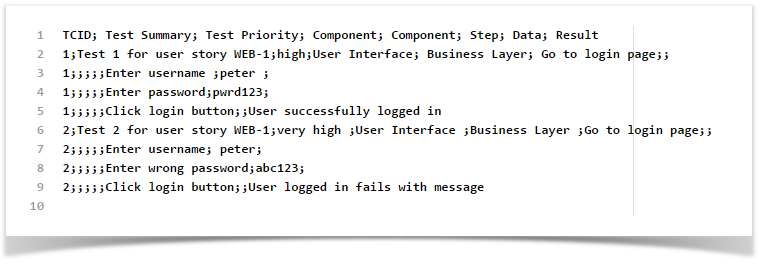
And here is how the CSV file looks like once the test cases above are exported to CSV:
CSV column separator
If you choose the “,” (comma) as the CSV columns separator, you must quote any field that contains commas.
Fields with line breaks
If you need to use new lines within a field, like in the issue description for example, you need to quote the field.
Importing Test Cases
For demonstration purpose, the CSV example file from the previous section is used.
To complete the importation process, follow the examples bellow.
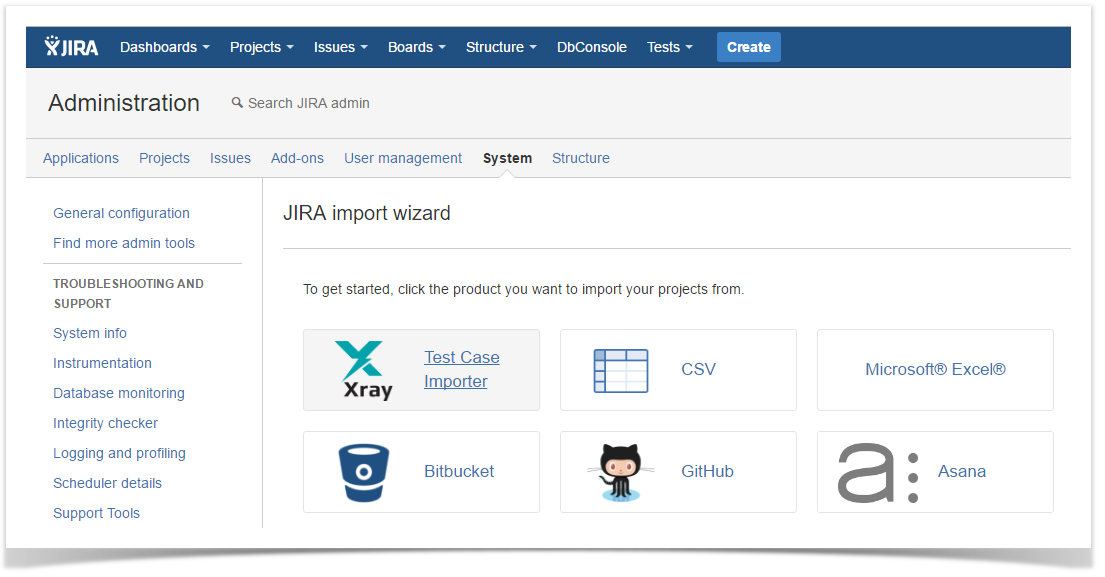
- Log in with an administrator account
- go to System>Import and Export>External System Import
- Choose the Xray "Test Case Importer" like shown in the image bellow
Setup Page
Then the basic settings for the importation process must be provided.
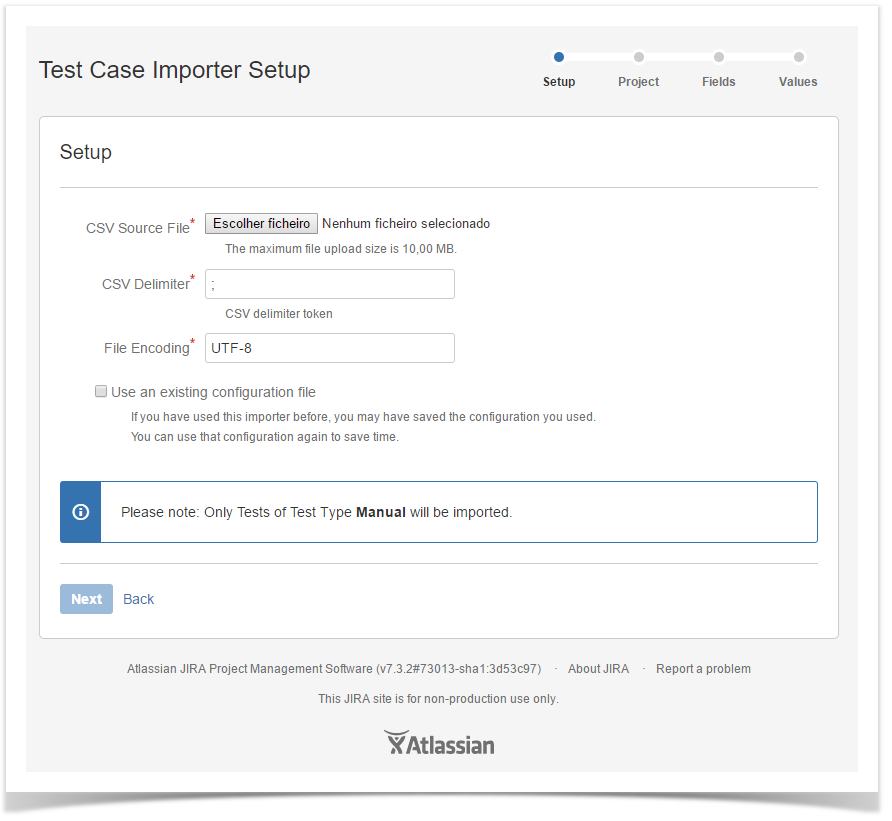
- The CSV Delimiter field is where you provide the column delimiter used in your CSV source file.
- The File Encoding field is where you provide the encoding used in your CSV source file. Make sure that you provide the right encoding.
- Optionally you can use settings from a previous importation.
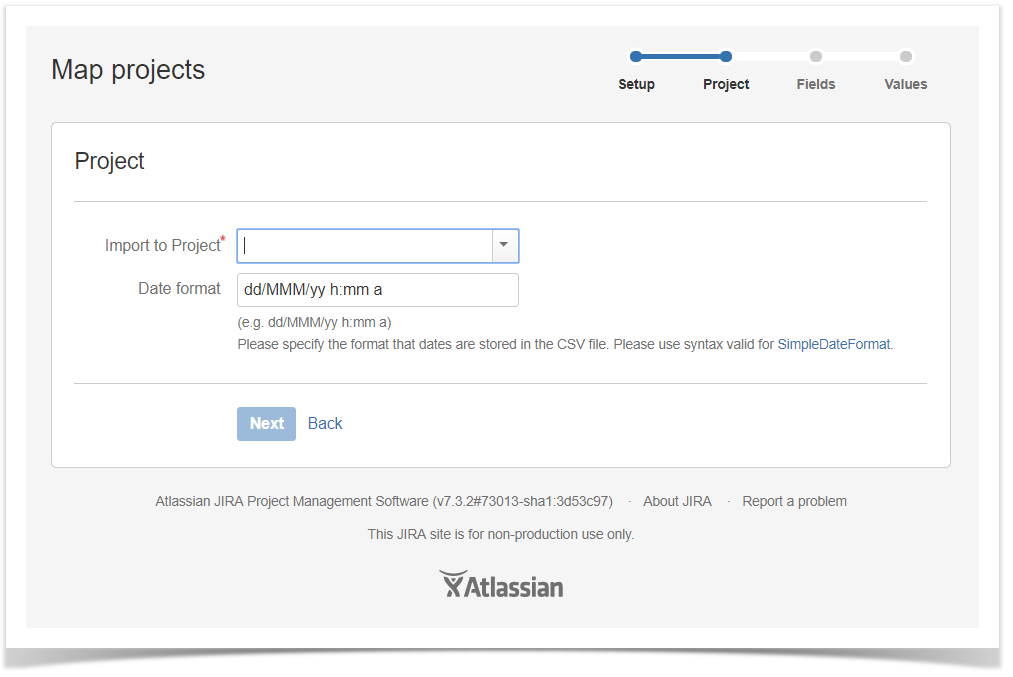
Project Page
Next you need to select the Xray project where you want your Manual Test cases to be imported.
Field Mapping Page
Next you need to map the fields from your CSV to JIRA and Xray fields
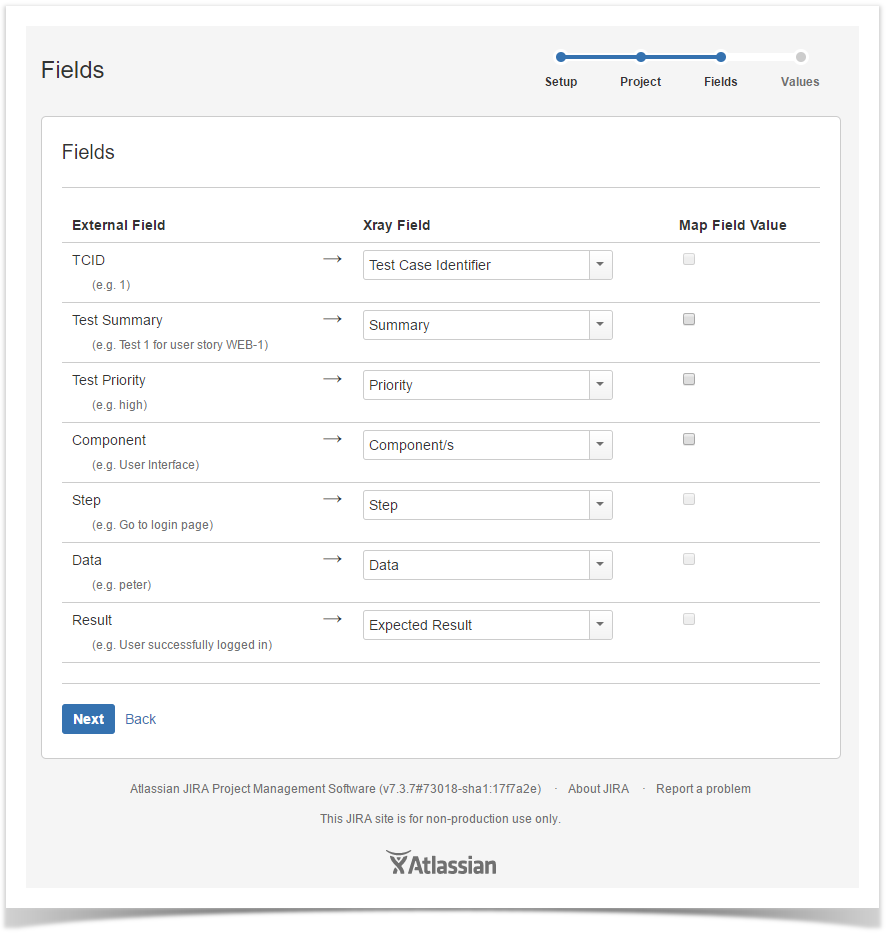
It is mandatory to map at least three fields:
- Test Case Identifier (located under Manual Test Step fields ). In this example this field is mapped with the TCID column from the CSV file.
- Summary (Located under JIRA fields ) In this example this field is mapped with the Test Summary column from the CSV file.
- Step (located under Manual Test Step fields ) In this example this field is mapped with the Step column from the CSV file.
The fields that aren't mapped will not be imported to the test case.
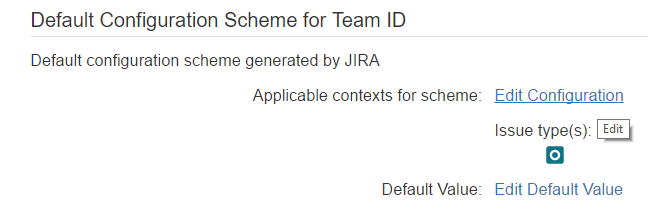
Custom field mapping
Only custom fields that have the issue type Test selected as one of the applicable issue types, will be available for mapping.
Available custom fields for import:
- Checkboxes
- Labels
- Number fields
- Radio buttons
- Select lists
- Text field
- URL field
- User picker
Note: Only single value custom fields are supported.
Value Mapping Page
And in the last step, can Map the CSV column values. In the example above, the Map Field Value checkbox is selected for Priority, so next those values are going to be mapped.
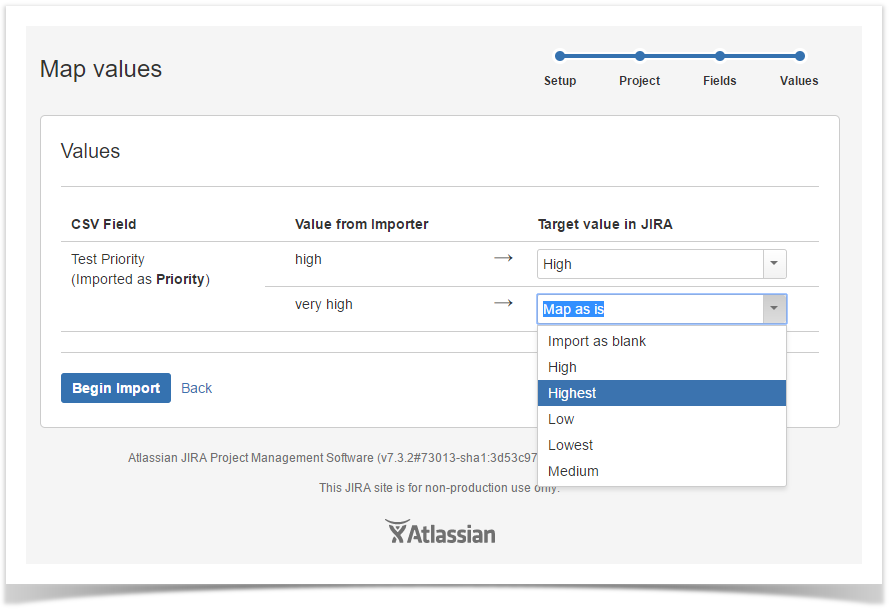
Now just click Begin Import and Xray Test Case Importer will import the manual test cases to the selected project.
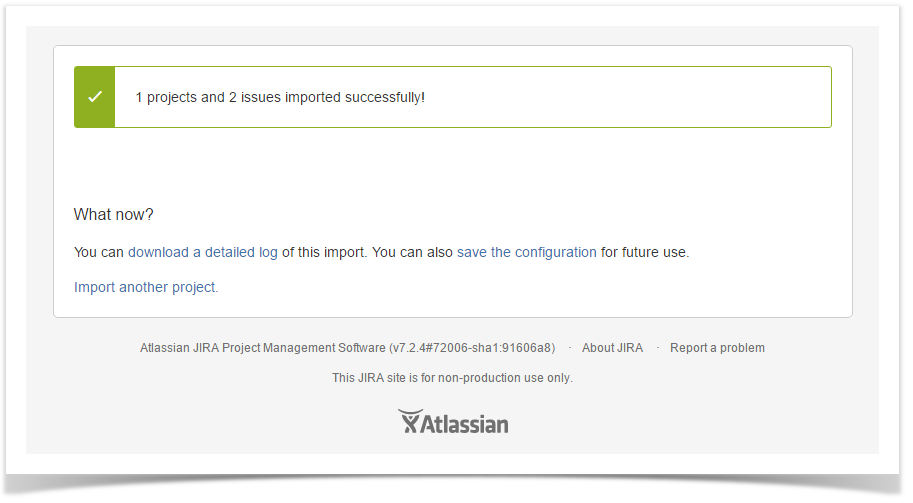
The importation process is complete. A configuration file can be saved to import other manual test cases using the same configuration.
For any questions regarding this feature, please contact our support team.
Special fields
Attachments
It is possible to attach files to Test and to Test Steps.

Attachments
The attachment may be referred by name (in this case the file:// protocol is assumed), by "file://" or "http(s)://". Multiple files may be specified within one CSV column; for this, the attachments must be delimited by space.

Note: For file protocol, only files in the "<JIRA_DATA_HOME>/import/attachments" folder will be imported.
Test Repository folder
If you want to add the Tests to some folder within the Test Repository, you can specify a column having the Test Repository Path.
Folders and their respective sub-folders must be delimited by "/", as shown in the following example.
During the mapping step, you need to map the CSV column containing the path to the "Test Repository Path" Xray's custom field.

Please note
The "Test Repository Path" is case insensitive and each folder is trimmed (spaces are removed from the start/end of it).
This means that "components/compA", "components /compA", " components/COMPA", are all the same and will be mapped to the same folder within the Test Repository.
If the folder is not found, then the Test is created but it is not associated with any folder; it will be seen within the "Orphans" meta-folder.
Links
You can import link to other issues, for the newly created Tests by choosing the "Link ..." mapping.
Links to requirements
Whenever importing Tests, it's also possible to specify the links to the requirements that each Test validates. For that purpose, columns must be mapped as Link "Tests".
If the Test covers multiple requirements, then multiple CSV columns must be used, each one being mapped in the same way.

Comments
Comments can be added to Test issues, using the following syntax "DateTime;User;CommentBody" ,where DateTime and User are optional.
DateTime uses the Date format given on project mapping page, and User must be a valid username.
Example of a comment entry
01/01/2012 10:10;Admin; This comment works
Useful tips for importing Tests
Importing data in any system may be a non-linear process and you may need to run it multiple times until you got the expected result, because simple things such as forgetting to map a field may happen.
Some general useful tips:
- add a unique label to all your tests, so you can clearly identify the tests imported at a given time; that will make your analysis simpler and eventualy if you do some bulk operation in them (e.g. change fields, remove them) it also be easier;
- use a custom field for storing the external ID of the tests in their original system. Thus, whenever tests are imported, you can easily compare them with the original ones in the original system;