Creating a Manual Test
To create a new Test Plan Issue,
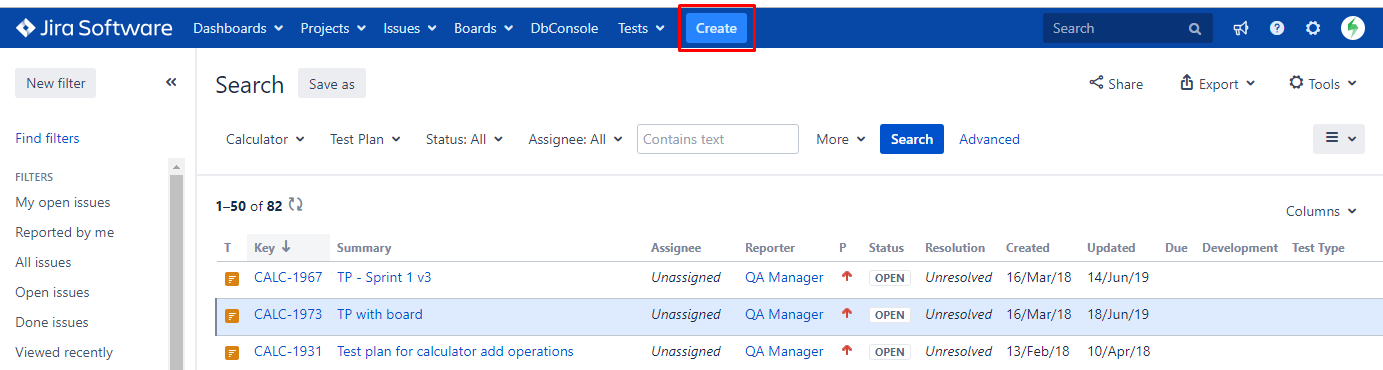
Step 1: Click the Create Issue at the top of the screen to open the Create Issue dialog box / page.
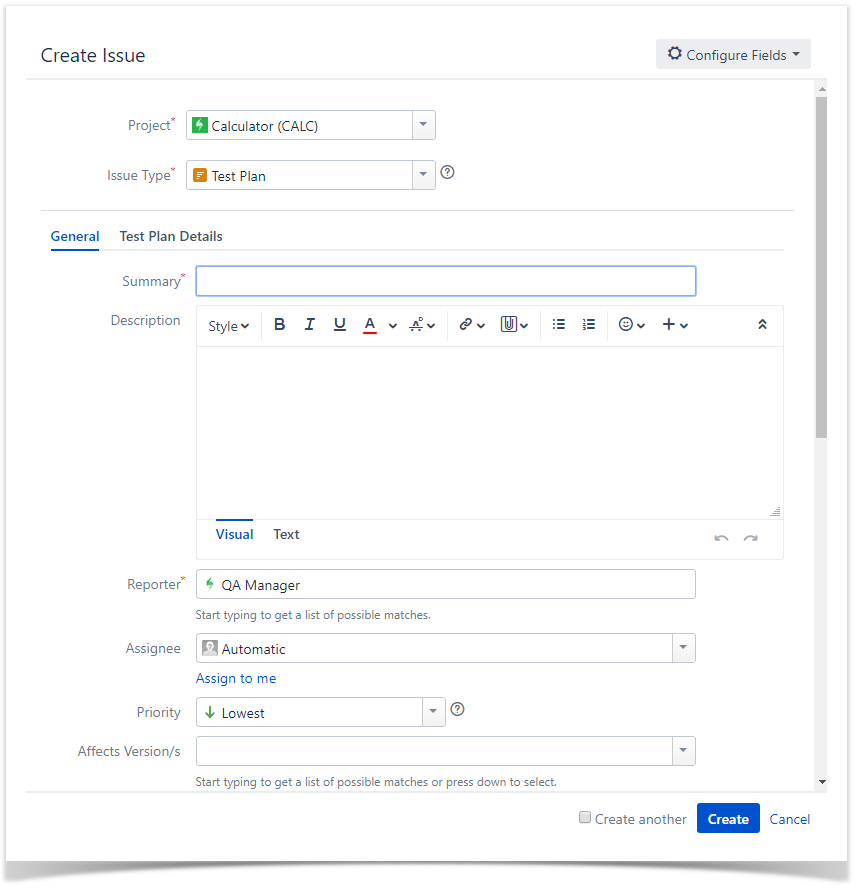
Step 2: Select the Project and on Issue Type select Test Plan.
Step 3: Under the General tab, type a Summary for the test execution and fill all appropriate fields — mandatory fields are marked with an asterisk. If you're working with versions, then you should also fill out the Fix Version to indicate that you're tracking the results of the Tests for that version. This will be used to automatically fill out the Fix Version of the planned Test Executions (i.e., the ones linked to/created from this Test Plan).
Step 4: Under the Test Plan Details tab, you can populate the Test Plan custom fields provided by Xray, namely the Begin/End date. In this tab, you can also add tests to the Test Plan.
Optional: To create a series of similar Test Plans – within the same Project – select the Create another checkbox at the bottom of the dialog.
Step 5: When you are satisfied with the content of your Test Plan, click the Create button.
Step 5a: If you selected the Create another checkbox, a new Create Issue dialog appears. This issue is automatically pre-populated with your previous Test Plan details, while leaving the Summary field blank.
If you want to understand all the details regarding Manual Steps and how to interact with it visit Test Steps for Server/DC or Test Steps for Cloud in Xray Documentation