changes.mady.by.user Sofia Canario
Saved on Aug 10, 2020
To create a new Test Set issue:
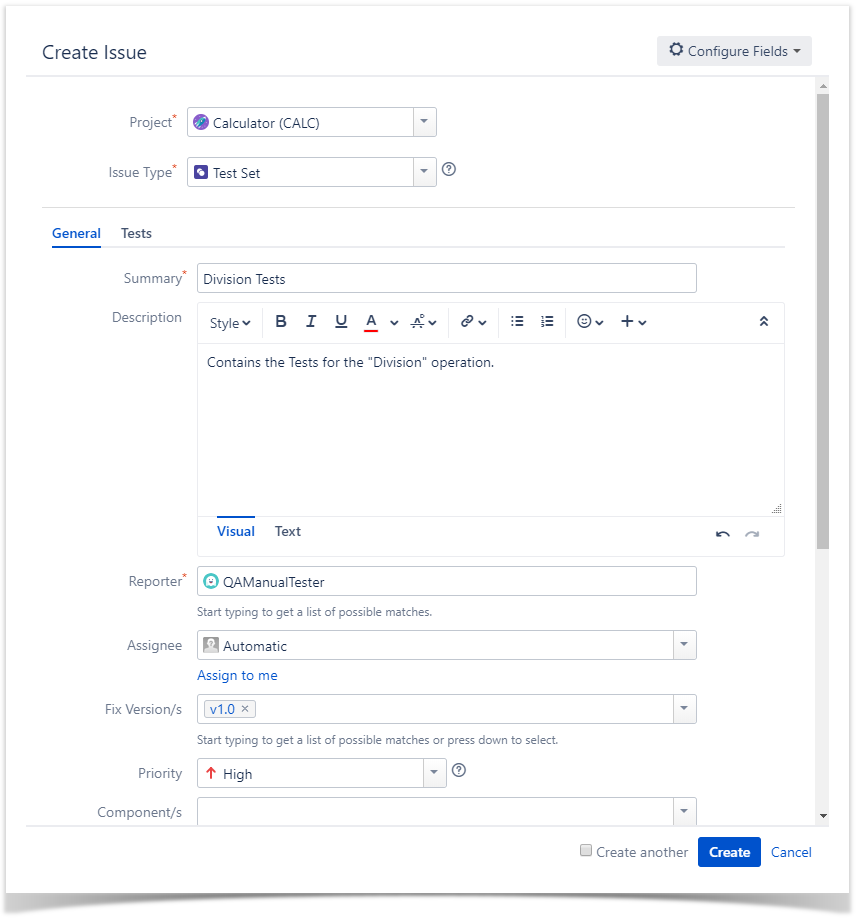
Step 1: Click the Create Issue at the top of the screen to open the Create Issue dialog / page.
Step 2: Select the Project and on Issue Type, select Test Set.
Step 3: Type a Summary for the Test Set and complete all appropriate fields — at least, the required ones marked by an asterisk.
Step 4: When you are satisfied with the content of your Test Set, click the Create button.
You can add Tests to the Test Set at the Tab "Tests", or you can perform this action later. See the "Add Tests to Test Sets" module to know how.
To clone an existing Test Set issue:
Step 1: Open the Test Set you wish to clone.
Step 2: Select More > Clone. The Clone Issue screen will appear.
Step 3: Edit the clone Test Set's Summary if you wish.
Step 4: Click Create.
When cloning a Test Set issue, all the Test issue associations will also be cloned. Also:
Add Tests
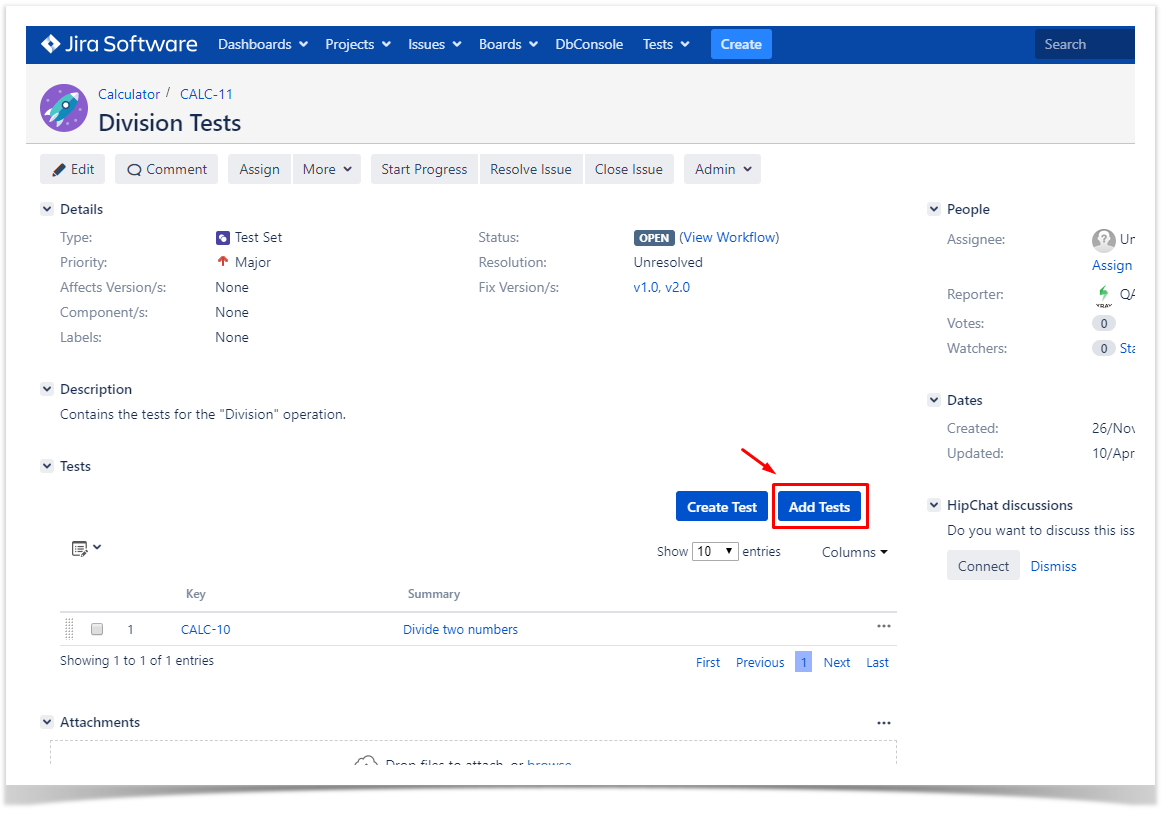
To associate Tests with a Test Set from the Test Set issue view screen:
Step 1: Open the Test Set you wish to associate a Test with.
Step 2: Click the Add Tests button (under the Tests tab on the view page) to open the Issue Picker Dialog.
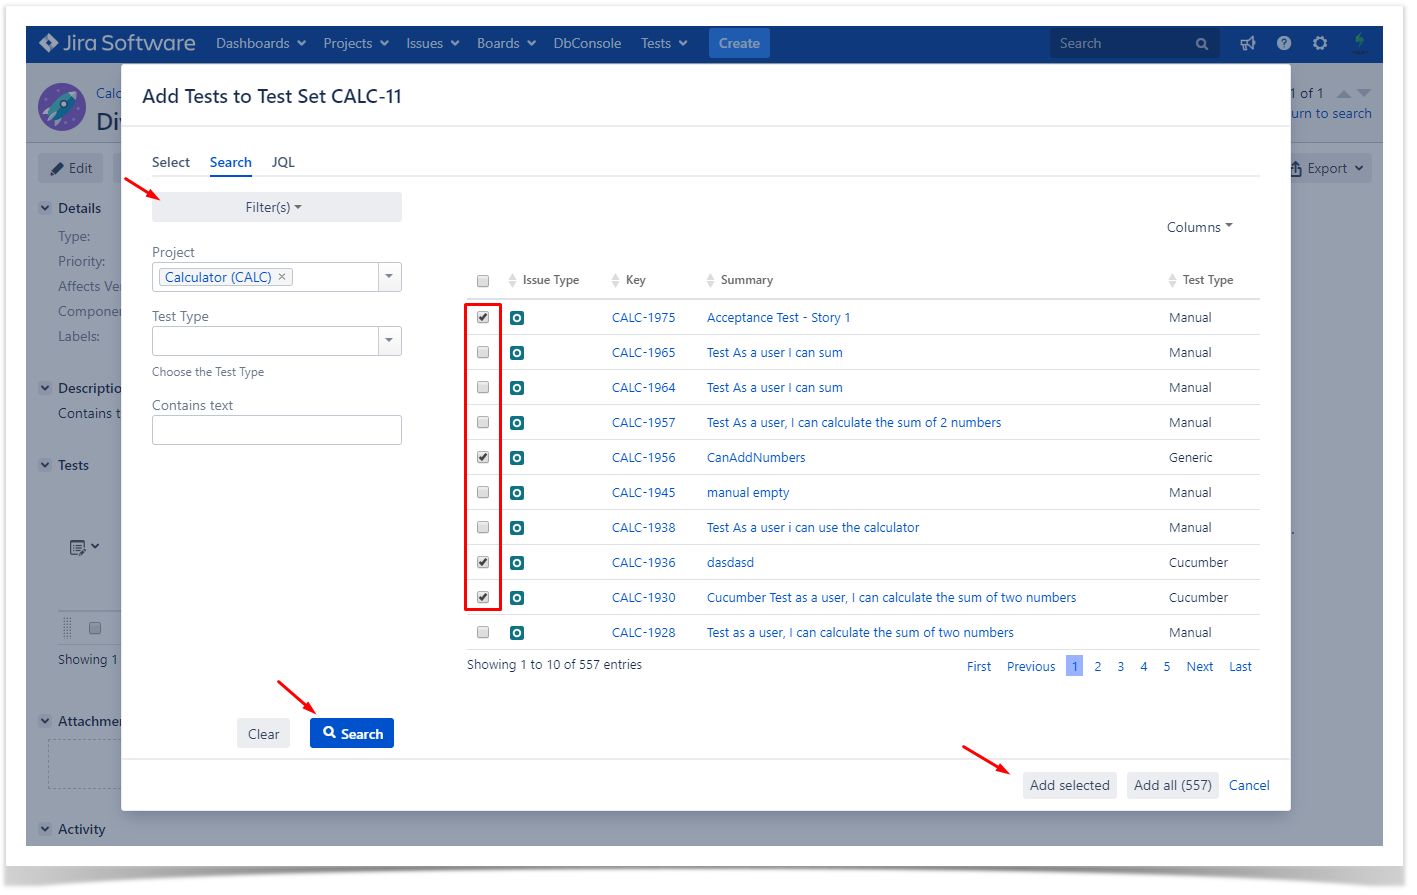
Step 3: Open the Search tab.
How to use de Issue Picker Dialog
This is an example of how to add tests, using some of the features available in the Search tab.
For more information, please visit the Issue Picker Dialog detailed overview.
Step 4: Configure the search.
-Use the Filters dropdown button to include extra fields in the search criteria.
-Fill in the filters values.
-Press the search button.
Step 5: Select and Add tests.
- Once the results are obtained you can order, add/remove columns to the results list (the columns selection is saved as a preference).
- Check the tests you wish to add from the listed results.
Step 6: Add tests by pressing "Add selected".
Remove Tests