
Page History
...
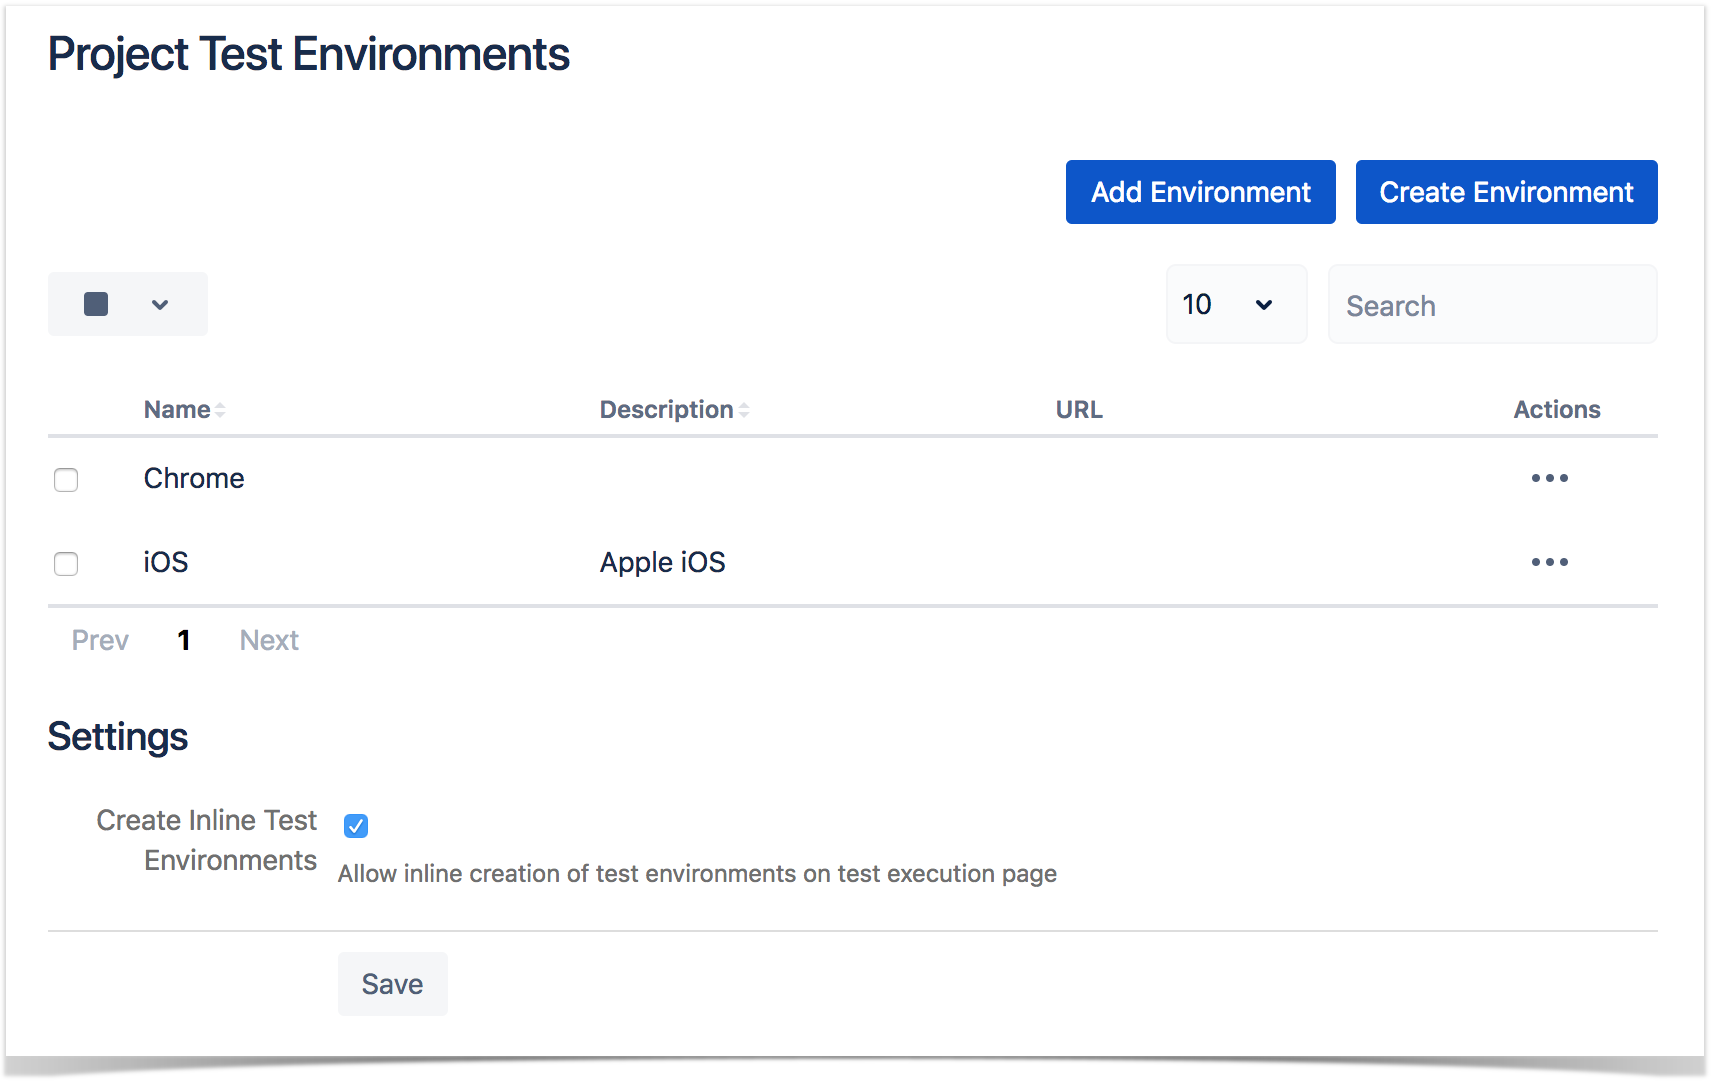
As a project administrator, you can define which Test Environments should be are available to your project.
Test Environments can be either imported to a project from the globally available Test Environments or can be created directly in the project.
However, please note that Test Environments are always managed in within the scope of a project; those are the ones that will be seen by your project.
Test Environments created locally in a project are also created in the globally available Test TypesEnvironments, defined within the JIRA Jira-wide settings detailed in Global Settings: Test Environments.
By default, no Test Environment will be automatically added to your project; they always have to be added explicitly.
Single operations
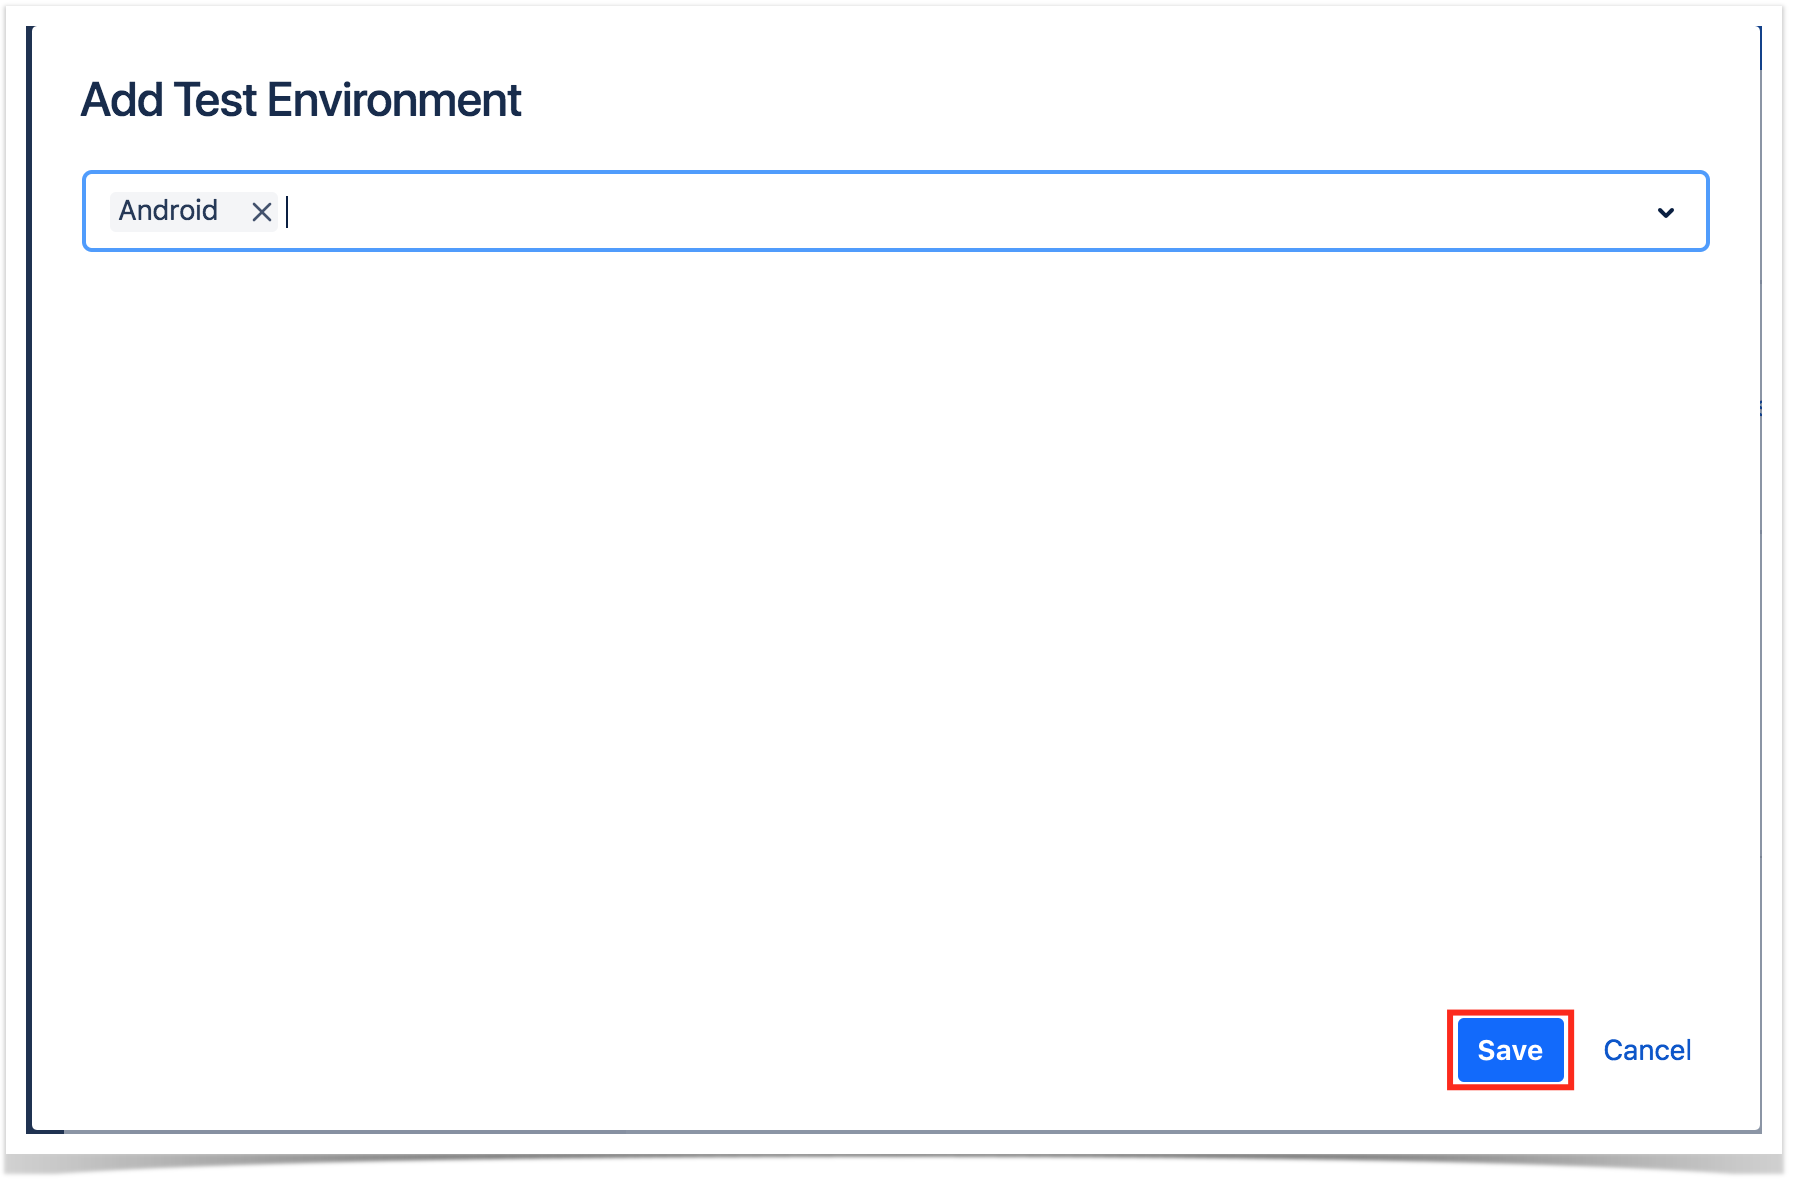
Add/Import a global Test Environment
- Click Add Environment.

- Search the globally available Test Environments, either by using the dropdown picker or by using autocomplete.
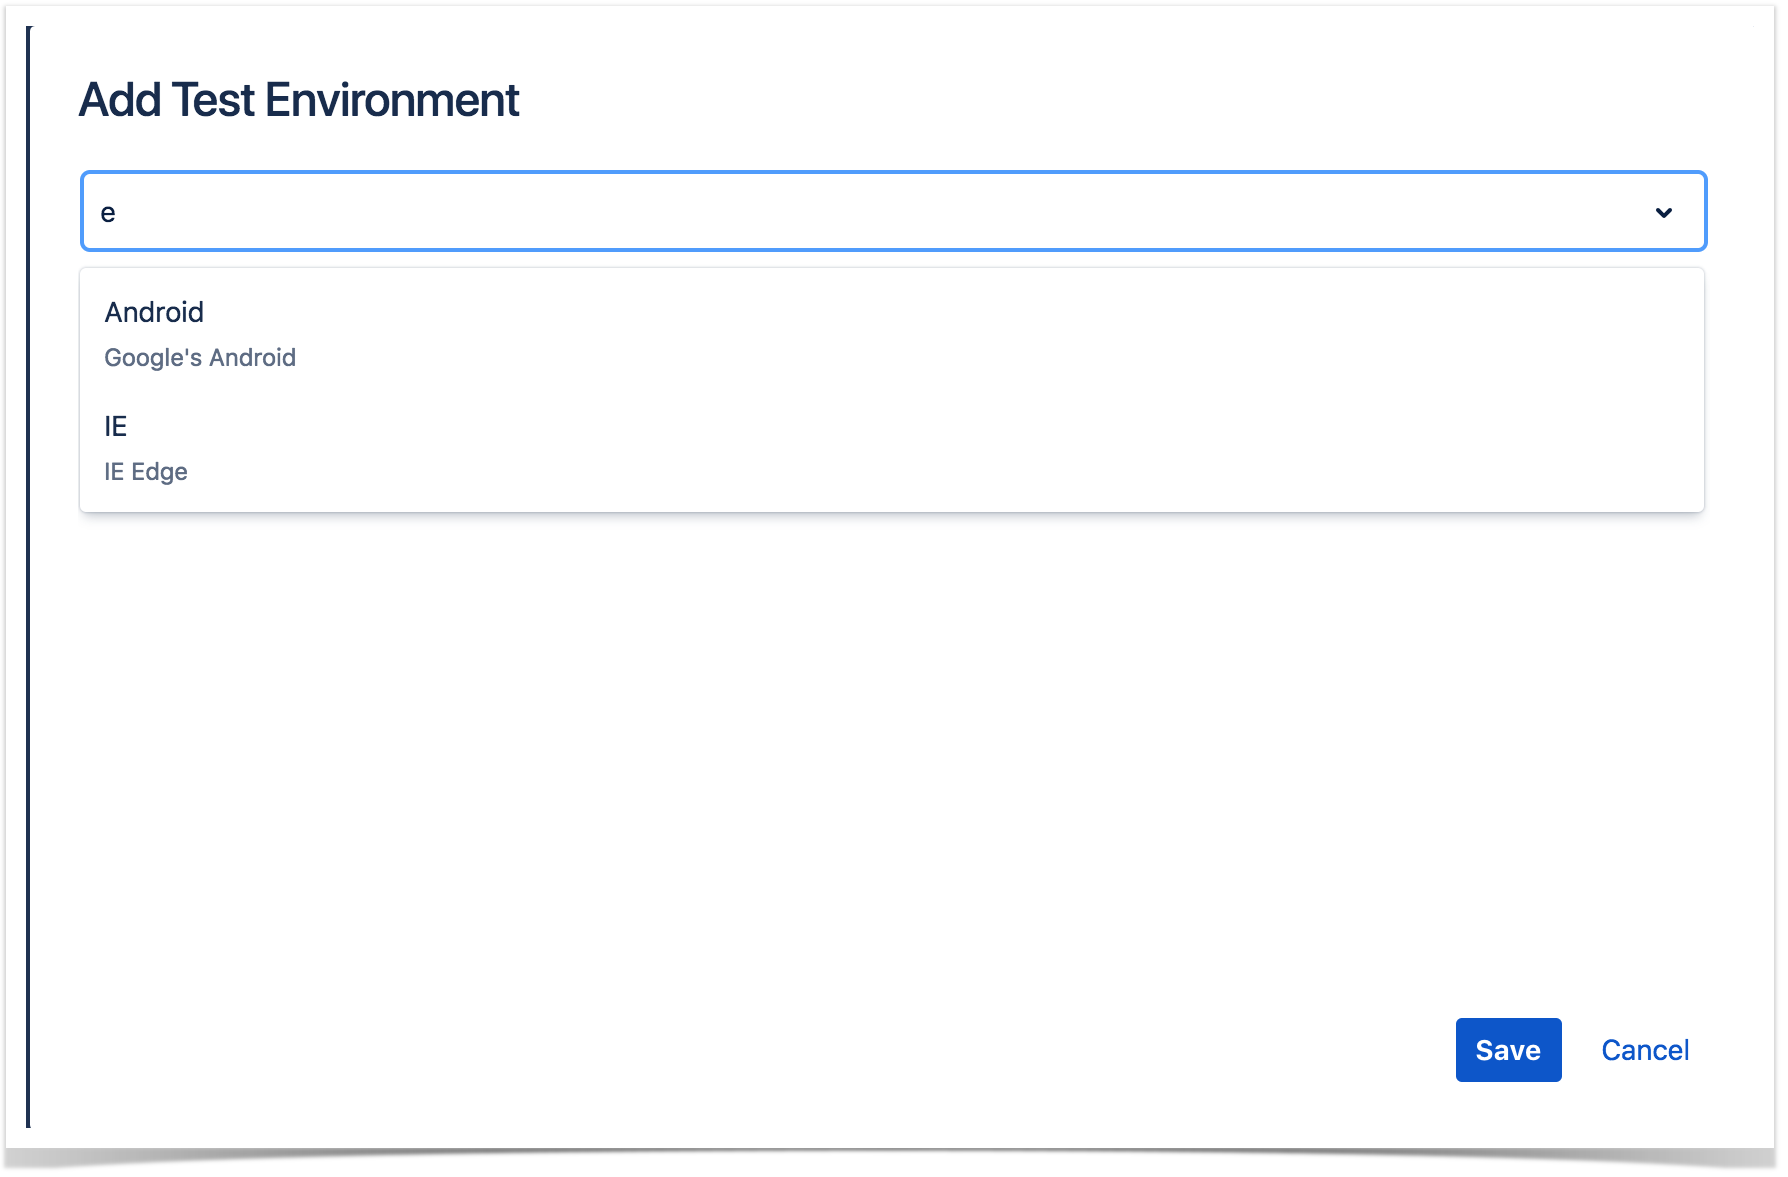
- Select the Test Environment you want and click Save.
Create a local Test Environment
To create a new local Test Environment, click on "Create Environment", fill out the following fields, and press "Save":
- Name: the name for the Test Environment (a string of 2 up to 18 non-space characters)
- Description: the description for the Test Environment
- URL: informative field for the URL of the Test EnvironemntEnvironment

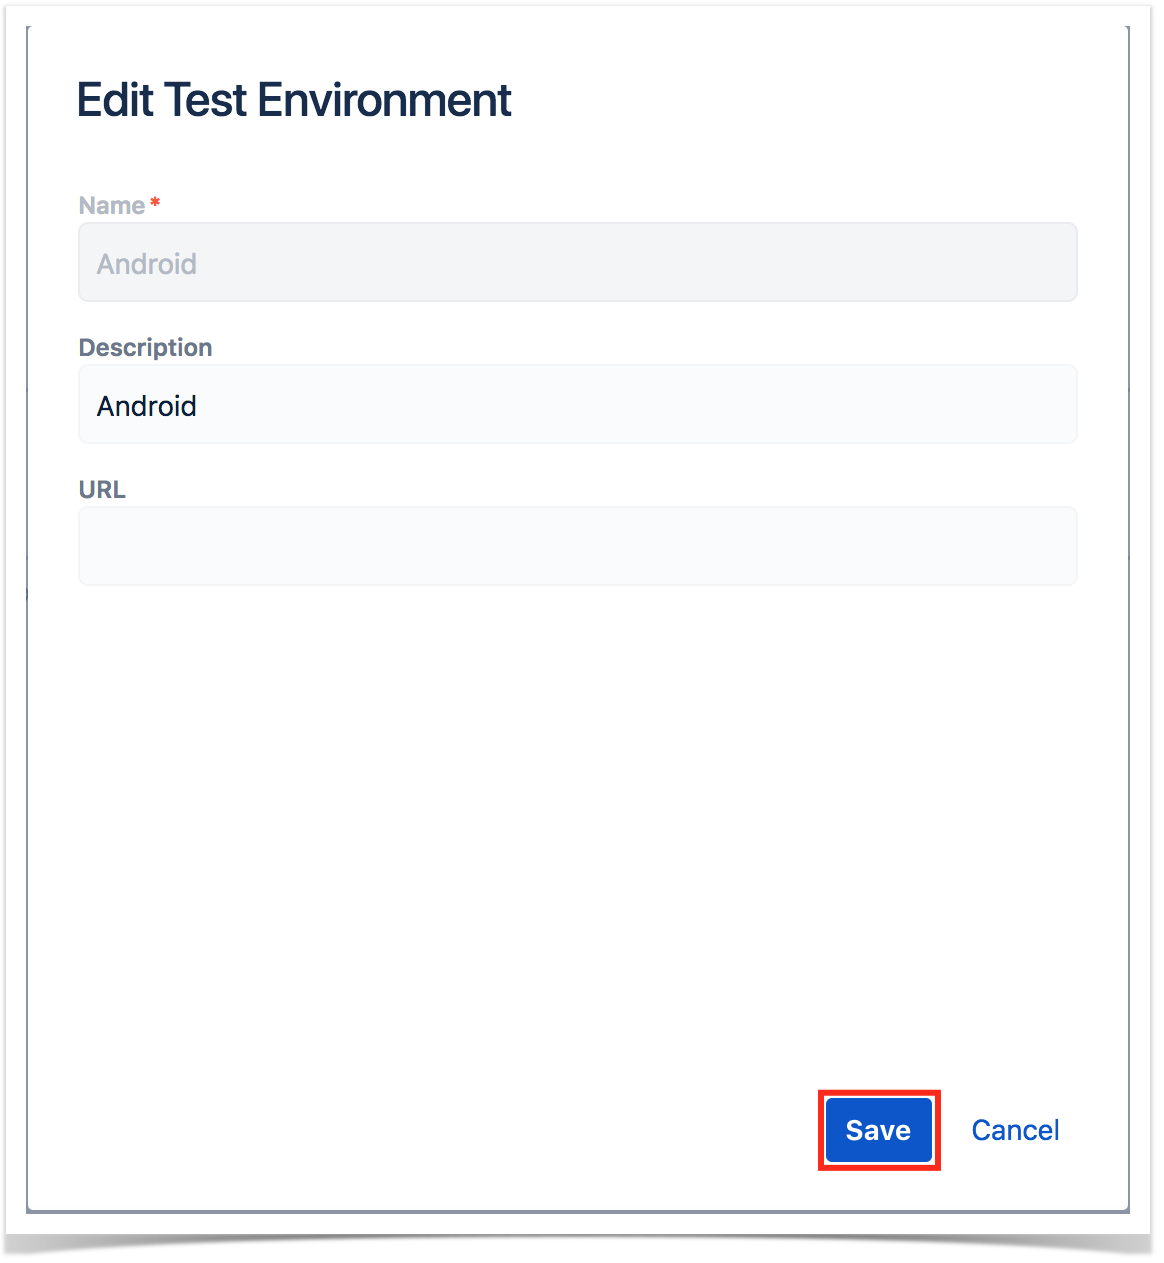
Modify a local Test Environment
Some You can modify the fields of an existing Test Environment can be modified (, except the name). You just to need to:.
- Click Edit on click on "Edit" on the table entry corresponding to the statusTest Environment

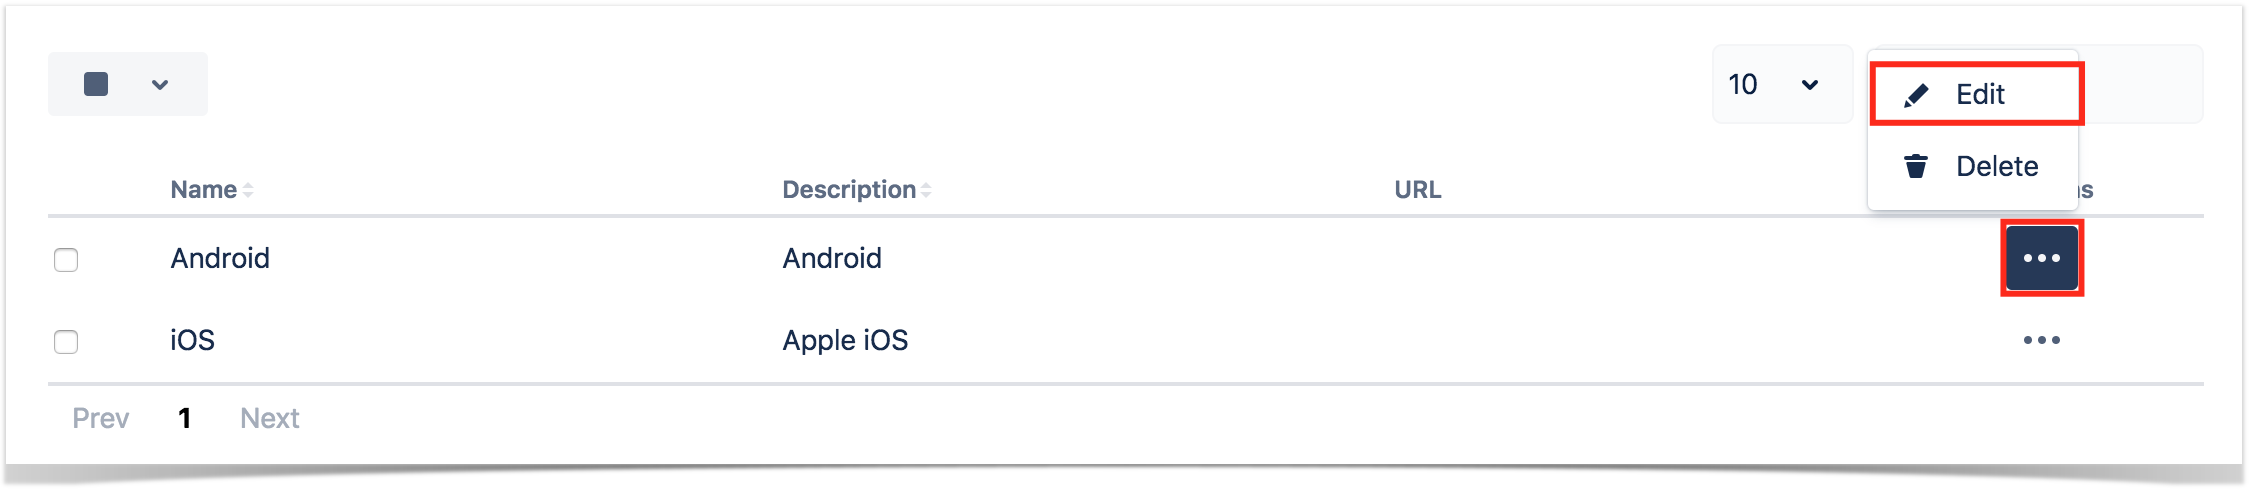
- Change the values inline and finally "Save" them

Delete a local Test Environment
Global Test Environemnts Environments can be deleted from Xray. To delete an existing Test Environment:
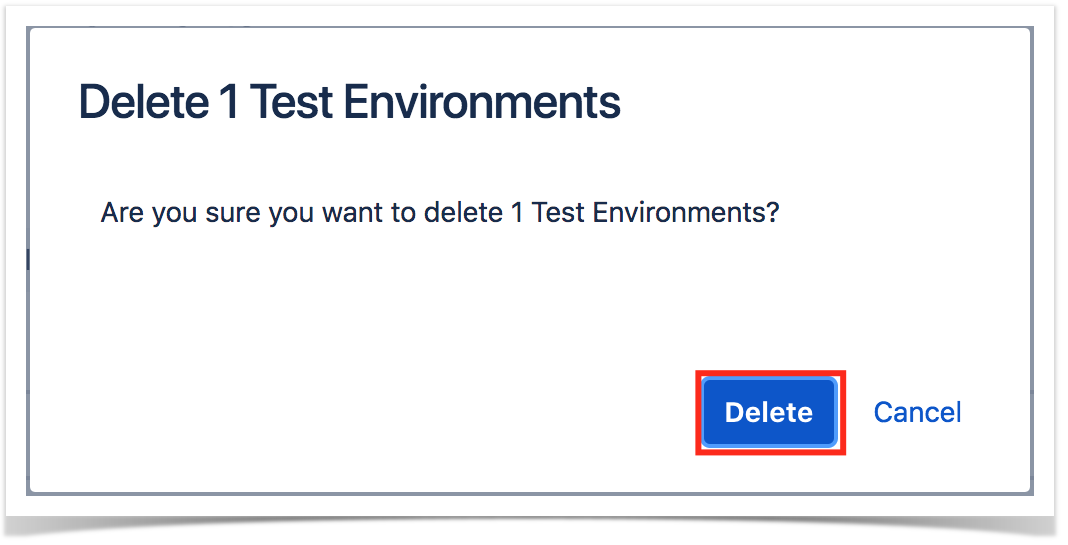
- Click on "Delete" on the table entry corresponding to the Test Environment.
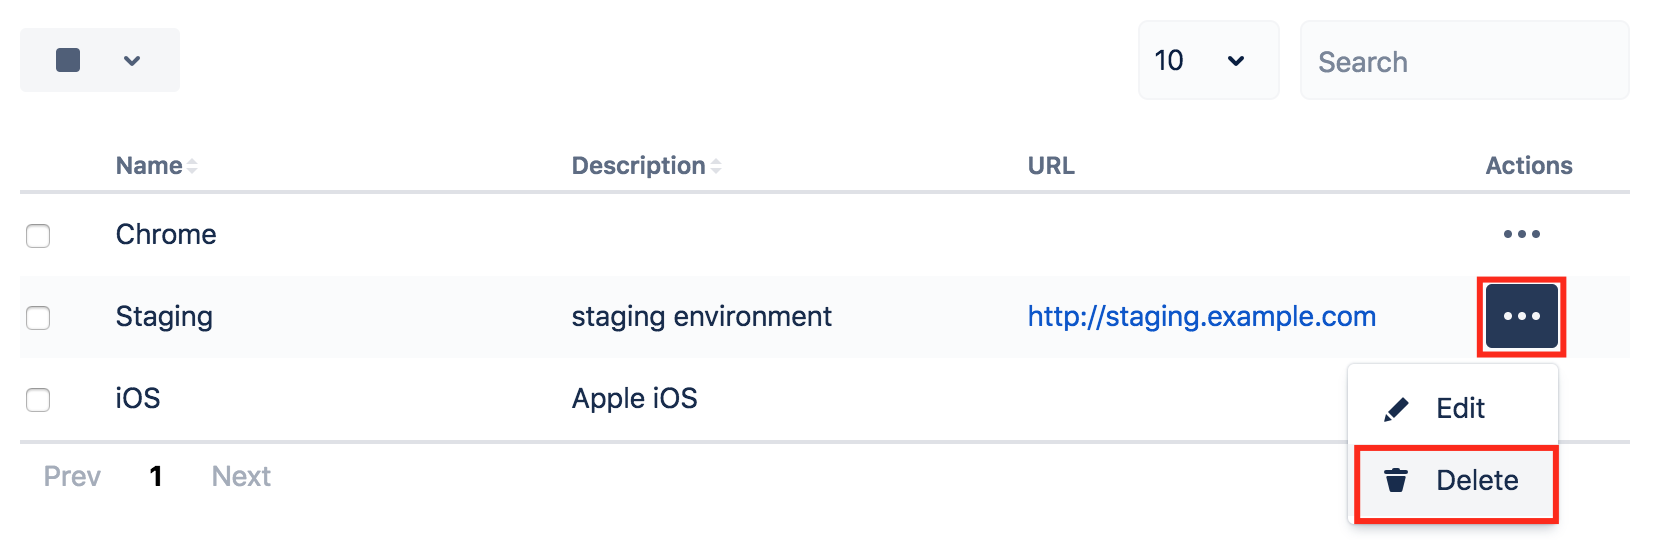
- Confirm , by clicking on "Delete".
| Info | ||
|---|---|---|
| ||
Global Test Environments can only be removed if they are not being used by projects. In this case, they have to be removed from the projects and only then they can be removed globally from XrayWhen you delete a Test Environment in the project settings, it will not be deleted from the global Test Environments. |
Bulk operations
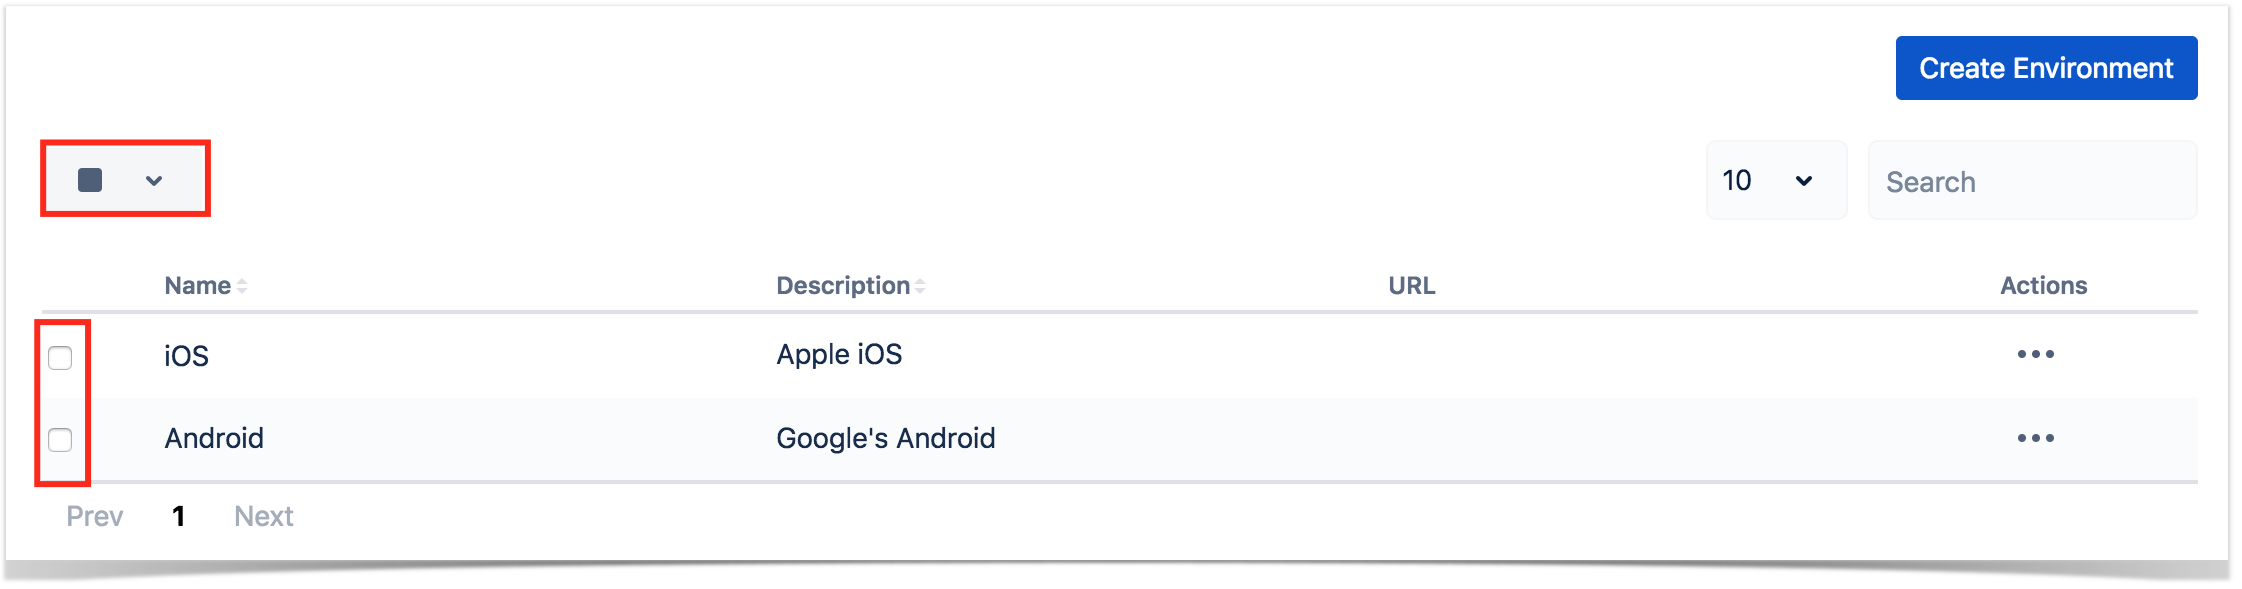
Select Test Environments
Bulk selection of Test Environments can be achieved either from the top picker or by individually checking the Test Environments within the table.

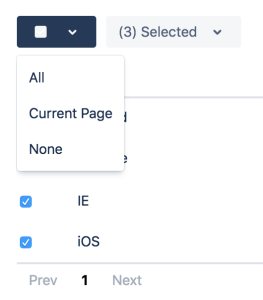
Whenever some When Test Environments are selected, an action button , near the bulk selection icon , will enumerate list the available bulk actions.


Delete global Test Environments
Multiple global Test Environments may be deleted as follows:
- bulk select Select one or more Test Environments, either by using the bulk action icon or by individually checking the Test Environments within the table.
- In the button that shows the amount number of selected Test Environments, click on "Delete".


- Confirm by clicking on "Delete".

| Info | ||
|---|---|---|
| ||
Global Test Environments can only be removed if they are not being used by projects. In this case, they have to be removed from the projects and only then they can be removed globally from XrayWhen you delete a Test Environment in the project settings, it will not be deleted from the global Test Environments. |