
Page History
| Table of Contents |
|---|
...
Automatic Installation
Manual Installation
Installing Xray is easy:
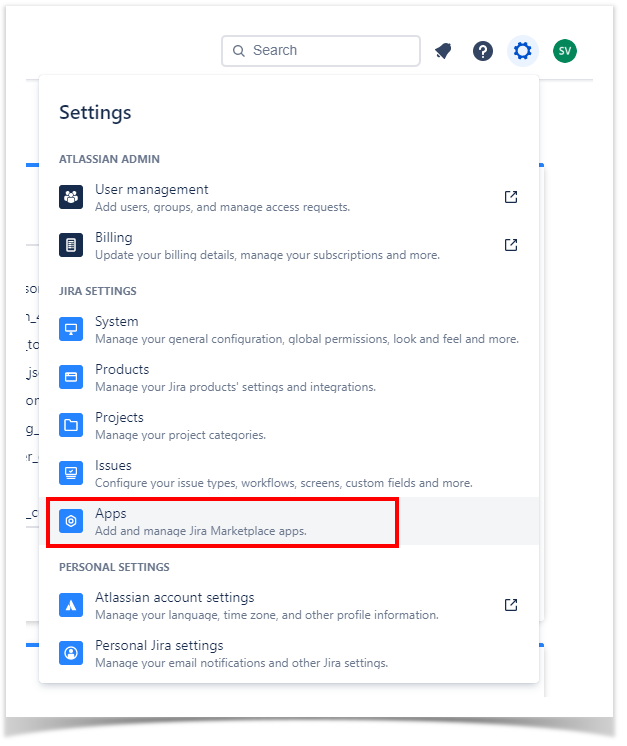
1. Go to Apps in your Settings menu on the top right of the screen.
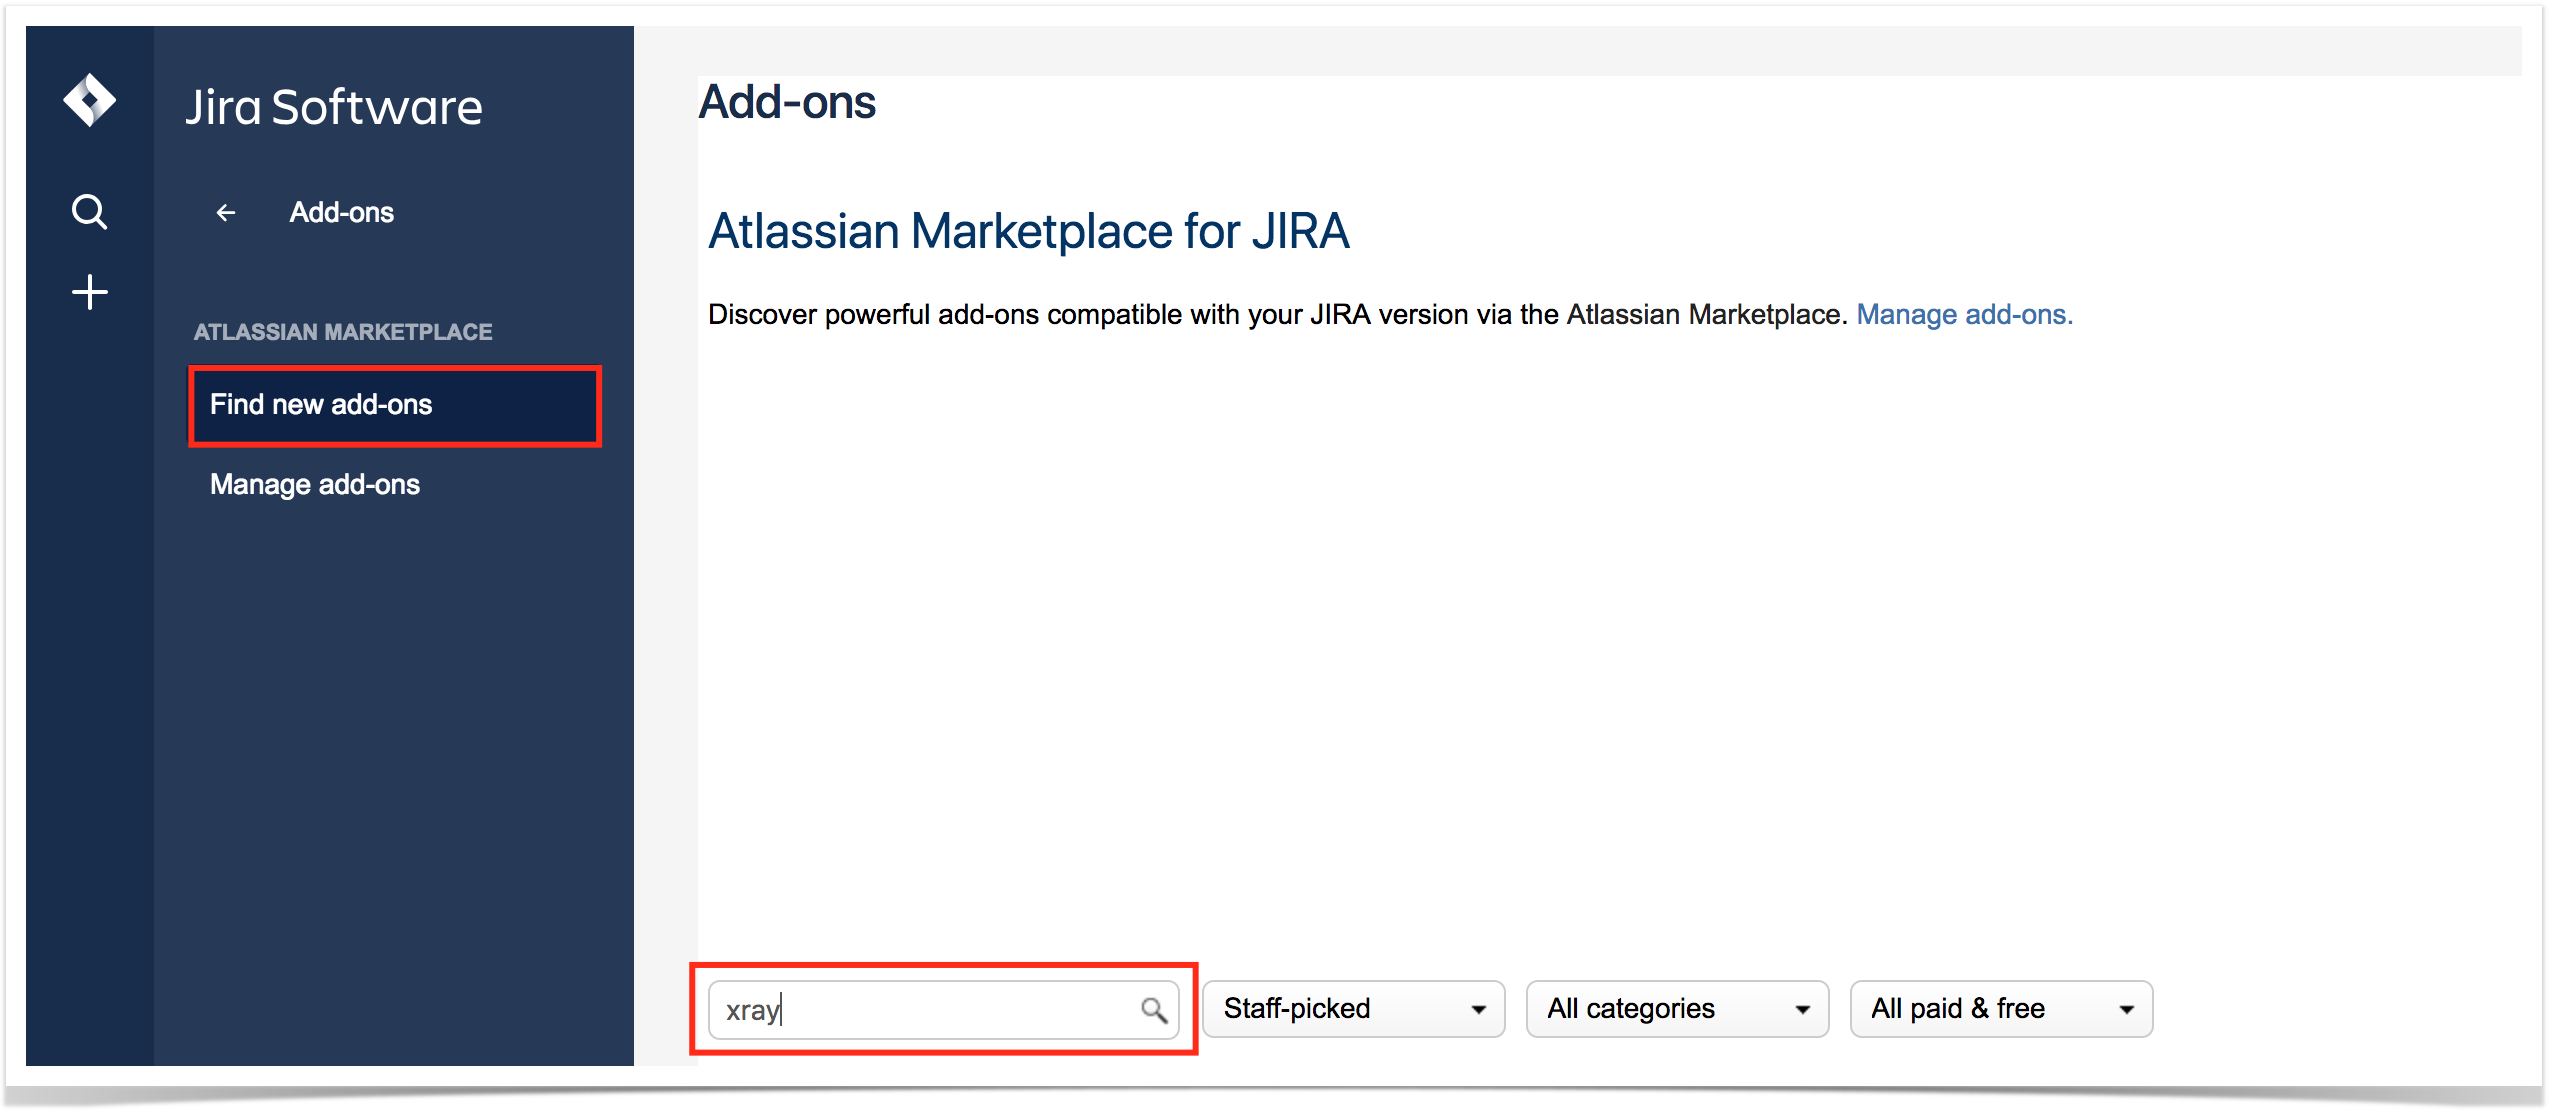
2. Go to Find new Apps and search for Xray:
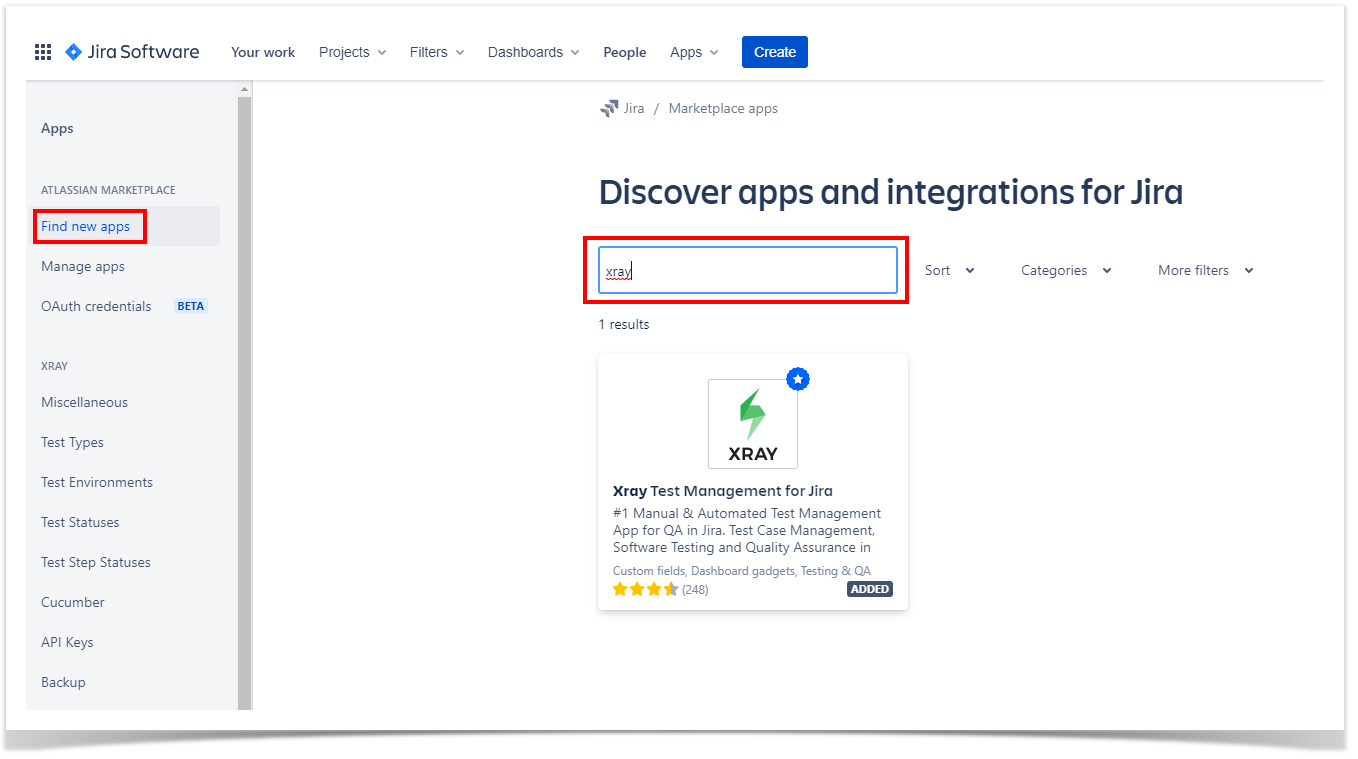
3. Congratulations, your installation is done! Please have a look at the Quick Setup instructions to move on and enjoy. ![]()
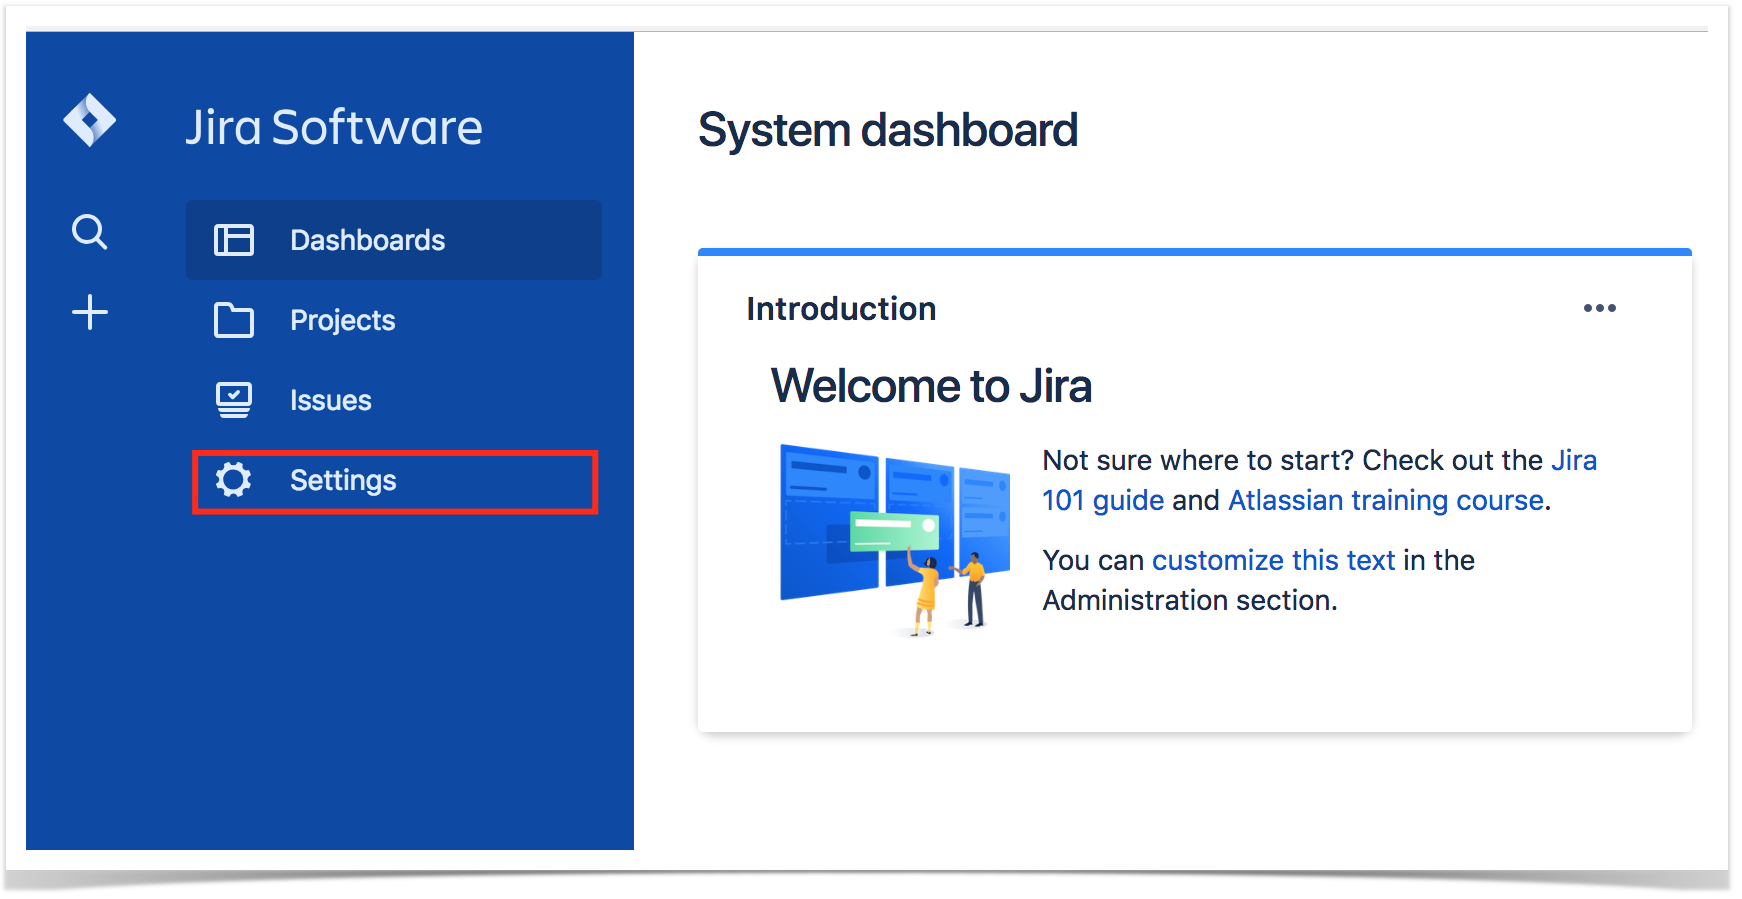
If you're using the old UIIf you are entitled to the EAP, please perform the following steps in order to manually install Xray in your cloud instance:
- Go into the Administration section of JIRA of Jira by choosing Settings = -> Add-ons => Manage Add -> Find new add-ons.

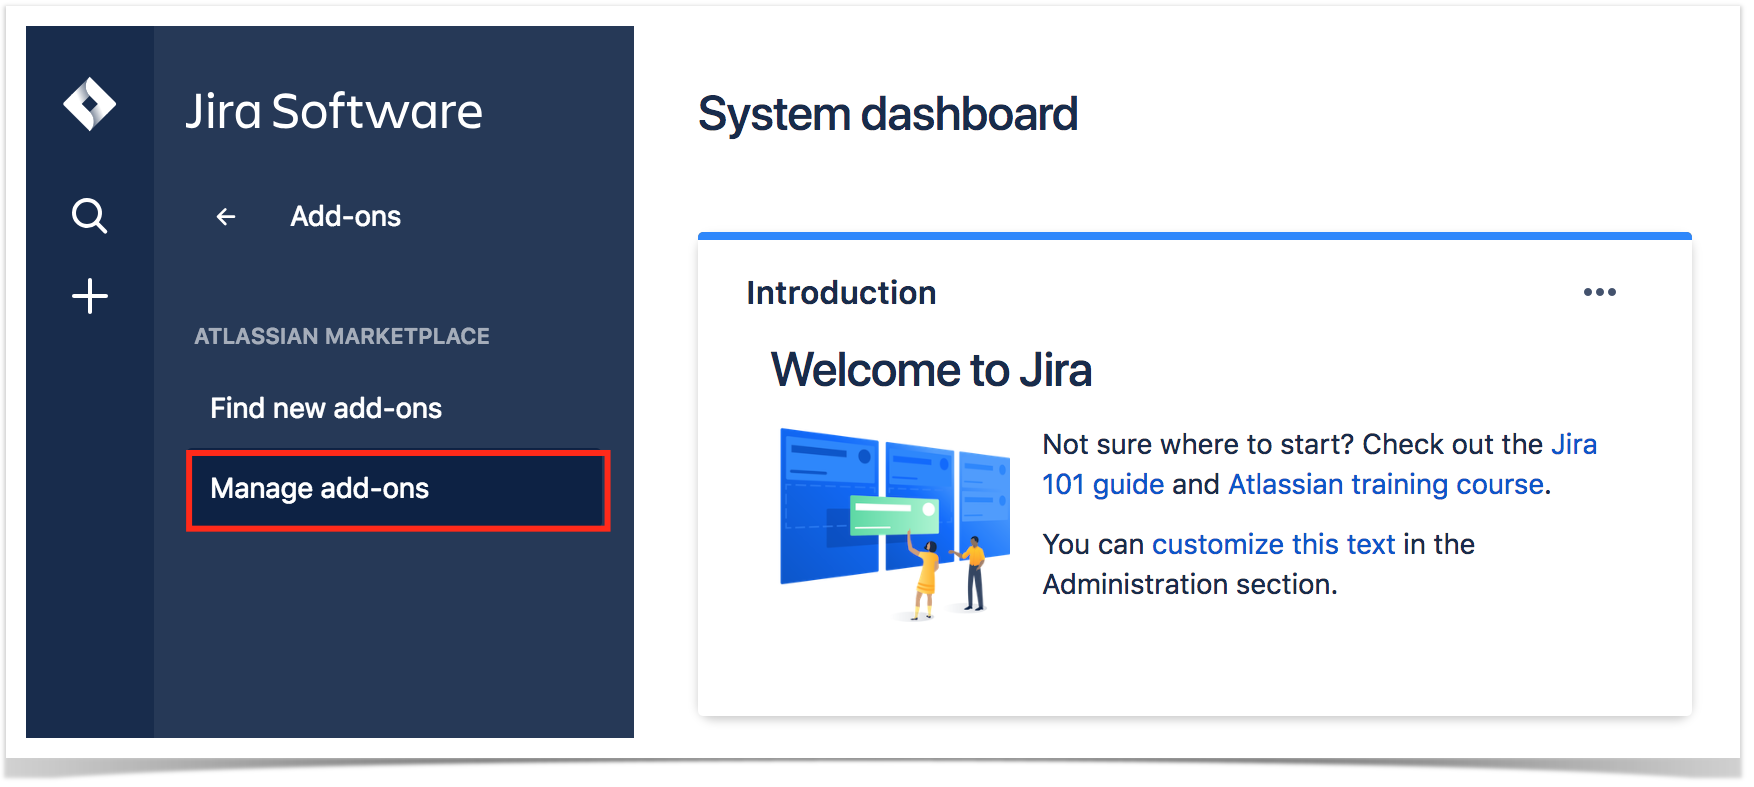
- Search for Xray and click Install.
- Congratulations, your installation is done! Please have a look at the Quick Setup instructions to move on and enjoy.

Token Based Installation
If you are provided a token by Xblend, please perform the following steps in order to do an Xray token based installation:
- Make sure you have a project. If you're creating a new Jira Cloud instance, you may do it right-away during that process
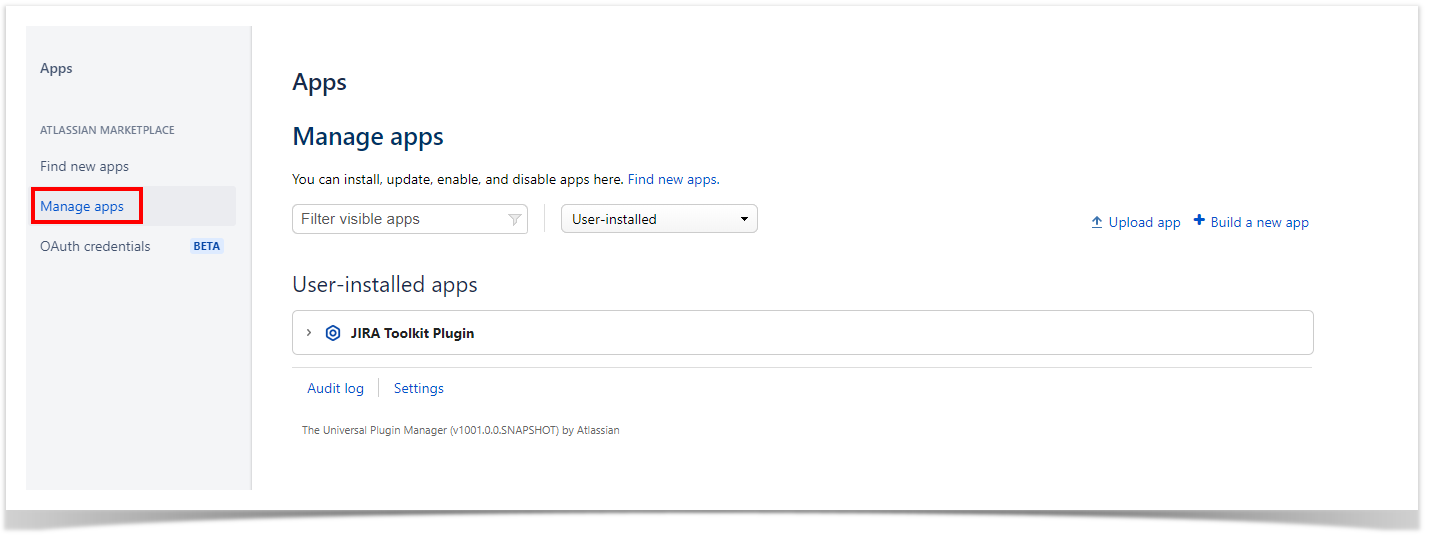
- Go to Settings -> Apps in the top left of the screen and then to Manage Apps in the menu to the right.

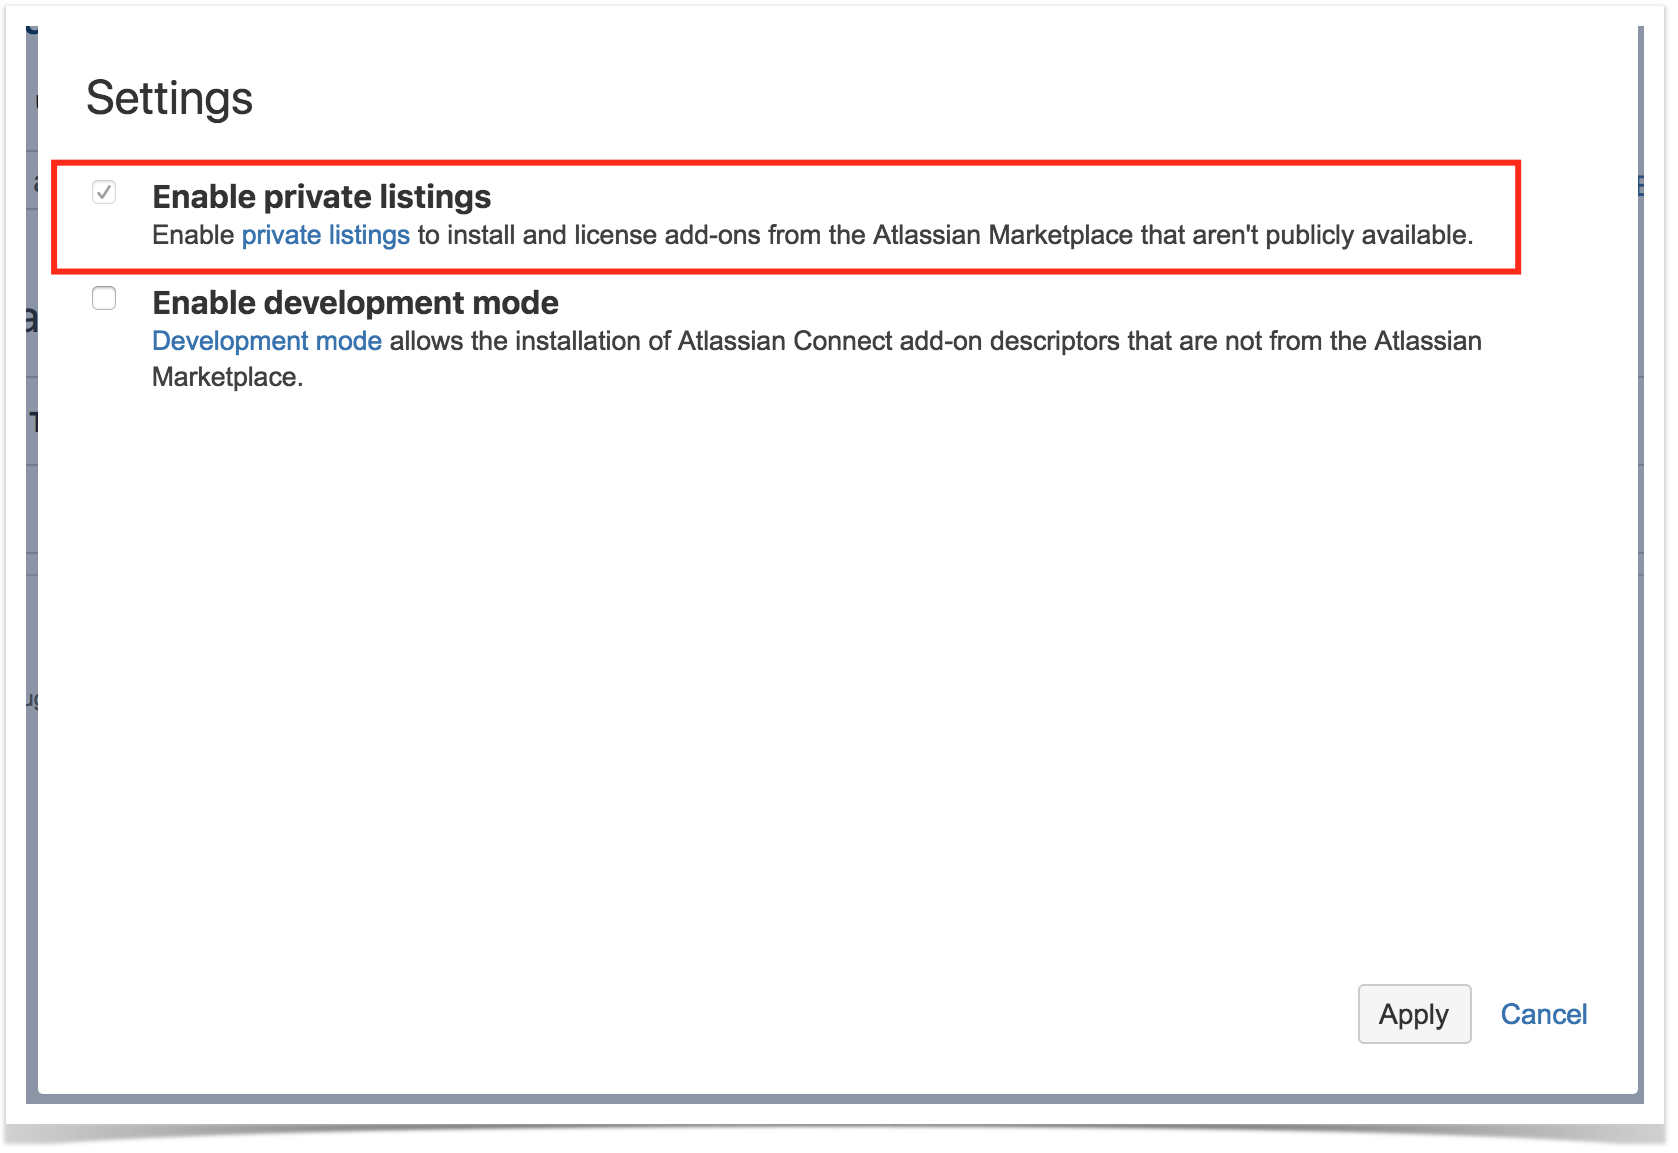
- Click on Settings and enable the "Enable private listings" option:


Click on "Settings" and enable "private listings"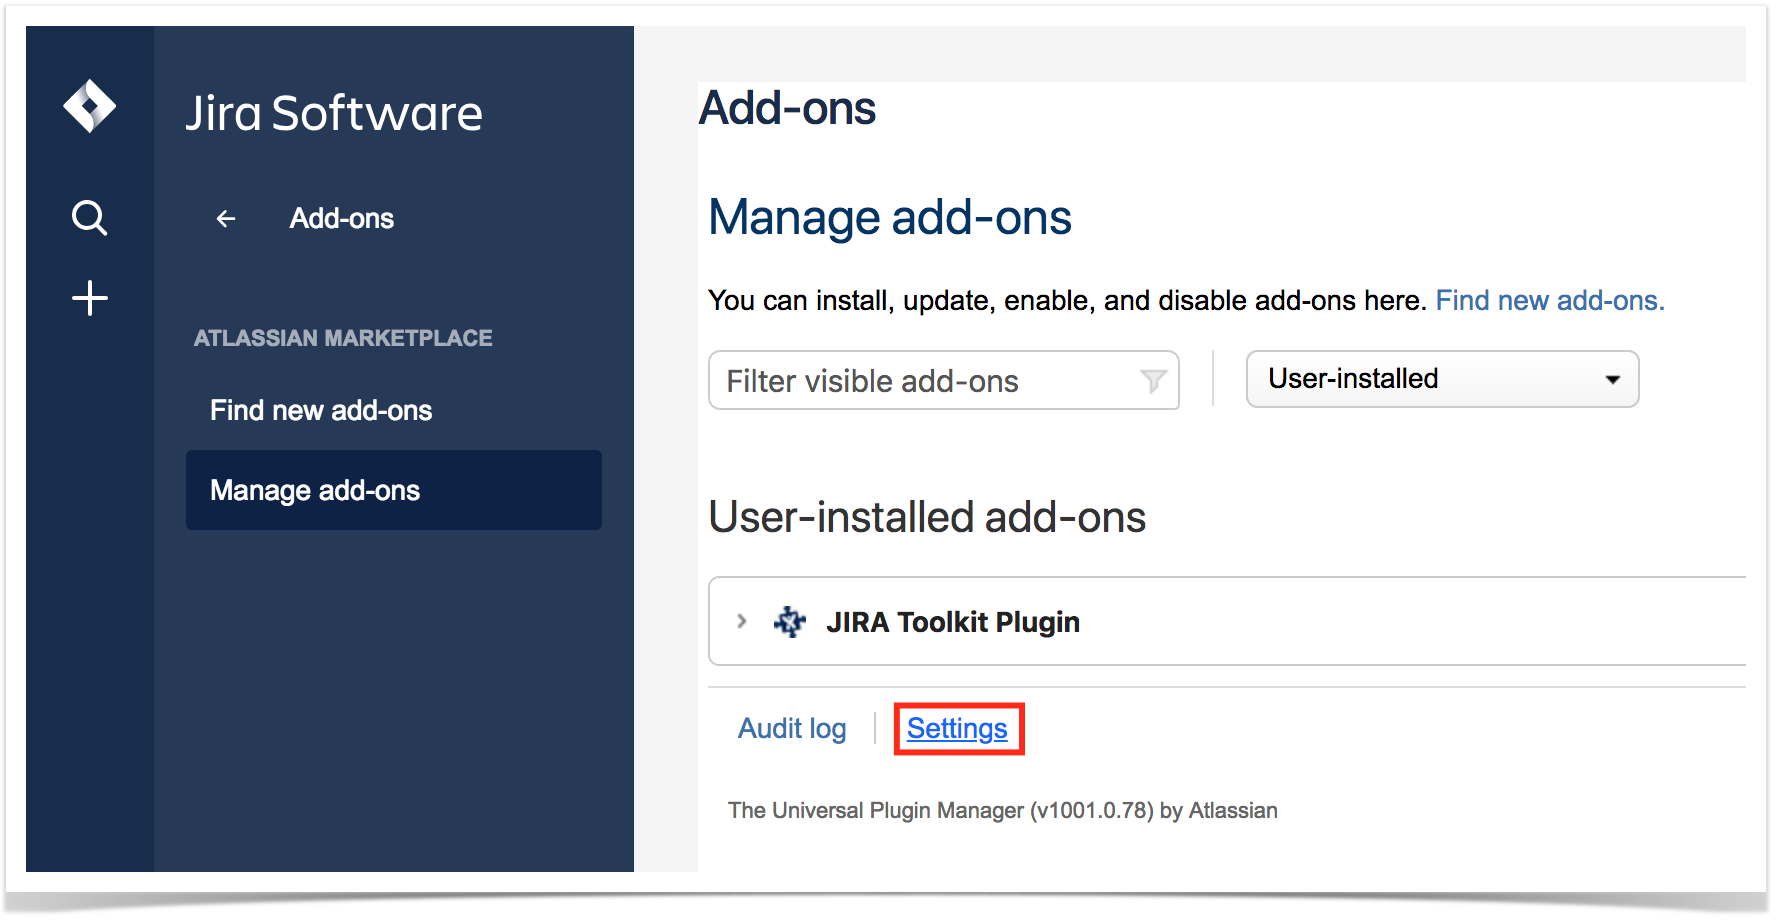
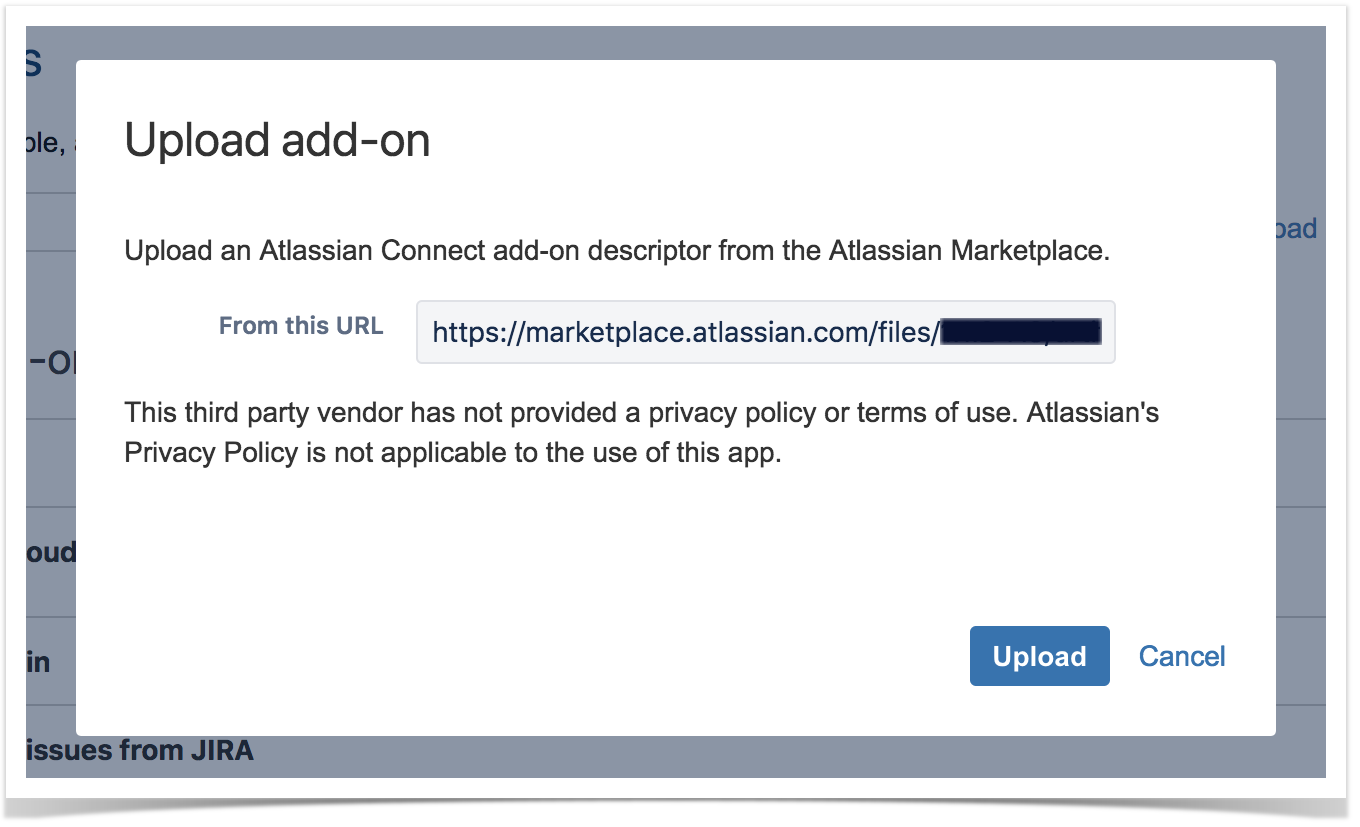
- Select option Upload Add-on and enter the URL provided to you by the Xray team:
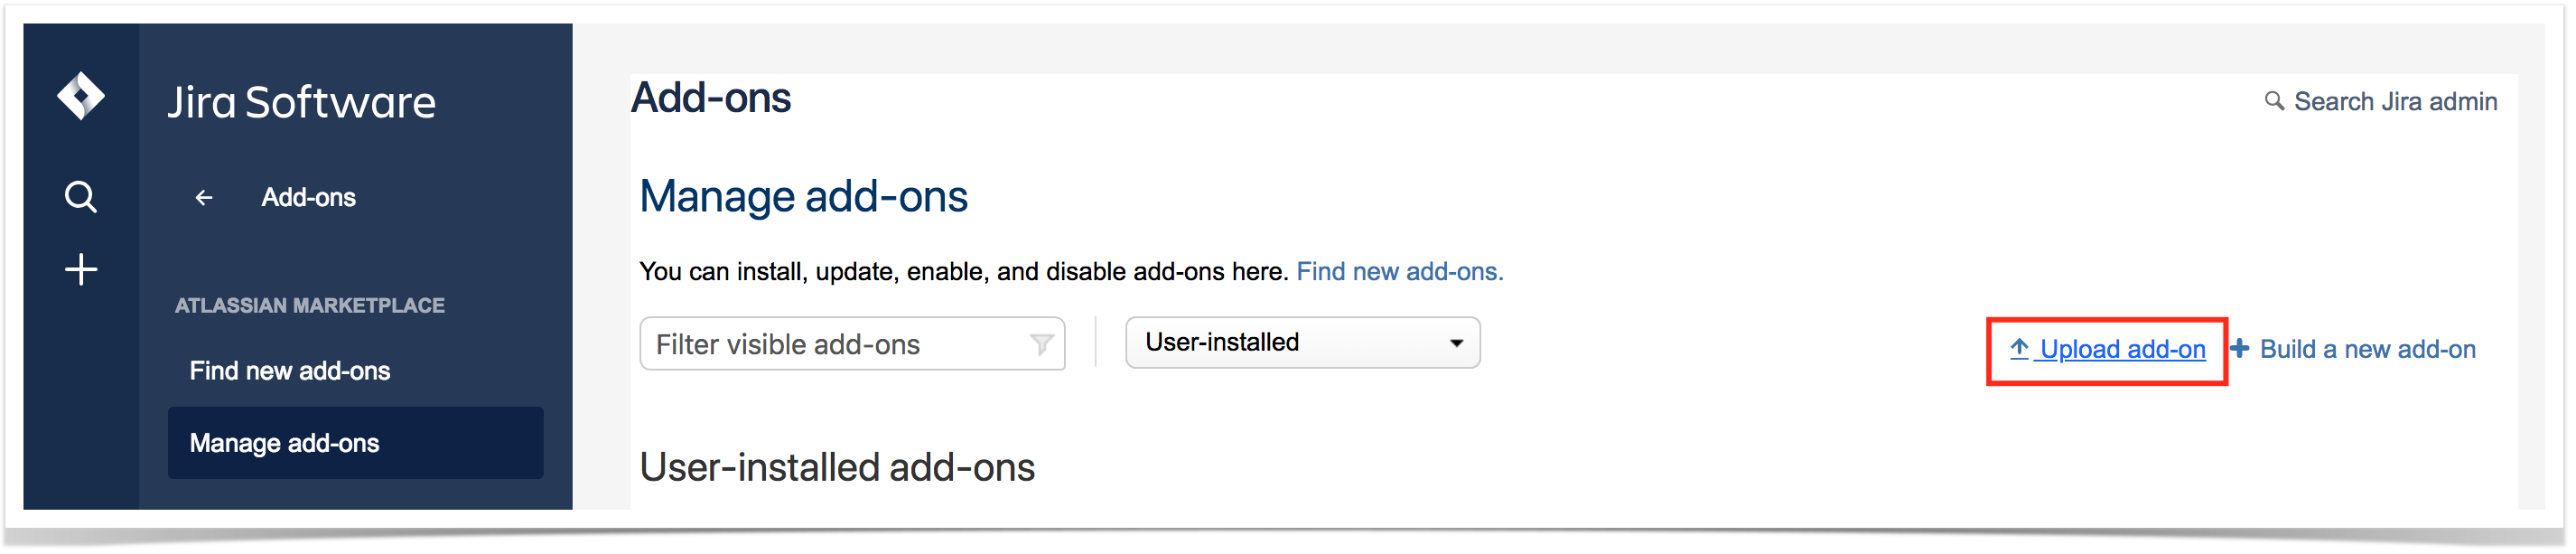

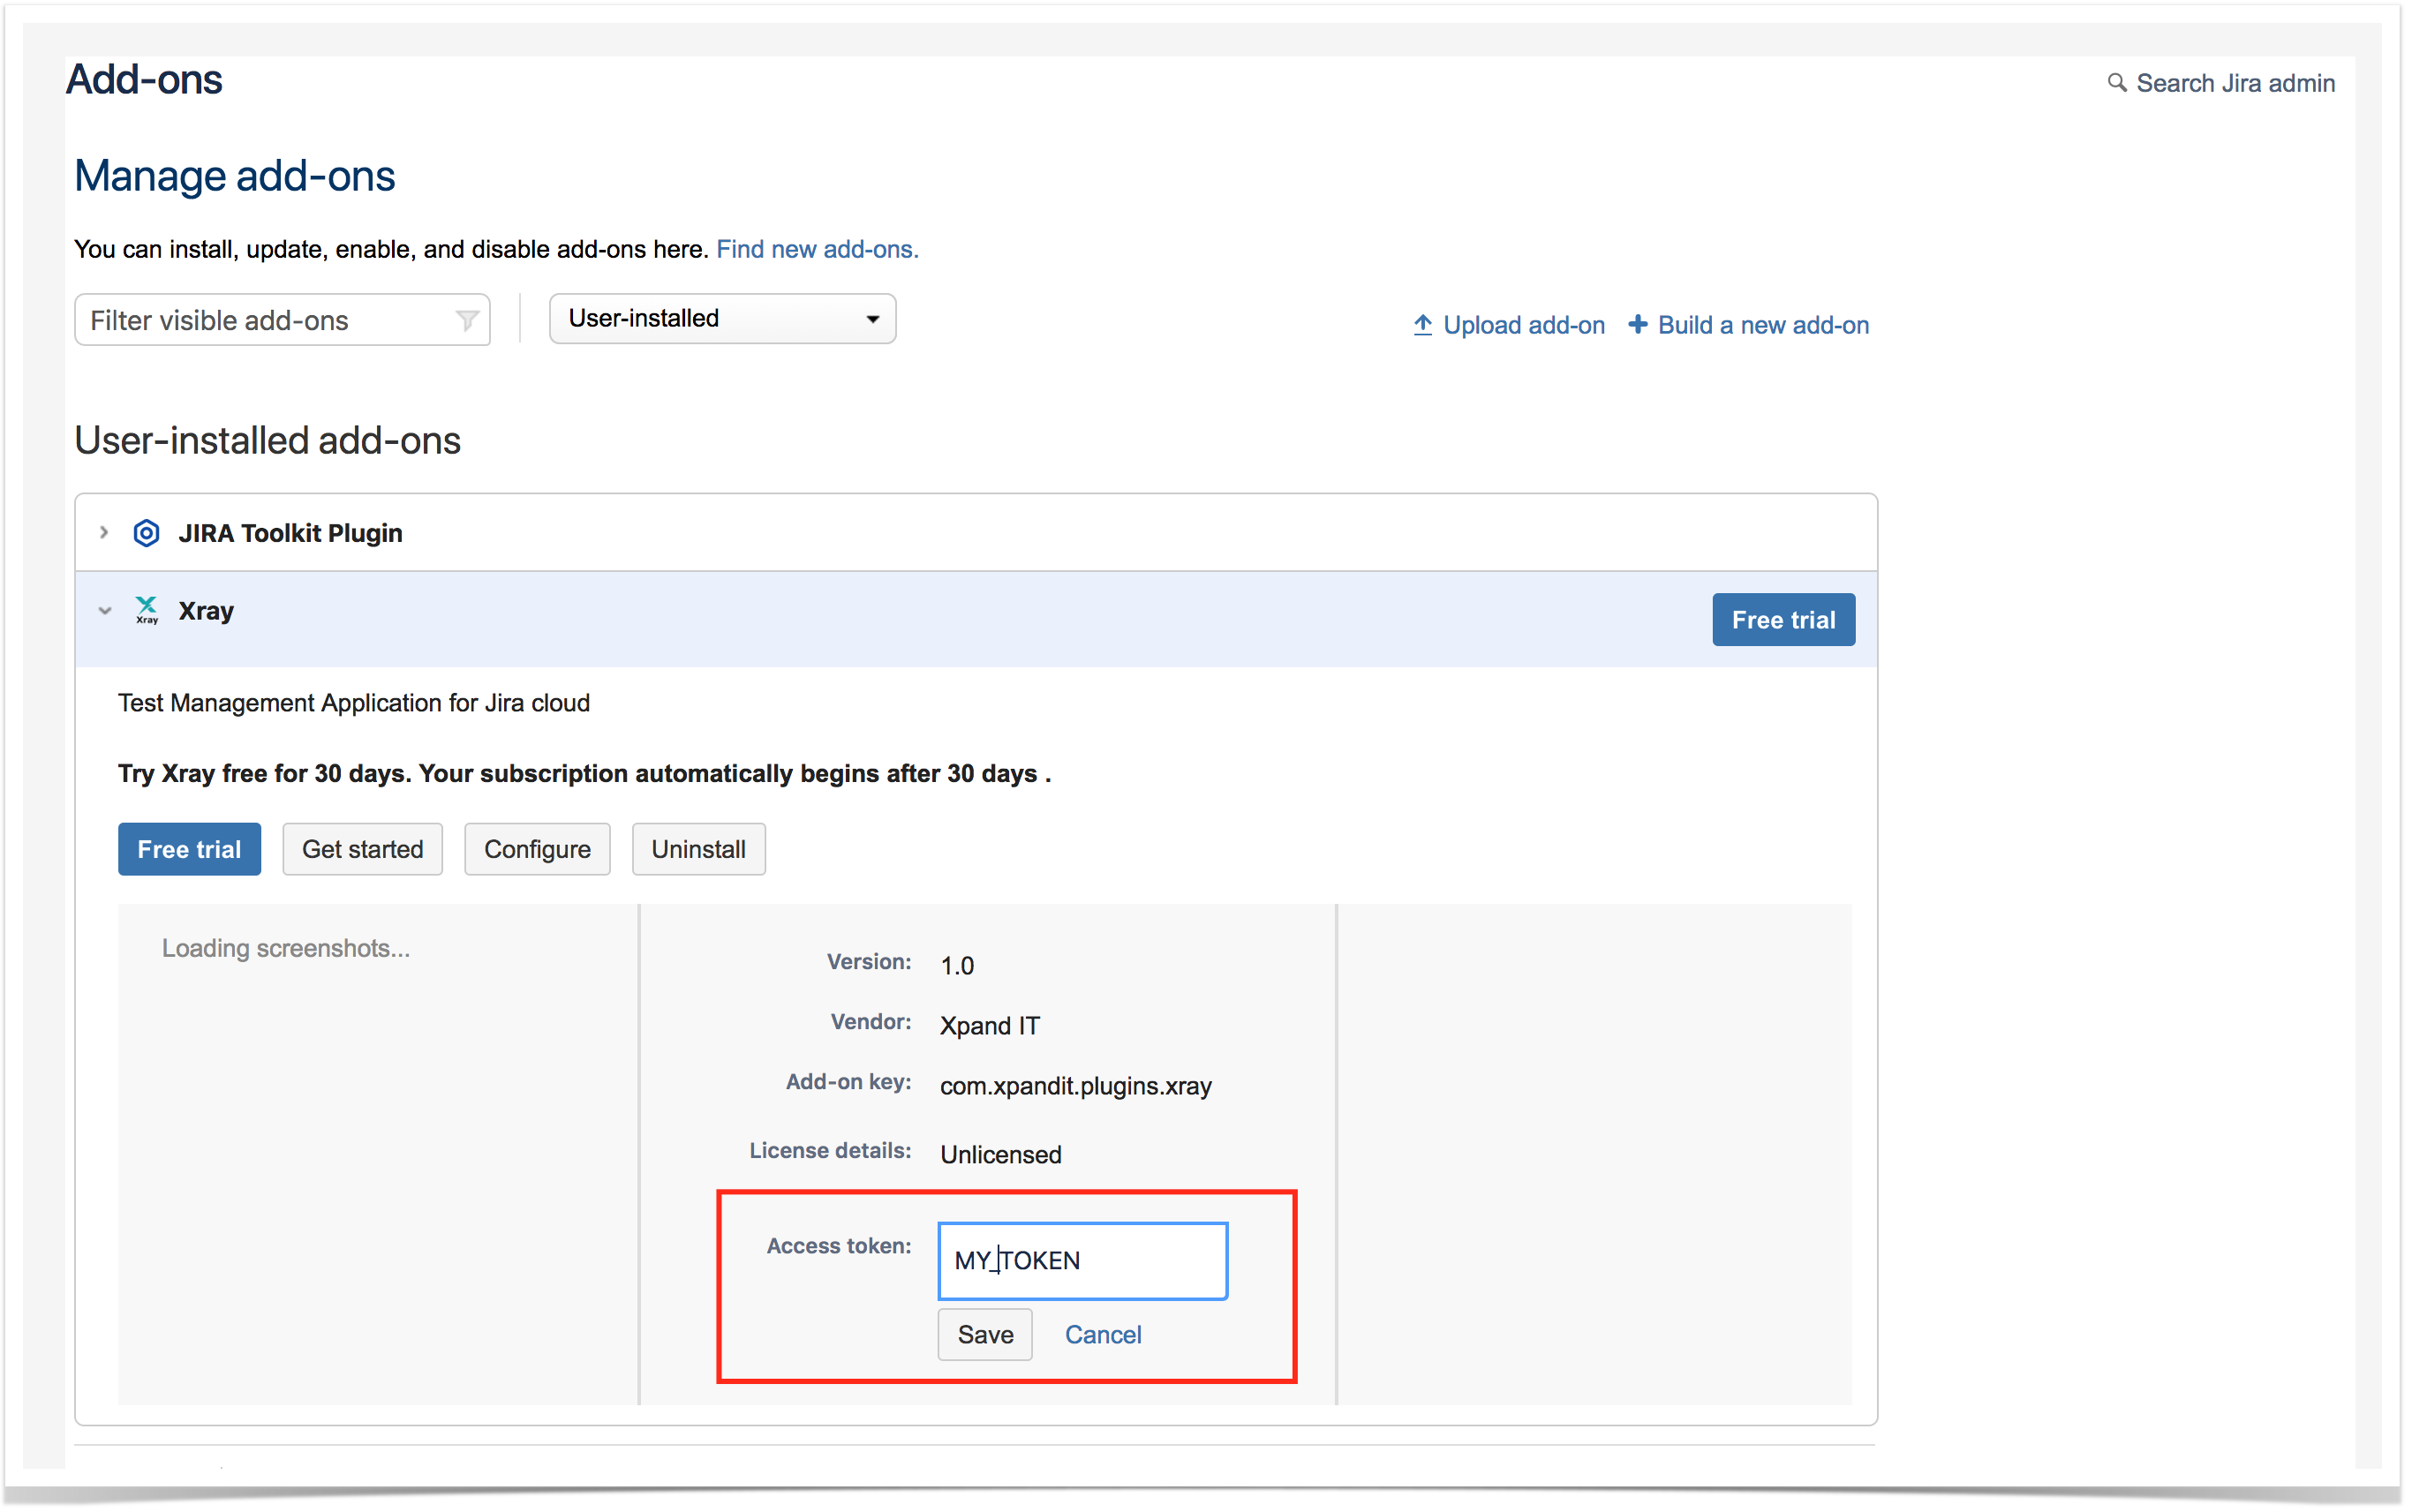
- After the Xray app is installed, you must configure the token provided by Xpand IT on the Manage add-ons page.
Installation (final instructions, for non EAP)
Automatic Installation
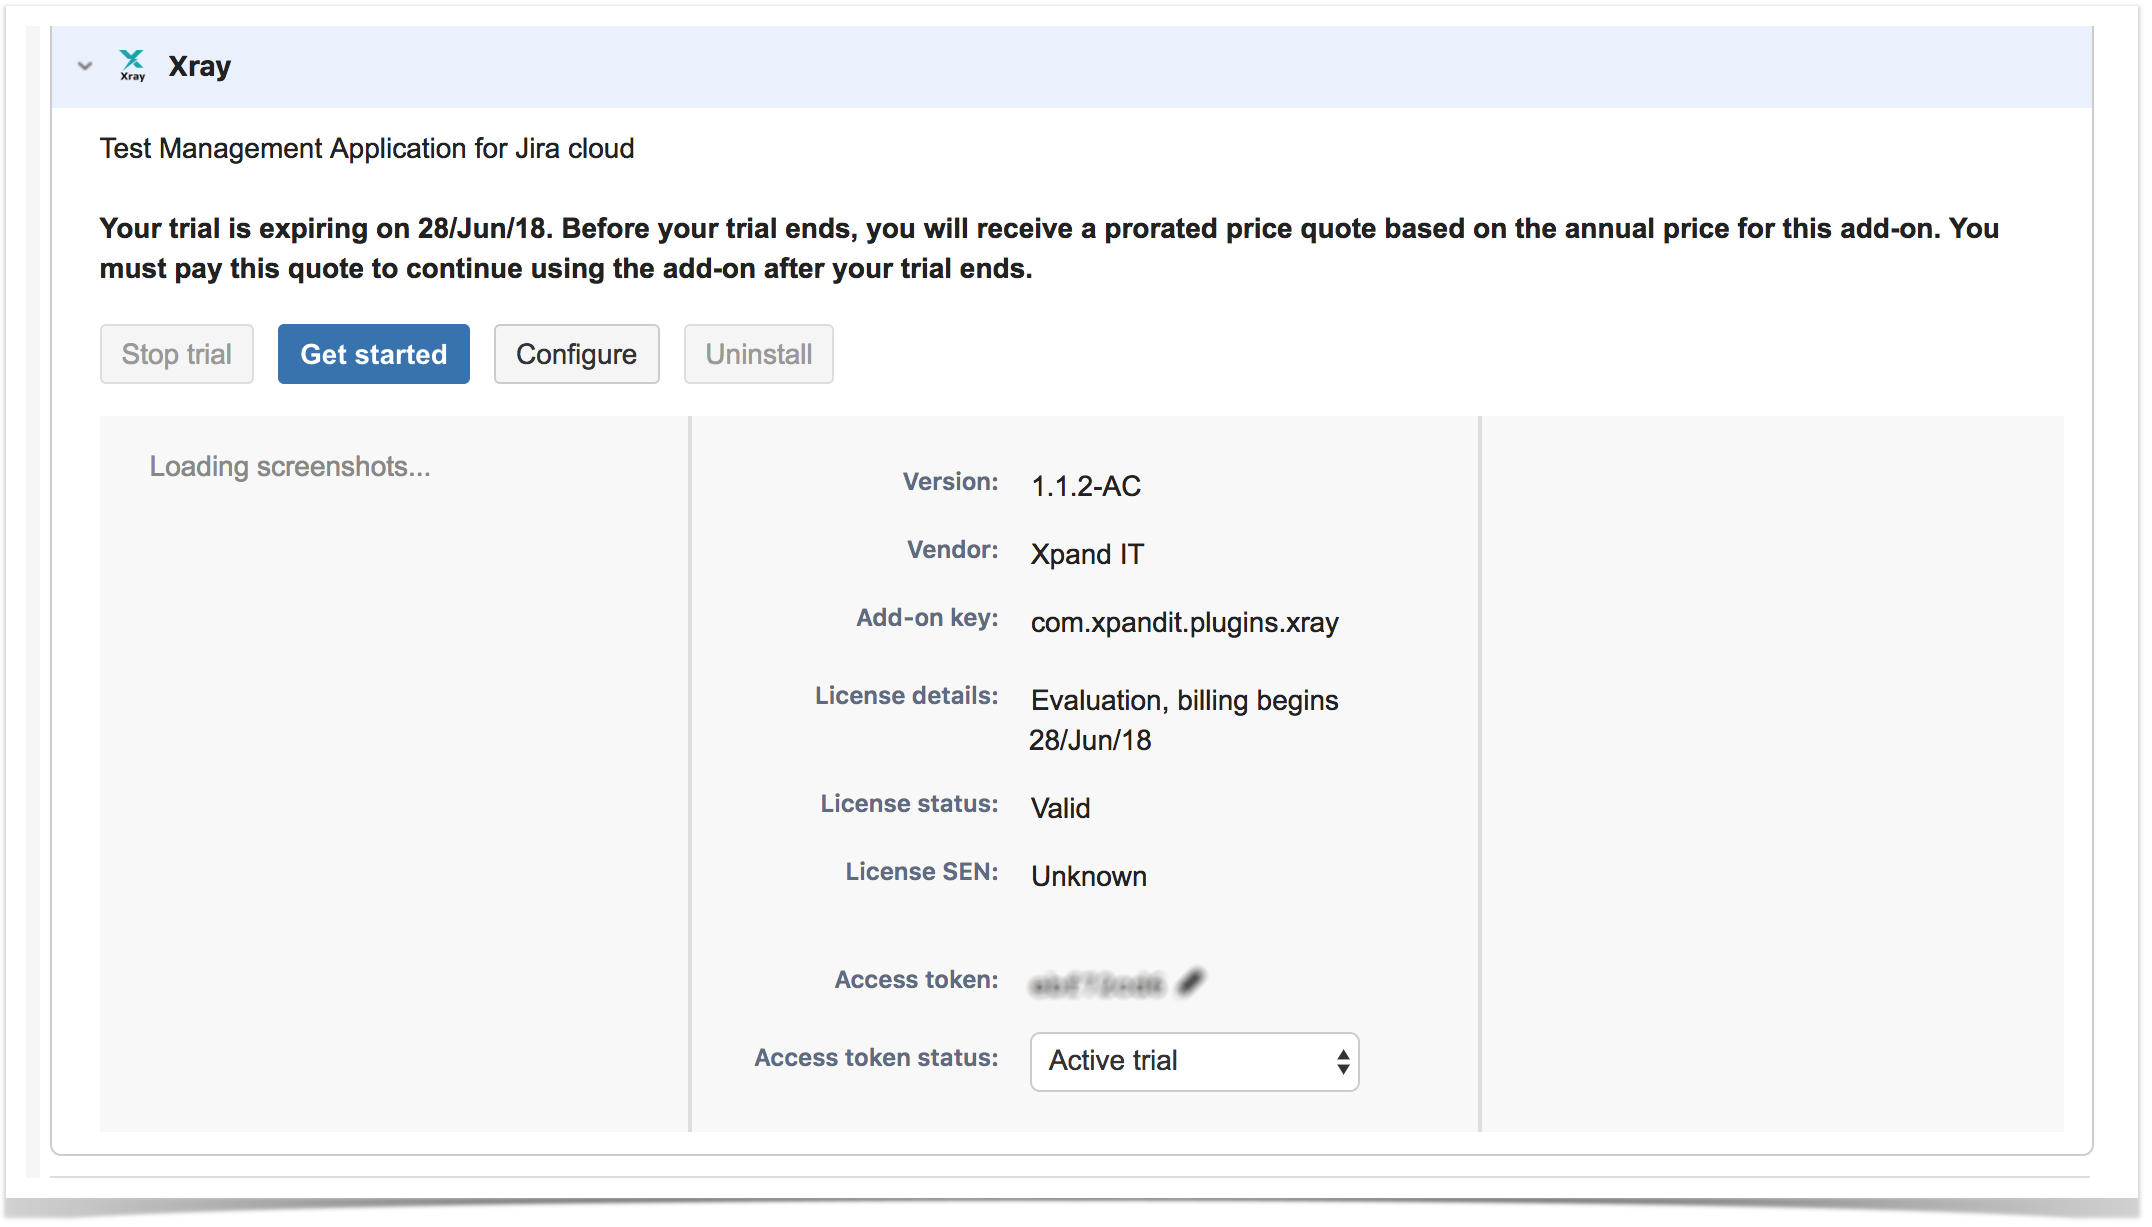
- must be configured automatically when you expand the Xray add-on:
- Enjoy!
And if you're using the old Jira UI:
- Make sure you have a project. If you're creating a new Jira Cloud instance, you may do it right-away during that process
...
- Go into the Administration section of JIRA by choosing Settings = -> Add-ons => Find new add -> Manage Add-ons:
- Search for Xray and click on Install
-
- Click on Settings and enable the "Enable private listings" option:
- Select option Upload add-on and enter the URL provided to you by the Xray team:
- After the Xray app is installed, the token must be configured automatically when you expand the Xray add-on:
- Enjoy! Enjoy