
Page History
| Info | ||
|---|---|---|
| ||
Jira is updating the UI until summer 2025, in case you already have the new UI please check this article : [Xray Cloud] How can I Setup Xray with the New Jira UI (2025)? |
Introduction
After installing Xray, there are basically two steps you need to make at project level.
You can do it for a brand new project or for an existing project you may already have.
| Table of Contents |
|---|
Add Xray Issue Types to your project
you need to take a few steps at the Project level:
| Table of Contents |
|---|
If you're not sure where to start, you can create a Demonstration Project with sample data to explore.
| Note |
|---|
To enable Xray at the project level, you need to have the Browse Projects permission enabled in the Project Permission Scheme. However, some configurations - such as adding Xray Issue Types - require Jira Administration permissions. If you do not have the necessary permissions, please ask your Jira Administrator for assistance before proceeding. You can configure Xray in either a brand-new or an existing project. |
All the operations described can be executed from within Xray Settings available on the Project Settings screen:
| UI Steps | ||||
|---|---|---|---|---|
|


Configuration
Configuring Xray Issue Types in your Project
Configuring Xray Issue Types in your project ensures that Test management is seamlessly integrated and aligned with your project needs. Proper configuration allows you to easily track Tests, Requirements, and Defects, improving visibility and control over the Testing process. This setup helps teams organize testing workflows, measure coverage, and analyze results effectively.
| Info |
|---|
Before configuring Xray Issue types, determine whether your project is Team-managed or Company-managed, as the configuration steps differ for each project type. |
Company-Managed Project (old Classic Project)
Tests, along with other entities, Tests along with other entities are abstracted as Jira Issue Types. Thus, you need to add them to the Issue Type Scheme used by your project:
| UI Steps | ||
|---|---|---|
|
...
|

...
|
...
|
...
|

| Info | ||
|---|---|---|
| ||
When a company-managed project is configured, the Testing Board may not be visible right away (Figure 5 - 1).
Figure 5 - Testing board |

Team-Managed Project (old Next-Gen Project)
Within team-managed projects, you first need to create the necessary Issue Types manually.
| UI Steps | |||||||||||||||||||||||||||||||||
|---|---|---|---|---|---|---|---|---|---|---|---|---|---|---|---|---|---|---|---|---|---|---|---|---|---|---|---|---|---|---|---|---|---|
|


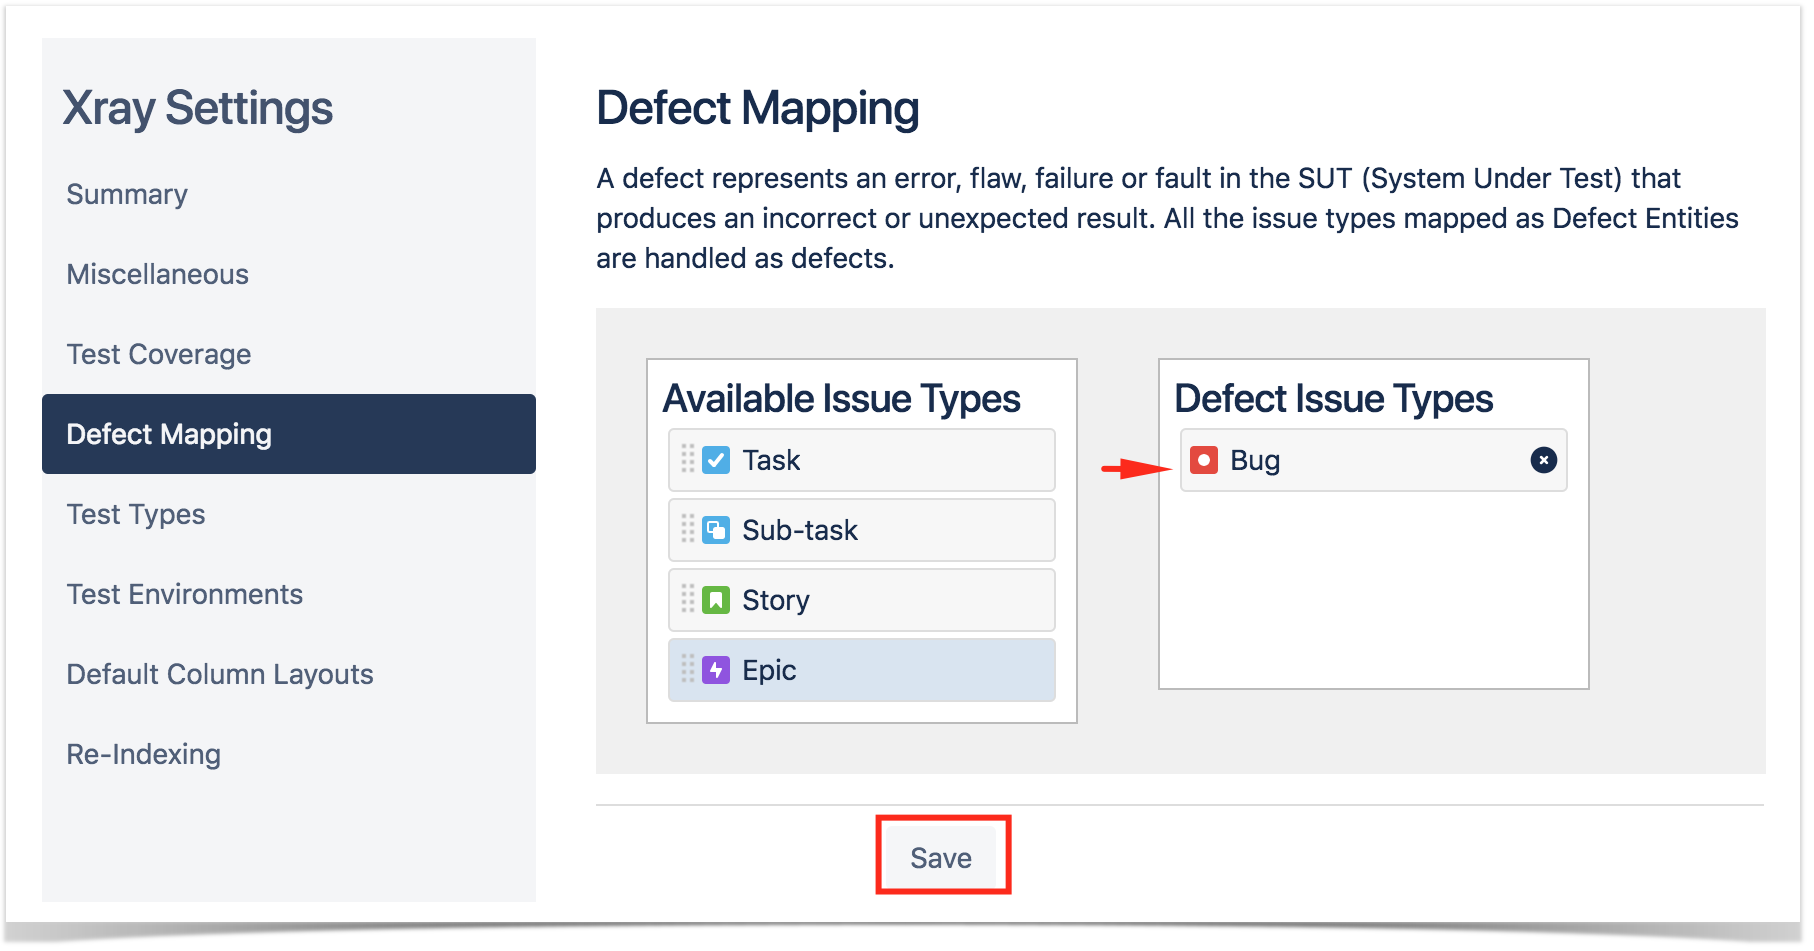
Configuring Requirements and Defects
Configuring requirements and defects in Xray enables clear visibility into project quality and progress. By linking them to Tests, you can track requirement coverage, identify unmet needs, and address defects efficiently. This setup ensures thorough Testing, effective Issue management, and improved software quality.
| UI Steps | ||
|---|---|---|
|
Configure Requirements and Defects
...
|
...
|
...
|


...
|
...
|
...
|

...
| Info | ||
|---|---|---|
| ||
Refer to the specific Project Settings: Test Coverage page or take a look at the extensive Global Settings if page if you want to fine-tune Xray or adapt it to your specific needs. |
Enable Xray in your projects
You can enable Xray for your existing projects or create a new project with both standard and Xray issue types.
For existing projects, in the project Administration page, go to Actions at the top right-hand side. You can either:
a) set your project as a Requirements project by choosing "Enable Xray Requirement Coverage", so the requirements are covered by tests; or
b) add Xray issue types (i.e., Test, Test Set, Test Execution, Test Plan) to the project.

| Info | ||
|---|---|---|
| ||
Since the Issue Type Scheme being used by your project may also be used by other projects, in order to add Xray's Issue Types from the project settings page you must belong to a group allowed to do so in Xray settings. The allowed groups to add Xray Issue Types can be defined in this setting. |
| Info | ||
|---|---|---|
| ||
If, instead, you want to quickly create a new project and use it to manage everything (e.g., requirements, defects, tests), go to the Jira Administration page for Projects. In the creation dialog, choose "Xray Test Project".

| Expand | ||
|---|---|---|
| ||
If you have questions or technical issues, please contact the Support team via the Customer Portal (Jira service management) or send us a message using the in-app chat | ||
| Info | ||
| ||